Let’s dive into the most exciting part: using AI to write code for you.
You might think: I don’t know anything about code, what does this have to do with me?
On the contrary, it’s precisely because you don’t know code that this tool is even more suitable for you.
Remember that friend who spent 50 bucks to get a webpage made? With Claude Code, that will never happen again. You just need to tell the AI in plain language what you want, and it will write the complete program for you.
Today we’re introducing Claude Code, an AI programming assistant that runs in your terminal. You just tell it what you want in plain language, and it writes the whole program for you.
Why Use a Terminal Tool Instead of an IDE?
What is an IDE?
IDE = Integrated Development Environment
Simply put, an IDE is the software programmers use to write code, for example:
- VS Code
- Cursor
- PyCharm
- WebStorm
These tools have complex interfaces and powerful features, but for someone who knows nothing about code, they are more of a burden.
Why I Recommend the Terminal
Reason 1: Simple interface
- IDE: Full of buttons, menus, sidebars, status bars… overwhelming at first glance
- Terminal: Just a black box – type a command, get a result, clean and straightforward
Reason 2: No need to manually edit code
If you don’t understand code at all, the code displayed in an IDE looks like gibberish. You can’t read it and you don’t know how to change it.
If everything is written by AI, why bother looking at the code?
Claude Code in the terminal will:
- Automatically create files
- Automatically write code
- Automatically modify code
- Automatically run tests
You just tell it what you want, and it handles the rest.
Reason 3: Lighter software
- Cursor/VS Code: Hundreds of MB, plus you need to install various plugins
- Terminal: Built into your system, no extra installation needed
Summary: For people with zero coding experience who want AI to help them build things, the terminal + Claude Code is the simplest and most direct combination.
Terminal Basics: How to Open Your Project Folder
Before using Claude Code, you need to learn one basic operation: opening your project folder in the terminal.
Mac Users
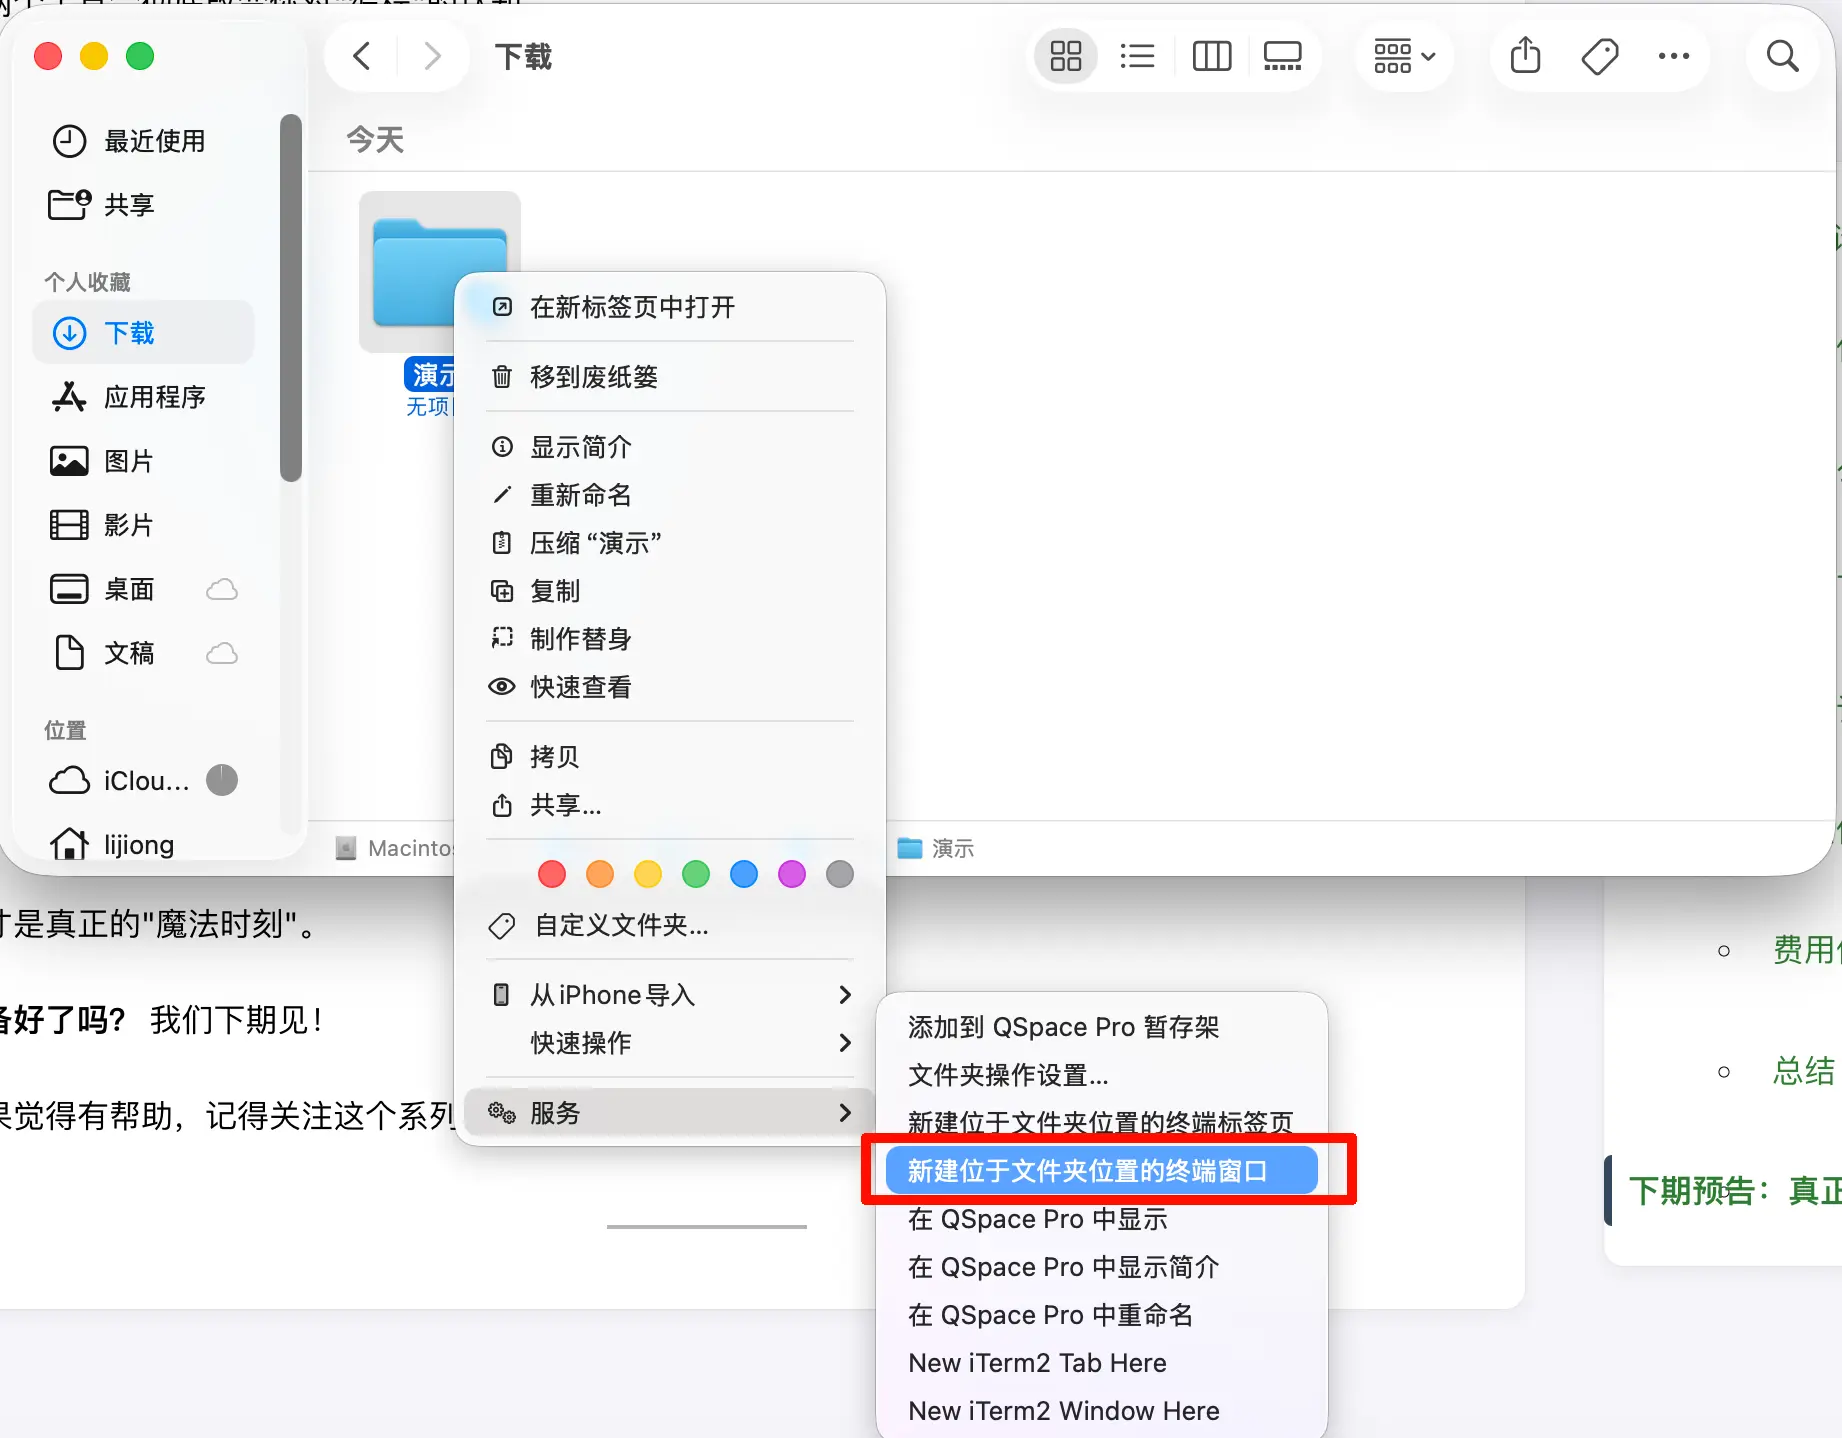
Method 1: Right-click to open (Recommended)
- Find your project folder in Finder
- Right-click the folder (or two-finger tap on the trackpad)
- Select “New Terminal at Folder”
Method 2: Option + Right-click to get the path
- Find your project folder in Finder
- Hold the Option key and right-click the folder
- Select “Copy ‘foldername’ as Pathname”
- Open Terminal (search for “Terminal” in Launchpad)
- Type
cd(note the space aftercd) - Press Command + V to paste the path
- Press Enter
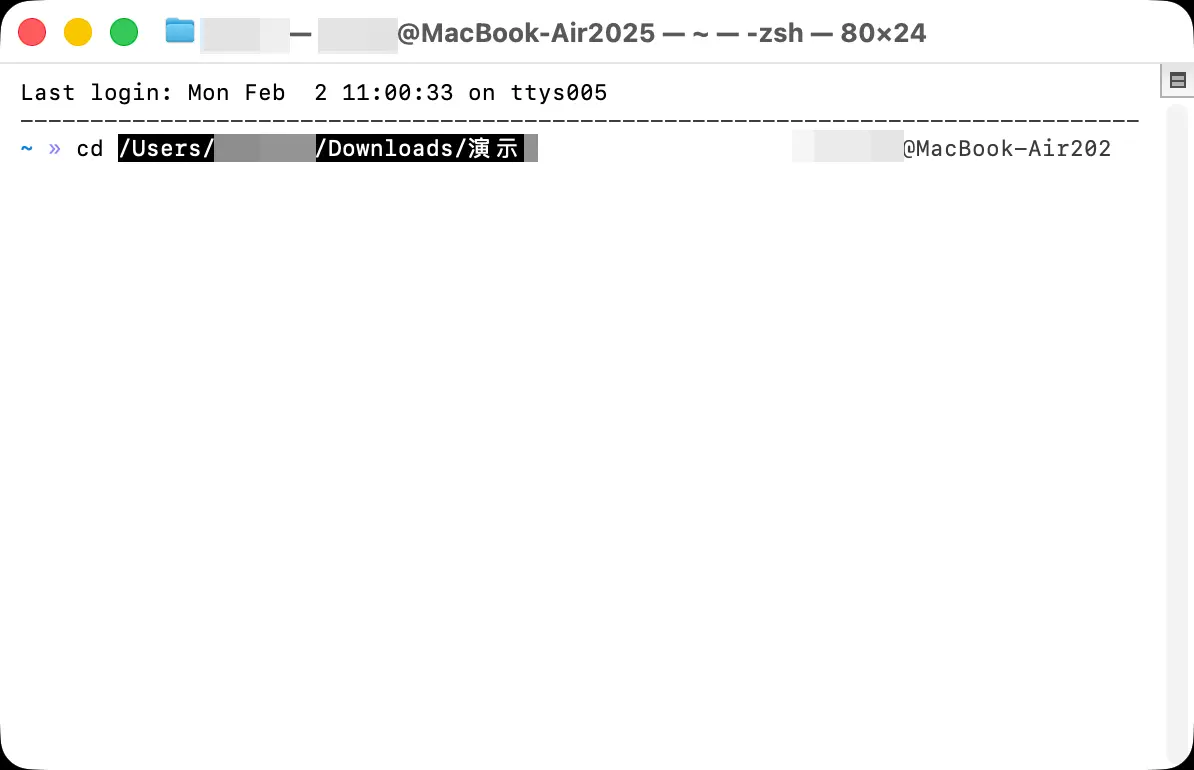
Example:
cd /Users/yourname/Desktop/my-project
Method 3: Drag and drop
- Open Terminal
- Type
cd(note the space) - Drag the folder from Finder directly into the Terminal window
- The path will be filled in automatically; press Enter
Windows Users
- Find your project folder in File Explorer
- Type
cmdorpowershellin the address bar and press Enter - The command line will open directly in that folder
Or:
- Right-click the folder
- Select “Open in Terminal” (Windows 11)
What is Claude Code?
In One Sentence
Claude Code = An AI programming assistant that runs in your terminal
It’s an official command-line tool from Anthropic (the company behind Claude). You talk to it in the terminal, and it can help you:
- Create new projects
- Write code
- Modify code
- Fix bugs
- Explain code
- Run commands
How is it Different from Claude on the Web?
| Feature | Claude Web | Claude Code |
|---|---|---|
| How to use | Chat in a browser | Type commands in the terminal |
| Can it manipulate files? | No, only conversation | Yes, can create and modify files directly |
| Can it run code? | No | Yes, can run code on your computer |
| Best for | Asking questions, writing articles | Building projects, writing programs |
Key difference: The web version can only “talk”, Claude Code can “do”.
How to Install Claude Code
Prerequisites
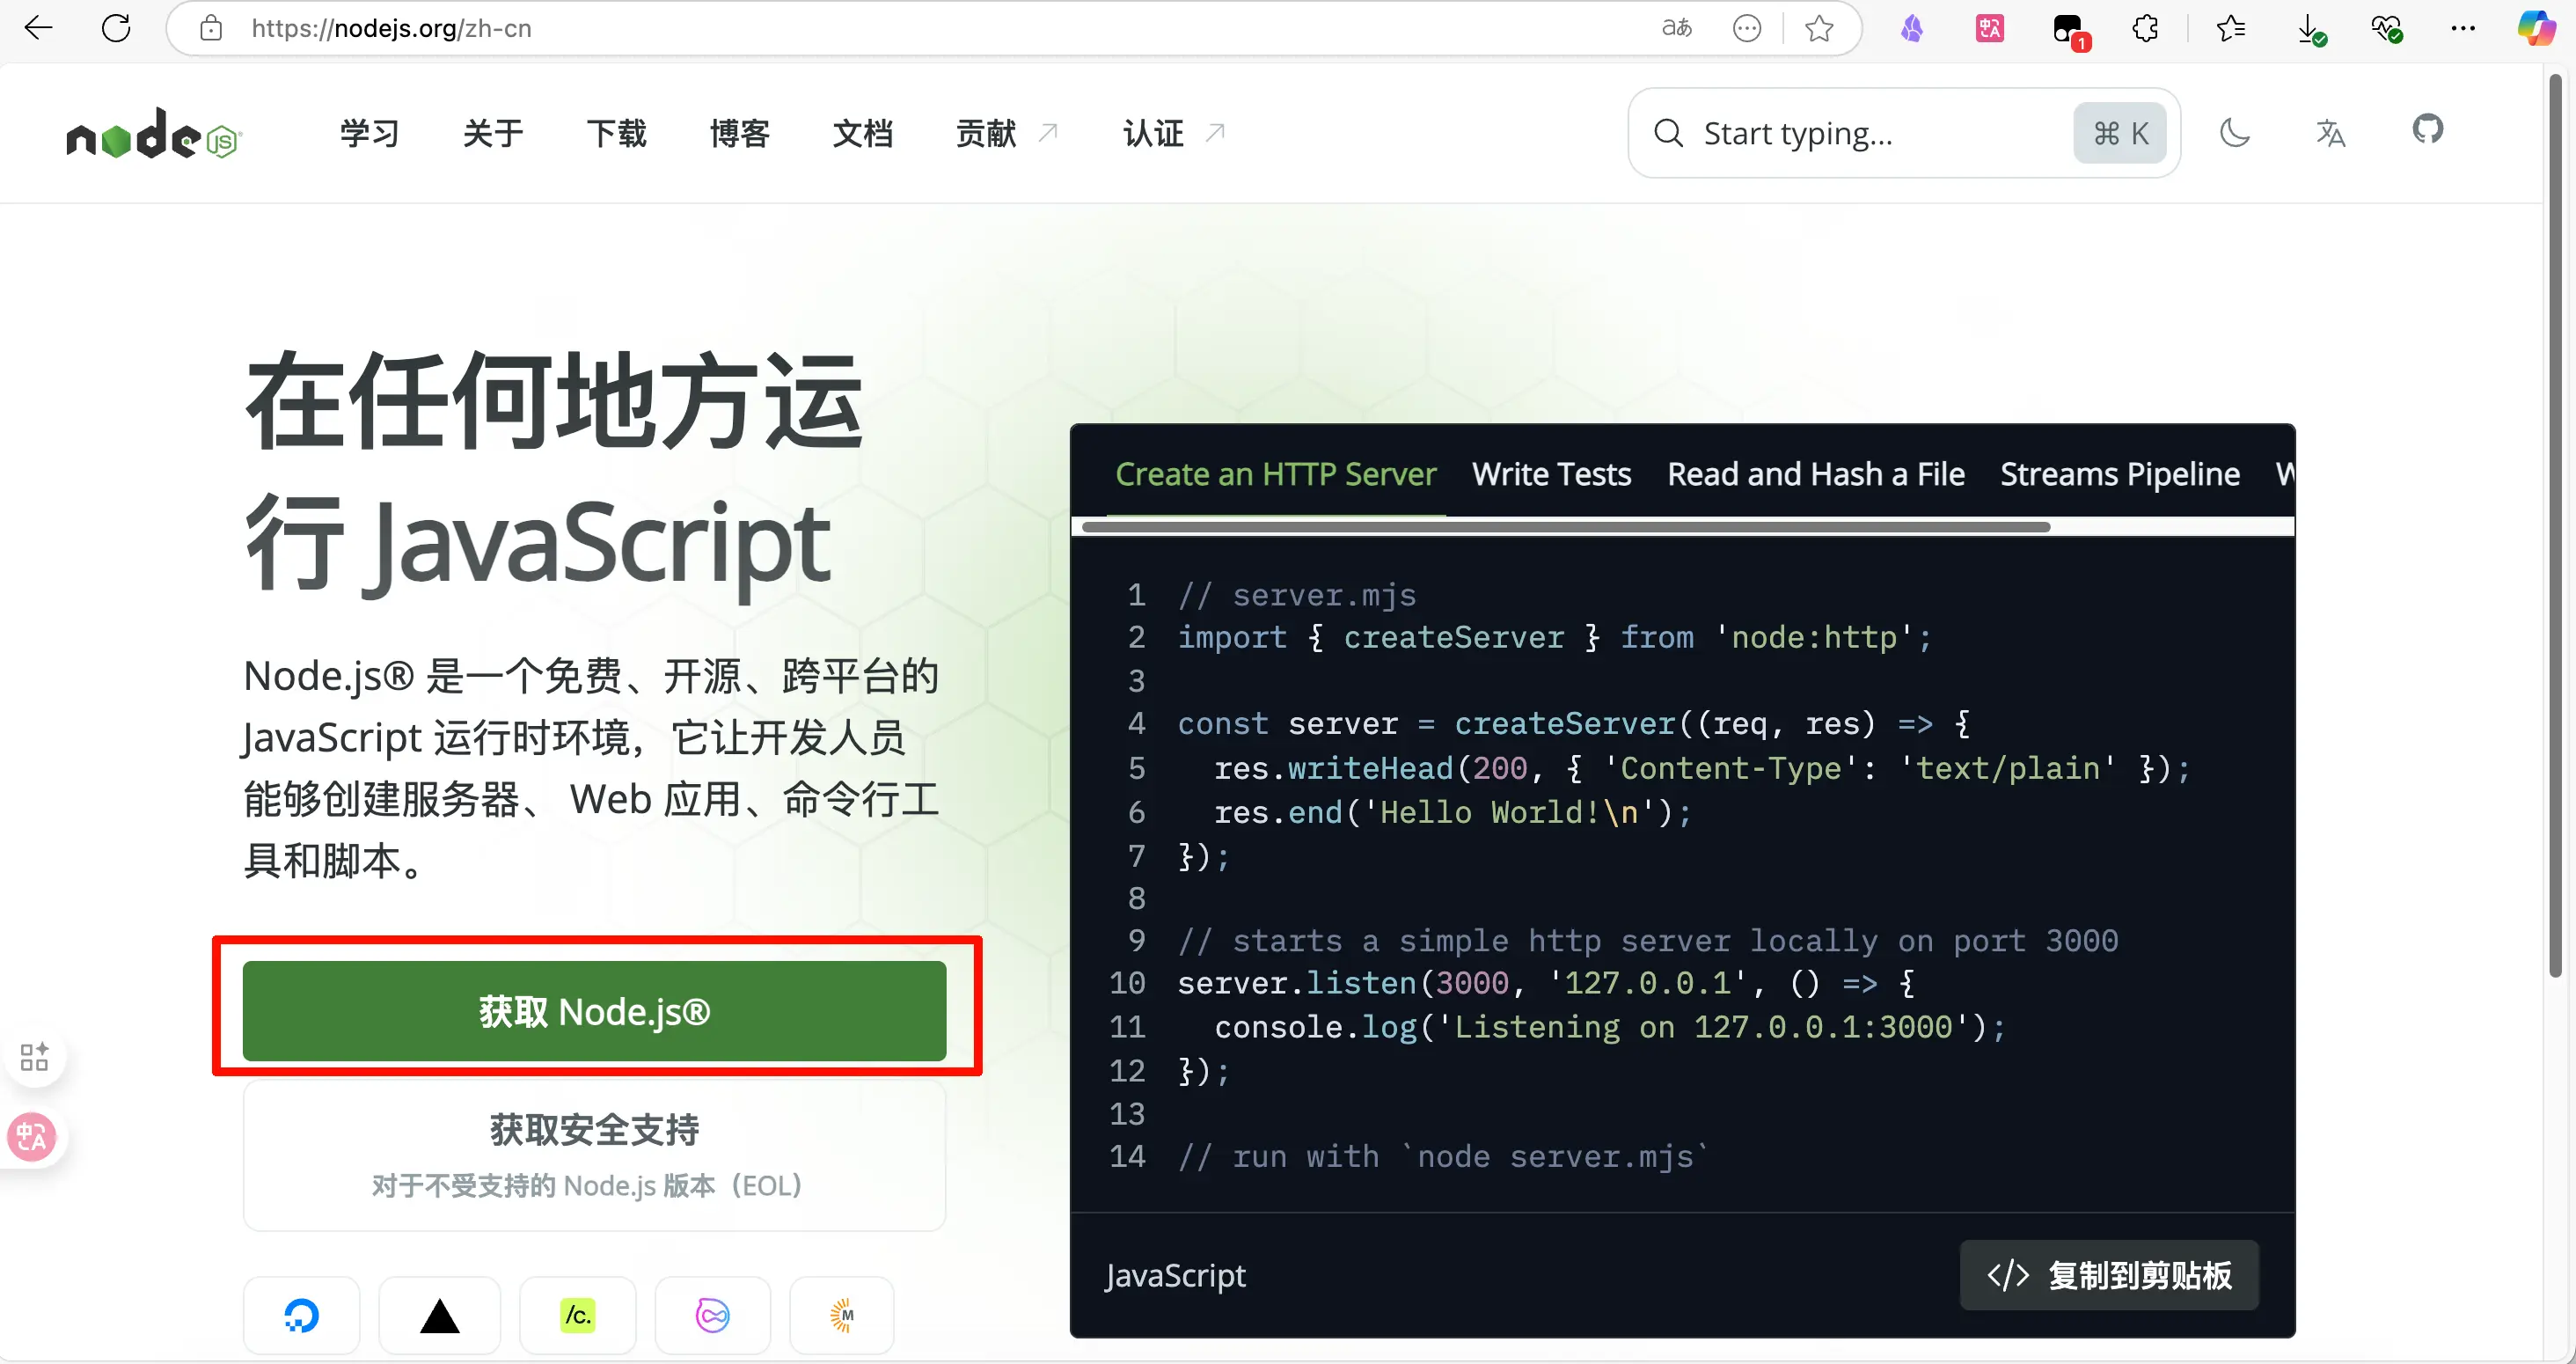
- Node.js: Claude Code requires Node.js
- Download: https://nodejs.org
- Choose the LTS (Long Term Support) version
- After installation, verify with
node -vin the terminal
 2. Network environment: You need access to Claude’s API (may require a VPN)
Installation Steps
Open your terminal and run:
npm install -g @anthropic-ai/claude-code
 Wait for the installation to finish. If you see output like this, it succeeded:
added 1 package in 2s
Verify the installation:
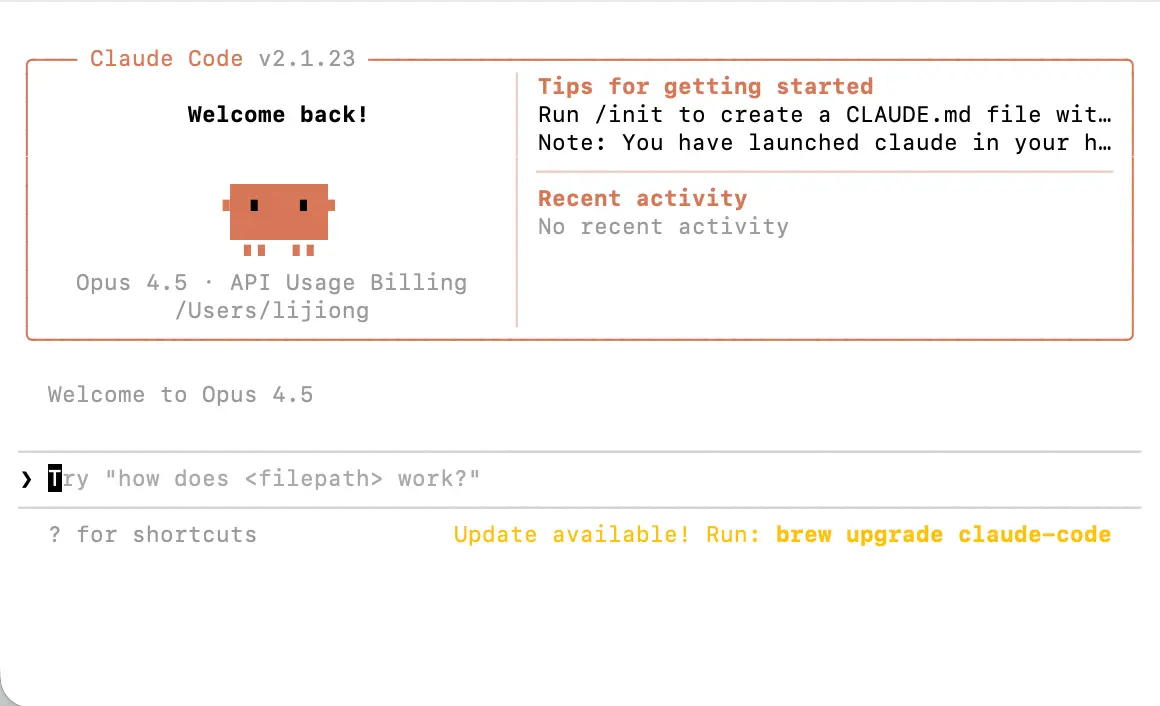
claude --version
If a version number is displayed, the installation was successful.
Several Ways to Use It
Claude Code supports multiple ways to access AI capabilities. Choose the one that suits you.
Method 1: Buy a Claude Membership
This is the simplest and most direct way.
Claude Membership Tiers:
| Plan | Price | Claude Code Quota |
|---|---|---|
| Claude Pro | $20/month | Limited quota, suitable for light use |
| Claude Max | $100/month | Higher quota, suitable for heavy use |
| Claude Max | $200/month | Highest quota, suitable for professional development |
Setup:
- After purchasing a Claude membership, open the terminal
- Run
claudeto start - Follow the prompts to log in to your Claude account
- Once logged in, you can start using it
Method 2: Use Other Models’ APIs
If you don’t want to buy a Claude membership, you can use other models’ APIs to drive Claude Code.
Supported models:
- DeepSeek
- OpenAI GPT series
- Other APIs compatible with the OpenAI format
2.1 Configure via Environment Variables (DeepSeek Example)
DeepSeek’s API is compatible with the Anthropic format and can be used as a direct replacement.
Mac/Linux Setup:
Run the following commands in the terminal (temporary – they will be lost when you close the terminal):
export ANTHROPIC_BASE_URL=https://api.deepseek.com/anthropic
export ANTHROPIC_AUTH_TOKEN=${DEEPSEEK_API_KEY}
export API_TIMEOUT_MS=600000
export ANTHROPIC_MODEL=deepseek-chat
export ANTHROPIC_SMALL_FAST_MODEL=deepseek-chat
export CLAUDE_CODE_DISABLE_NONESSENTIAL_TRAFFIC=1
Then simply run claude to start.
Windows Setup (PowerShell):
$env:ANTHROPIC_BASE_URL="https://api.deepseek.com"
$env:ANTHROPIC_AUTH_TOKEN="Your DeepSeek API Key"
Then simply run claude to start.
Note: This method is temporary; the settings will be lost when you close the terminal. For permanent configuration, use the settings.json method below.
Reference: https://api-docs.deepseek.com/guides/anthropic_api
2.2 Configure via settings.json (Recommended)
This method is more convenient – once configured, Claude Code will automatically use these settings every time you start it.
Configuration Steps:
-
Find the Claude Code configuration folder:
- Mac/Linux:
~/.claude/ - Windows:
%USERPROFILE%\.claude\
- Mac/Linux:
-
Create or edit the
settings.jsonfile (example):
{
  "env": {
    "ANTHROPIC_BASE_URL": "https://api.deepseek.com",
    "ANTHROPIC_AUTH_TOKEN": "Your DeepSeek API Key"
  }
}
- Save the file and restart Claude Code
Tip: If the .claude folder doesn’t exist, run the claude command once – it will be created automatically.
How to Start Claude Code in the Terminal
Basic Startup
- Open the terminal
- Use the
cdcommand to navigate to your project folder - Type
claudeand press Enter
cd /path/to/your/project
claude
Claude Code will start, and you’ll see an interactive interface where you can begin typing your requests.
Common Commands and Concepts
Common Commands in Claude Code
| Command | Action |
|---|---|
/help |
View help information |
/clear |
Clear the current conversation |
/exit or Ctrl+C |
Exit Claude Code |
/compact |
Compress conversation history to save tokens |
/init |
Initialize a project, create a CLAUDE.md file |
Plan Mode
Plan Mode = Let Claude plan first, then act
By default, Claude starts writing code immediately. But sometimes you want it to think things through before acting – that’s when you enable Plan Mode.
How to switch?
Press Shift + Tab to cycle through three modes:
| Mode | Description |
|---|---|
| Normal | Normal mode, Claude executes directly |
| Plan | Plan mode, Claude only plans without executing; waits for your confirmation |
| Auto | Auto mode, Claude automatically executes all operations without asking for confirmation |
When to use Plan Mode?
- The project is complex and you want Claude to clarify its approach first
- You’re unsure how Claude will make changes and want to see its plan
- You want more precise control over Claude’s behavior
Accept Edits
Accept Edits = Whether to automatically approve Claude’s modifications
When Claude wants to create or modify a file, it normally asks for your confirmation.
How to switch?
When you press Shift + Tab to change modes, you’ll see:
- Accept edits: off – Every modification requires your manual confirmation
- Accept edits: on – All modifications are accepted automatically without asking
Recommendations:
- Beginners should keep it off so you can see what Claude is doing at each step
- Once you’re comfortable, turn it on for a smoother workflow
What is resume?
resume = Resume a previous conversation
After you close the terminal or exit Claude Code, you can use the --resume flag next time to continue the previous conversation:
claude --resume
Claude will remember what you discussed, so you don’t have to start from scratch.
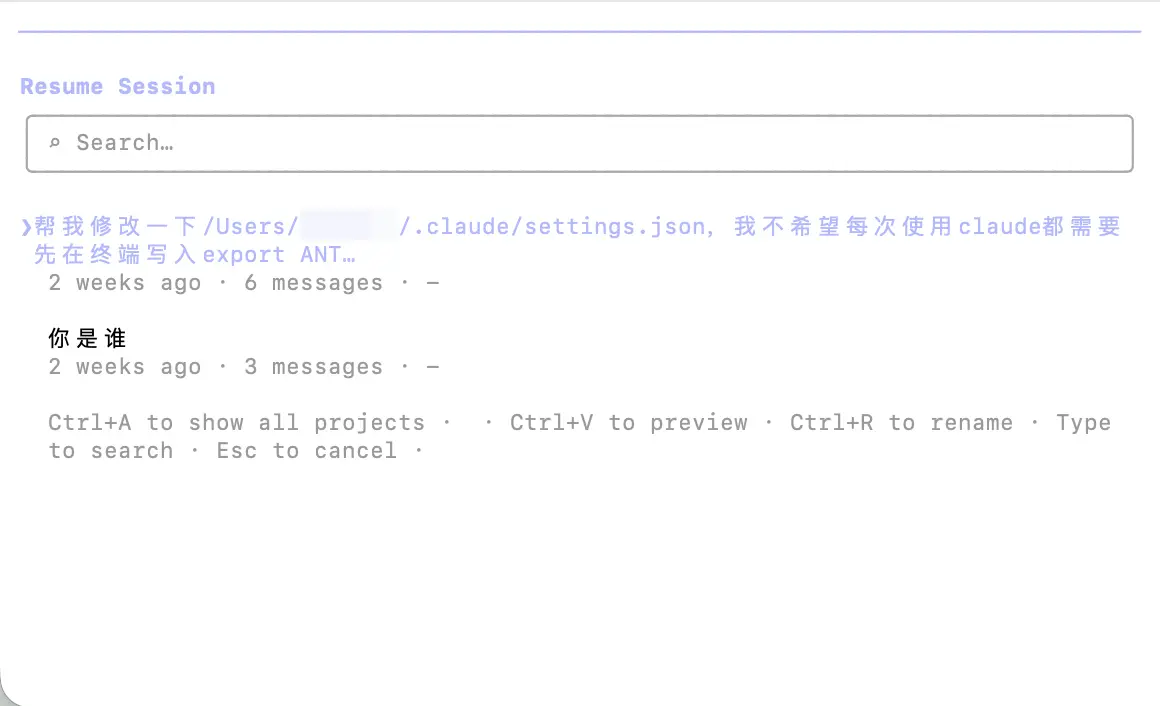 When to use resume?
- You worked on a project yesterday and want to continue today
- Your computer shut down unexpectedly and you want to recover progress
- You want Claude to continue from where it left off
What is CLAUDE.md?
CLAUDE.md = Project description file
This is a Markdown file placed in your project’s root directory. It tells Claude about the project’s background.
How to create it?
First run claude to start Claude Code, then enter /init.
claude
Inside Claude Code, type:
/init
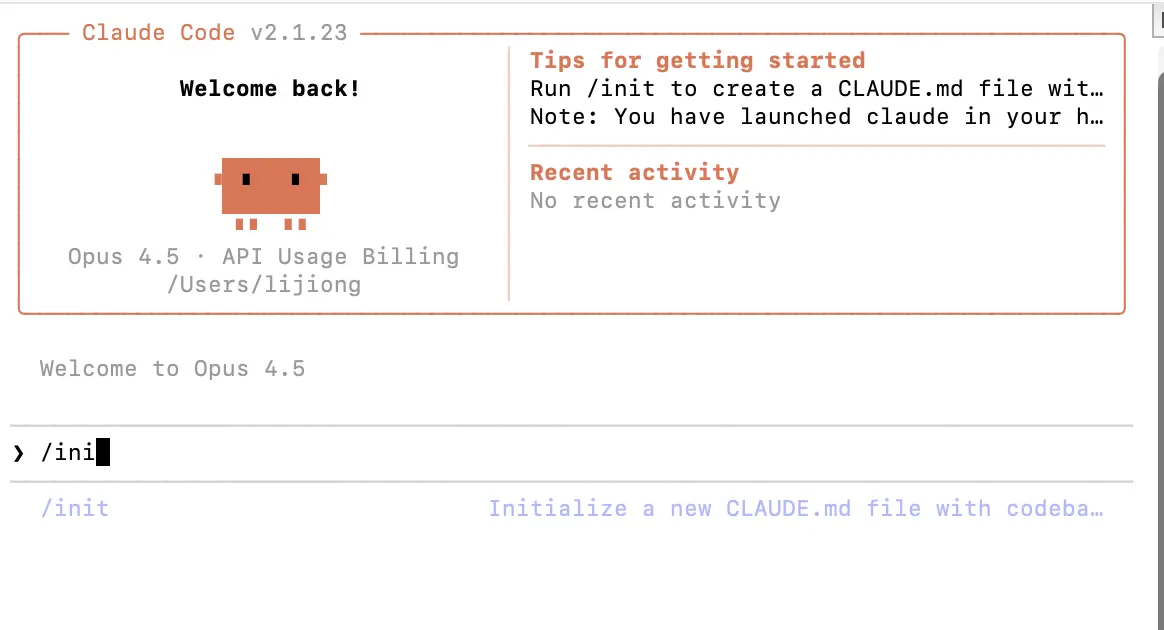 Claude will automatically analyze your project and generate a CLAUDE.md file.
What is it used for?
When Claude Code starts, it reads this file to understand:
- What the project does
- What tech stack is used
- Any special requirements
- Code style preferences
Example CLAUDE.md:
# Project Description

This is a personal translation tool webpage.

## Tech Stack
- Pure HTML/CSS/JavaScript
- No frameworks

## Requirements
- Code comments in English
- Clean and modern interface
- Support dark mode
With this file, you don’t have to explain the project background every time you start Claude Code.
Skill
Skill = Claude Code shortcut commands
Skills are preset commands that let Claude quickly perform specific tasks.
Common built-in Skills:
| Command | Action |
|---|---|
/commit |
Automatically generate a git commit message and commit code |
/review |
Review code and find issues |
/fix |
Fix errors in the code |
How to use them?
Simply type the slash command in Claude Code, for example:
/commit
Claude will automatically analyze your code changes and generate an appropriate commit message.
We’ll cover custom Skills in detail in a later chapter.
MCP (Model Context Protocol)
MCP = Connect Claude to external tools and data sources
MCP is a protocol that allows Claude Code to connect to various external services, such as:
- Databases
- File systems
- Web services
- Other AI tools
Think of it this way: MCP is like adding “plugins” to Claude, enabling it to do more.
Examples:
- Connect to Obsidian so Claude can read and write your notes directly
- Connect to a browser so Claude can automate web pages
- Connect to a database so Claude can query and analyze data
We’ll cover MCP configuration and usage in detail in a later chapter.
Hands-on: Let Claude Build a Translation Webpage
Now that you’ve learned so much, let’s put it into practice!
We’re going to build a local translation webpage that can use the Gemini API for translation.
Step 1: Create a Project Folder
- Create a new folder on your desktop (or anywhere you like), for example named
demo - Using the method you learned earlier, open this folder in the terminal
Step 2: Start Claude Code
claude
Step 3: Enter Your Request
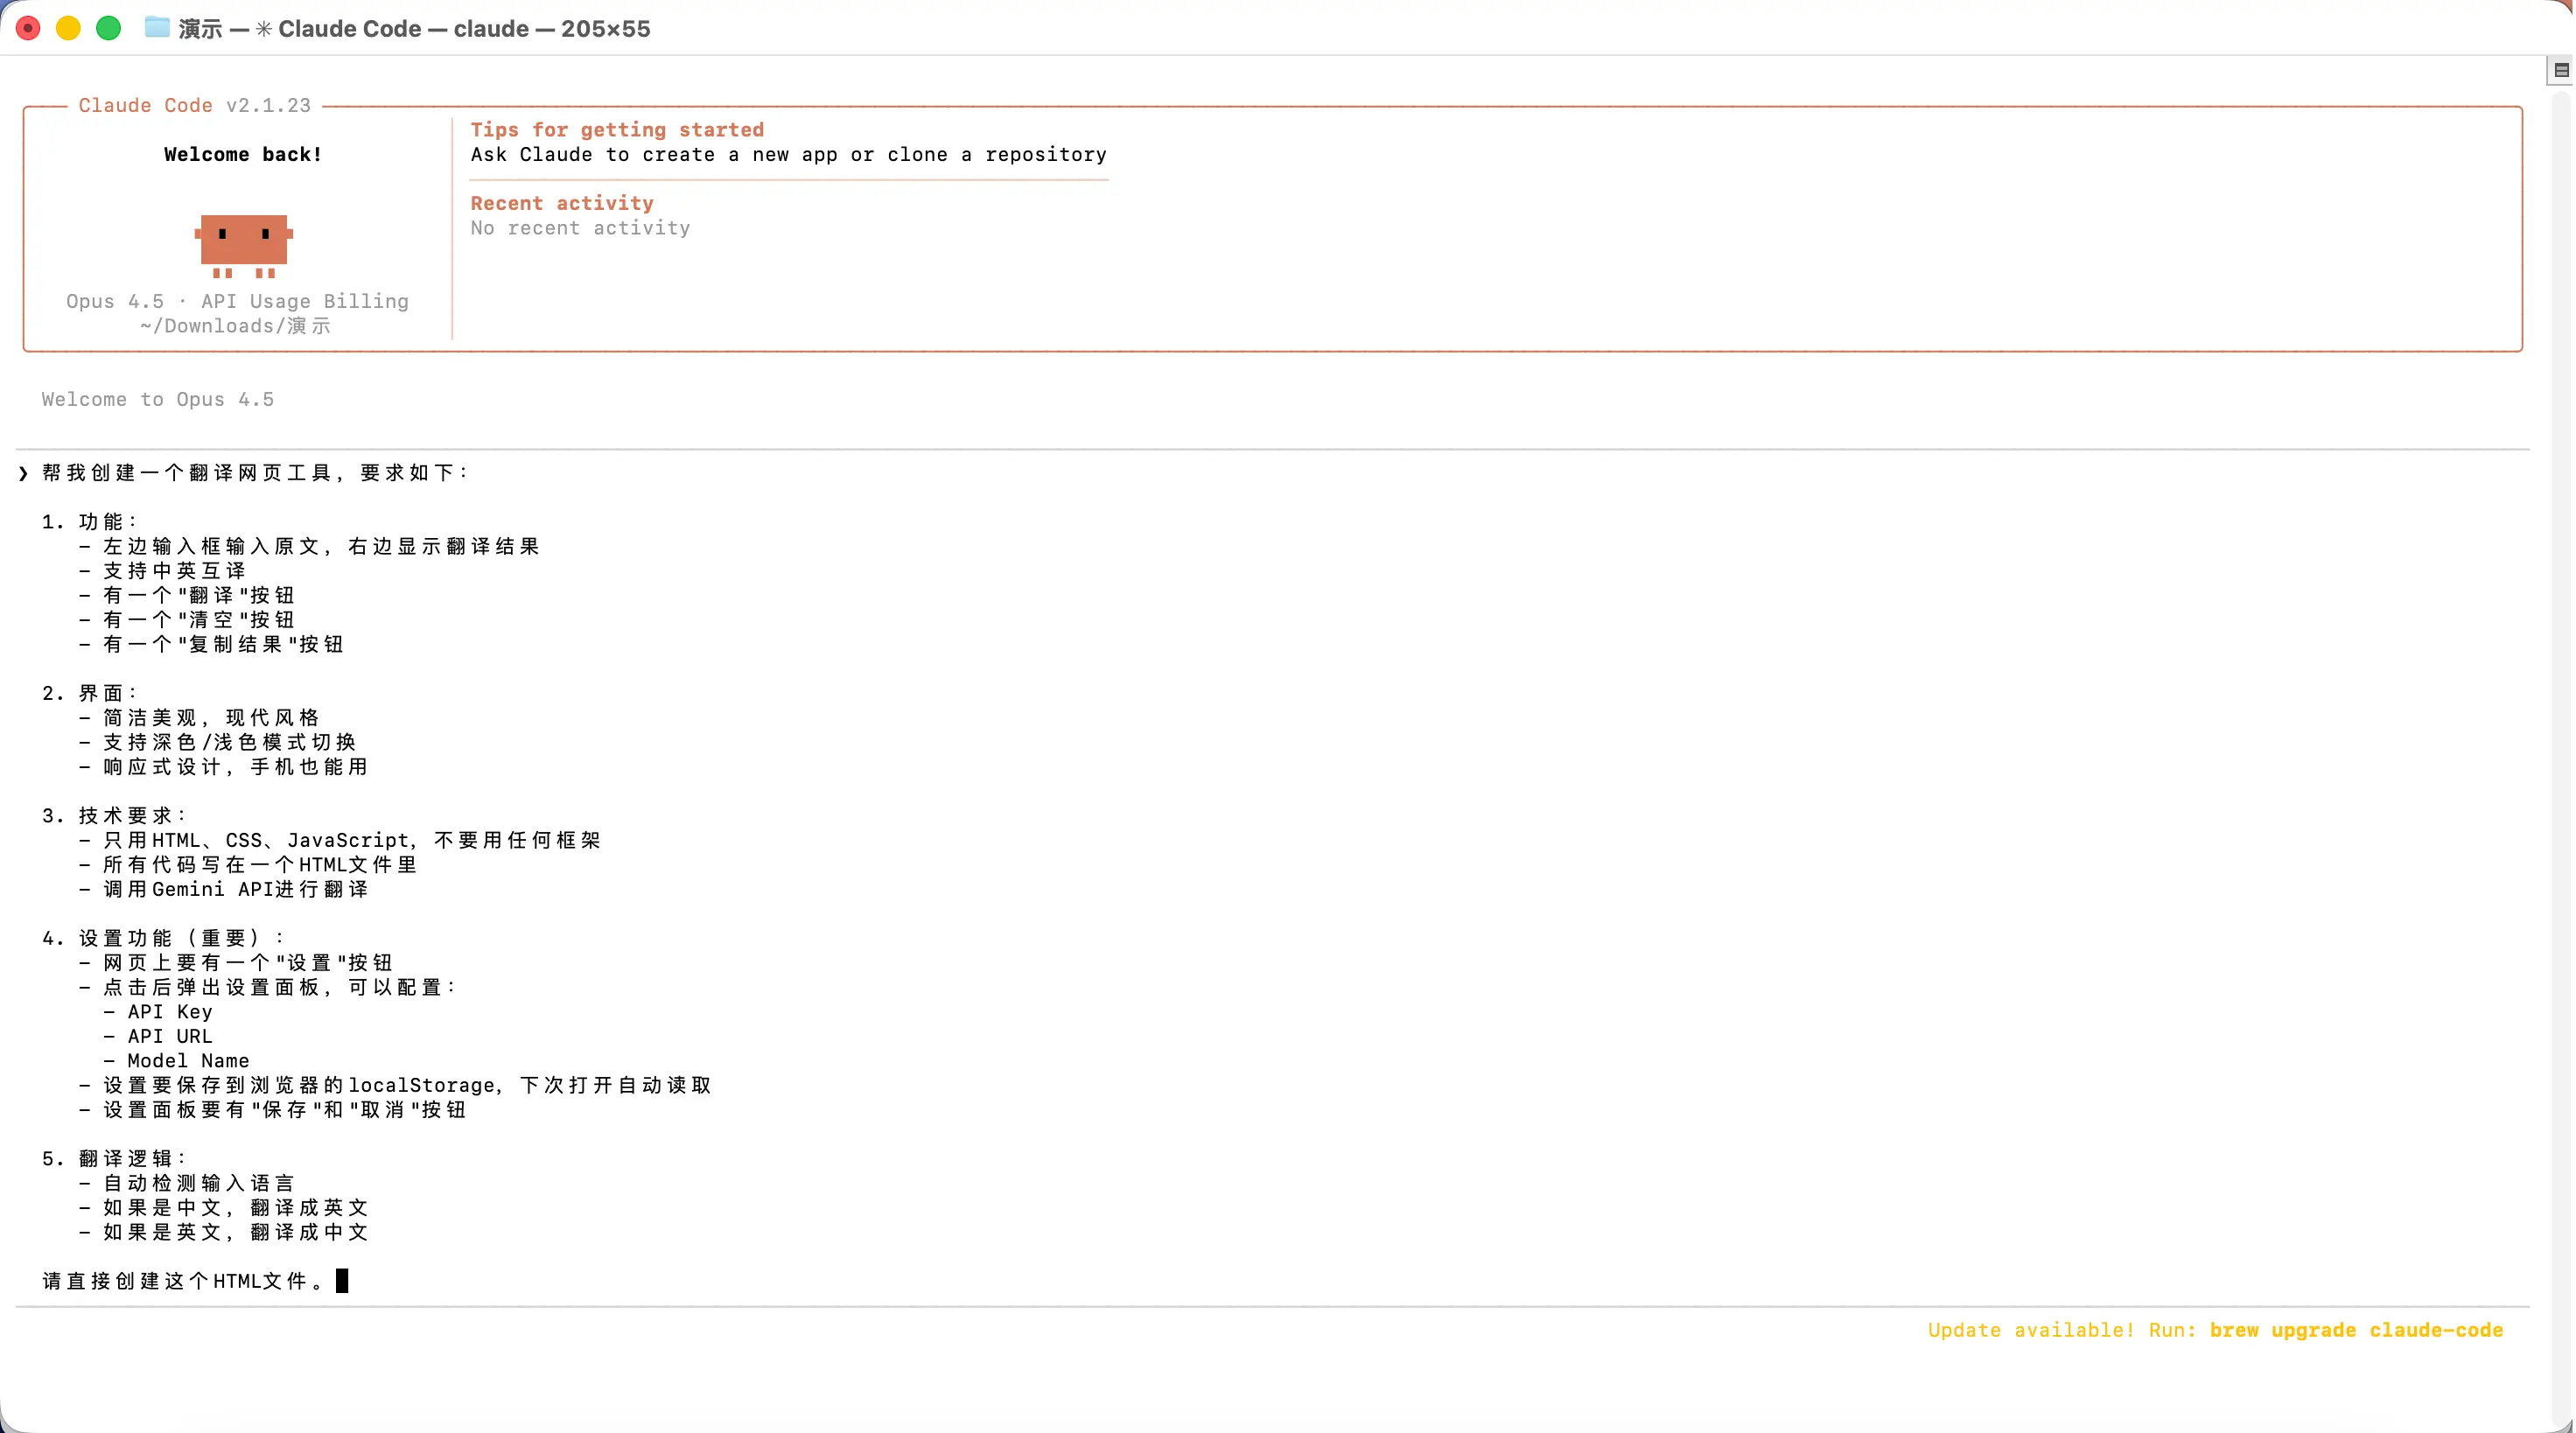
Type the following into Claude Code (feel free to copy it):
Create a translation webpage tool with the following requirements:

1. Features:
   - Left input box for the source text, right side shows the translation result
   - Support Chinese-English translation
   - A "Translate" button
   - A "Clear" button
   - A "Copy Result" button

2. Interface:
   - Clean and modern design
   - Support dark/light mode toggle
   - Responsive design, works on mobile

3. Technical requirements:
   - Use only HTML, CSS, JavaScript, no frameworks
   - All code in a single HTML file
   - Call the Gemini API for translation

4. Settings (important):
   - A "Settings" button on the page
   - Clicking it opens a settings panel where you can configure:
     - API Key
     - API URL
     - Model Name
   - Save settings to the browser's localStorage, auto-load next time
   - The settings panel should have "Save" and "Cancel" buttons

5. Translation logic:
   - Auto-detect the input language
   - If Chinese, translate to English
   - If English, translate to Chinese

Please create this HTML file directly.
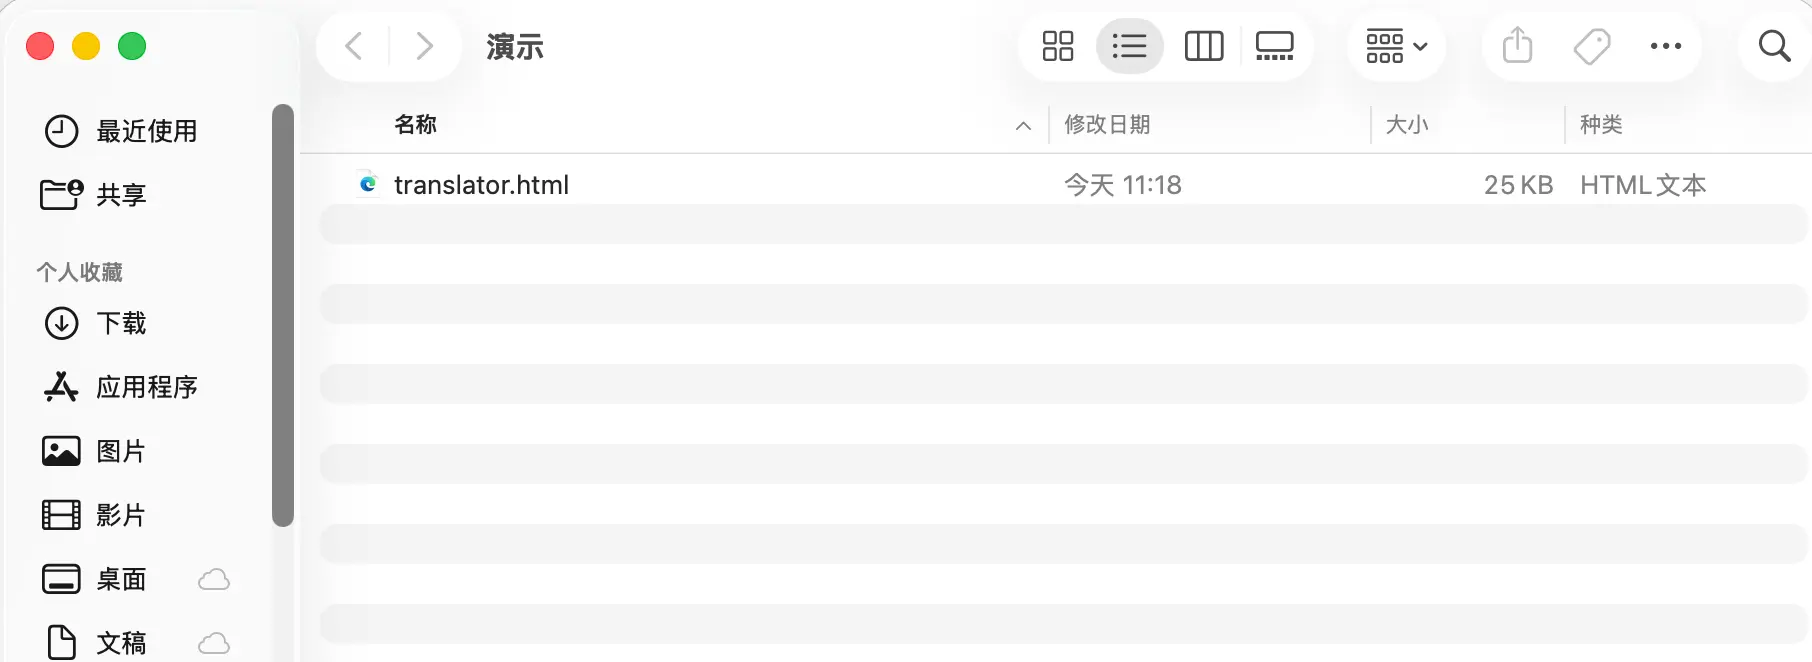
Step 4: Wait for Claude to Finish
Claude will automatically:
- Create the HTML file
- Write all the code
- Tell you where the file is
- After execution, it will ask if you agree to create the file – choose 1 or 2

Step 5: Run and Configure the API
- Double-click the generated HTML file to open it in your browser
- Click the “Settings” button on the page (usually a gear icon)
- In the settings panel that appears, fill in:
- API Key: The API key you obtained from AI Studio
- API URL:
https://generativelanguage.googleapis.com/v1beta - Model Name:
gemini-3-flash-preview
- Click “Save”
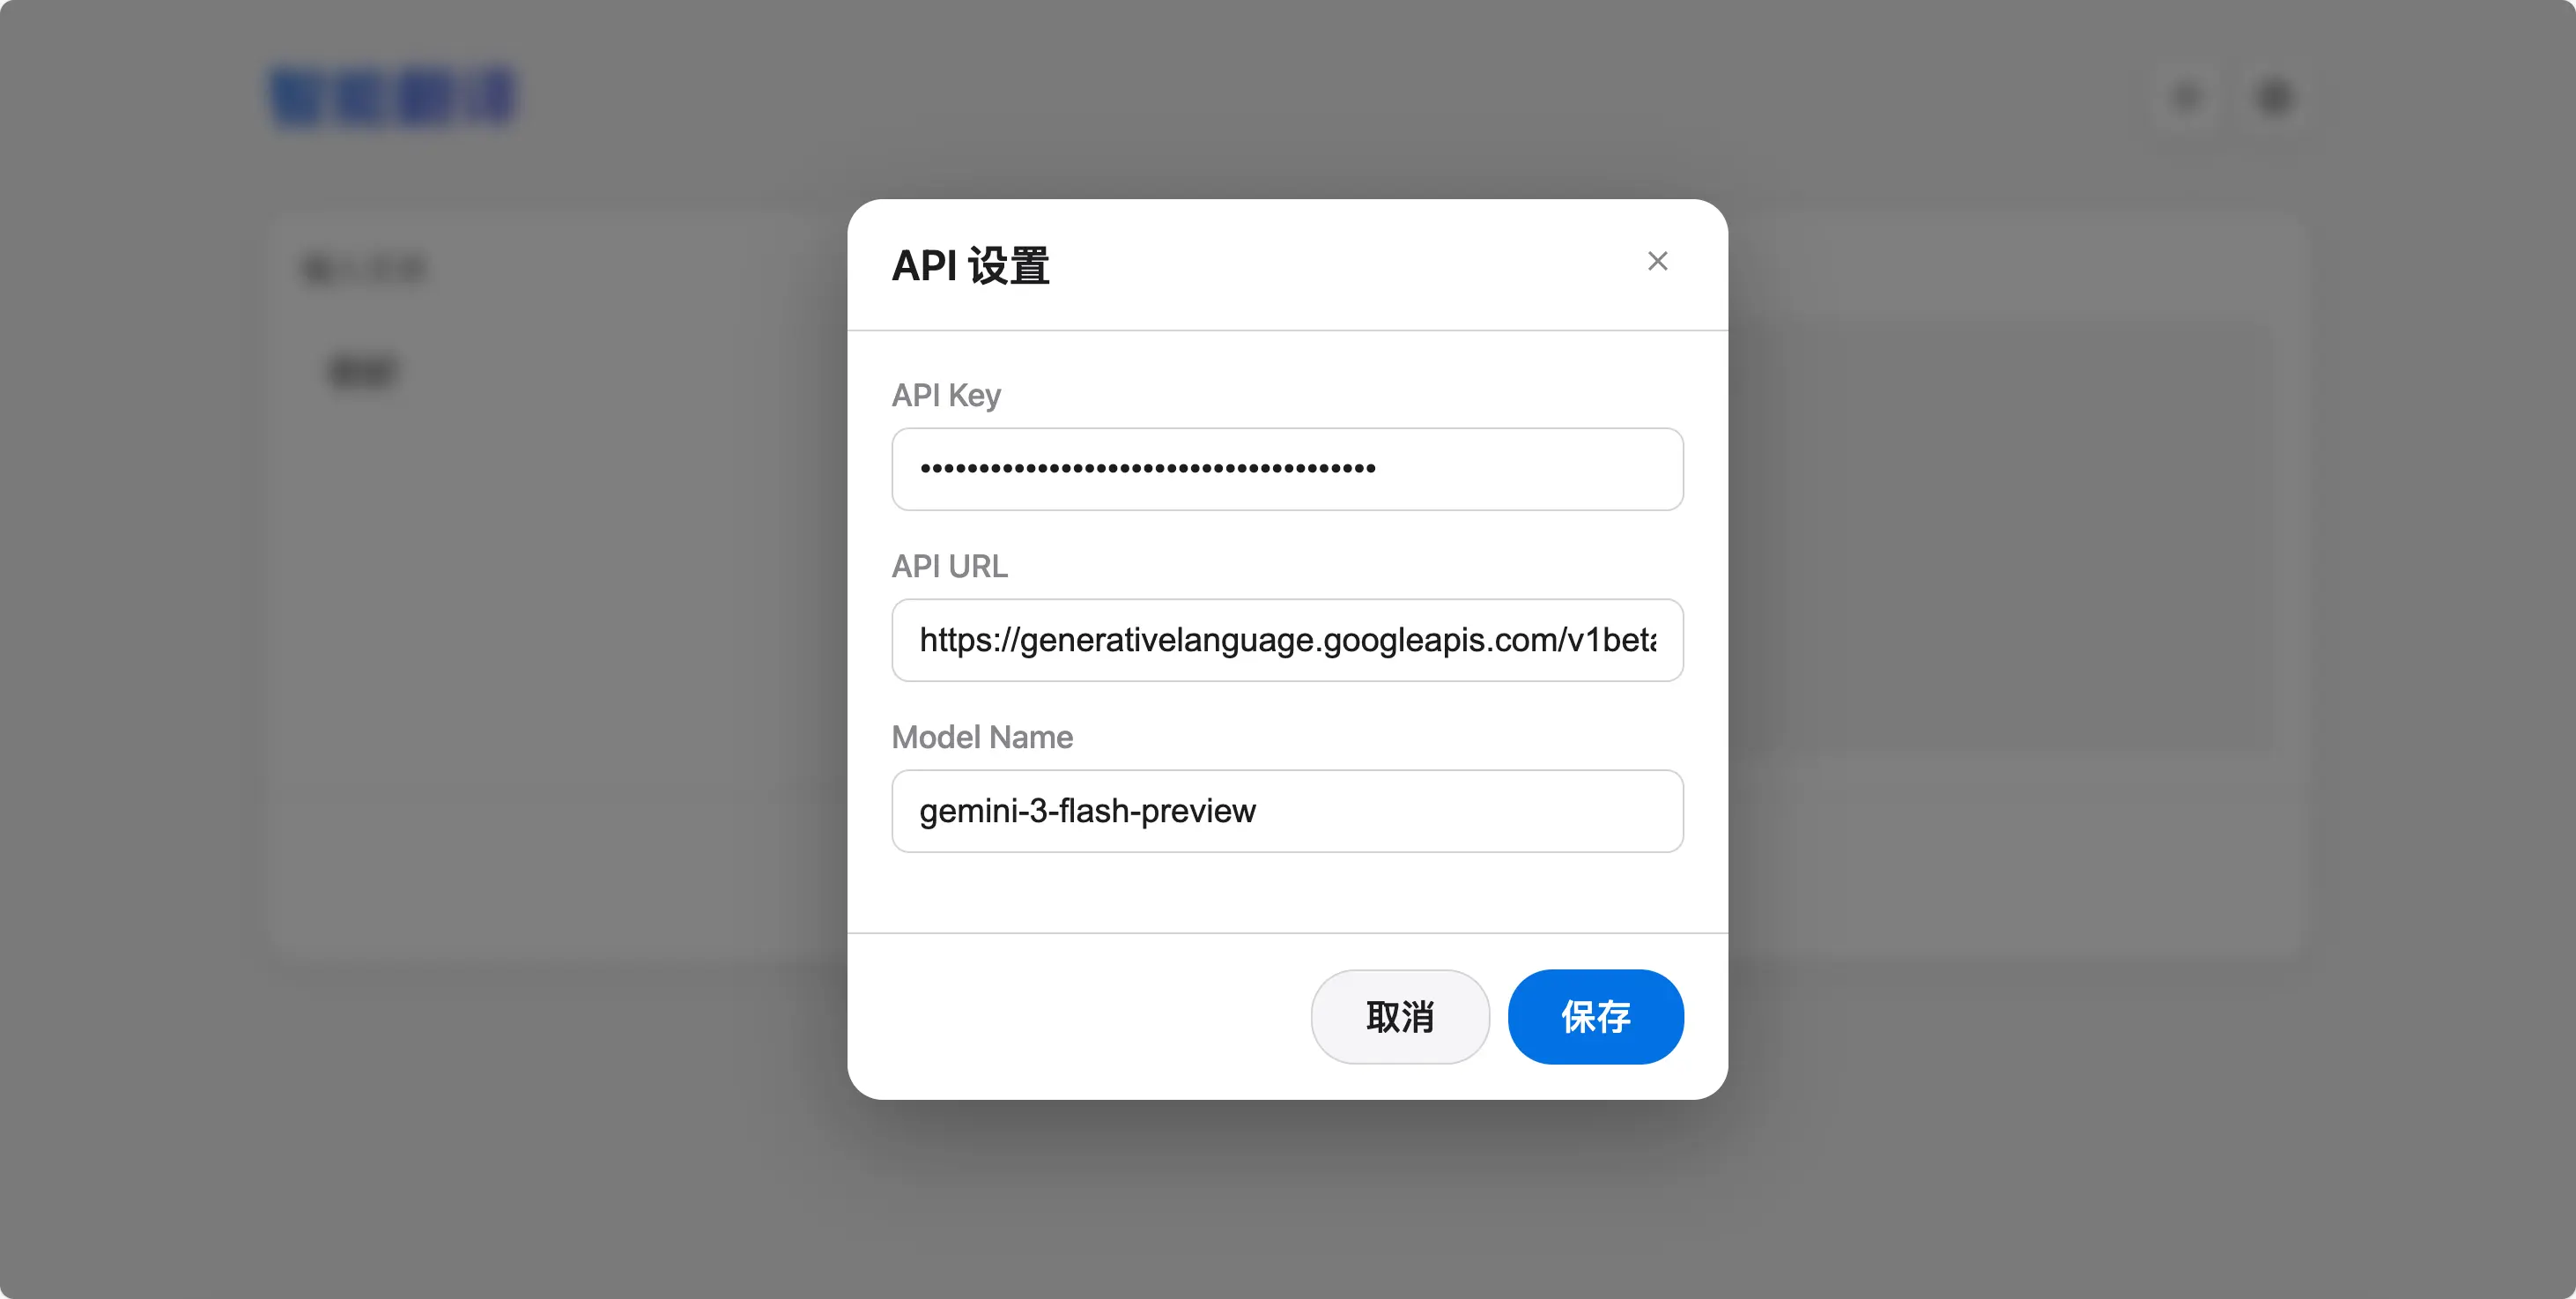 The settings are automatically saved to the browser, so you don’t need to re-enter them next time.
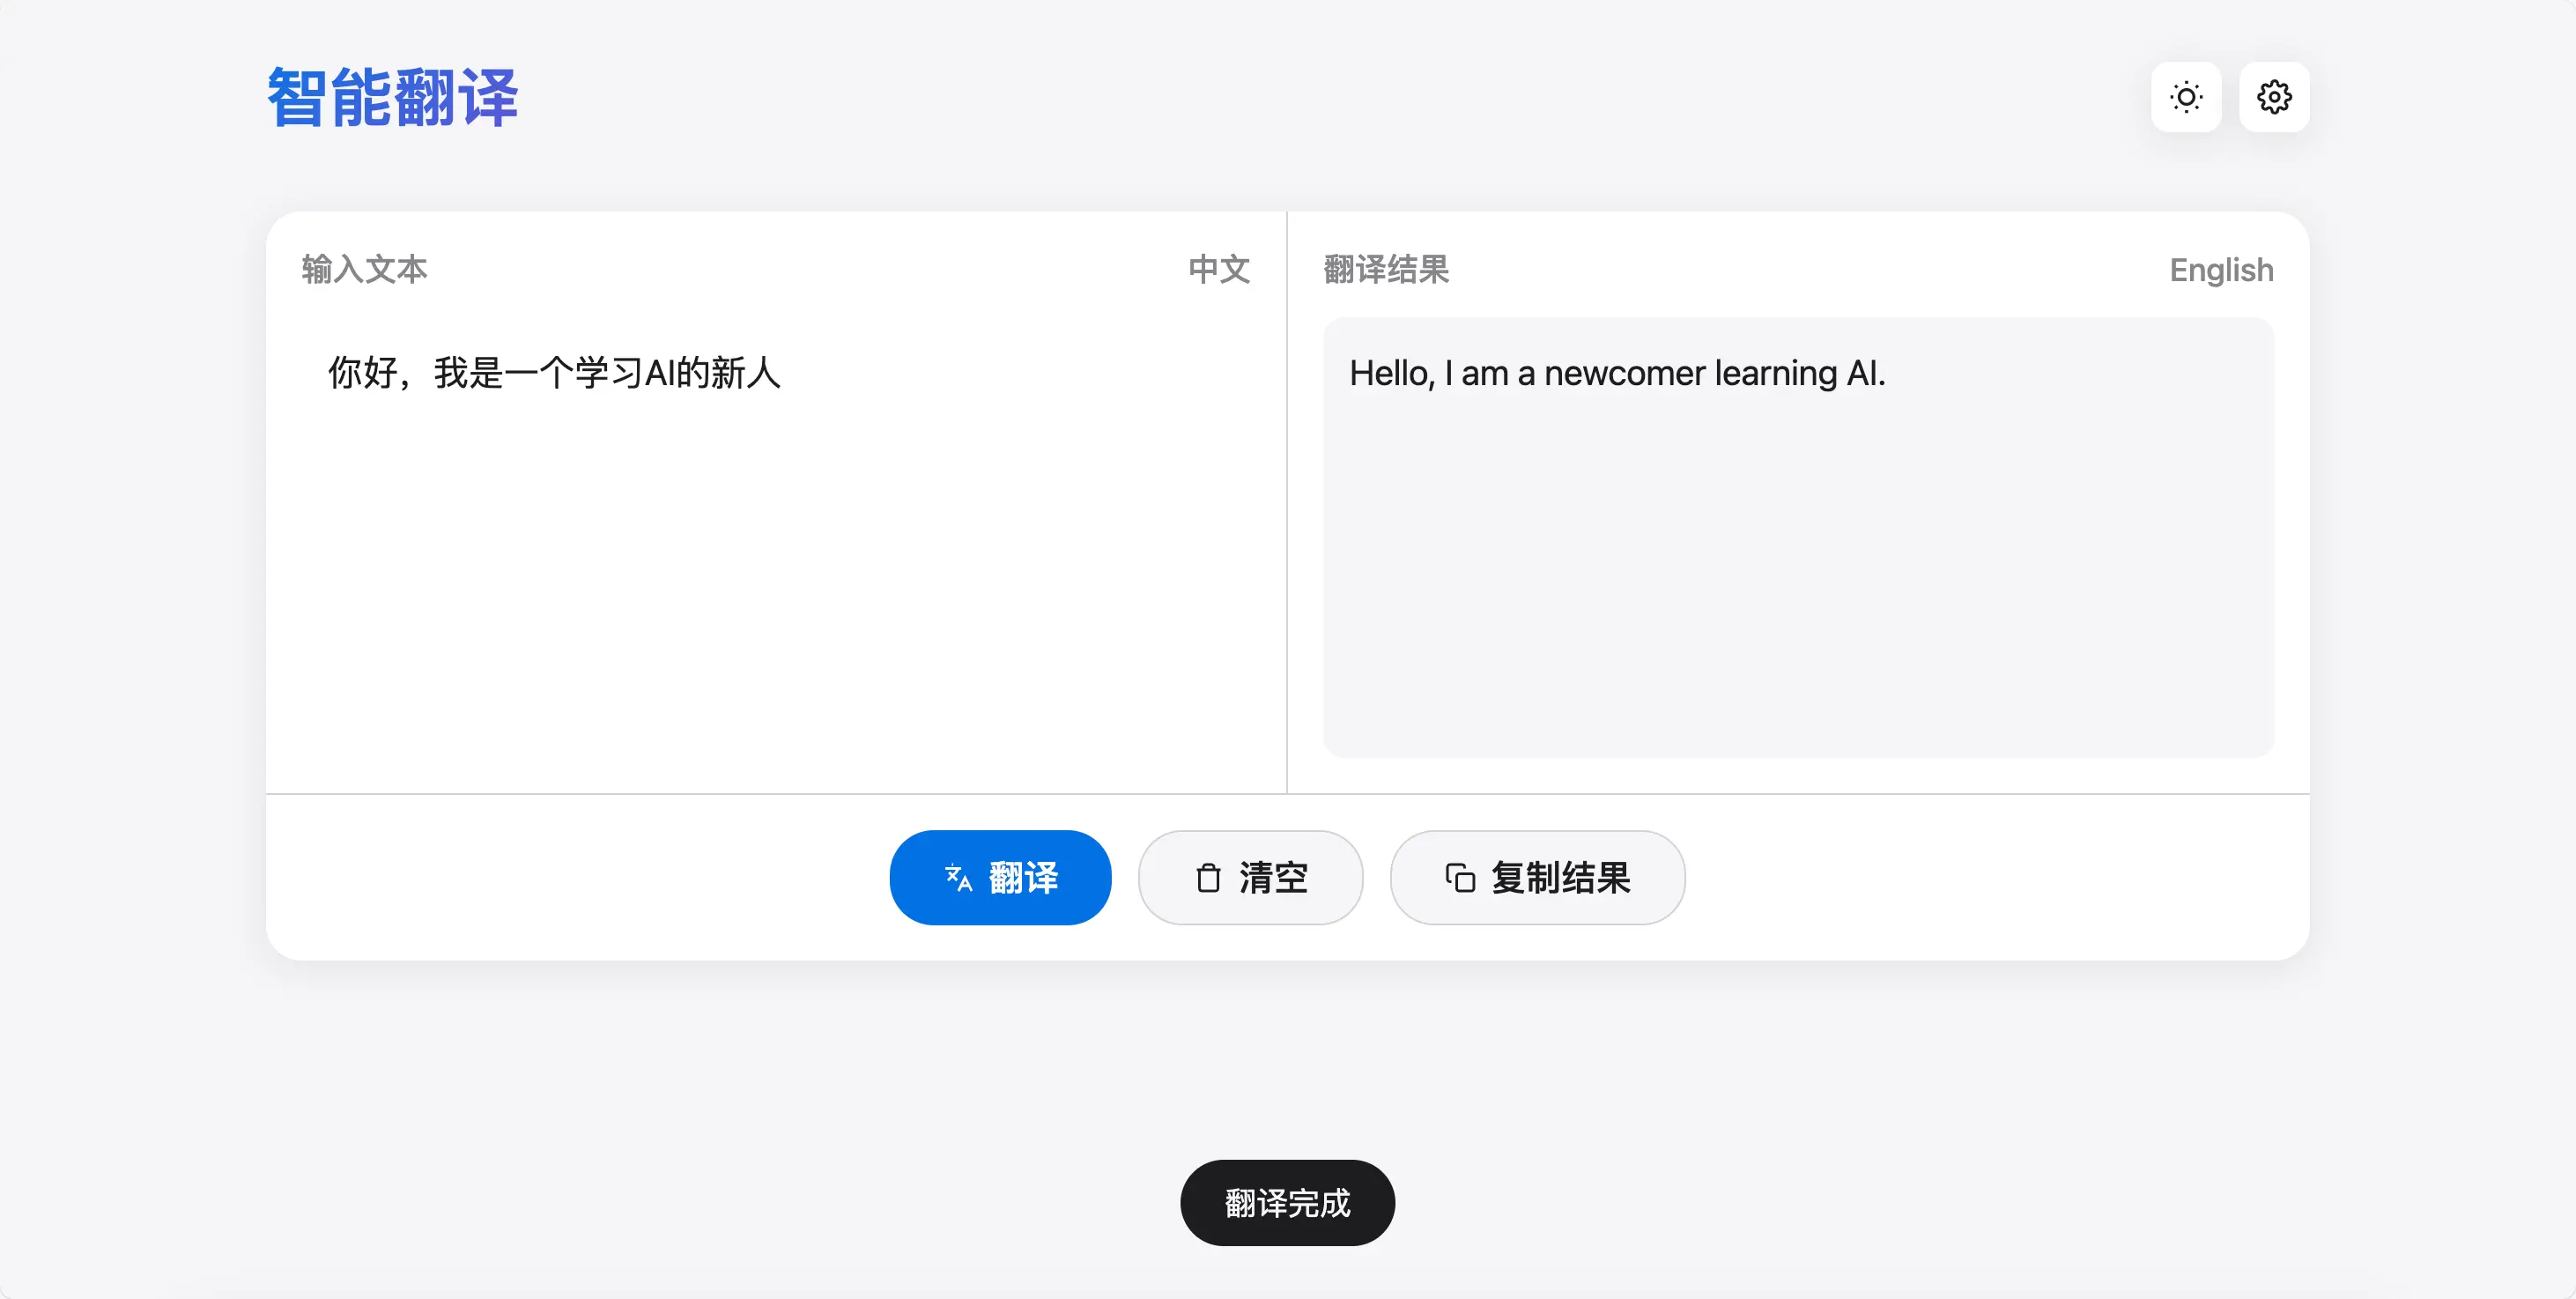
Step 6: Start Using It
Now you can:
- Type Chinese or English in the left input box
- Click the “Translate” button
- The translation result will appear on the right
- Click “Copy Result” to copy the translated text
Summary
What you learned today:
- Why use the terminal instead of an IDE: For people who don’t know code, the terminal is simpler and more direct
- How to open a project in the terminal: Right-click, drag and drop, or use the
cdcommand - What is Claude Code: An AI programming assistant in the terminal that can directly manipulate files
- How to install and configure it: Install via npm, supports official membership or third-party APIs
- Common commands:
resumeto continue conversations,CLAUDE.mdfor project descriptions - Hands-on practice: Let Claude build a translation webpage for you
Core idea: You don’t need to know how to write code – you only need to know how to describe what you want.