This chapter discusses the Codex desktop app from OpenAI. It sits in the middle ground between Codex CLI (terminal) and Cursor / VS Code (IDE).
You may have used Codex CLI in the terminal—it’s powerful, but the text‑only interface isn’t very beginner‑friendly. On the other hand, IDEs like Cursor and VS Code pack so many features that the screen full of code panels can be overwhelming.
Codex APP is the middle ground between the terminal and the IDE. It adds visuals compared to the terminal, and removes the confusing code details compared to the IDE.
What is Codex APP?
In a nutshell: Codex APP = the GUI version of Codex CLI.
It’s still the same Codex, just with a different “shell.” The CLI works by typing in a terminal; the APP works by clicking in a desktop window. The underlying capabilities are identical, and they share the same configuration file ~/.codex/config.toml.
Current limitations:
- Only supports macOS (Apple Silicon) – that’s M1 and later Macs
- Windows and Linux versions are still in development
Download: Get the DMG installer from the OpenAI website and install it directly.
Login methods:
| Login Method | Description |
|---|---|
| ChatGPT account | Requires Plus/Pro/Business/Enterprise/Edu subscription. Full functionality, including cloud threads and model switching. |
| API Key | Limited functionality. No cloud threads. Models must be specified manually in config.toml. |
Interface Features
Codex APP currently has no Chinese interface, so here’s a translation of each feature to help you find the corresponding buttons.
New Thread
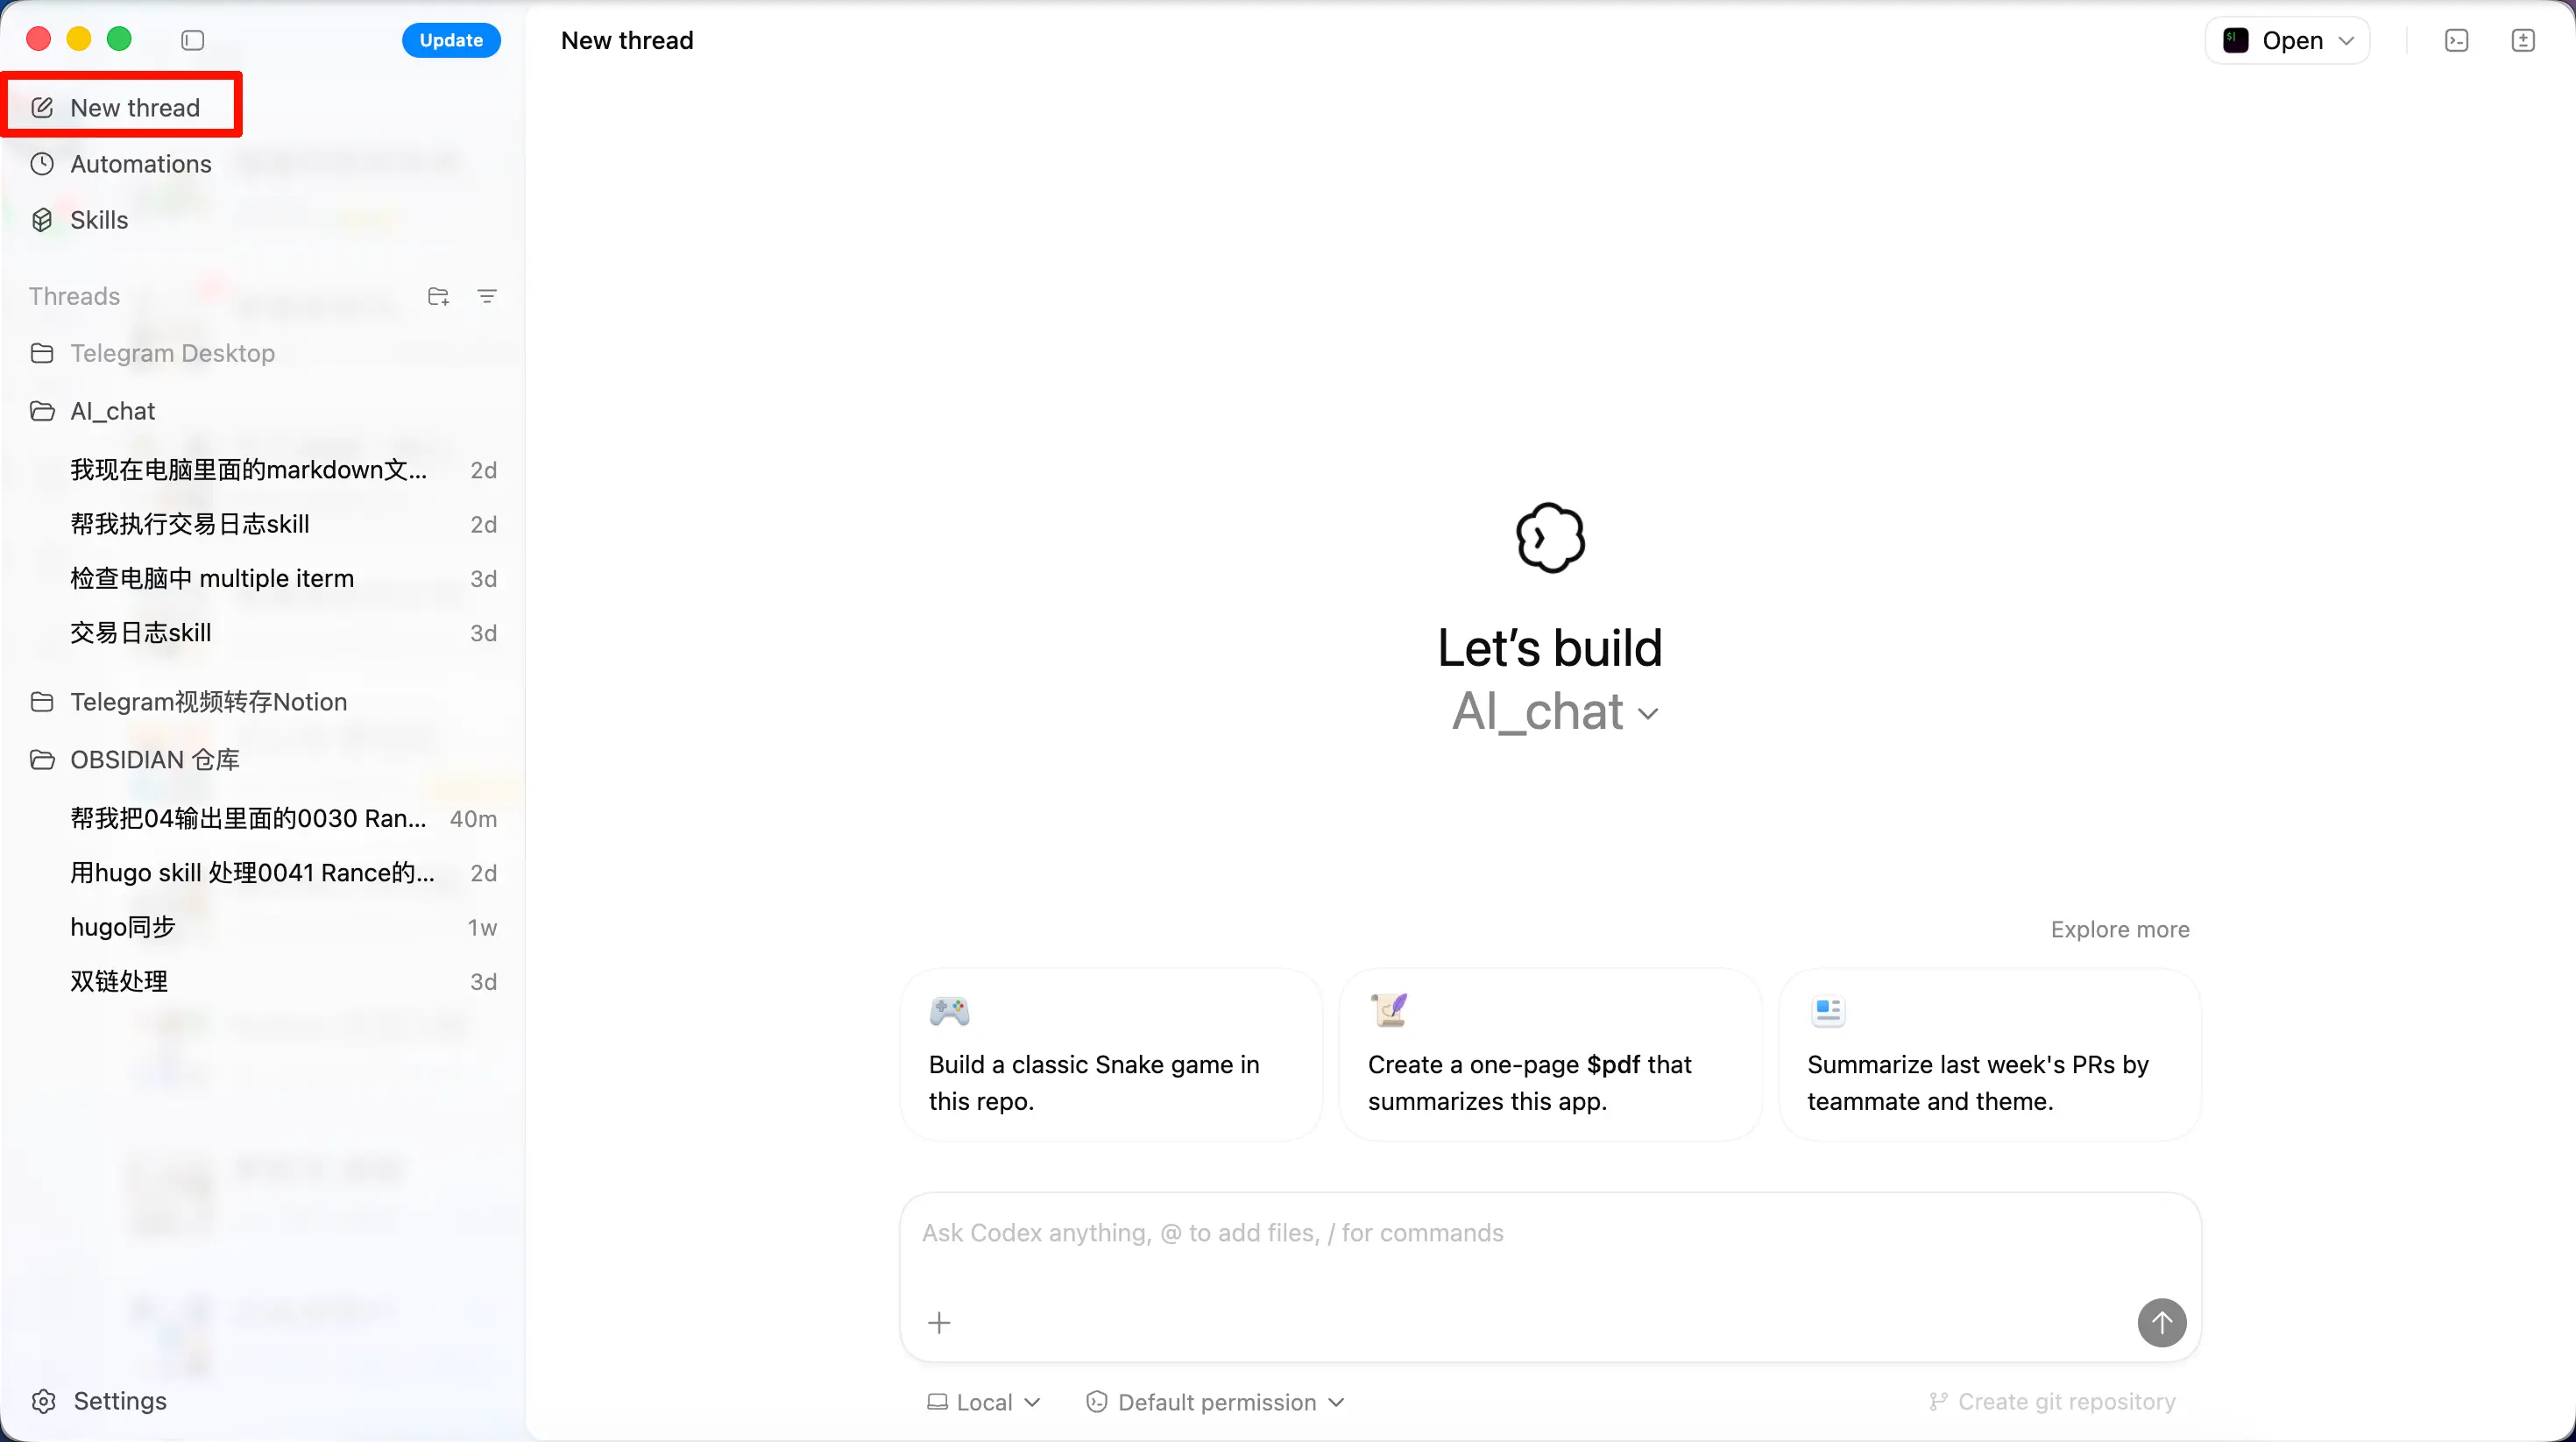
Creates a new AI task conversation. When creating, you can choose from three modes:
- Local – Works directly in your project folder
- Worktree – Works in an isolated Git worktree without affecting the main branch
- Cloud – Executes in a remote cloud environment (requires ChatGPT account login)
Beginners should start with Local mode – it’s the simplest and most straightforward.
Skills
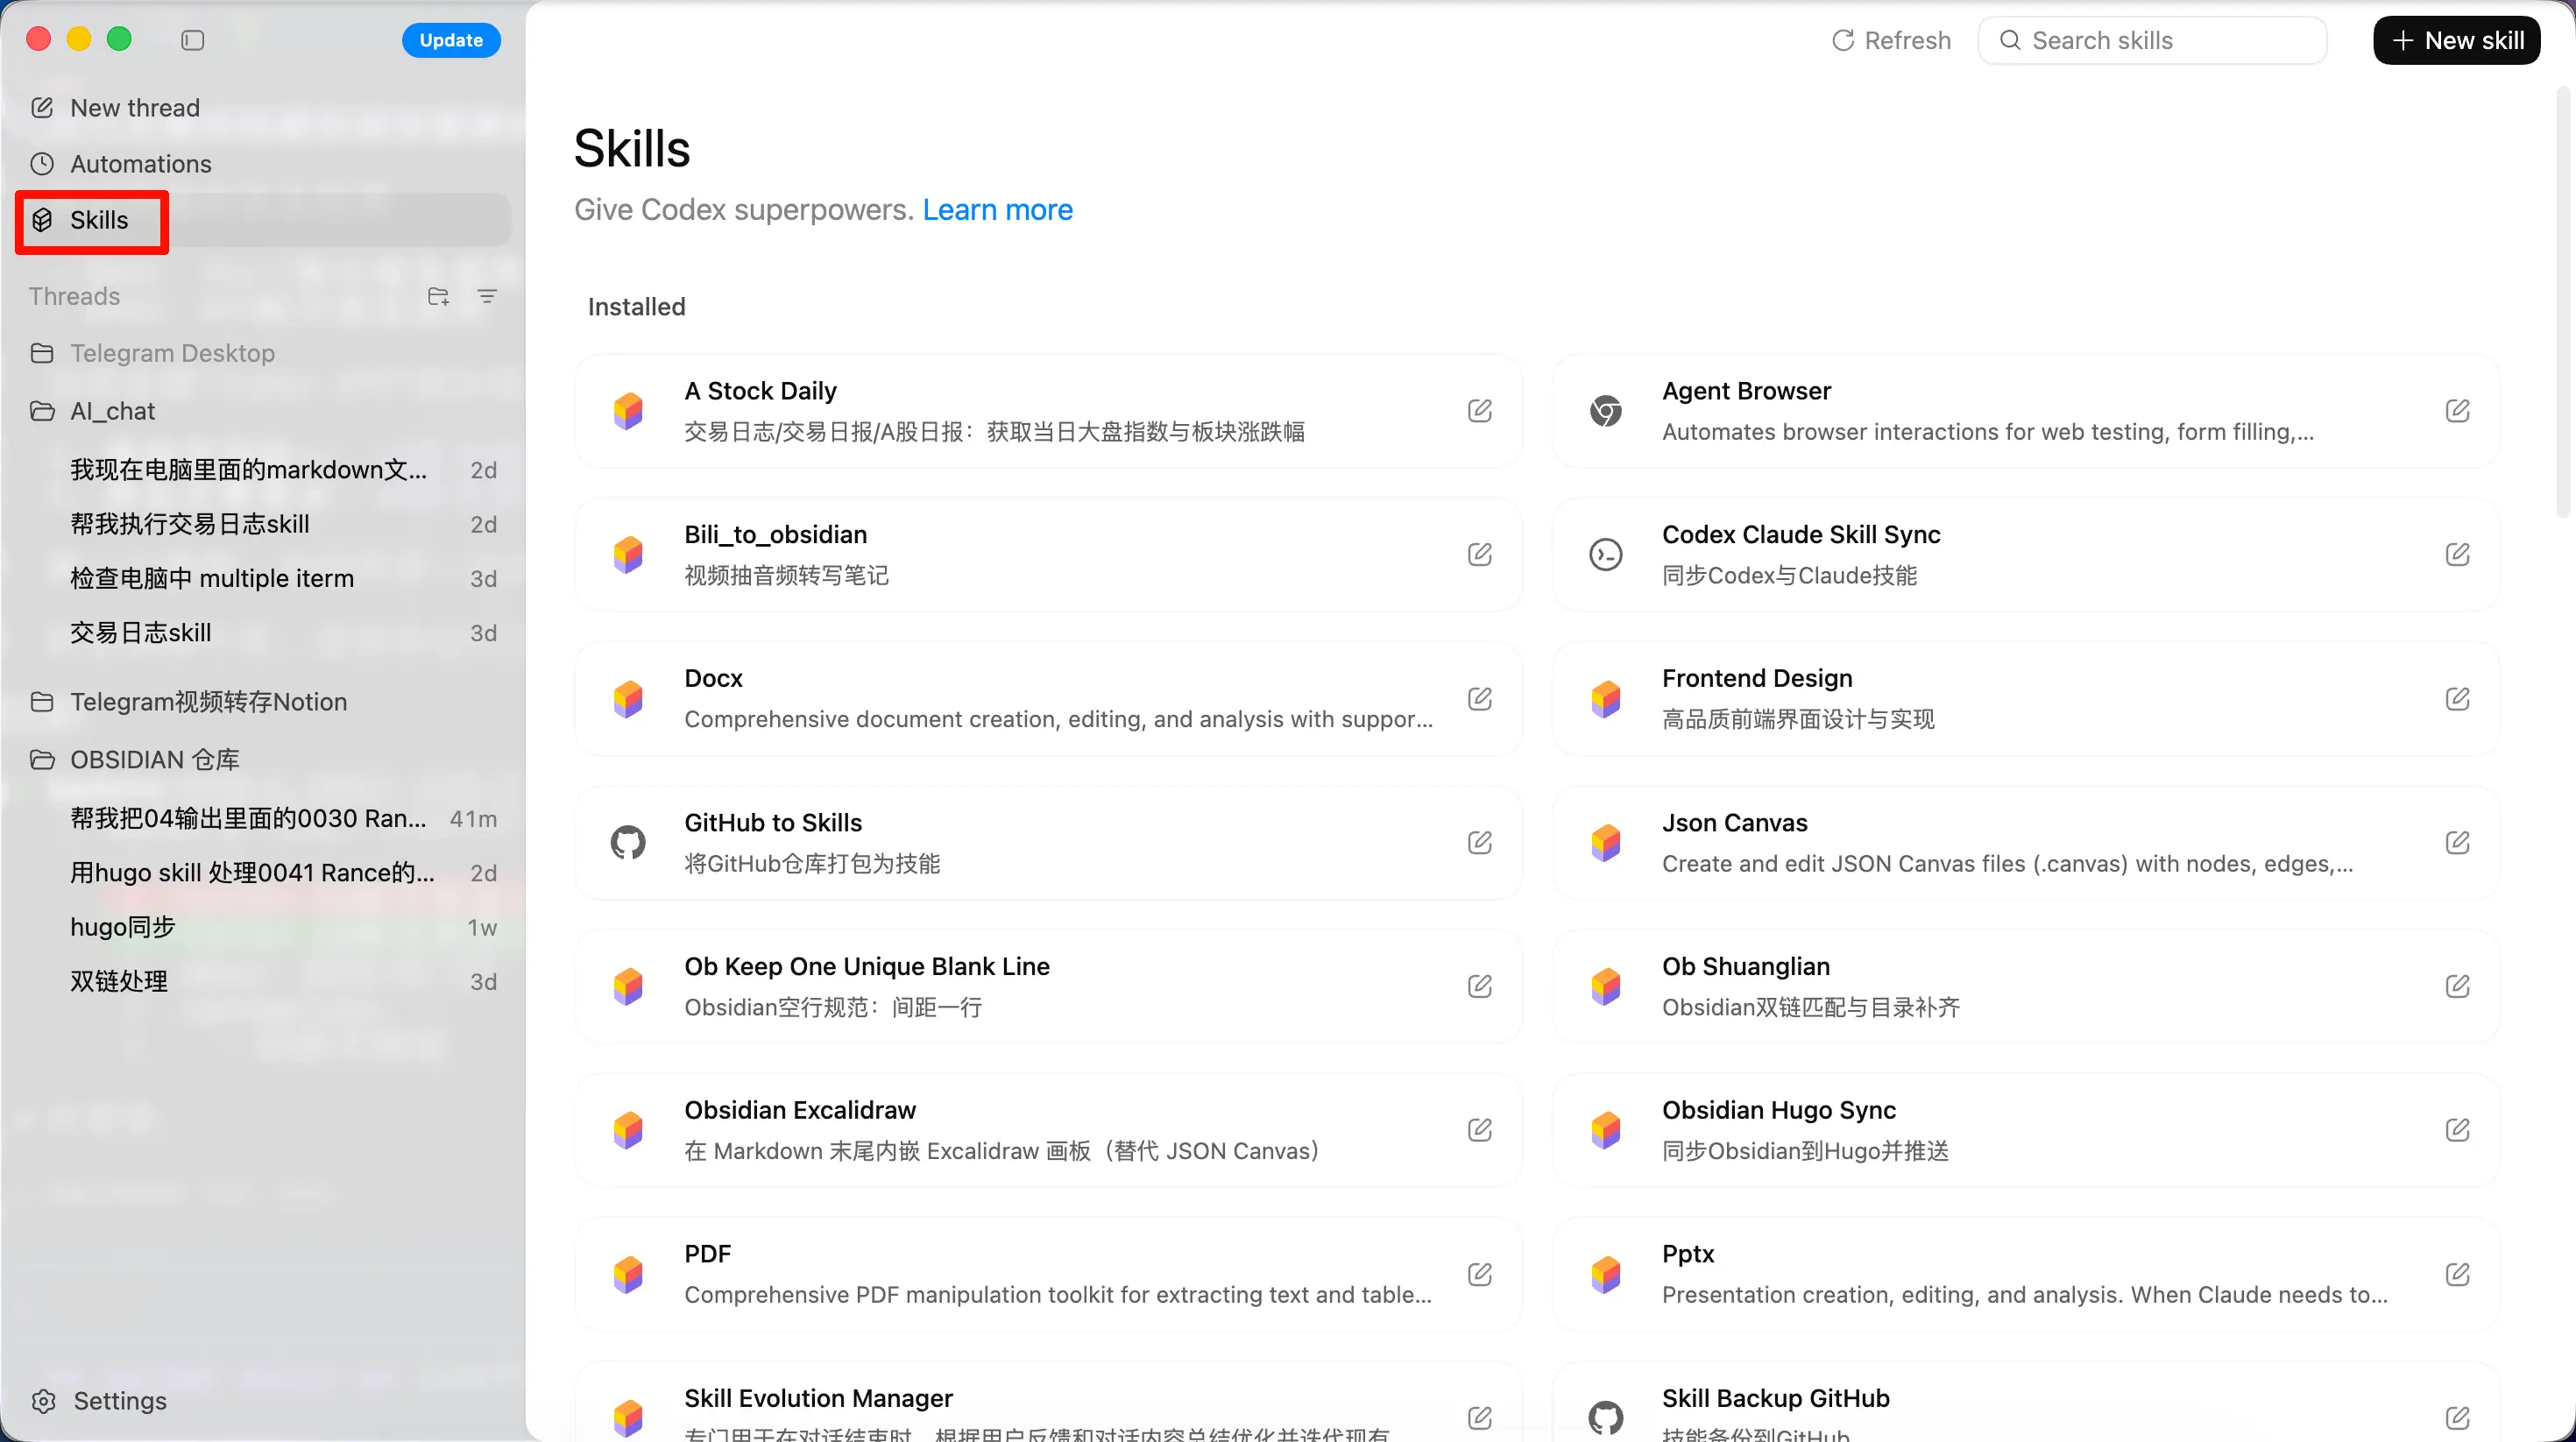
This is the same Skill system used in Codex CLI. Here you can view and manage all available Skills, and invoke them in a conversation with /skill-name.
Skills are shared between the APP and CLI – any Skill you create in the CLI is immediately available in the APP.
Automations
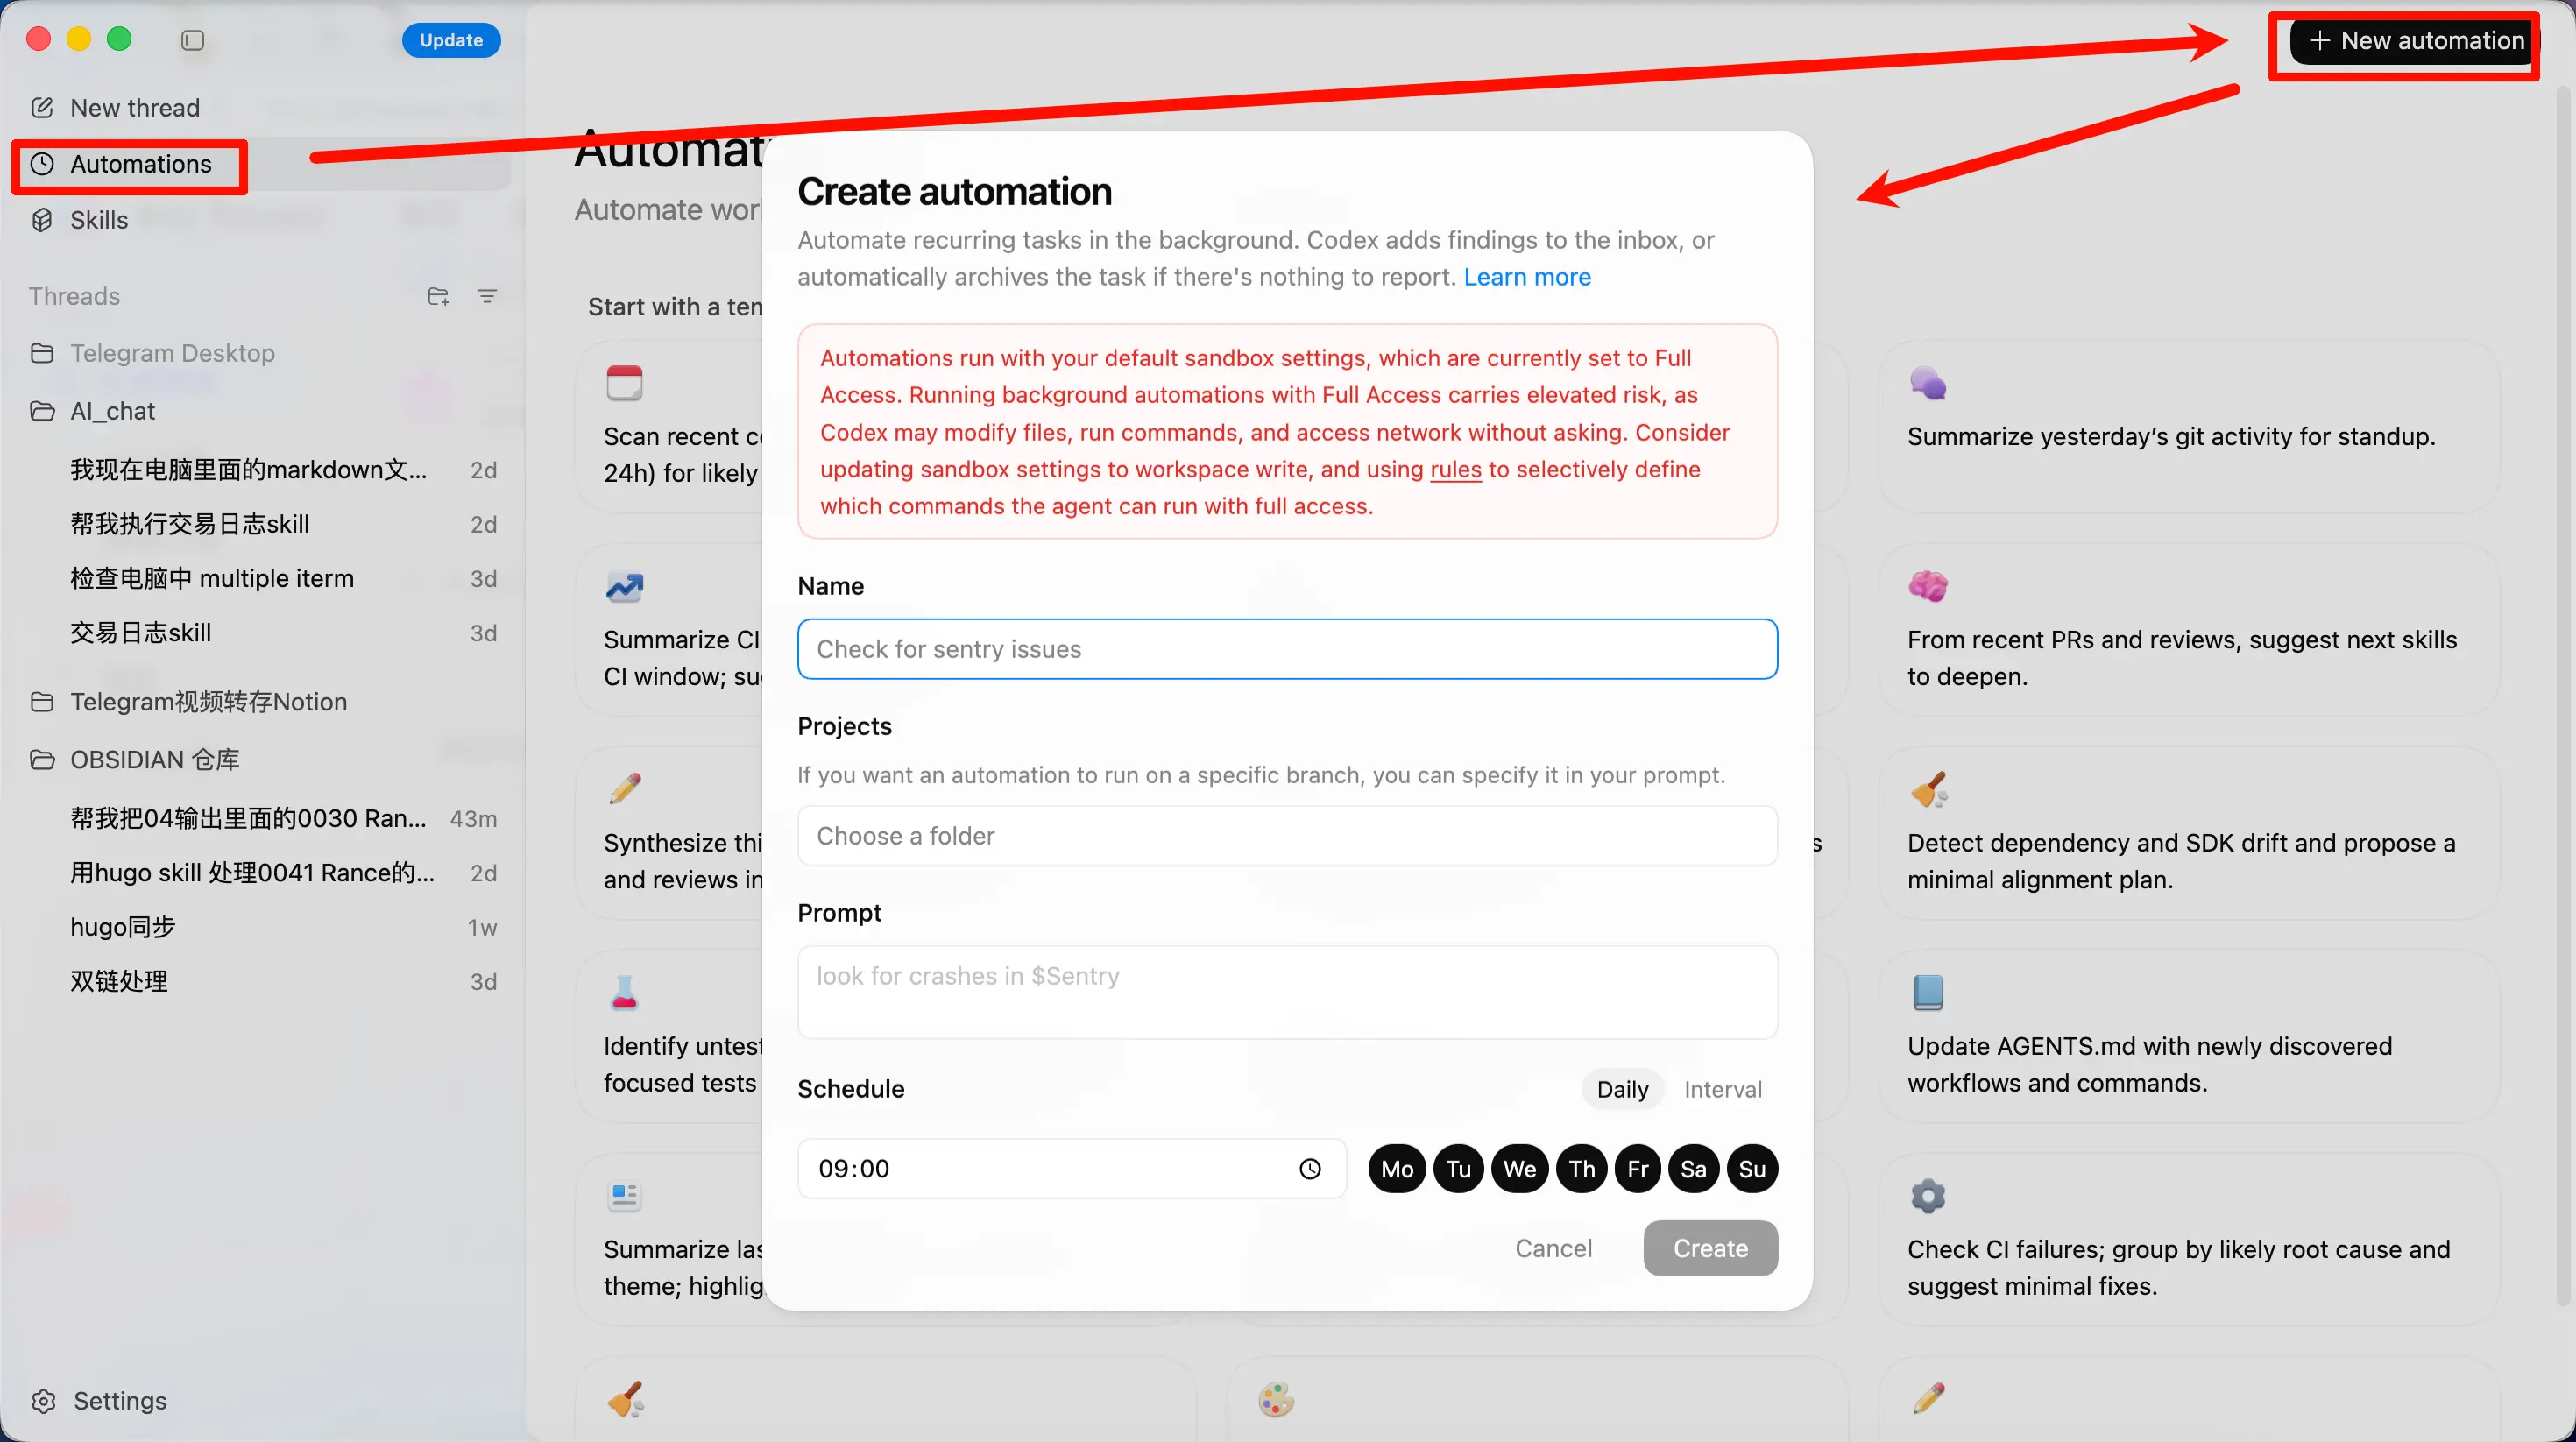
This feature is exclusive to the APP – you won’t find it in the CLI.
Think of it as setting an alarm clock for the AI.
You tell the AI: “Do this task for me every morning at 9 AM,” and it will execute on schedule, placing the results in your inbox for review.
How it works:
- Set the execution frequency (e.g., daily, weekly)
- Write the instruction (tell the AI what to do)
- Optionally bind a Skill (using the
$skill-namesyntax) - The AI runs on time and the result goes into a review queue
Common use cases:
- Daily scan of recent commits to check for bugs
- Weekly code change report
- Periodic check for dependency security vulnerabilities
- Auto‑summarize the cause of CI failures
Note: Automations run locally, so the APP needs to stay open. For Git projects, each automation runs in an independent worktree, so it won’t interfere with your current work.
Configuration
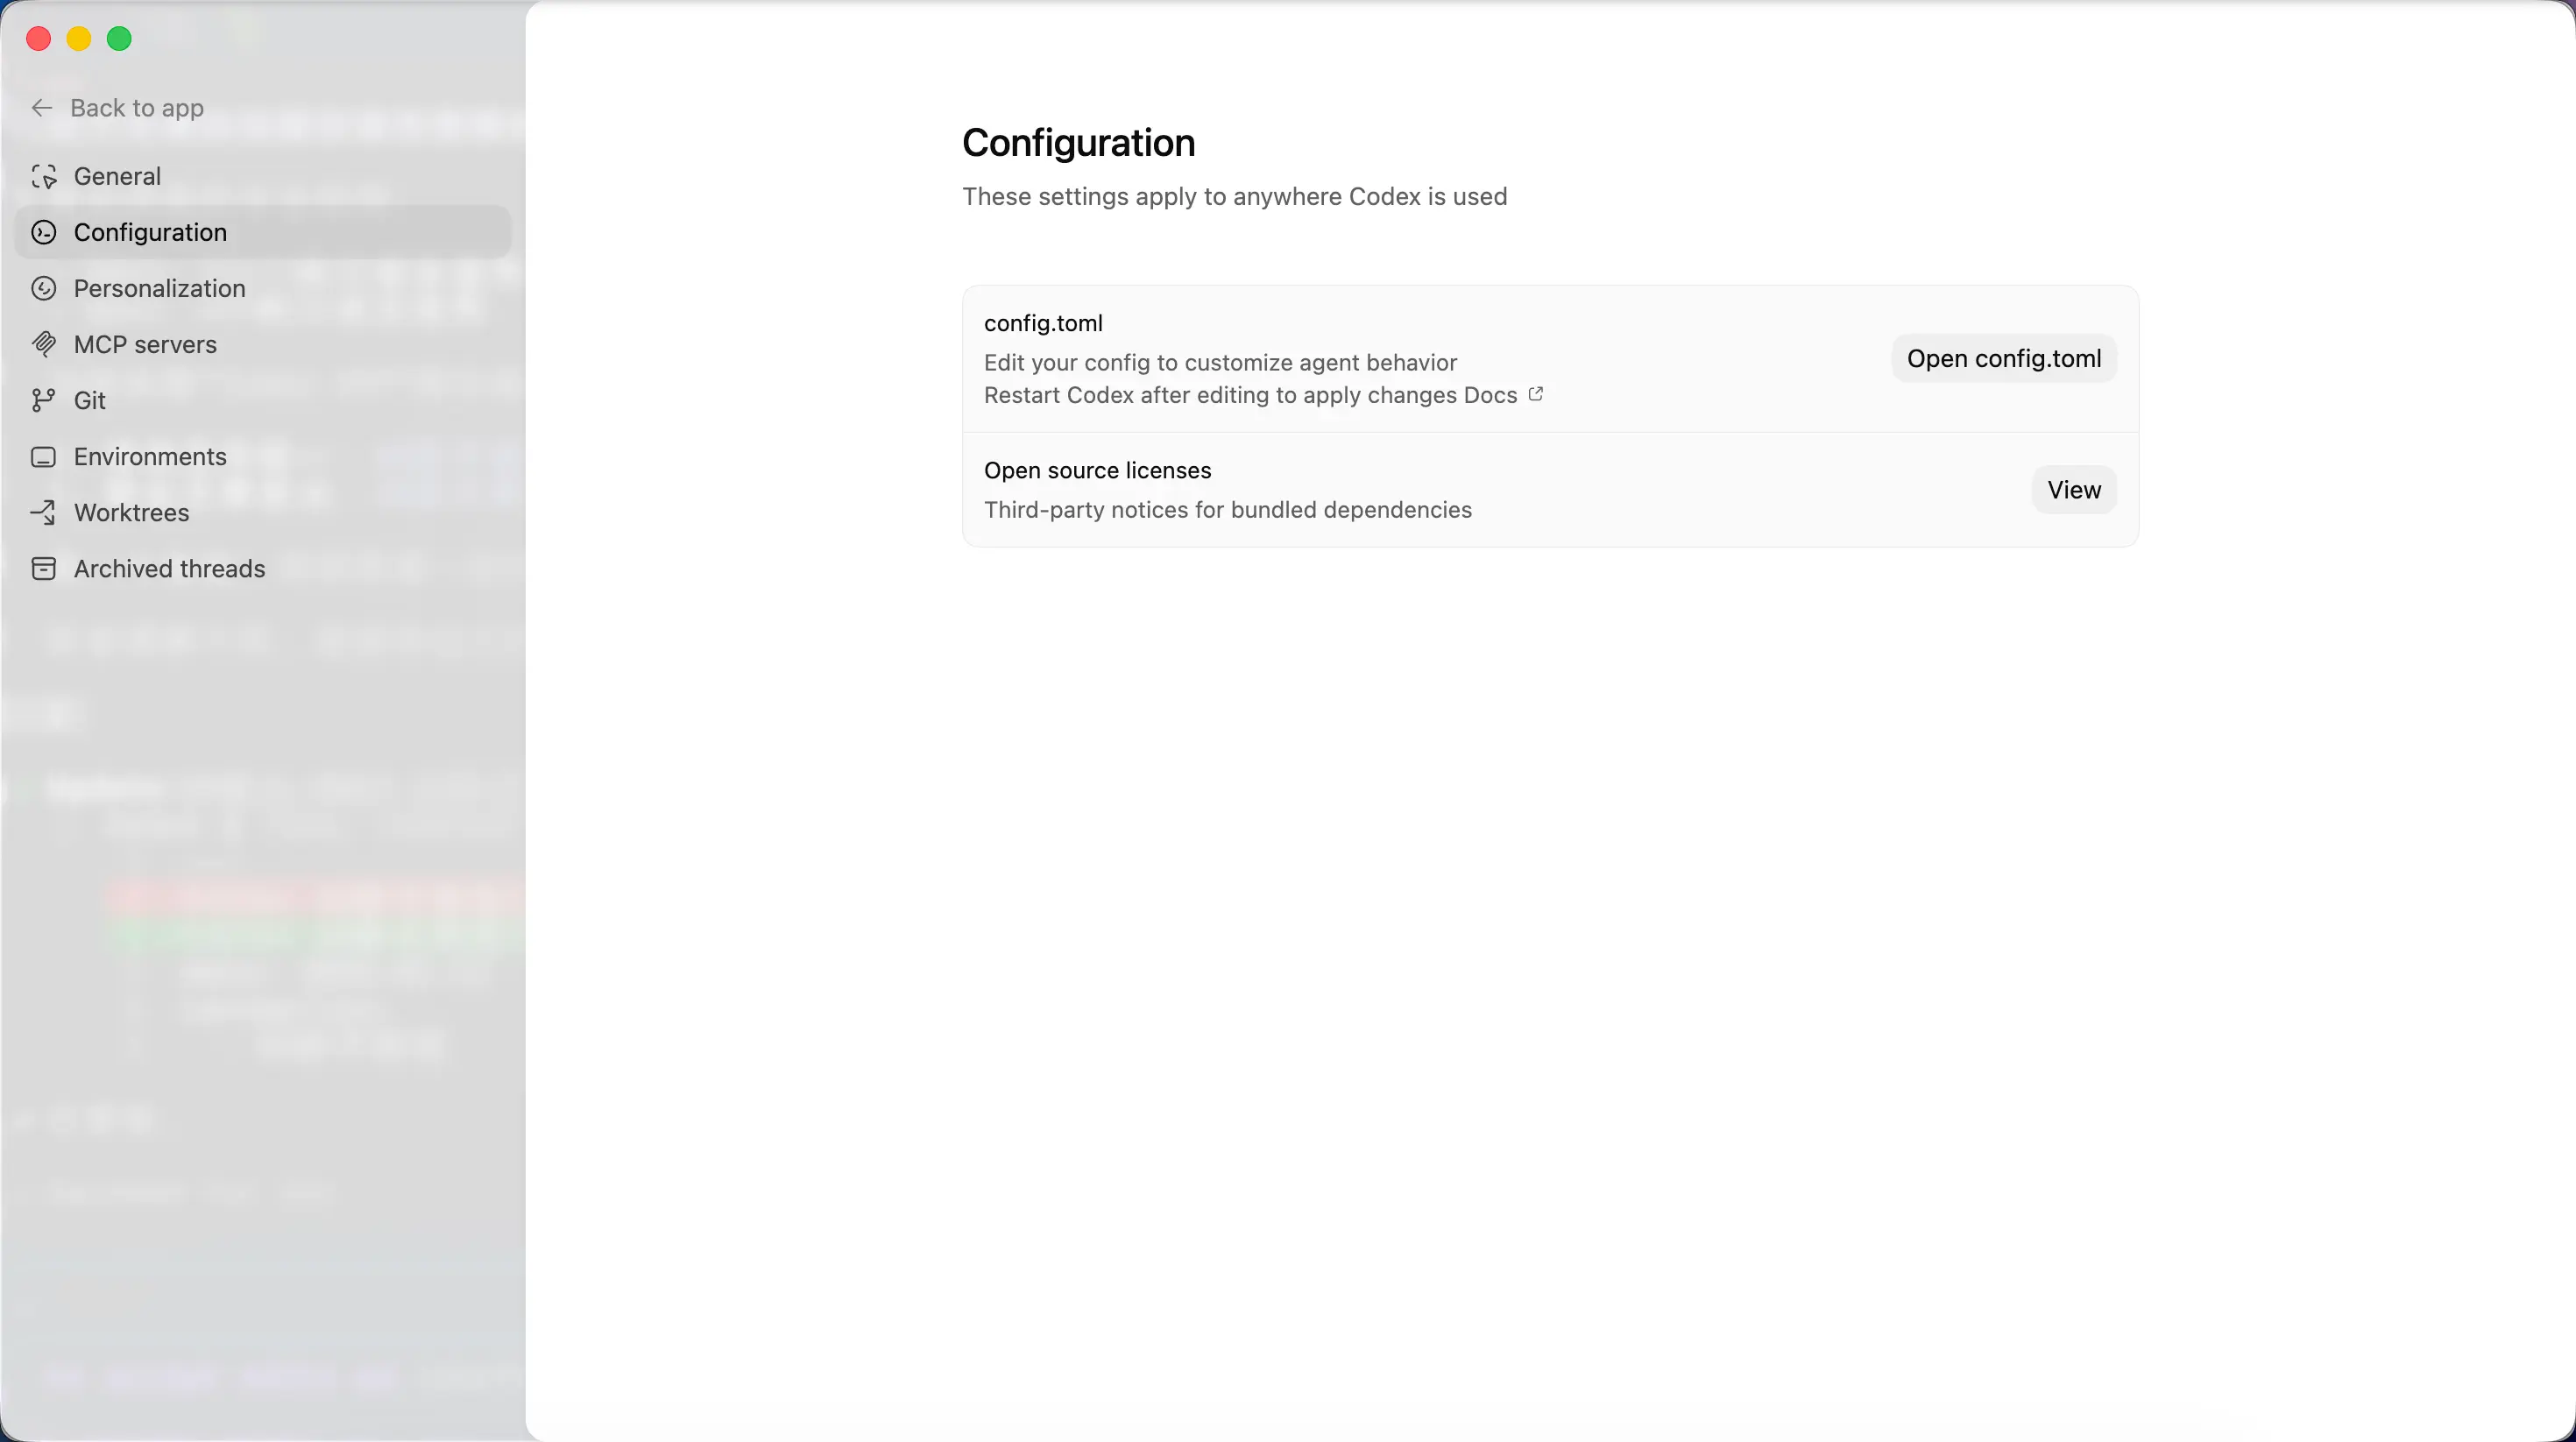
Here you can set:
- Model selection – ChatGPT account users can switch models directly in the interface
- Approval policy – Control how much the AI can do automatically and what requires your manual confirmation
- Sandbox settings – Limit the AI’s permissions (read‑only / workspace write / full access)
These settings are shared with the same config.toml used by the CLI – changes in one place take effect in the other.
Personalization
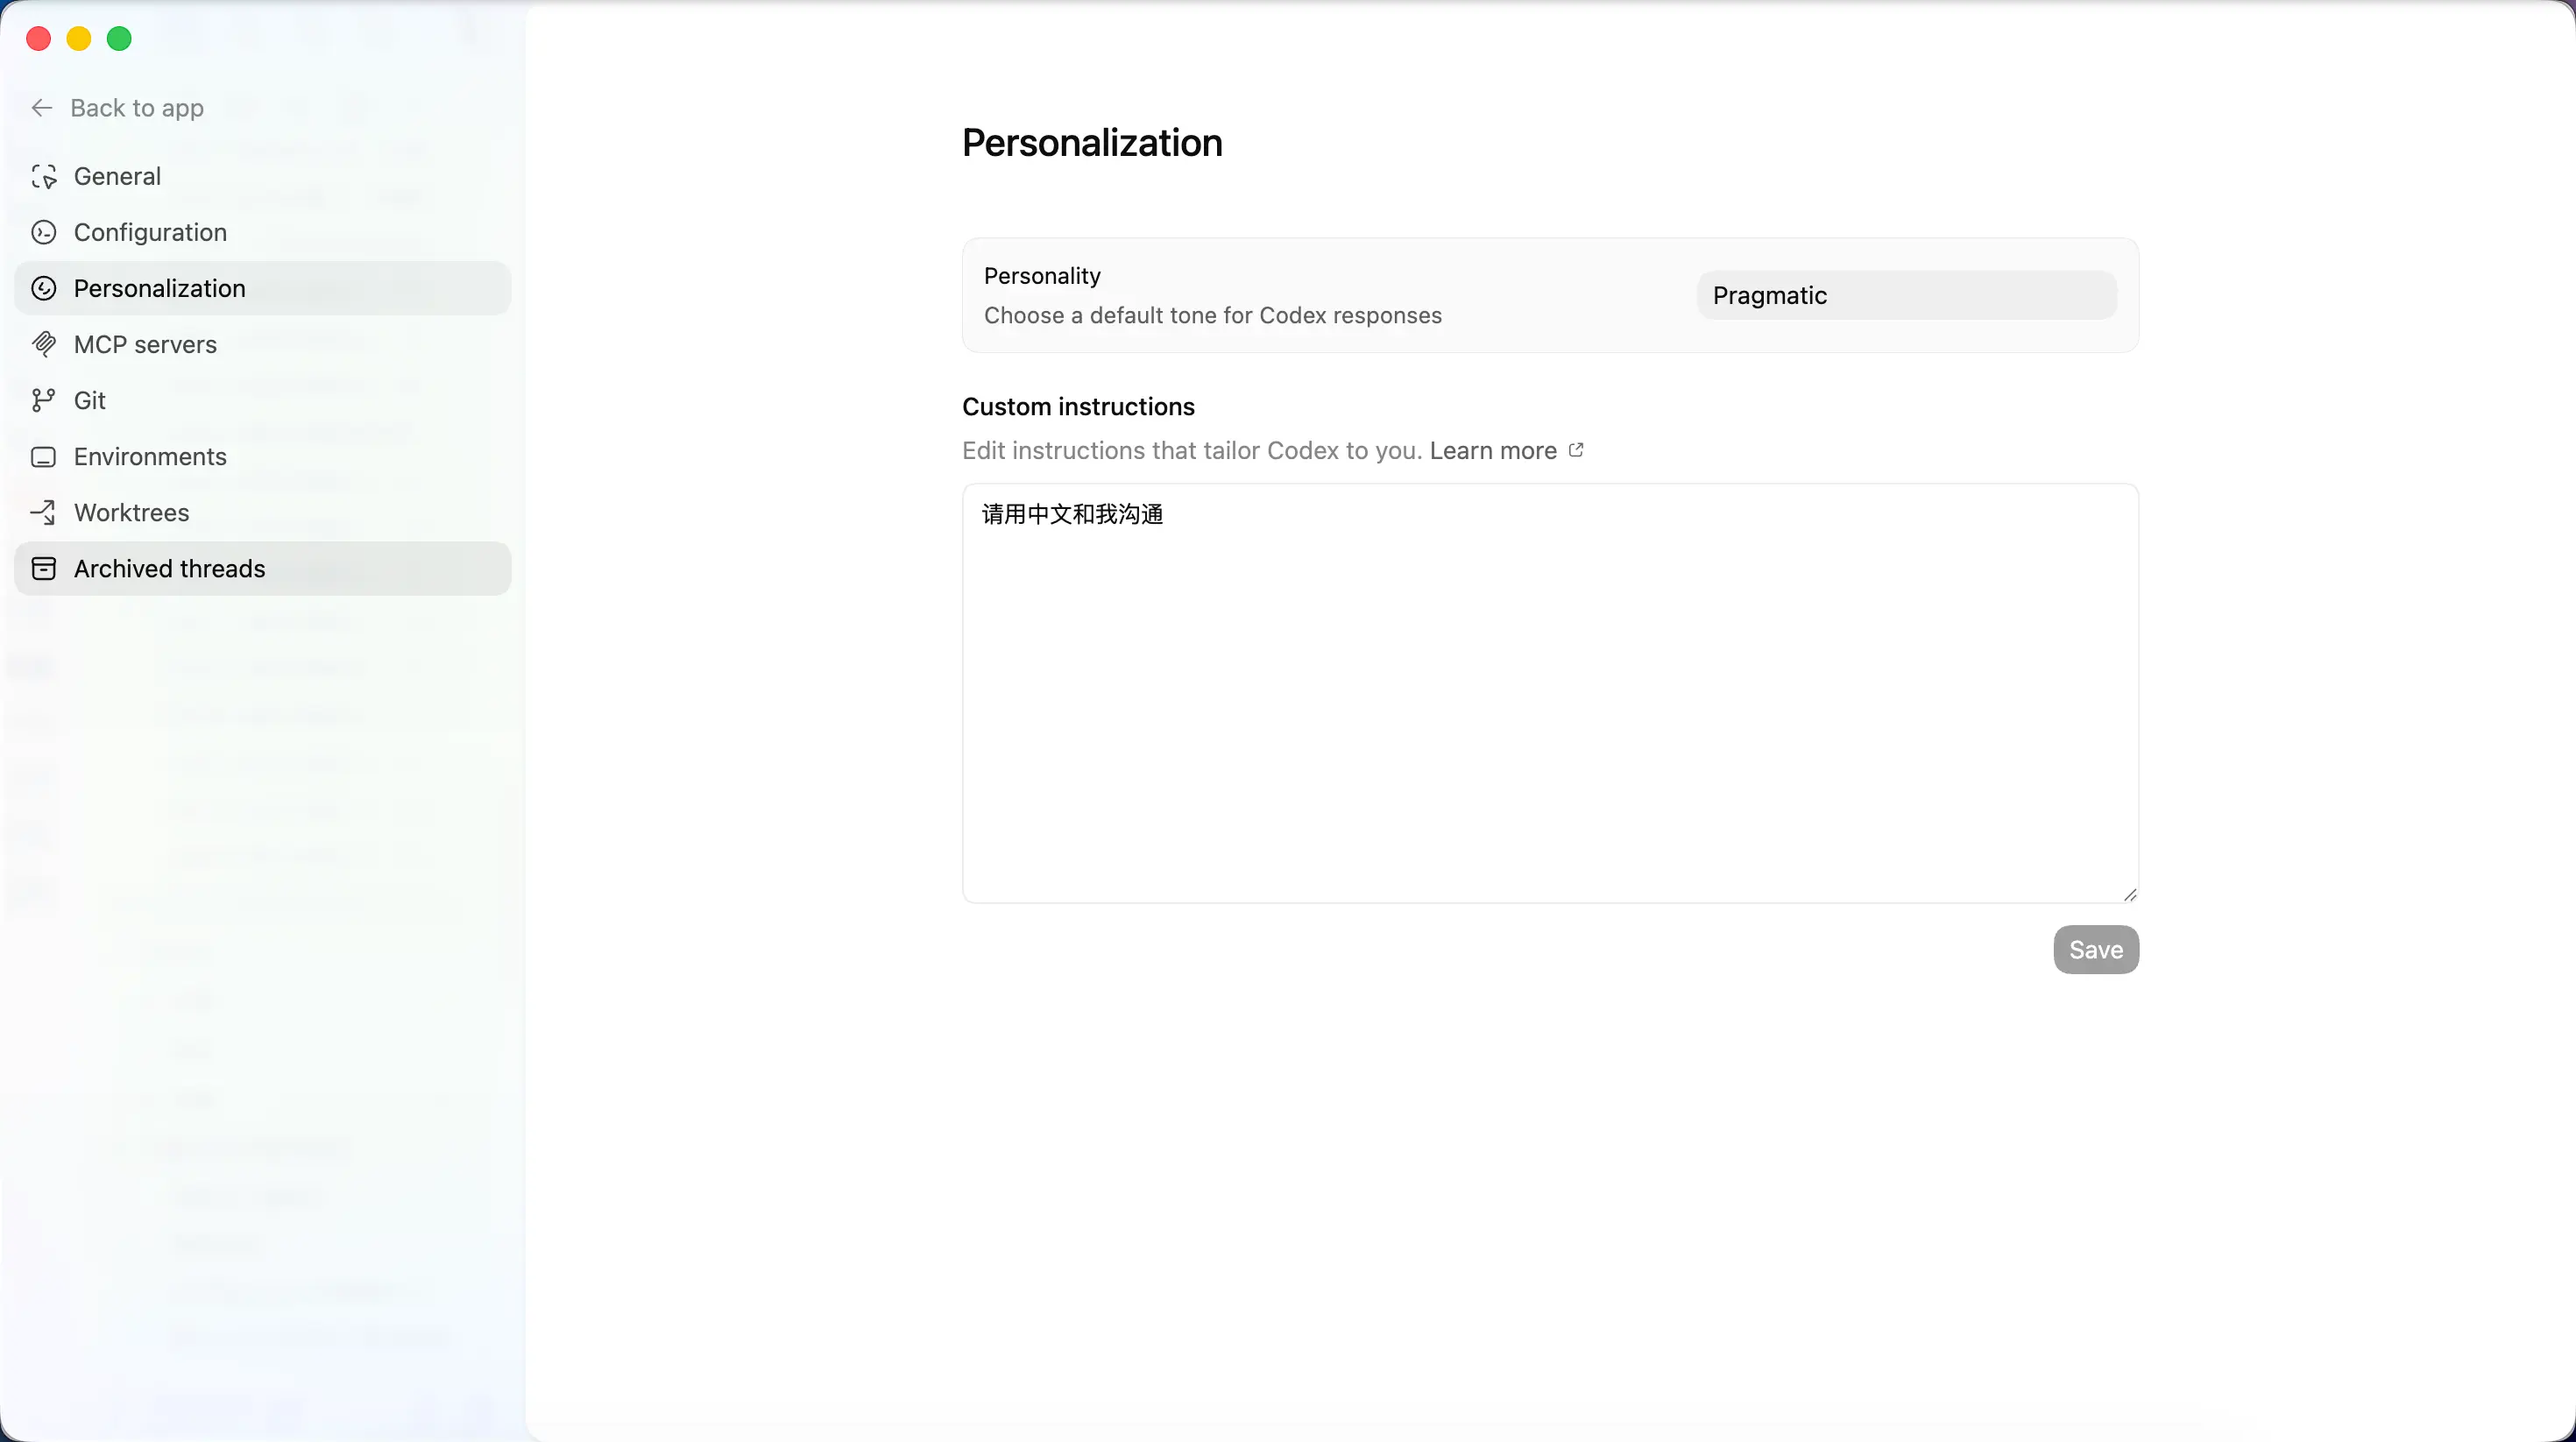
Choose the AI’s “personality”:
| Option | Effect |
|---|---|
| Friendly | AI replies are warmer and more detailed |
| Pragmatic | AI replies are more concise and straight to the point |
| None | No personality setting |
You can also add custom instructions, such as “reply in Chinese” or “use English for code comments.” These instructions are written into your AGENTS.md file.
MCP Servers
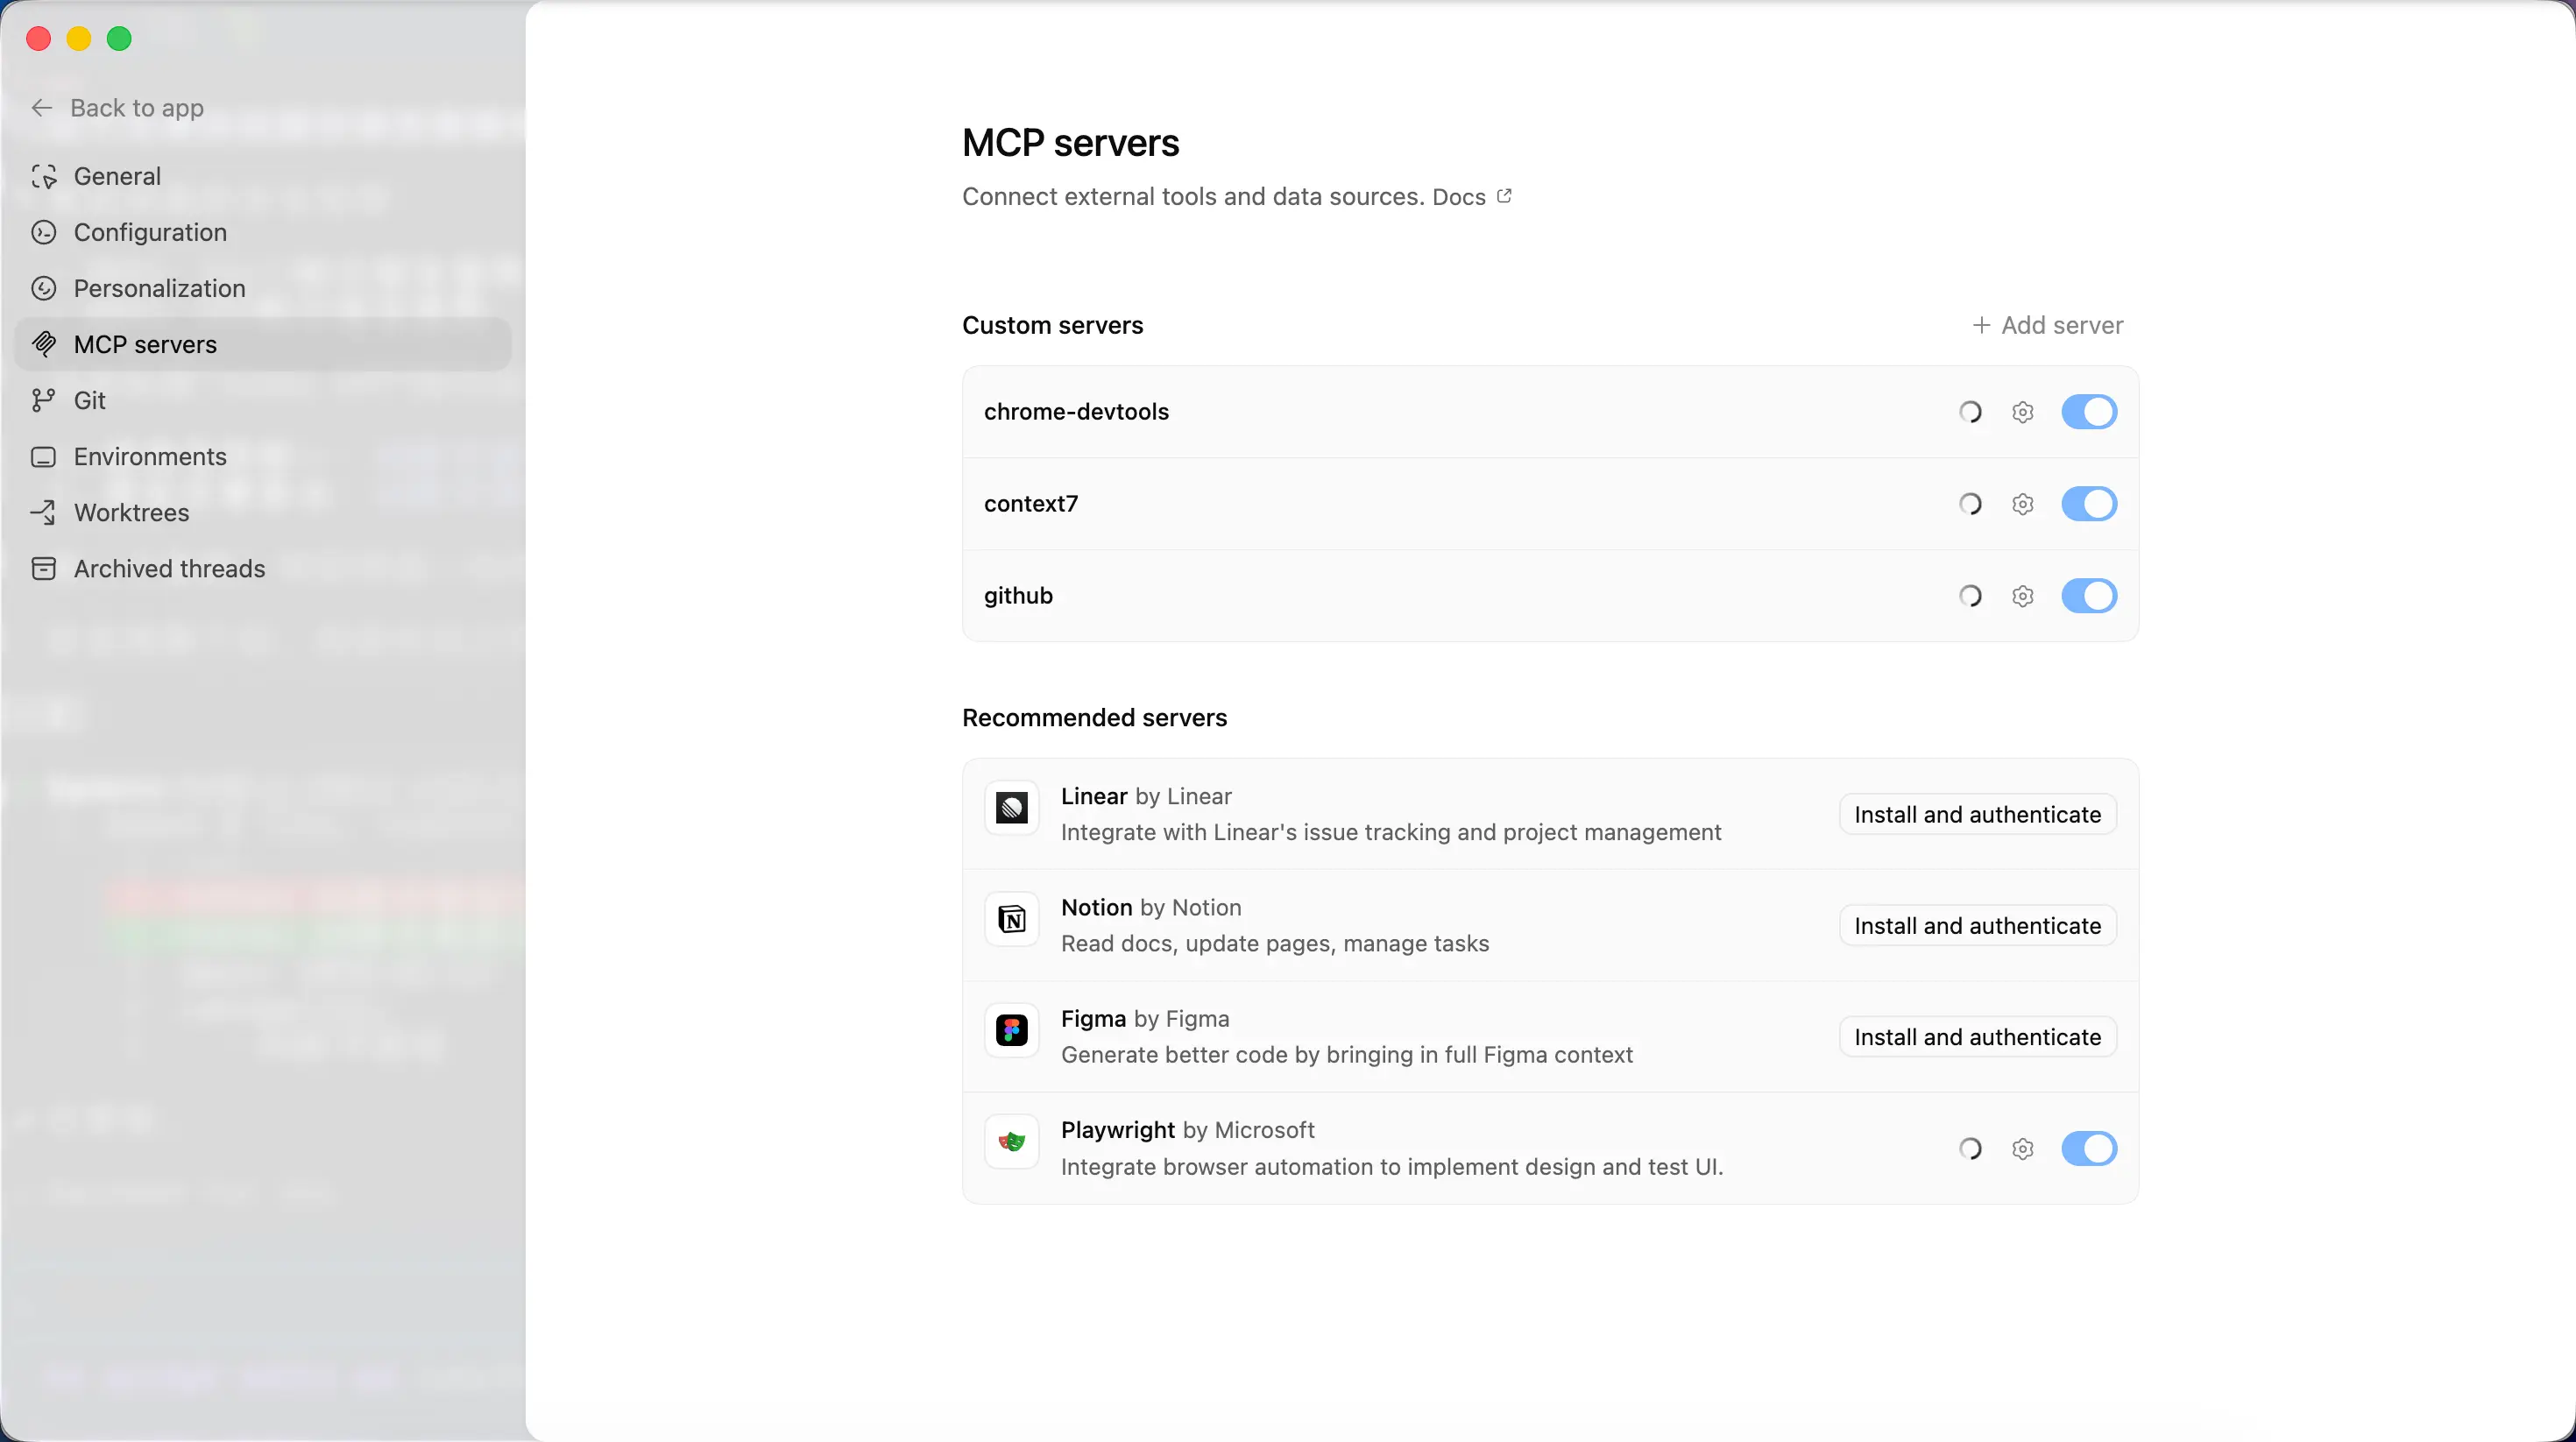
Identical to the MCP configuration covered earlier. The APP, CLI, and IDE plugins all share the same MCP configuration – any MCP server you set up in the CLI is automatically available in the APP.
Git
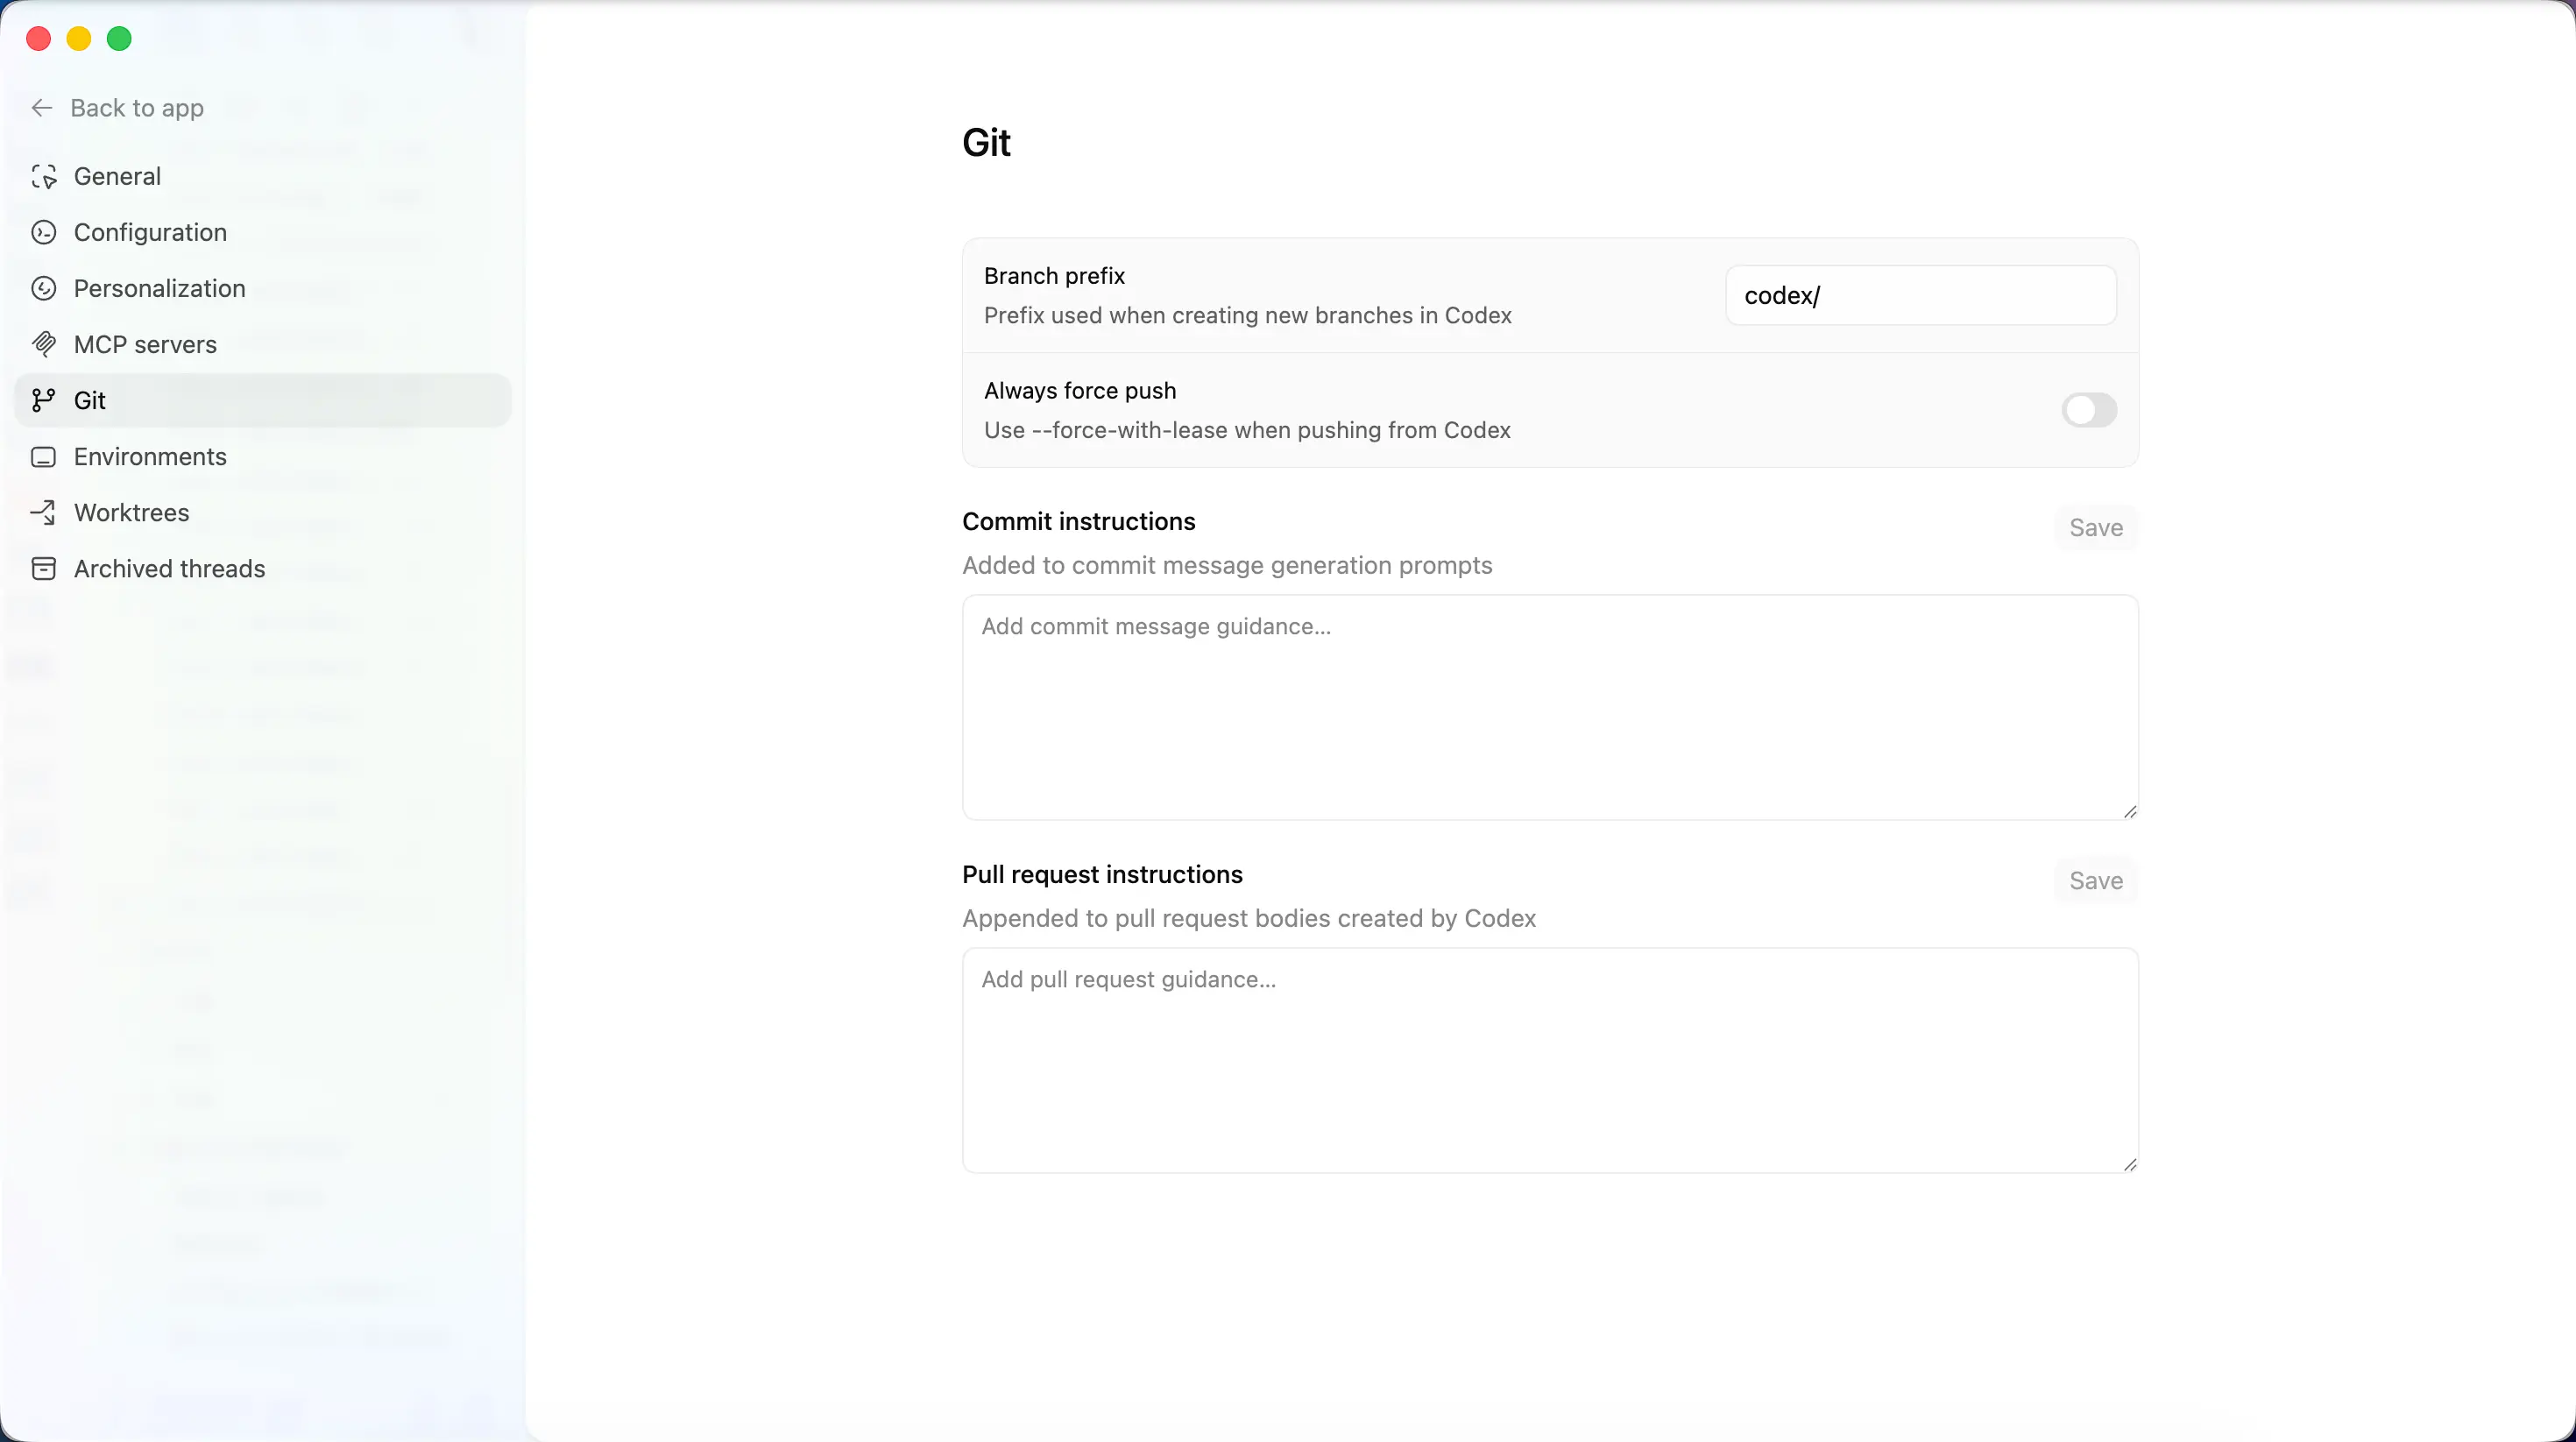
This is a major highlight of the APP compared to the CLI. It includes a built‑in visual Git tool:
- Diff viewer – See code changes graphically, add inline comments
- Stage / undo – Selectively stage code blocks or entire files
- Commit / push – Perform commits and pushes directly inside the APP
- Create PR – Create a Pull Request with one click
In the CLI, all of this requires command‑line operations; in the APP, you just click. Don’t worry if you don’t fully understand concepts like Worktree and Git integration yet – just get a general idea.
Environments
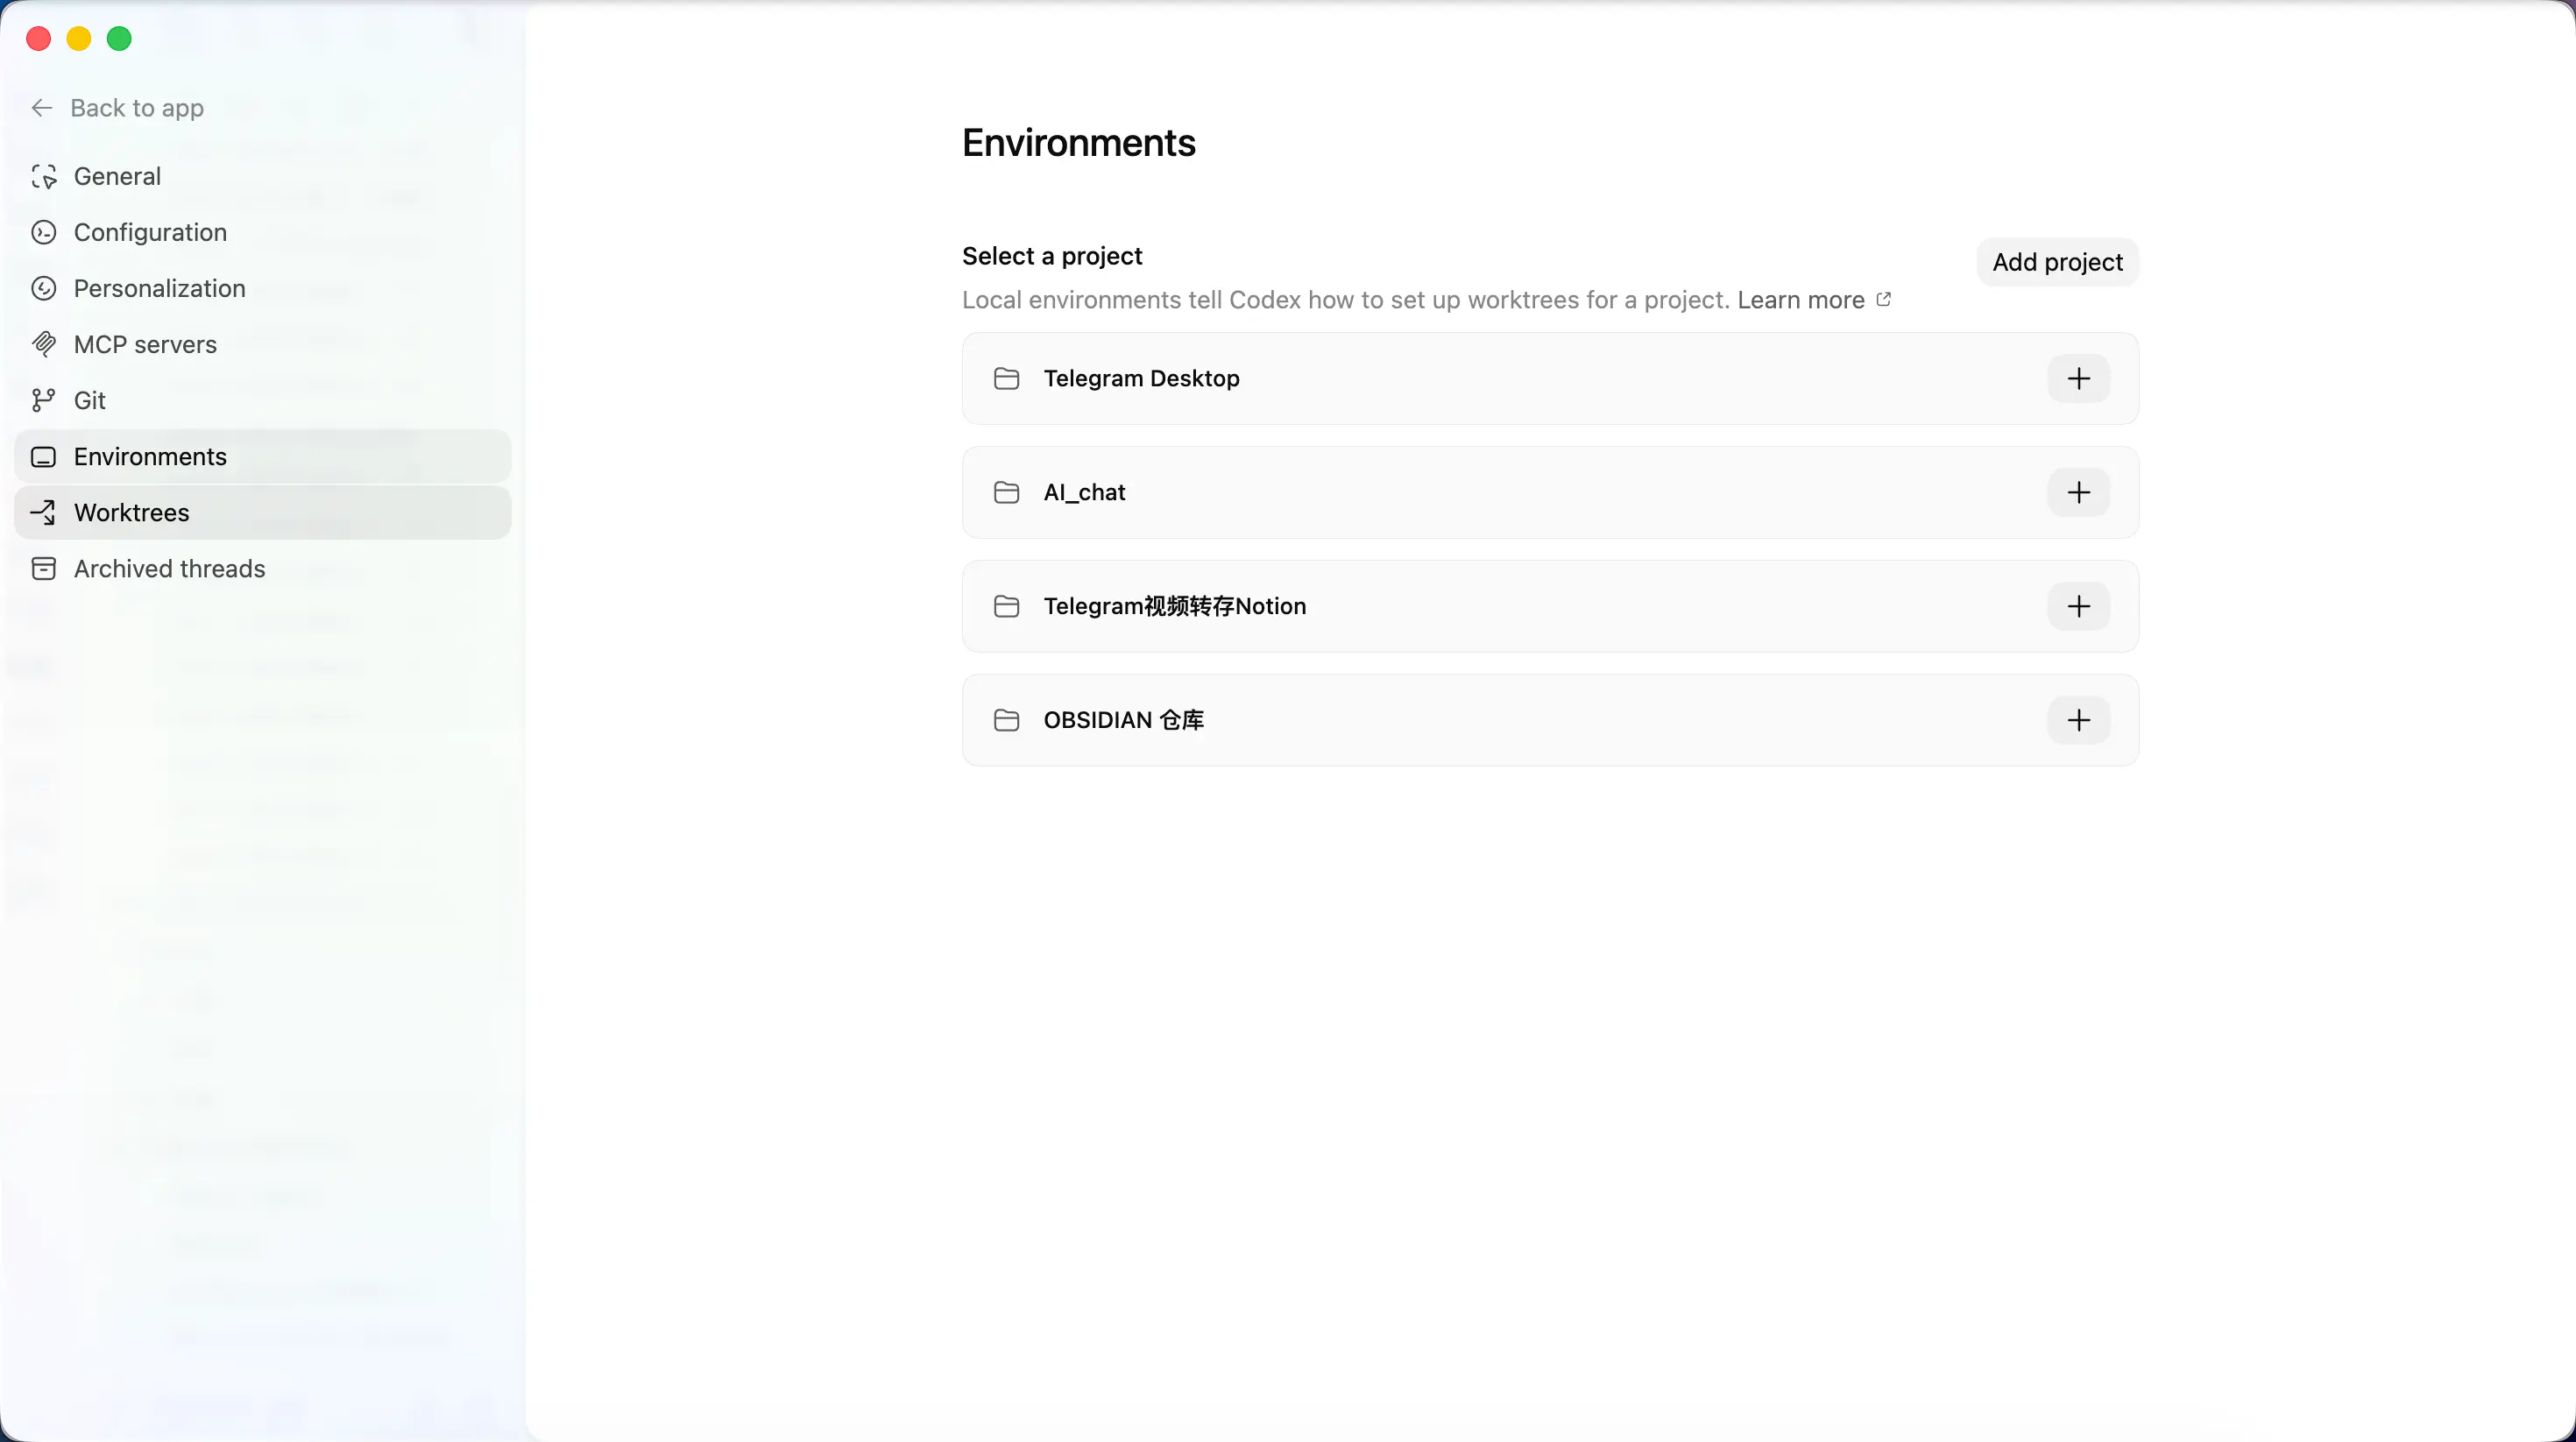
Configure the execution environment for your code. You can set up local or cloud environments, install project dependencies, and more.
Worktrees
Visual management of Git Worktrees. Simply put, it keeps your multiple AI tasks from interfering with each other.
For example, you ask the AI to do three things at once: fix a bug, write a new feature, and refactor code. If all of them work in the same directory, file changes will inevitably conflict. Worktrees create an independent working copy for each task, so they can work side by side without interference.
Threads vs Projects – Understanding Context
This is the most important part of the entire chapter – please read carefully.
Two Core Concepts
Project = your code repository or folder.
Think of a Project as your workbench. You do everything related to that project on this workbench.
Thread = a specific task within a project.
Think of each Thread as a task card on the workbench. Fixing a bug is one card, writing documentation is another.
A Project can have many Threads, but each Thread belongs to only one Project.
Why This Matters
Here we introduce a key concept: Context.
What is context?
Imagine chatting with a friend on WeChat. You say, “How’s that thing going?” and your friend knows exactly what you mean – because you talked about it earlier. That “earlier conversation” is context.
The same applies to AI. Every sentence you say and every file you send in a conversation is remembered by the AI and used to understand your subsequent questions. What the AI “remembers” is its context.
Context Window = AI’s Memory Capacity
But the AI’s memory isn’t infinite. There’s an upper limit to what it can remember, called the context window.
Currently, Codex uses GPT-5.3-Codex by default, with a context window of about 400,000 tokens. Roughly speaking, that’s about 300,000 Chinese characters worth of conversation.
That sounds like a lot, but if you do every task in the same conversation, it will fill up quickly.
Benefits of Thread Isolation
Conversations in different Threads are isolated – they don’t interfere with each other.
Think of it this way: if you’re working on three tasks and write everything on the same piece of paper, the bug‑fixing notes, documentation notes, and requirement discussions all get mixed together – confusing for you and confusing for the AI.
Splitting them into three Threads keeps things clean:
- Thread 1: dedicated to bug fixing – the AI only remembers bug‑related conversation
- Thread 2: dedicated to documentation – the AI only remembers doc‑related conversation
- Thread 3: dedicated to discussing requirements – the AI only remembers requirement‑related conversation
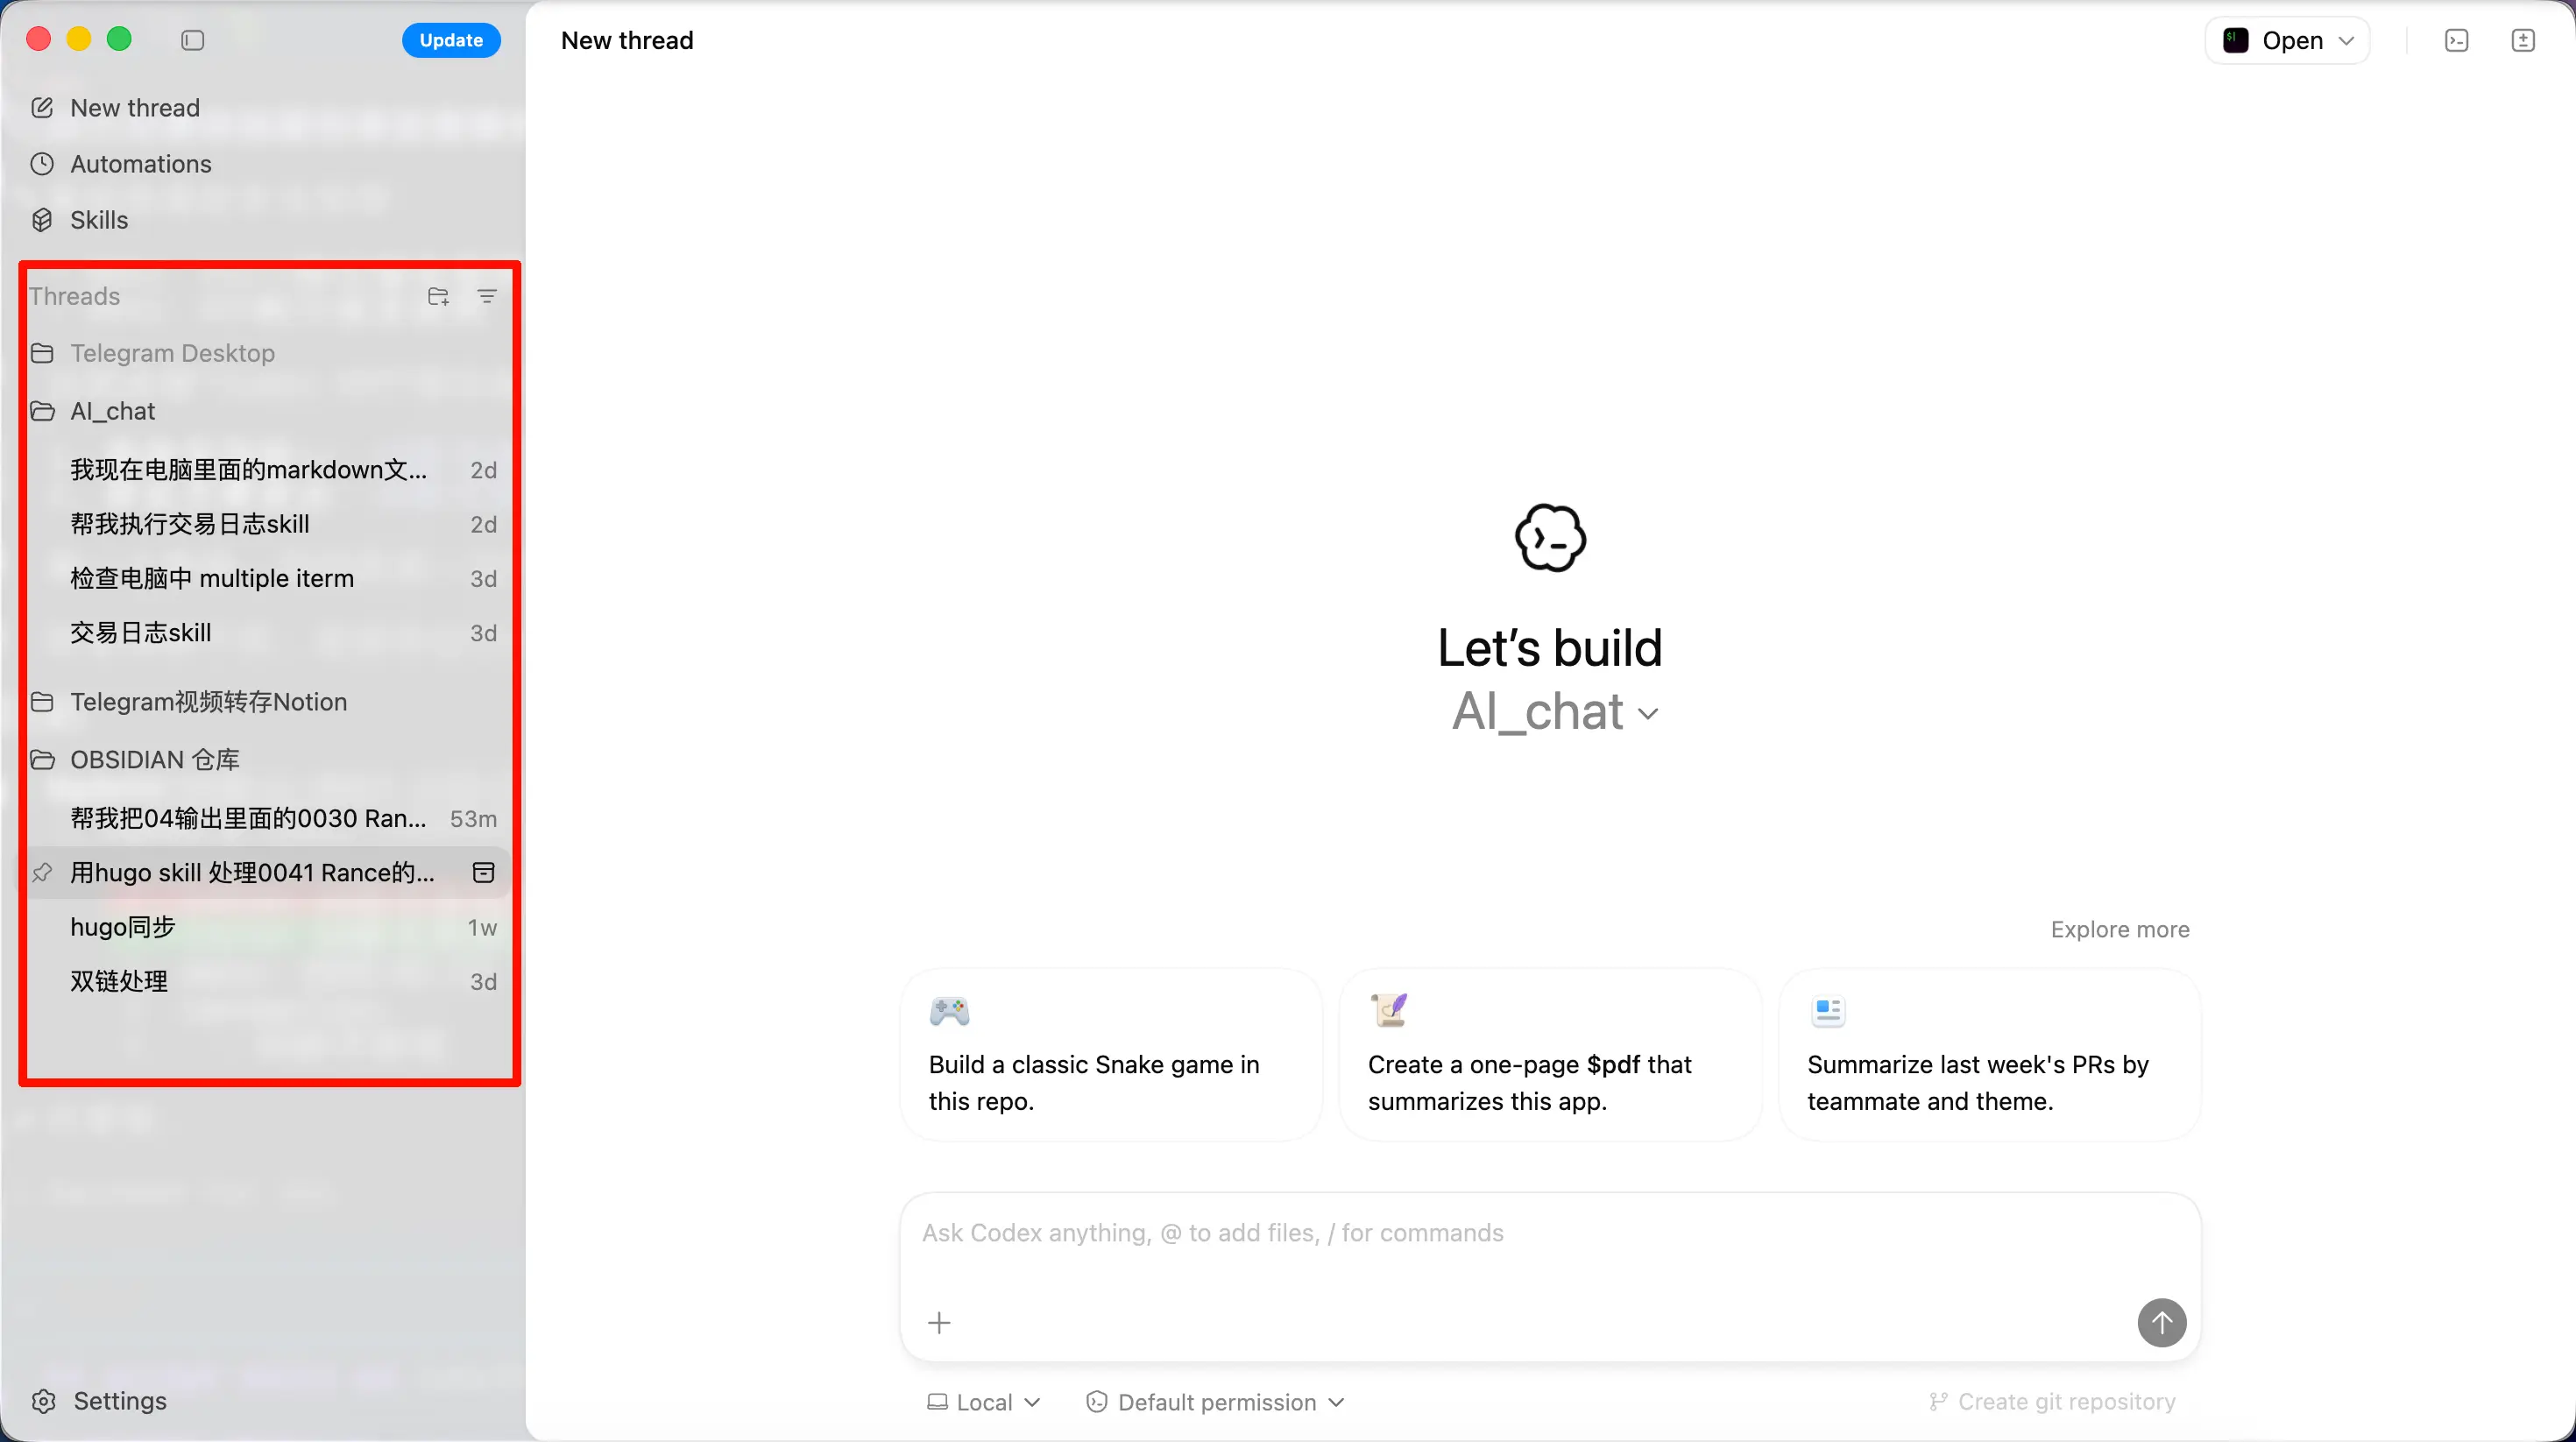
This is especially important for knowledge‑base projects. For example, if you use Obsidian to manage notes, you can use one Thread to look up information and another to organize documents, without cross‑contamination. You won’t have the AI suddenly mixing in context from a research session while you’re organizing documents.
For instance, in the Obsidian notebook screenshot below, even though everything is in the same repository, I use different Threads for different tasks. You can think of this like the conversation concept in the web version of ChatGPT.
Codex APP vs Codex CLI
Since both share the same foundation, which one should you choose? Here’s a comparison:
| Aspect | Codex CLI (Terminal) | Codex APP (Desktop) |
|---|---|---|
| Interface | Text only | Graphical |
| Conversation management | Need resume to find history |
Visual conversation list, click to switch |
| Scheduled tasks | None (need cron or similar tools) | Built‑in Automations |
| Git operations | Command line | Visual diff + one‑click commit/PR |
| Model switching | Edit config.toml |
Paid accounts can select directly in the interface |
| Perceived speed | Feels faster | Feels slightly slower (personal experience) |
| Best for | Developers comfortable with the terminal | Users who want a visual experience |
Key Differences
1. Visual conversation management – no more resume to find conversations
With the CLI, to revisit a previous conversation you need to use codex --resume. When you have many conversations, finding the right one can be tedious.
The APP gives you a conversation list where all Threads are visible at a glance – just click to switch. For anyone juggling multiple tasks, this alone makes it worthwhile.
2. Automations – exclusive to the APP
The CLI doesn’t have this feature. To achieve similar functionality in the CLI, you’d need to set up cron or other scheduling tools yourself – a higher barrier. The APP lets you configure it directly, much more convenient.
3. Easier model switching
If you log in with a paid ChatGPT account, you can switch models directly in the APP interface without editing any configuration file.
If you use an API Key like I do: The APP and CLI share the same ~/.codex/config.toml. Just specify the model in the toml file and the APP will read it automatically. For example:
model = "GPT-5.3-Codex"
4. Positioning: the middle ground between terminal and IDE
Compared to the terminal, the APP adds visual conversation management, Git operations, and scheduled tasks.
Compared to an IDE (like Cursor), the APP removes the cluttered code panels and complex editor features, focusing on AI conversation and project management.
If you find the terminal too geeky and the IDE too complex, the APP might be that “just right” tool you’re looking for.
Personal Experience
To be honest: I still prefer the terminal.
Maybe it’s just my imagination, but the APP feels slightly slower than the CLI. It could be the overhead of the graphical interface, or purely psychological – I’m not sure.
But I have to admit, the APP is definitely more beginner‑friendly. Especially for conversation management and Git operations, the visual experience is far more comfortable than typing commands in the terminal.
My advice: try both and find the tool that suits you. Since the configuration is shared, switching between them costs nothing.
Summary
What we learned today:
- What Codex APP is – the GUI version of Codex CLI, currently only supports macOS Apple Silicon
- Core features – Threads conversation management, Automations scheduled tasks, visual Git integration, Worktree isolation
- Threads vs Projects – Project is the workbench, Thread is the task card – task isolation protects context from contamination
- vs CLI differences – visual conversations + Automations are the biggest advantages, but perceived speed may be slightly slower
- Positioning – a middle ground between terminal and IDE, suitable for users who want visuals but don’t need a full IDE
Key takeaways:
- Codex APP and CLI share the same foundation and configuration – you can’t go wrong with either
- Thread isolation is key – separate conversations for different tasks to prevent context pollution
- Automations is the APP’s killer feature – think of it as setting an alarm clock for the AI
- Bonus use: the APP can also serve as a voice input method – hold a shortcut key and speak (see next section)
Bonus: Using Codex APP as a Voice Input Method
Recently, Codex APP introduced voice functionality. The best part is that it works not only inside the app but externally as well – just hold a global shortcut key and speak.
Simply update Codex APP to the latest version and log in with a subscription account to use it. For those who keep Codex APP running all the time, it’s essentially a free voice input method.
OpenAI released the open‑source speech recognition model Whisper a while ago, dramatically lowering the barrier for speech recognition, and has continued to iterate. So it’s no surprise that Codex APP’s voice feature, built on that foundation, works exceptionally well.
Usage is simple: open the app, go to General Settings, assign a shortcut key (I use the right Option key), and when you want to input text, hold the shortcut key and speak.
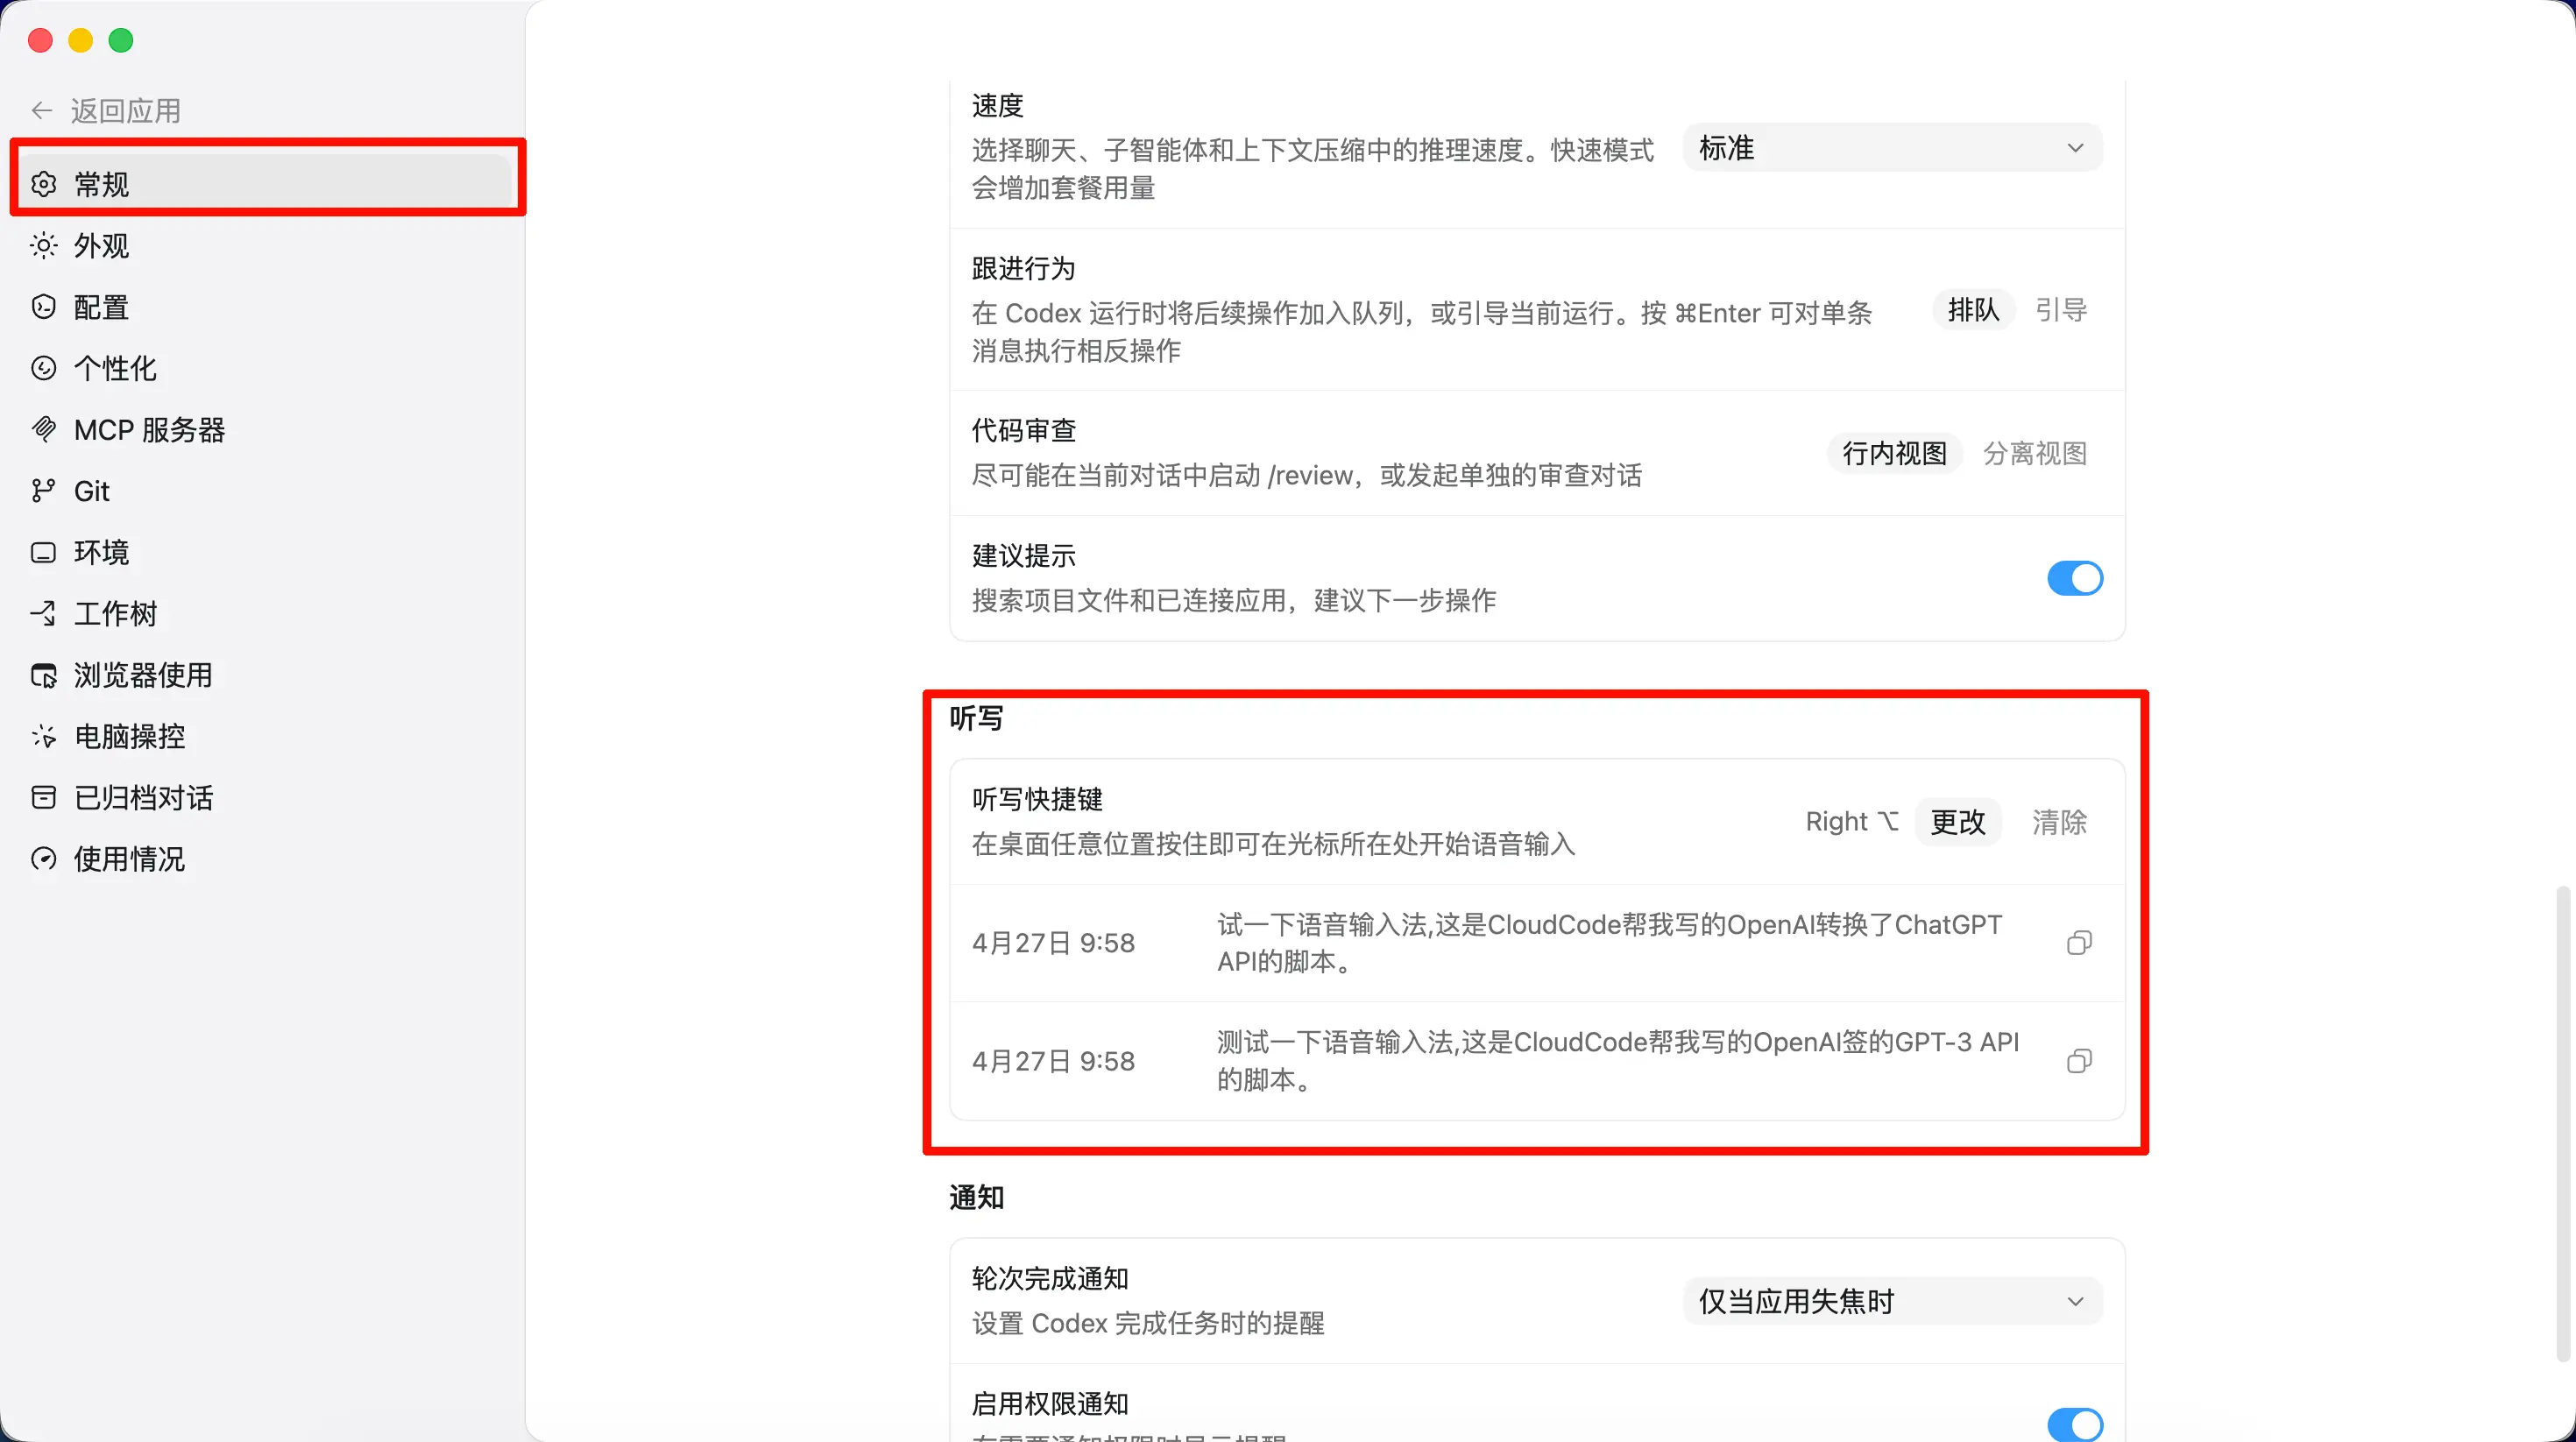
When you hold the key, a small window appears at the bottom of the desktop (can’t screenshot due to shortcut conflicts).
In practice, it’s fast and accurate. Two minor drawbacks:
- No dictionary feature – a dictionary would allow you to set custom frequently‑used words for even better recognition
- Must hold the key to record – it doesn’t yet support a toggle (press once to start, press again to stop) like some other products
Considering this is a brand‑new feature, these improvements will likely come in future updates.
If you don’t mind paying for a voice input method each month, other popular options include Wispr Flow and Typeless.