Earlier we introduced Claude Code. This chapter covers another equally powerful terminal AI coding tool: Codex CLI.
Note: Codex also has a desktop app version (graphical interface), which will be covered in a later chapter. This chapter focuses on the terminal-based Codex CLI.
The terminal-based Codex CLI, like Claude Code, is an AI coding assistant that runs in the terminal. If you’ve already learned Claude Code from the previous chapter, you’ll find Codex CLI very easy to pick up, as the operational logic is almost identical.
What is Codex CLI?
One-sentence introduction
Codex CLI = OpenAI’s terminal AI coding assistant
Similar to Claude Code, it’s an AI tool that runs in the terminal. You tell it what you want in natural language, and it can help you:
- Create new projects
- Write code
- Modify code
- Fix bugs
- Run commands
- Search the web for the latest information
What’s the difference between Codex CLI and Claude Code?
| Aspect | Claude Code | Codex CLI |
|---|---|---|
| Developer | Anthropic (Claude) | OpenAI (ChatGPT) |
| Underlying model | Claude series | GPT series (GPT-5-Codex) |
| Installation | npm install | npm install |
| Configuration file | ~/.claude/settings.json |
~/.codex/config.toml |
| Membership | Claude Pro/Max | ChatGPT Plus/Pro |
| OS support | Mac/Linux/Windows | Mac/Linux (Windows via WSL) |
Core difference: different underlying models. Claude Code uses Claude models, Codex CLI uses OpenAI’s GPT-5-Codex model optimized for programming. Both tools have their strengths. It’s recommended to install both and choose based on the task.
How to install Codex CLI?
Prerequisites
-
Node.js: Same as Claude Code, requires Node.js environment
- If you already have it (from installing Claude Code earlier), no need to reinstall
- If not, go to https://nodejs.org and download the LTS version
-
Network: Need access to OpenAI services (may require a proxy)
Installation steps
Open terminal and run:
npm install -g @openai/codex
Wait for completion.
Verify installation:
codex --version
If it shows a version number (e.g., codex-cli 0.98.0), installation was successful.
Mac users can also install via Homebrew:
brew install codex
Several ways to use it
Similar to Claude Code, Codex CLI supports multiple ways to access AI capabilities.
Method 1: Buy ChatGPT membership (simplest)
Codex CLI is included in ChatGPT’s paid plans.
Supported membership types:
| Membership | Price | Notes |
|---|---|---|
| ChatGPT Plus | $20/month | Limited quota |
| ChatGPT Pro | $200/month | Higher quota |
| ChatGPT Business | Team plan | Enterprise use |
Setup:
- After purchasing ChatGPT membership, open terminal
- Run
codexto start - Follow prompts to log in to your ChatGPT account (a browser will open for authorization)
- Once logged in, you can use it
You can also log in manually:
codex login
Method 2: Use OpenAI API Key
If you have an OpenAI API Key, you can use it directly:
- Set environment variable:
export OPENAI_API_KEY="your API Key"
- Then run
codex
Method 3: Use third-party API (domestic model integration)
This is what many domestic users care about most!
Like Claude Code, Codex CLI can also integrate with third-party APIs, such as DeepSeek, Volcengine, and other domestic models.
Configuration is done by modifying the ~/.codex/config.toml file (detailed in the next section).
Domestic model integration: Modifying config.toml
Where is config.toml?
Configuration file path: ~/.codex/config.toml
- Mac/Linux:
/Users/yourusername/.codex/config.toml - Windows (WSL):
~/.codex/config.toml
Tip: If this file doesn’t exist, run codex once first; it will automatically create the .codex folder. Then you can manually create the config.toml file.
Basic configuration structure
The config.toml configuration is divided into several core parts:
# ===== Basic settings =====
model = "gpt-5.3-codex"              # Model to use
model_provider = "openai"             # Model provider (default openai)
approval_policy = "on-failure"        # Approval policy
sandbox_mode = "workspace-write"      # Sandbox mode

# ===== Custom model providers =====
[model_providers.custom_name]
name = "Display name"
base_url = "API URL"
env_key = "API_KEY environment variable name"
wire_api = "responses"

# ===== Profiles =====
[profiles.profile_name]
model_provider = "custom_name"
model = "model name"
Important: wire_api must use “responses”
This is a common pitfall!
Codex CLI supports two API protocols: "chat" (legacy Chat Completions) and "responses" (new Responses API).
Starting from February 2026, OpenAI has deprecated the "chat" protocol and fully switched to "responses". Therefore, when configuring third-party models, wire_api must be set to "responses". If your third-party API provider does not support the Responses API format, you cannot directly integrate it with Codex.
Fortunately, major API relay platforms (such as OpenRouter, etc.) already support the Responses API.
For detailed discussion, refer to: https://github.com/openai/codex/discussions/7782
Practical: Integrating DeepSeek
Using DeepSeek as an example, here’s how to configure it:
Step 1: Edit config.toml
# Default to DeepSeek
model_provider = "deepseek"
model = "deepseek-chat"

# Define DeepSeek provider
[model_providers.deepseek]
name = "DeepSeek"
base_url = "https://api.deepseek.com/v1"
env_key = "DEEPSEEK_API_KEY"
wire_api = "responses"
Step 2: Set environment variable
Set your DeepSeek API Key in the terminal:
export DEEPSEEK_API_KEY="your DeepSeek API Key"
To make it permanent, add the line to the end of your ~/.zshrc (Mac) or ~/.bashrc (Linux):
echo 'export DEEPSEEK_API_KEY="your DeepSeek API Key"' >> ~/.zshrc
source ~/.zshrc
Step 3: Start Codex
codex
Now Codex will use the DeepSeek model.
Note: If DeepSeek’s official API does not yet support the Responses API format and causes connection failures, you can switch to a relay platform that supports Responses API (such as OpenRouter) and change the base_url to the relay platform’s address.
Practical: Integrating Volcengine (Doubao)
model_provider = "volcengine"
model = "doubao-pro-32k"

[model_providers.volcengine]
name = "Volcengine"
base_url = "https://ark.cn-beijing.volces.com/api/v3"
env_key = "VOLCENGINE_API_KEY"
wire_api = "responses"
Also need to set environment variable:
export VOLCENGINE_API_KEY="your Volcengine API Key"
Using Profiles to switch between multiple models
If you have configured multiple models, you can use Profiles to quickly switch:
# Default to OpenAI
model_provider = "openai"
model = "gpt-5.3-codex"

# Define DeepSeek provider
[model_providers.deepseek]
name = "DeepSeek"
base_url = "https://api.deepseek.com/v1"
env_key = "DEEPSEEK_API_KEY"
wire_api = "responses"

# Define Volcengine provider
[model_providers.volcengine]
name = "Volcengine"
base_url = "https://ark.cn-beijing.volces.com/api/v3"
env_key = "VOLCENGINE_API_KEY"
wire_api = "responses"

# DeepSeek profile
[profiles.ds]
model_provider = "deepseek"
model = "deepseek-chat"

# Volcengine profile
[profiles.volc]
model_provider = "volcengine"
model = "doubao-pro-32k"
Switching when using:
# Use default OpenAI
codex

# Use DeepSeek
codex --profile ds

# Use Volcengine
codex --profile volc
This allows you to freely switch between different models, very convenient!
A simpler method: OPENAI_BASE_URL
If you just want to temporarily use a third-party API without modifying config.toml, you can directly set environment variables:
export OPENAI_BASE_URL="https://api.deepseek.com/v1"
export OPENAI_API_KEY="your DeepSeek API Key"
codex
This method is simpler, but it becomes invalid after closing the terminal.
How to use Codex CLI?
Basic startup
Same as Claude Code:
- Open terminal
- Use
cdto navigate to your project folder - Type
codexand press Enter
cd /path/to/your/project
codex
Codex will start a full-screen terminal interface where you can start entering your requirements.
Three operation modes
Codex CLI has three modes that control its “autonomy level”:
| Mode | Command | Description |
|---|---|---|
| Suggest | codex --suggest |
Most conservative: requires confirmation for every change |
| Auto Edit | codex --auto-edit |
Moderate: automatically edits files, but requires confirmation for running commands |
| Full Auto | codex --full-auto |
Most free: does everything automatically without confirmation |
Beginners are advised to use Suggest mode (default), so you can see what Codex is doing at each step.
After getting familiar, you can use Full Auto mode:
codex --full-auto "Run tests and fix all failing cases"
Direct task assignment (non-interactive mode)
You can also directly append a task description after the command:
codex "Create a Snake game for me"
This way Codex will directly start executing the task without needing to enter the interactive interface.
Resume previous conversation
Similar to Claude Code’s --resume, Codex also supports resuming previous sessions:
codex resume
This allows you to continue from where you left off.
Practical: Let Codex create a Snake game for us
Step 1: Create project folder
- Create a new folder on the desktop, e.g.,
codex-demo - Open this folder in terminal
Step 2: Start Codex
codex
Step 3: Enter requirements
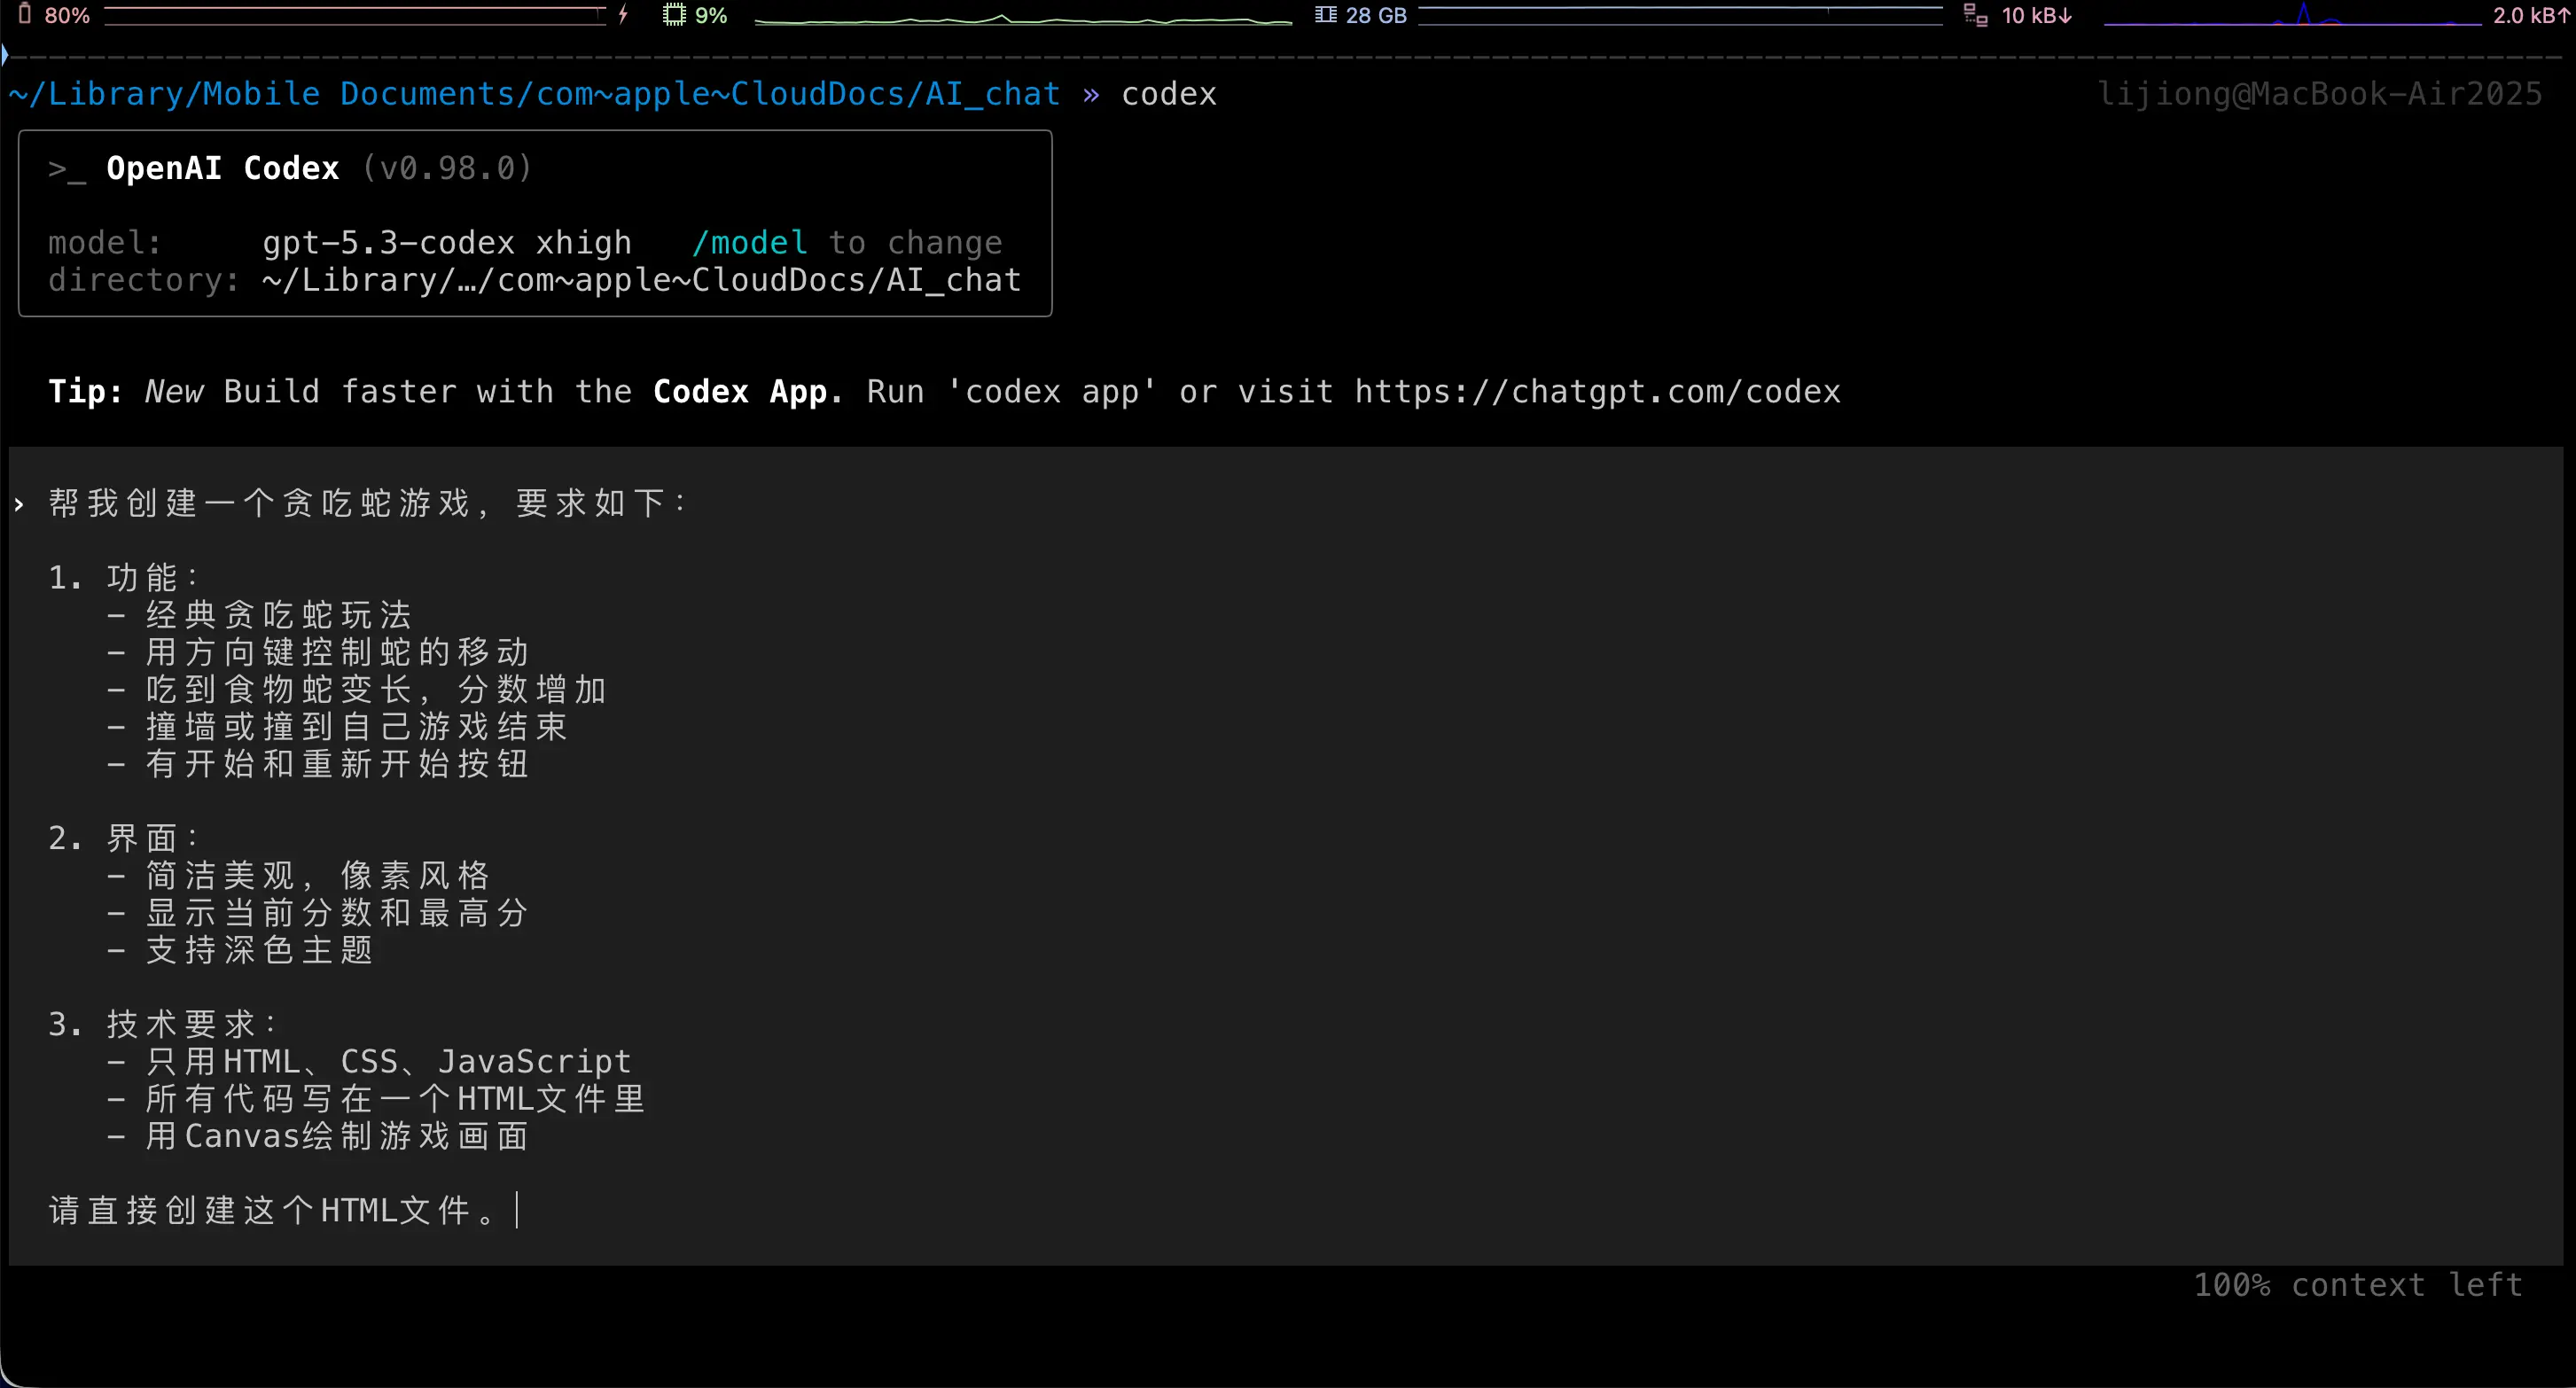
In Codex, enter:
Create a Snake game for me with the following requirements:

1. Features:
   - Classic Snake gameplay
   - Control snake movement with arrow keys
   - Snake grows longer when eating food, score increases
   - Game over when hitting wall or itself
   - Start and restart buttons

2. Interface:
   - Clean and beautiful, pixel style
   - Display current score and high score
   - Support dark theme

3. Technical requirements:
   - Use only HTML, CSS, JavaScript
   - All code in a single HTML file
   - Use Canvas for game rendering

Please create this HTML file directly.
Step 4: Wait for Codex to finish
Codex will automatically create the HTML file and write all the code. Depending on the mode you chose:
- Suggest mode: It will ask for confirmation at each step; you confirm before it executes
- Full Auto mode: It will complete everything directly
Step 5: Open the game
Double-click the generated HTML file to play it in your browser!
Codex CLI vs Claude Code: How to choose?
I recommend installing both. They each have their strengths:
| Aspect | Claude Code | Codex CLI |
|---|---|---|
| Coding ability | Very strong, especially for complex logic | Very strong, GPT-5-Codex optimized for programming |
| Chinese understanding | Very good | Very good |
| Web search | Requires MCP | Built-in support |
| Free tier | None | None |
| Minimum membership | Claude Pro $20/month | ChatGPT Plus $20/month |
| Domestic model integration | Via settings.json | Via config.toml |
| Windows support | Native support | Requires WSL |
My suggestion:
- Install both, choose the most suitable one based on the task
- Simple projects: Both are capable, pick either
- Complex projects: Try one first; if the result is not good, switch to the other
- Domestic model users: Both support third-party API integration, similar configuration
Core philosophy remains: You don’t need to know how to code, you just need to know how to describe requirements.
Summary
What we learned today:
- What is Codex CLI: OpenAI’s terminal AI coding assistant, similar to Claude Code
- How to install:
npm install -g @openai/codex, one command - How to use: Same operational logic as Claude Code,
cdto project directory thencodexto start - Domestic model integration: Modify
~/.codex/config.toml, configure model_providers - Three modes: Suggest (conservative), Auto Edit (moderate), Full Auto (fully automatic)
- Profile switching: Configure multiple models, use
--profileparameter to switch freely
Now you have two powerful AI coding tools: Claude Code and Codex CLI!