Lately, I’ve been raving about DeepSeek—the value for money is just incredible.
Of course, for most people, the mobile or web version of DeepSeek is sufficient. But if you want to do some programming or other advanced tasks, you’ll need to connect it to your coding tools or terminal.
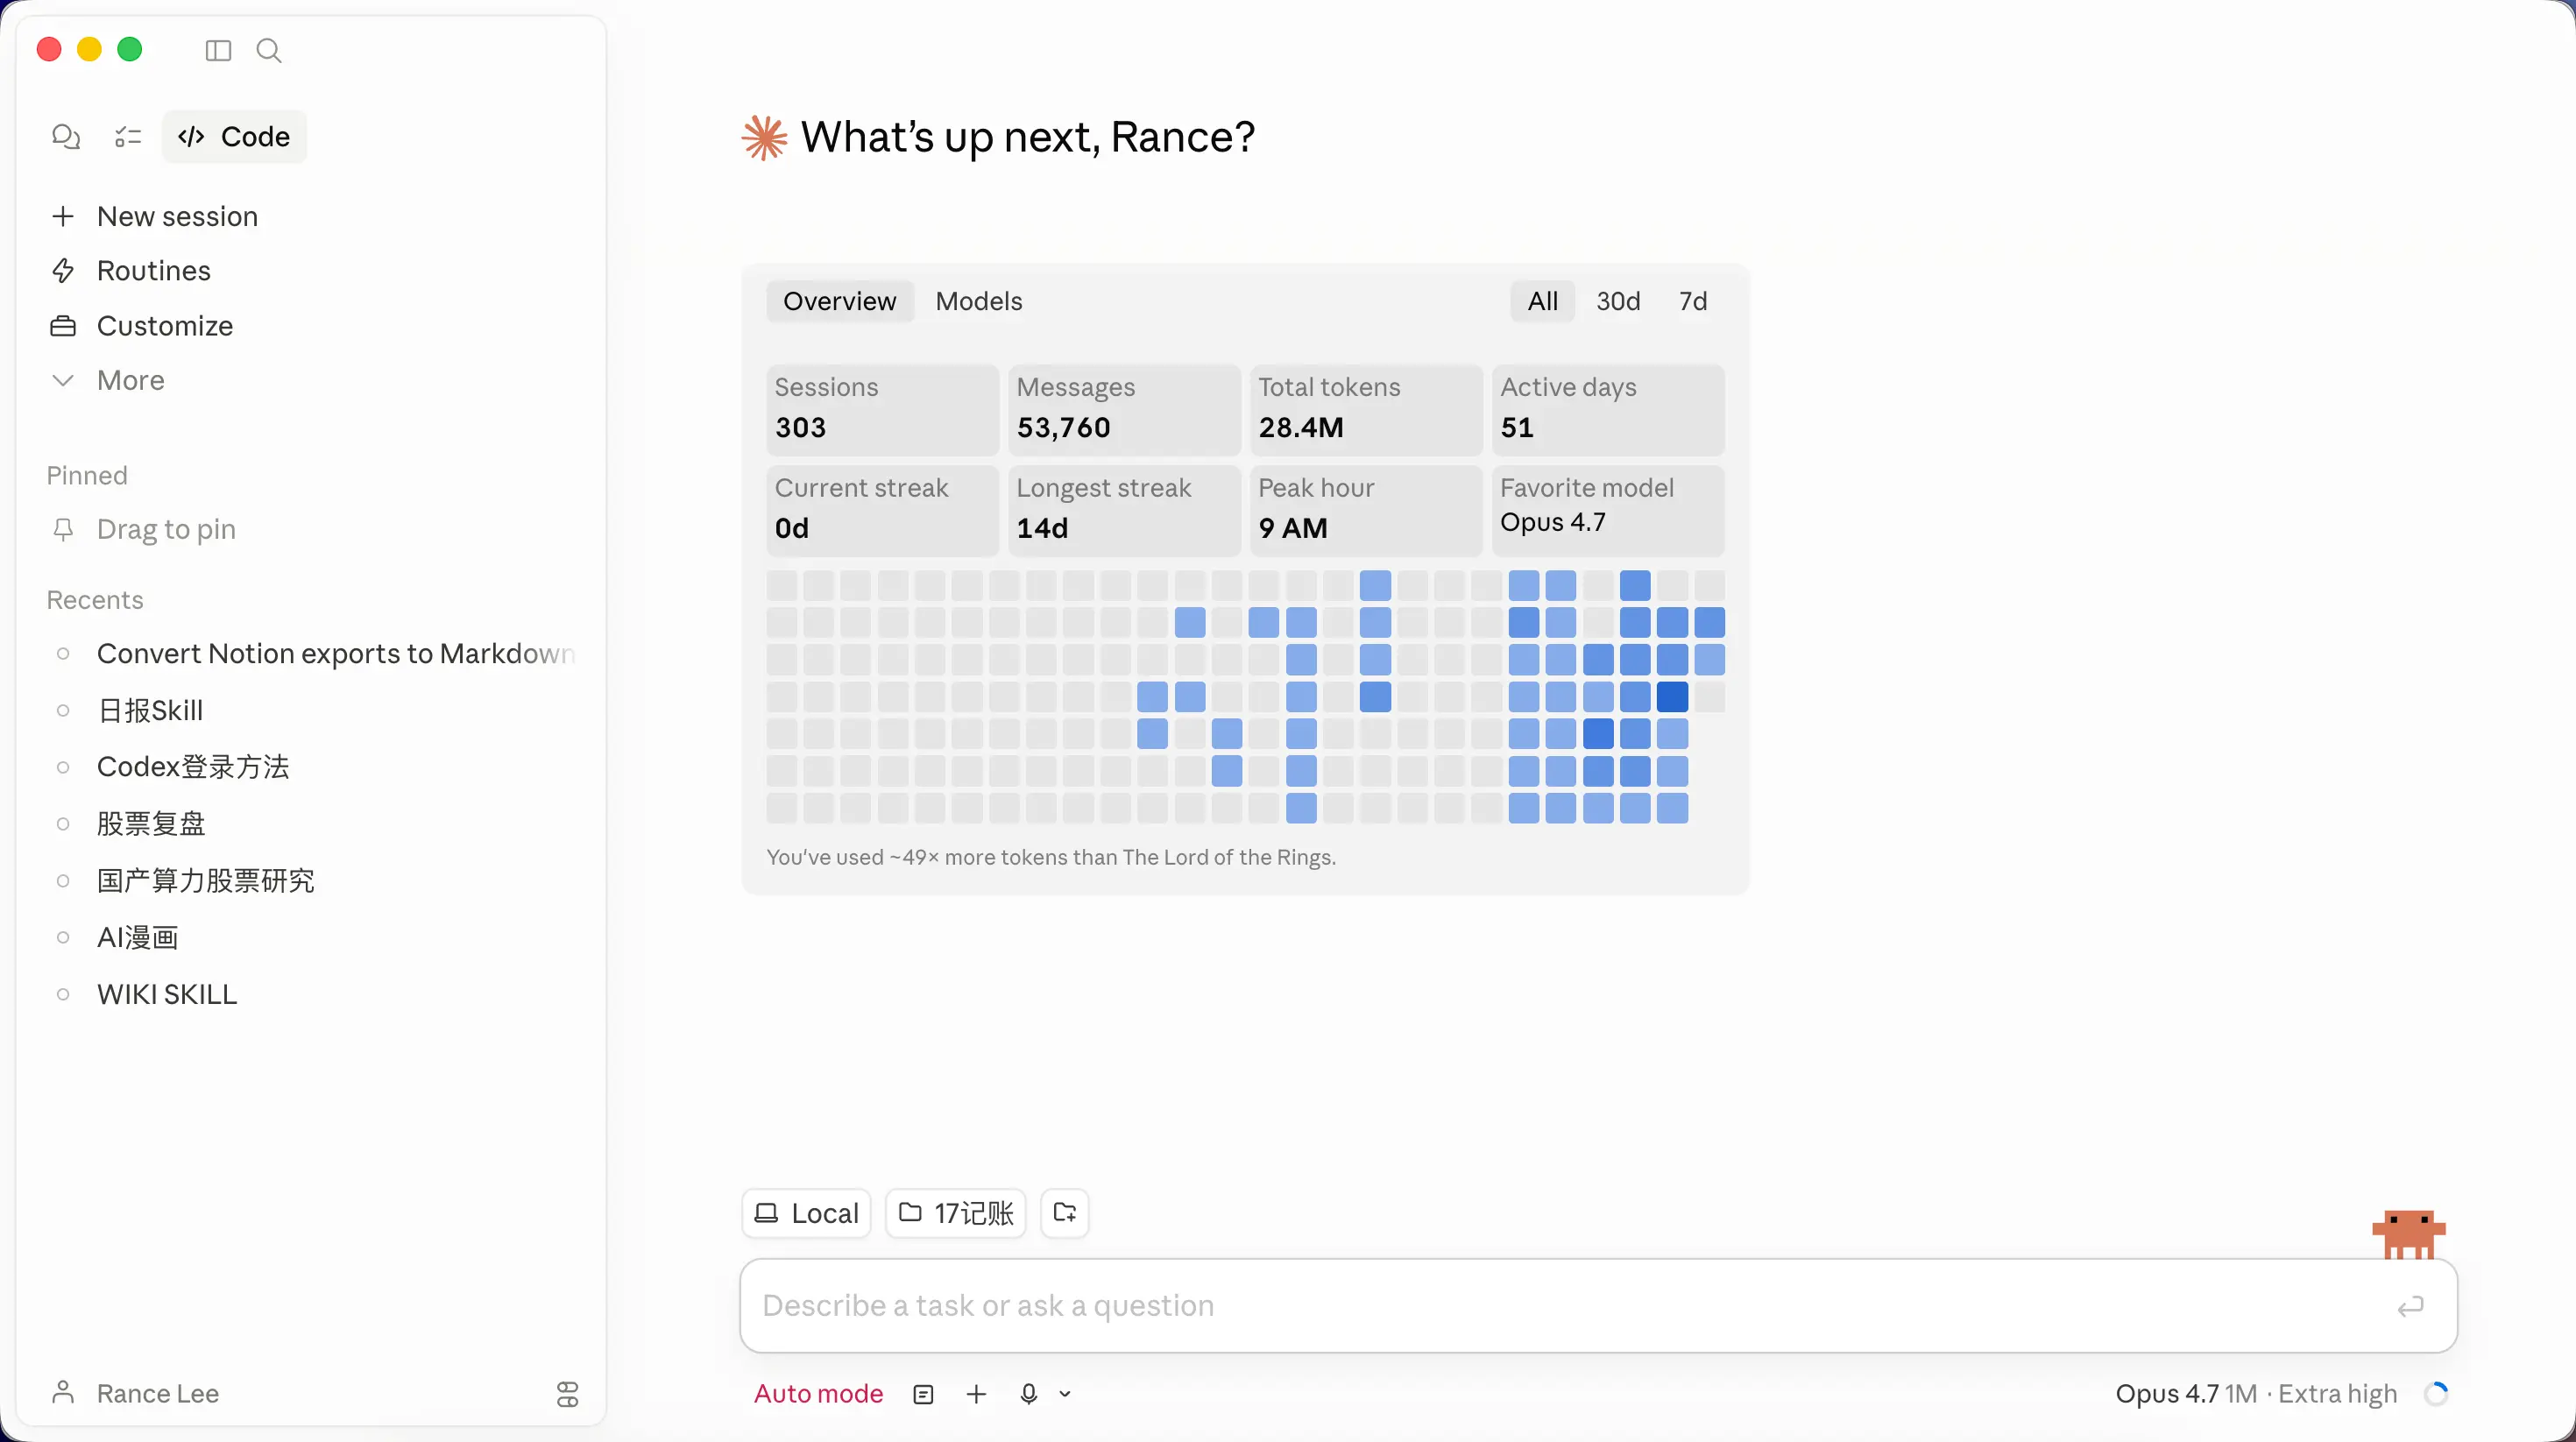
Here, I recommend starting with the Claude desktop app.
Different AIs use different tools, and the final results vary—that’s what harness engineering is all about.
By the way, let me explain the word “harness”. Its original meaning is the gear you put on a horse so it can pull a cart and work—otherwise it just runs wild. The same goes for AI models: the model alone is useless; you need to equip it with a whole set of add-ons like tool calling, context management, and prompts to make it truly useful. That set of add-ons is called a harness. The same model, with different harnesses, can produce vastly different results.
And Claude is a standout in this area. The desktop app also significantly lowers the barrier to entry—it’s a WYSIWYG experience.
Apply for an API Key
First, we need to apply for a DeepSeek API key.
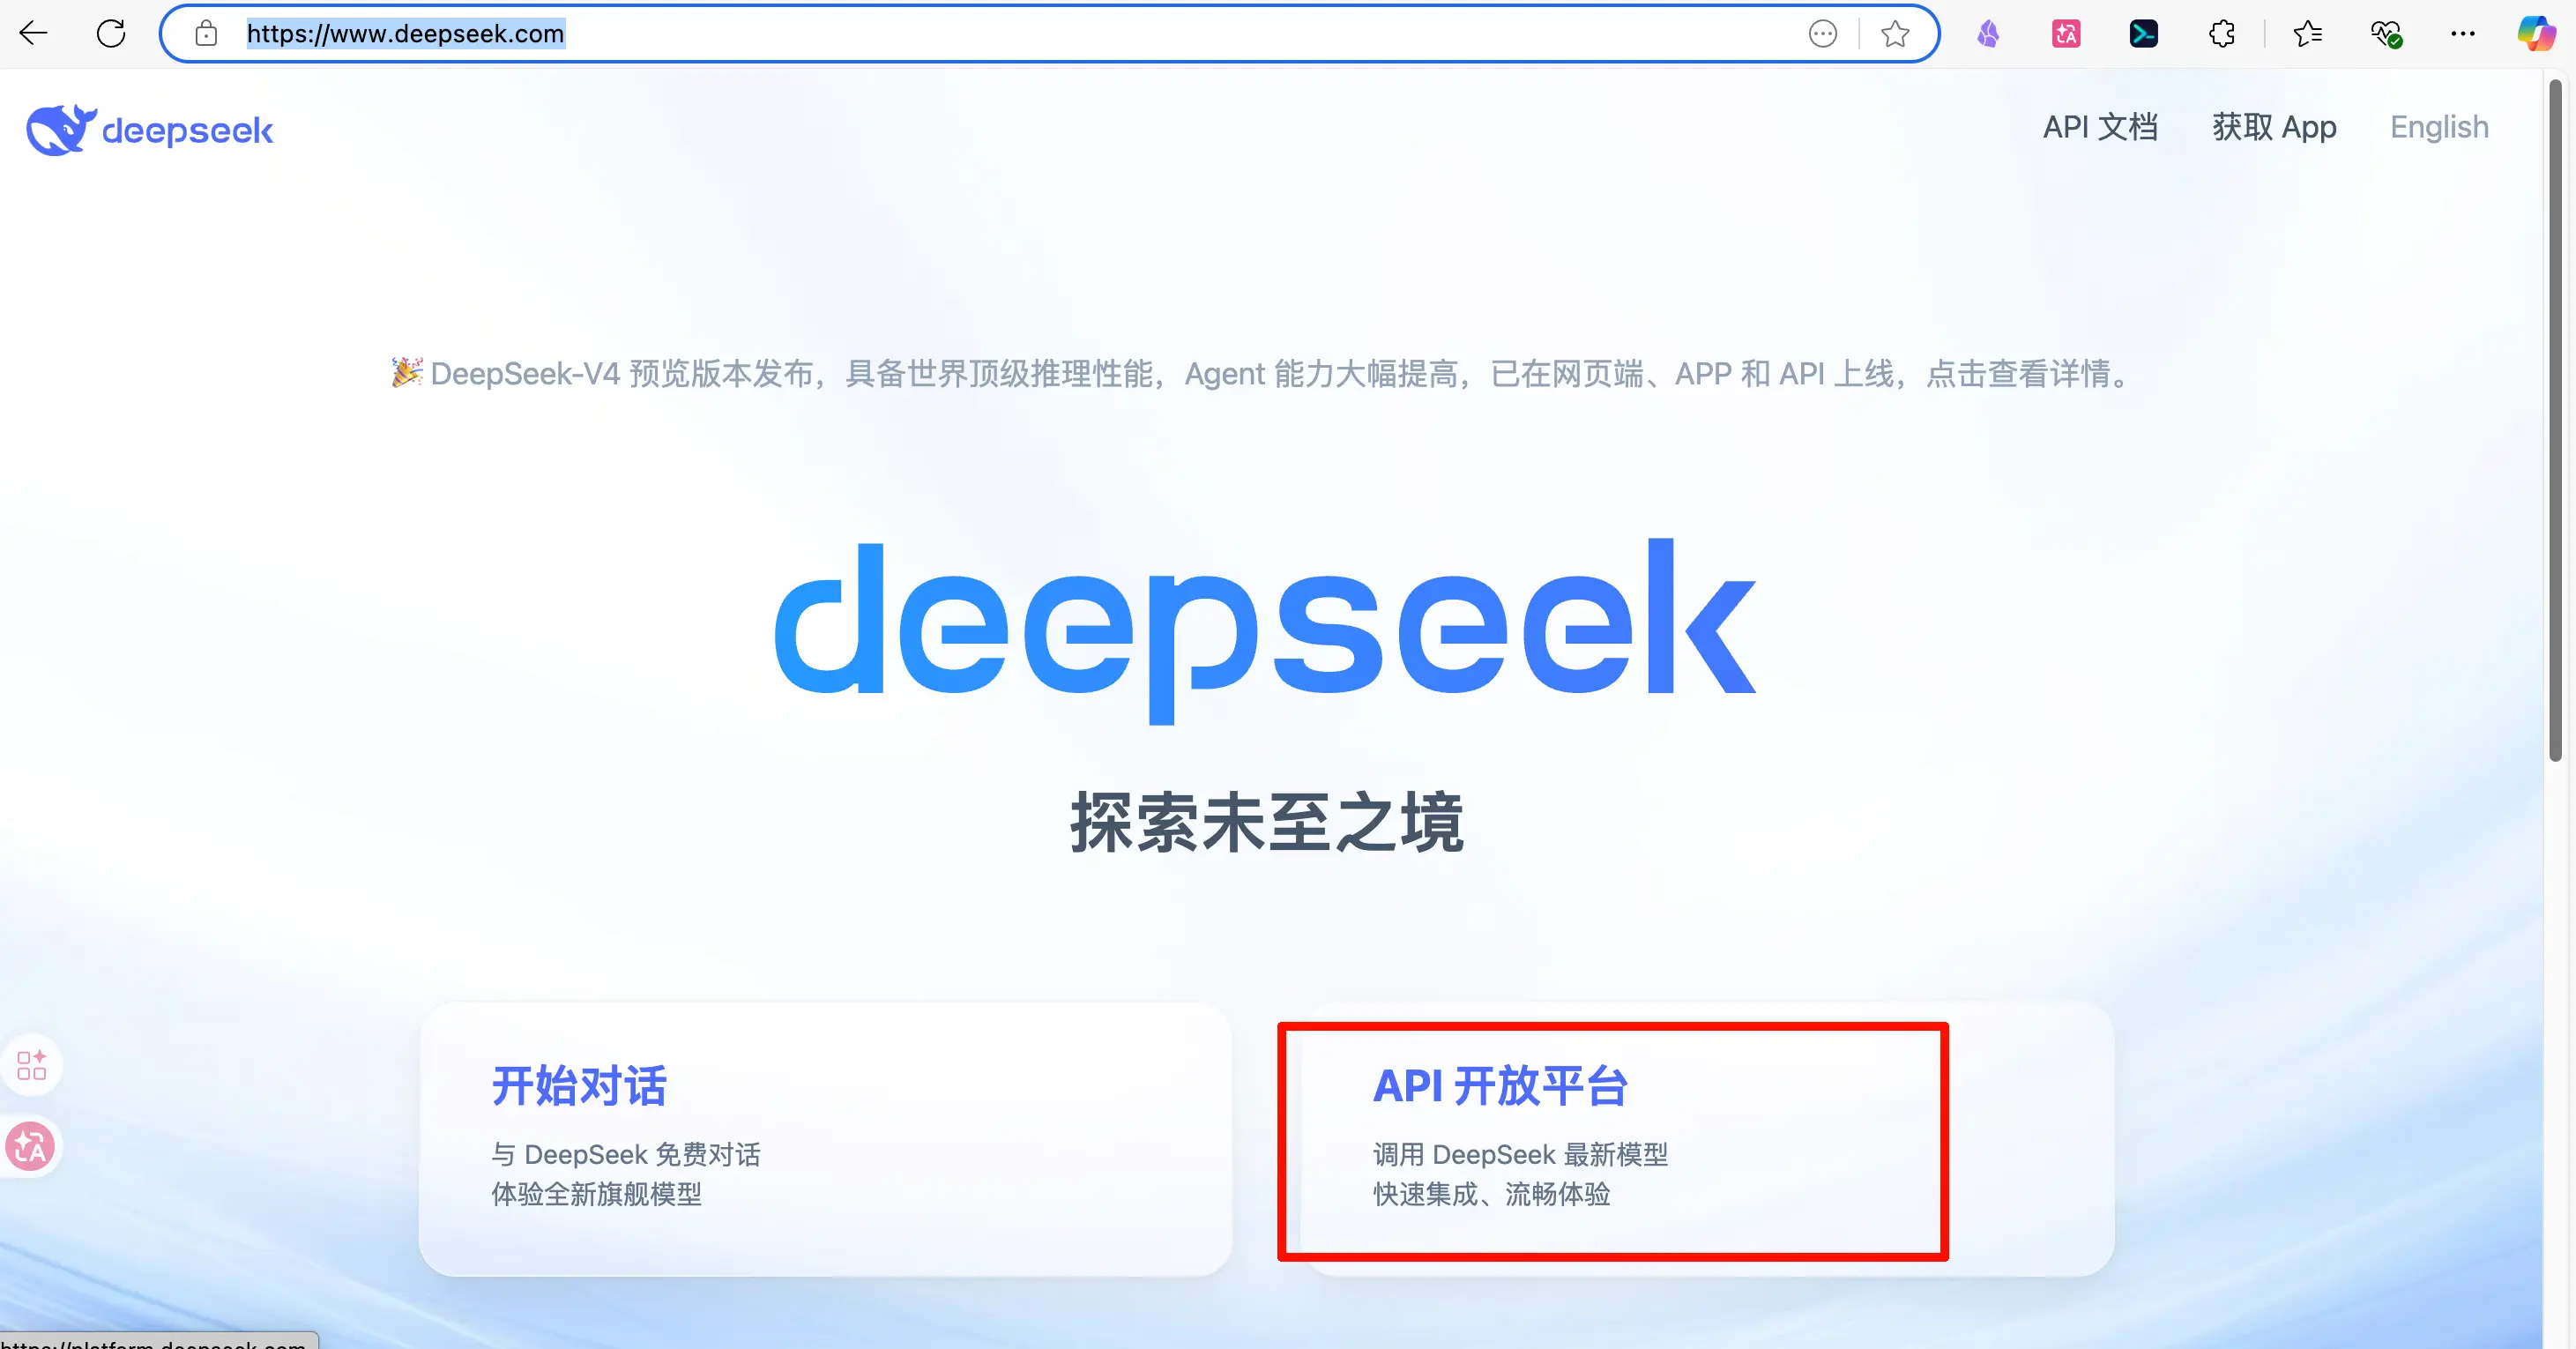
Step 1: Open the DeepSeek website (https://www.deepseek.com) and click “API Open Platform”.
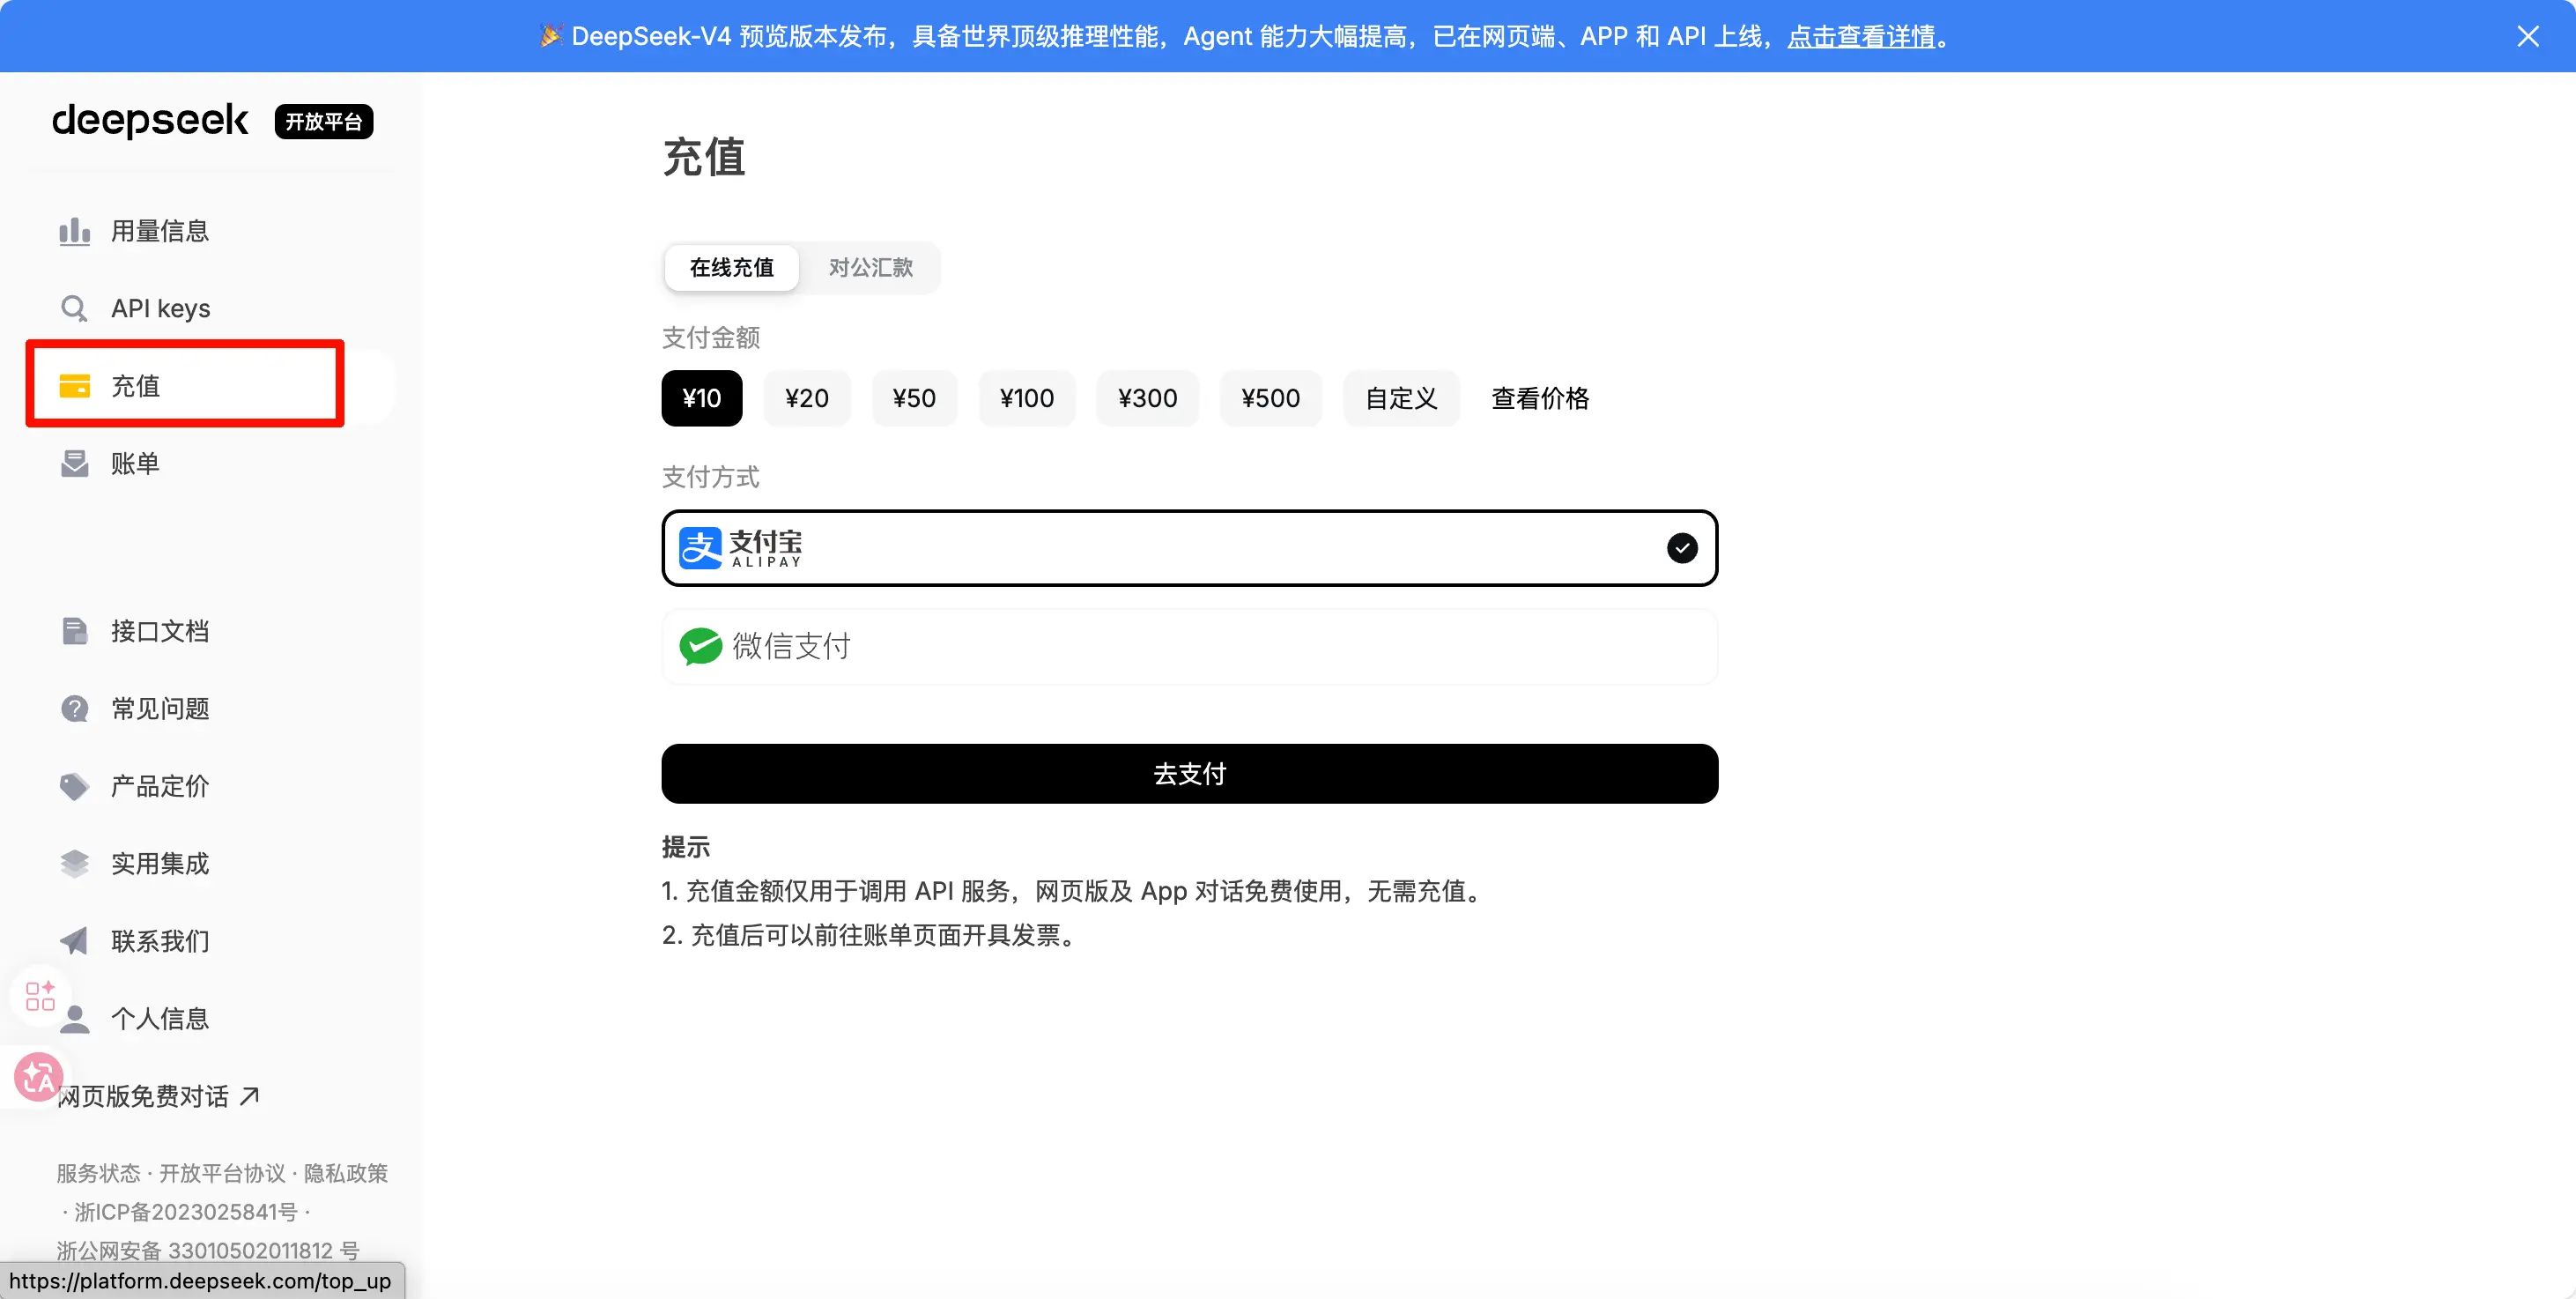
Step 2: Register an account, then click “Recharge” on the left side. Top up with at least 10 yuan. I won’t go into the registration details.
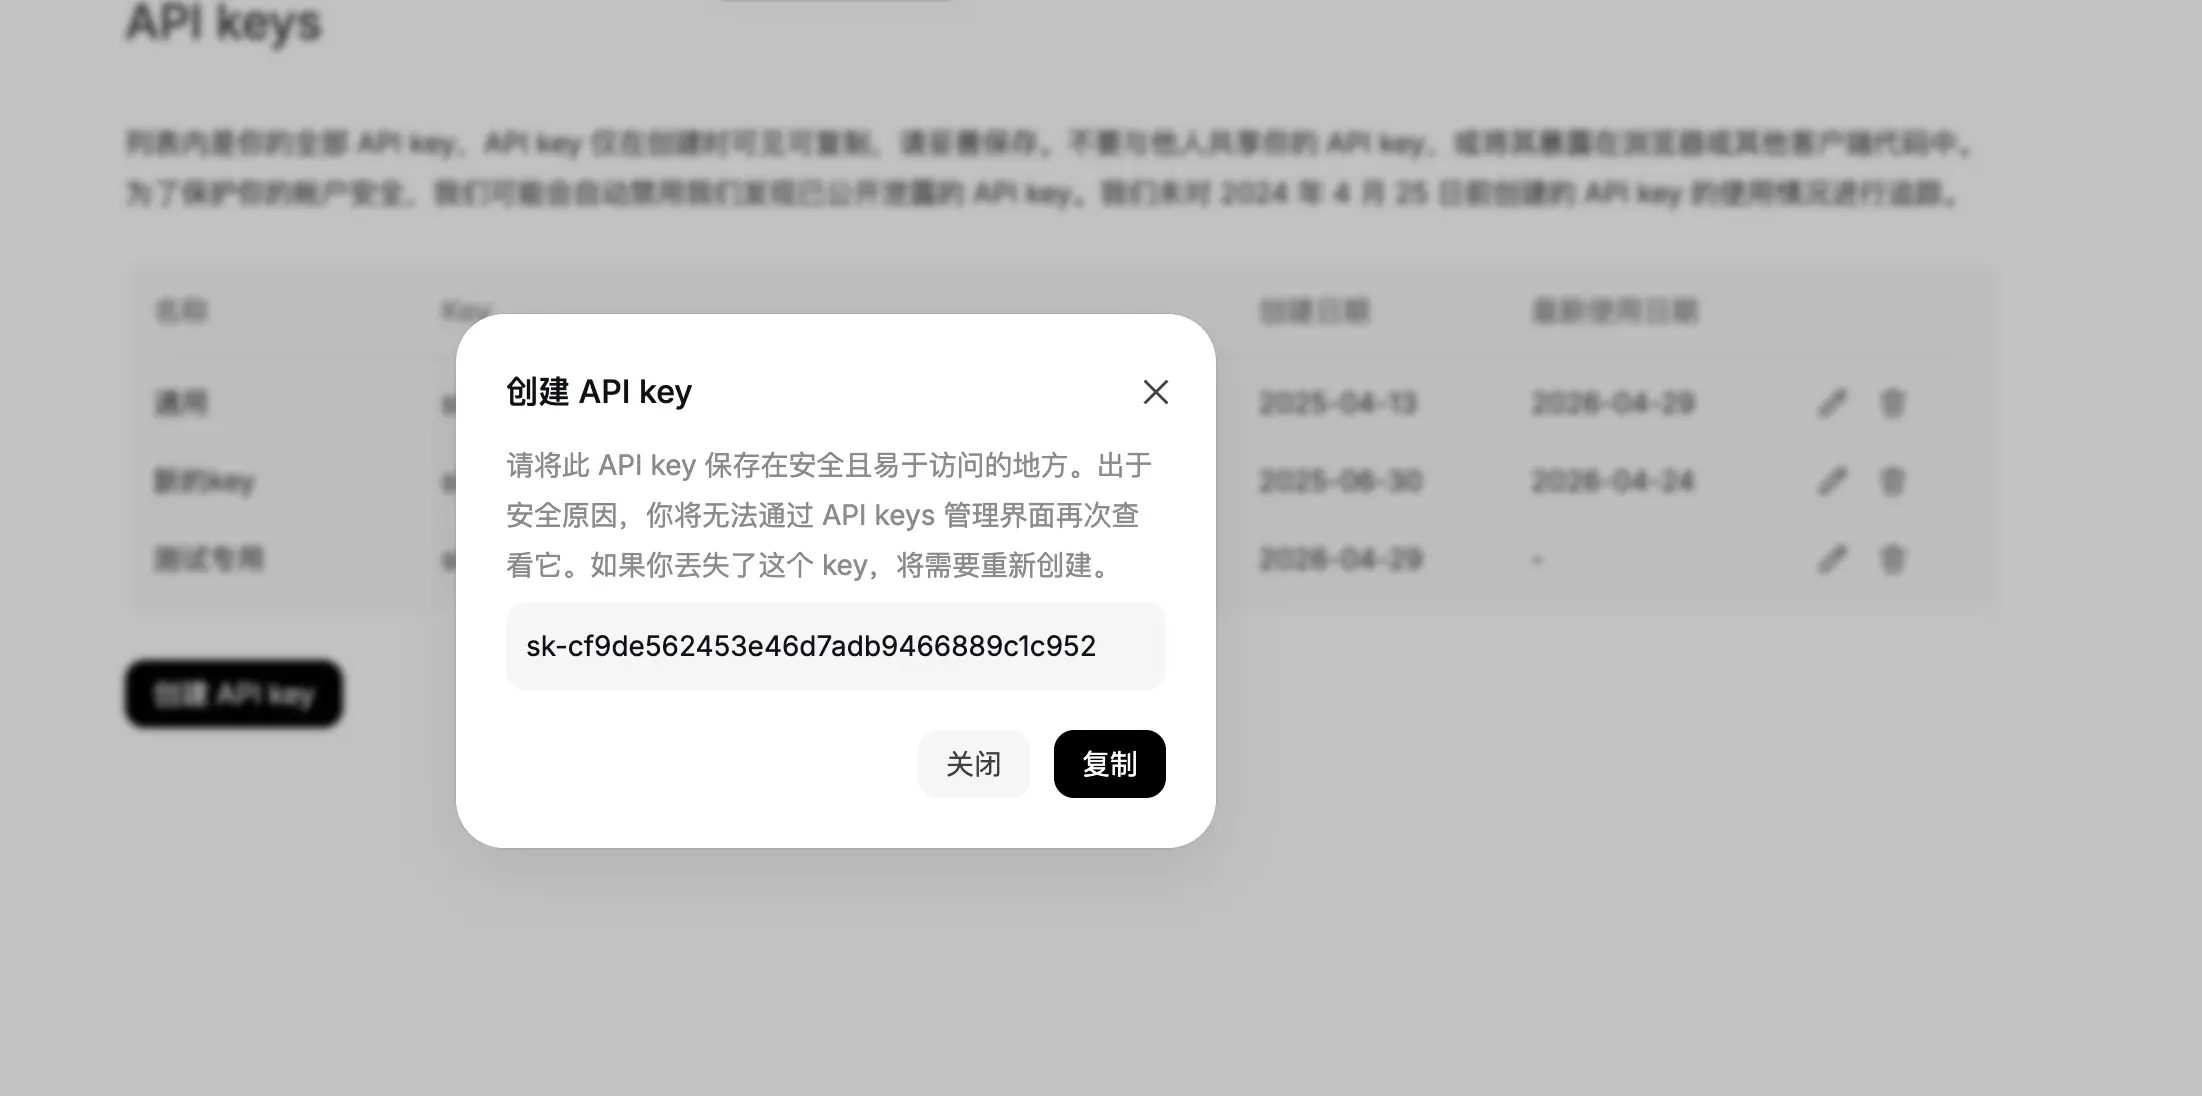
Step 3: Click “API keys” on the left, then click “Create API key”.

Step 4: Enter a name. A new page will appear with your API key. Copy and save all the content immediately—once you close this window, you’ll never be able to retrieve it. So make sure to click copy and store it securely. Also, don’t leak it; if someone else gets your API key, they can use your quota for free!
For the demo, use your own API key in this position. It should look like sk-REPLACE_WITH_YOUR_API_KEY. That’s it for this step.
Configuration
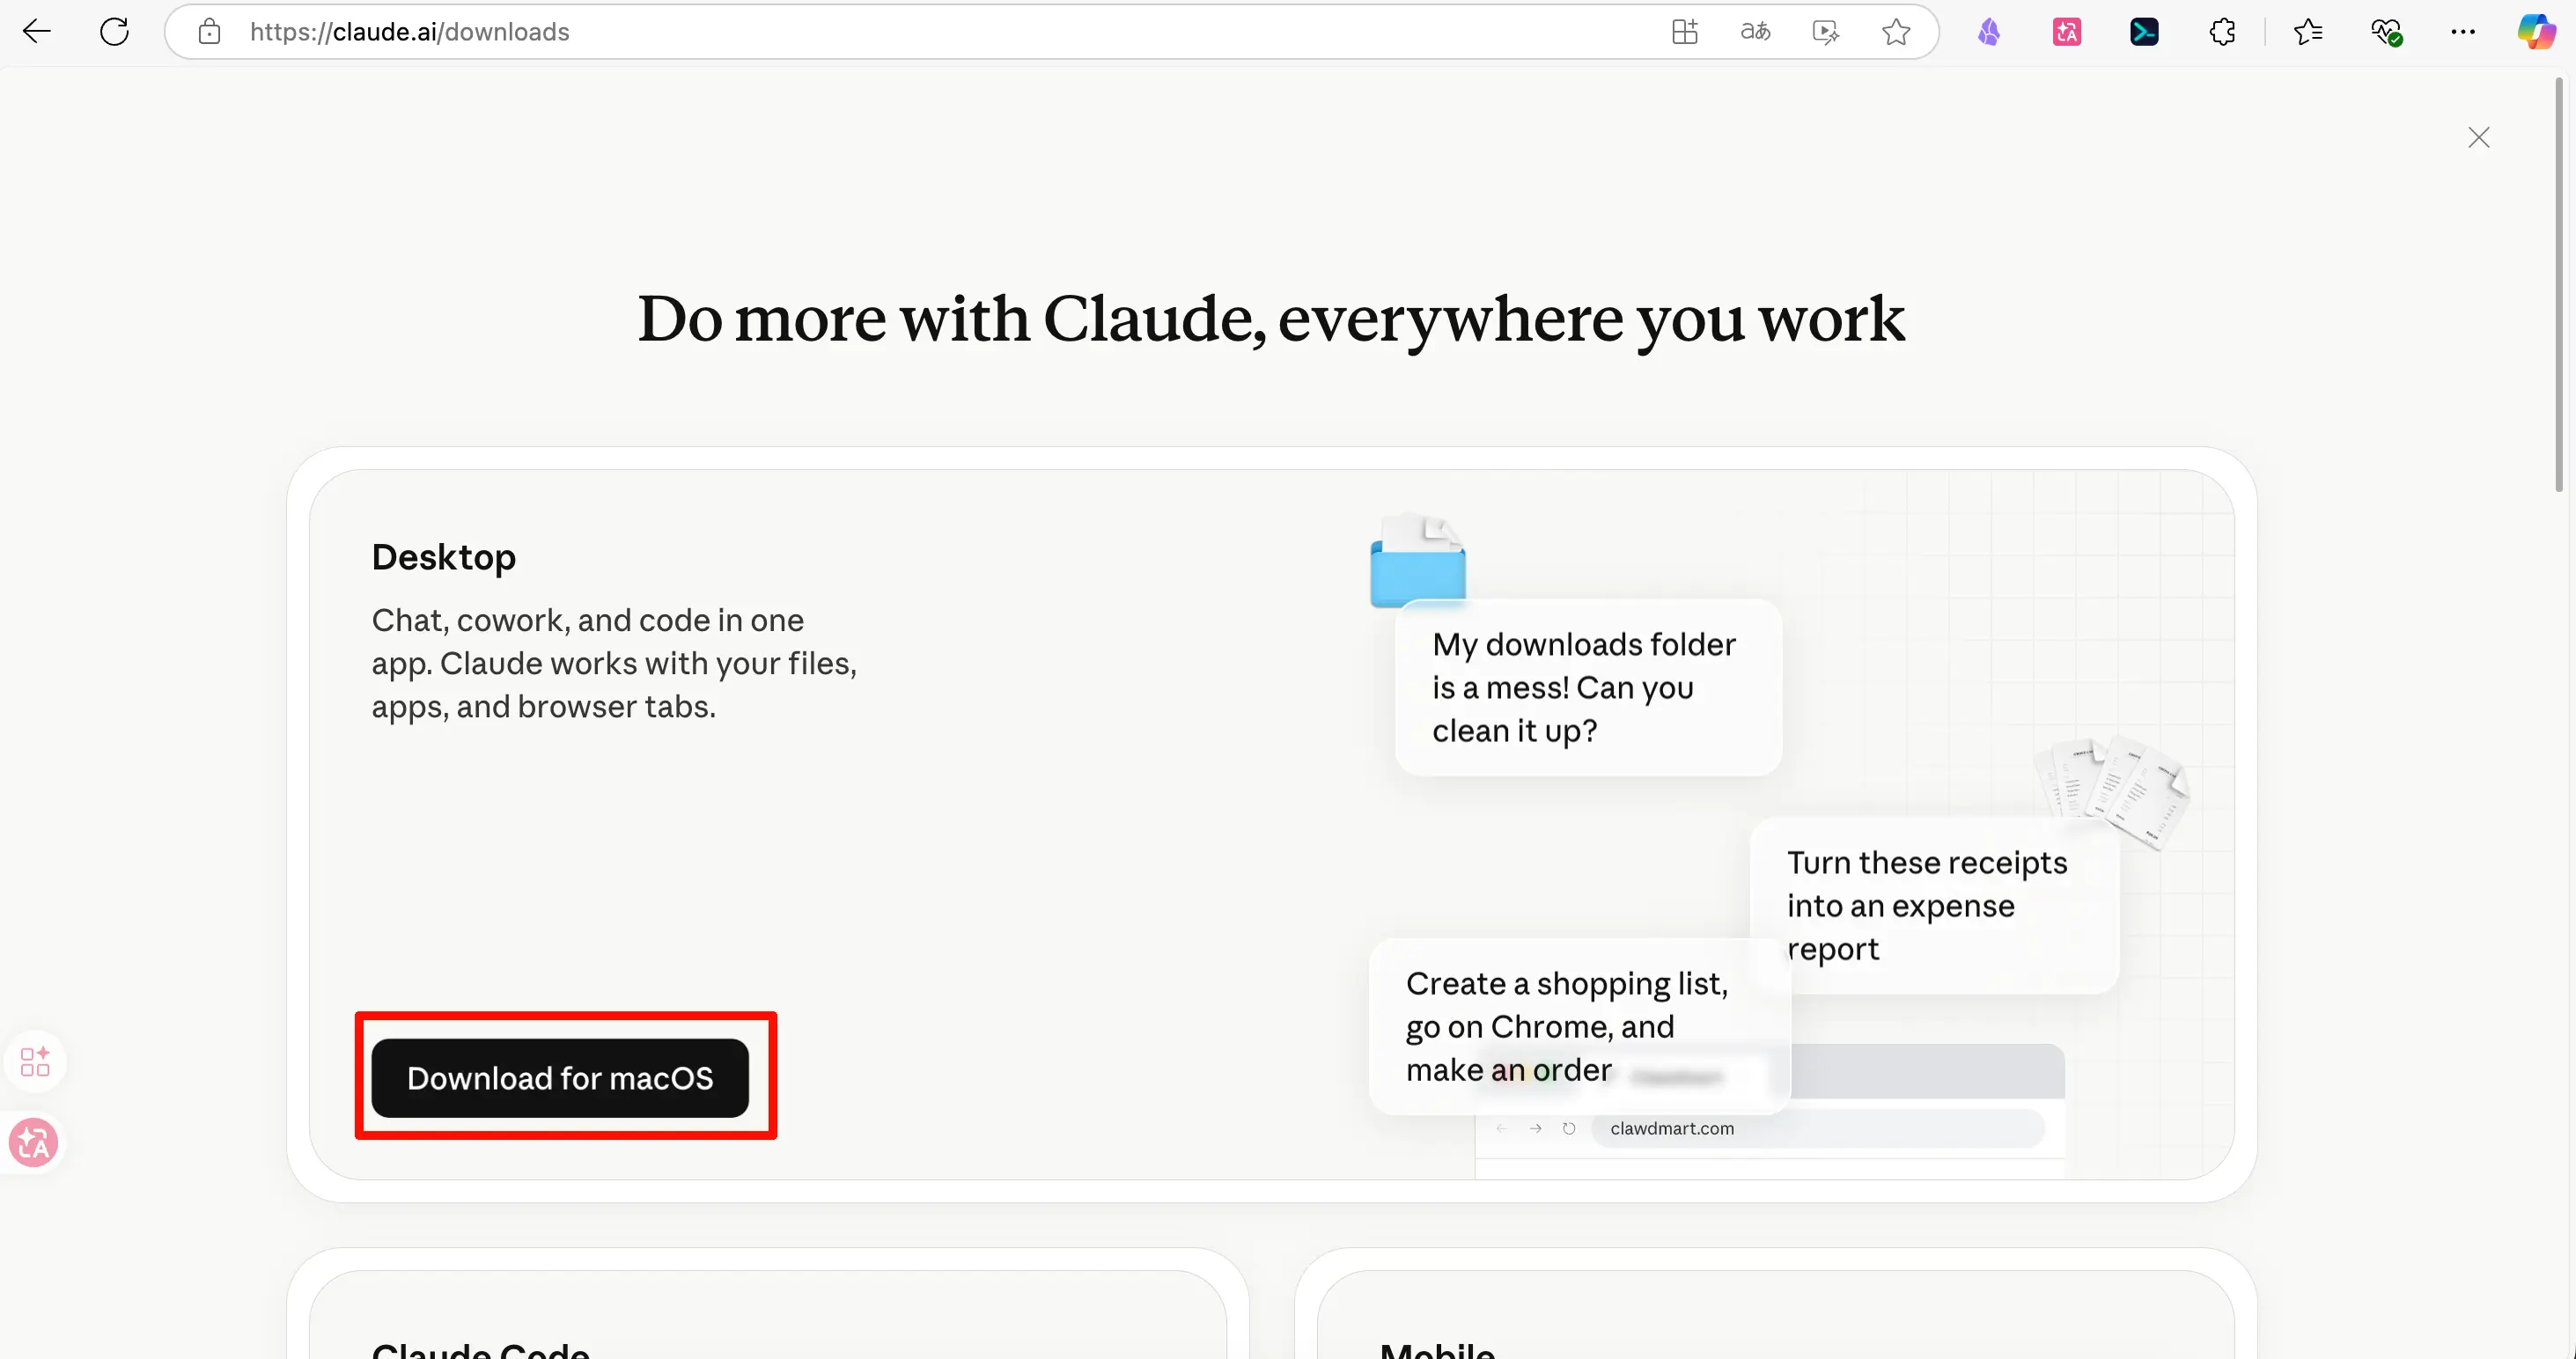
Step 1: Download the Claude desktop app from https://claude.ai/downloads. You might need a VPN for this. If you don’t have one, check if there’s a domestic mirror where you can download it.
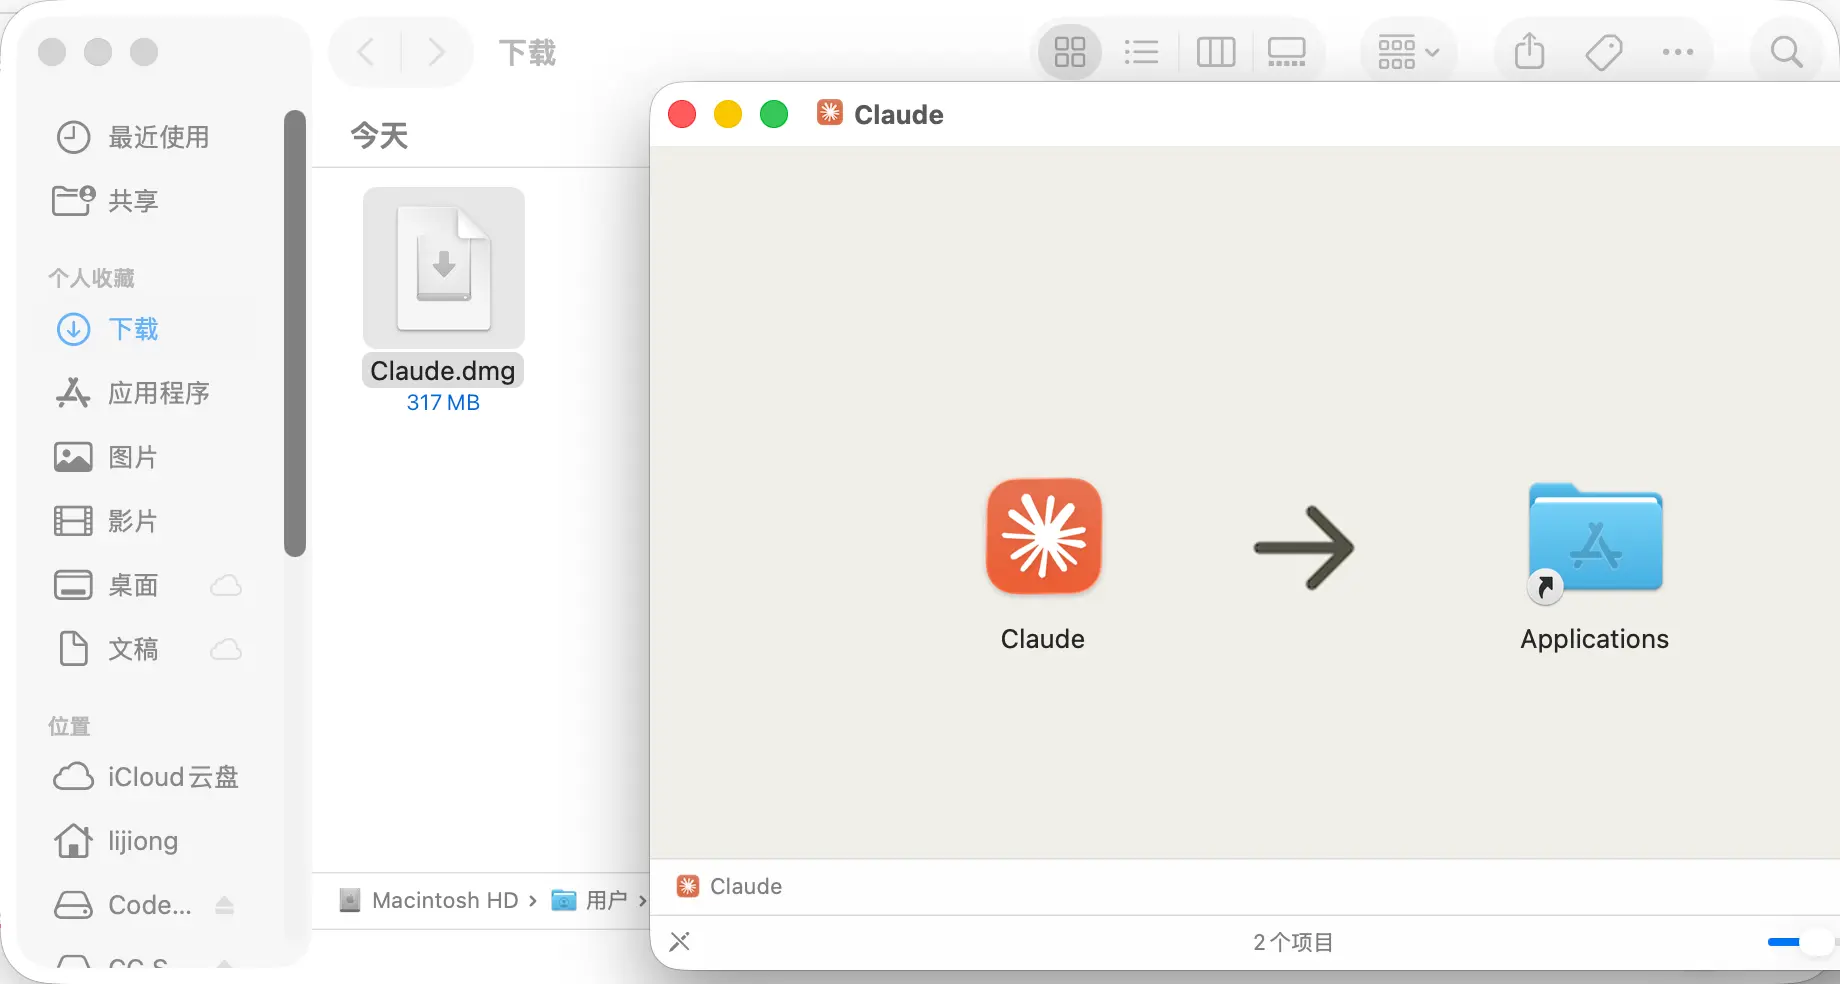
Step 2: Install the downloaded file. Double-click it, and in the new window that appears, drag the Claude icon into the Applications folder on the right.
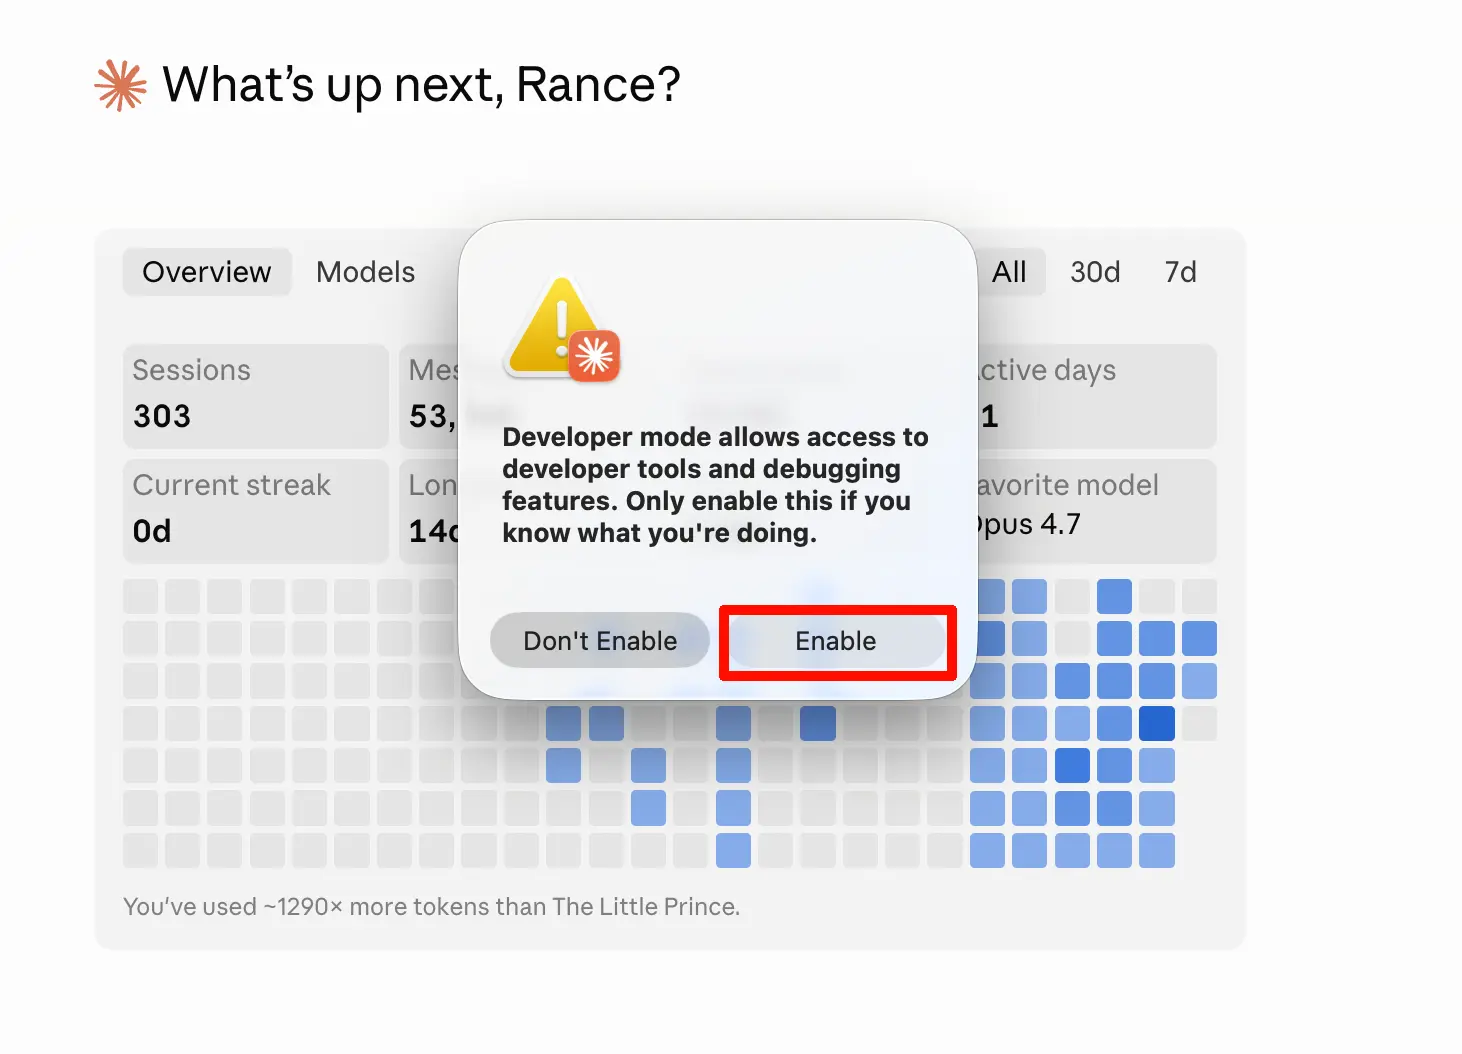
Step 3: Open the app. First, select “Help” from the top menu, then choose “Enable Developer Mode”. In the new dialog that appears, click “Enable”. The app will restart.

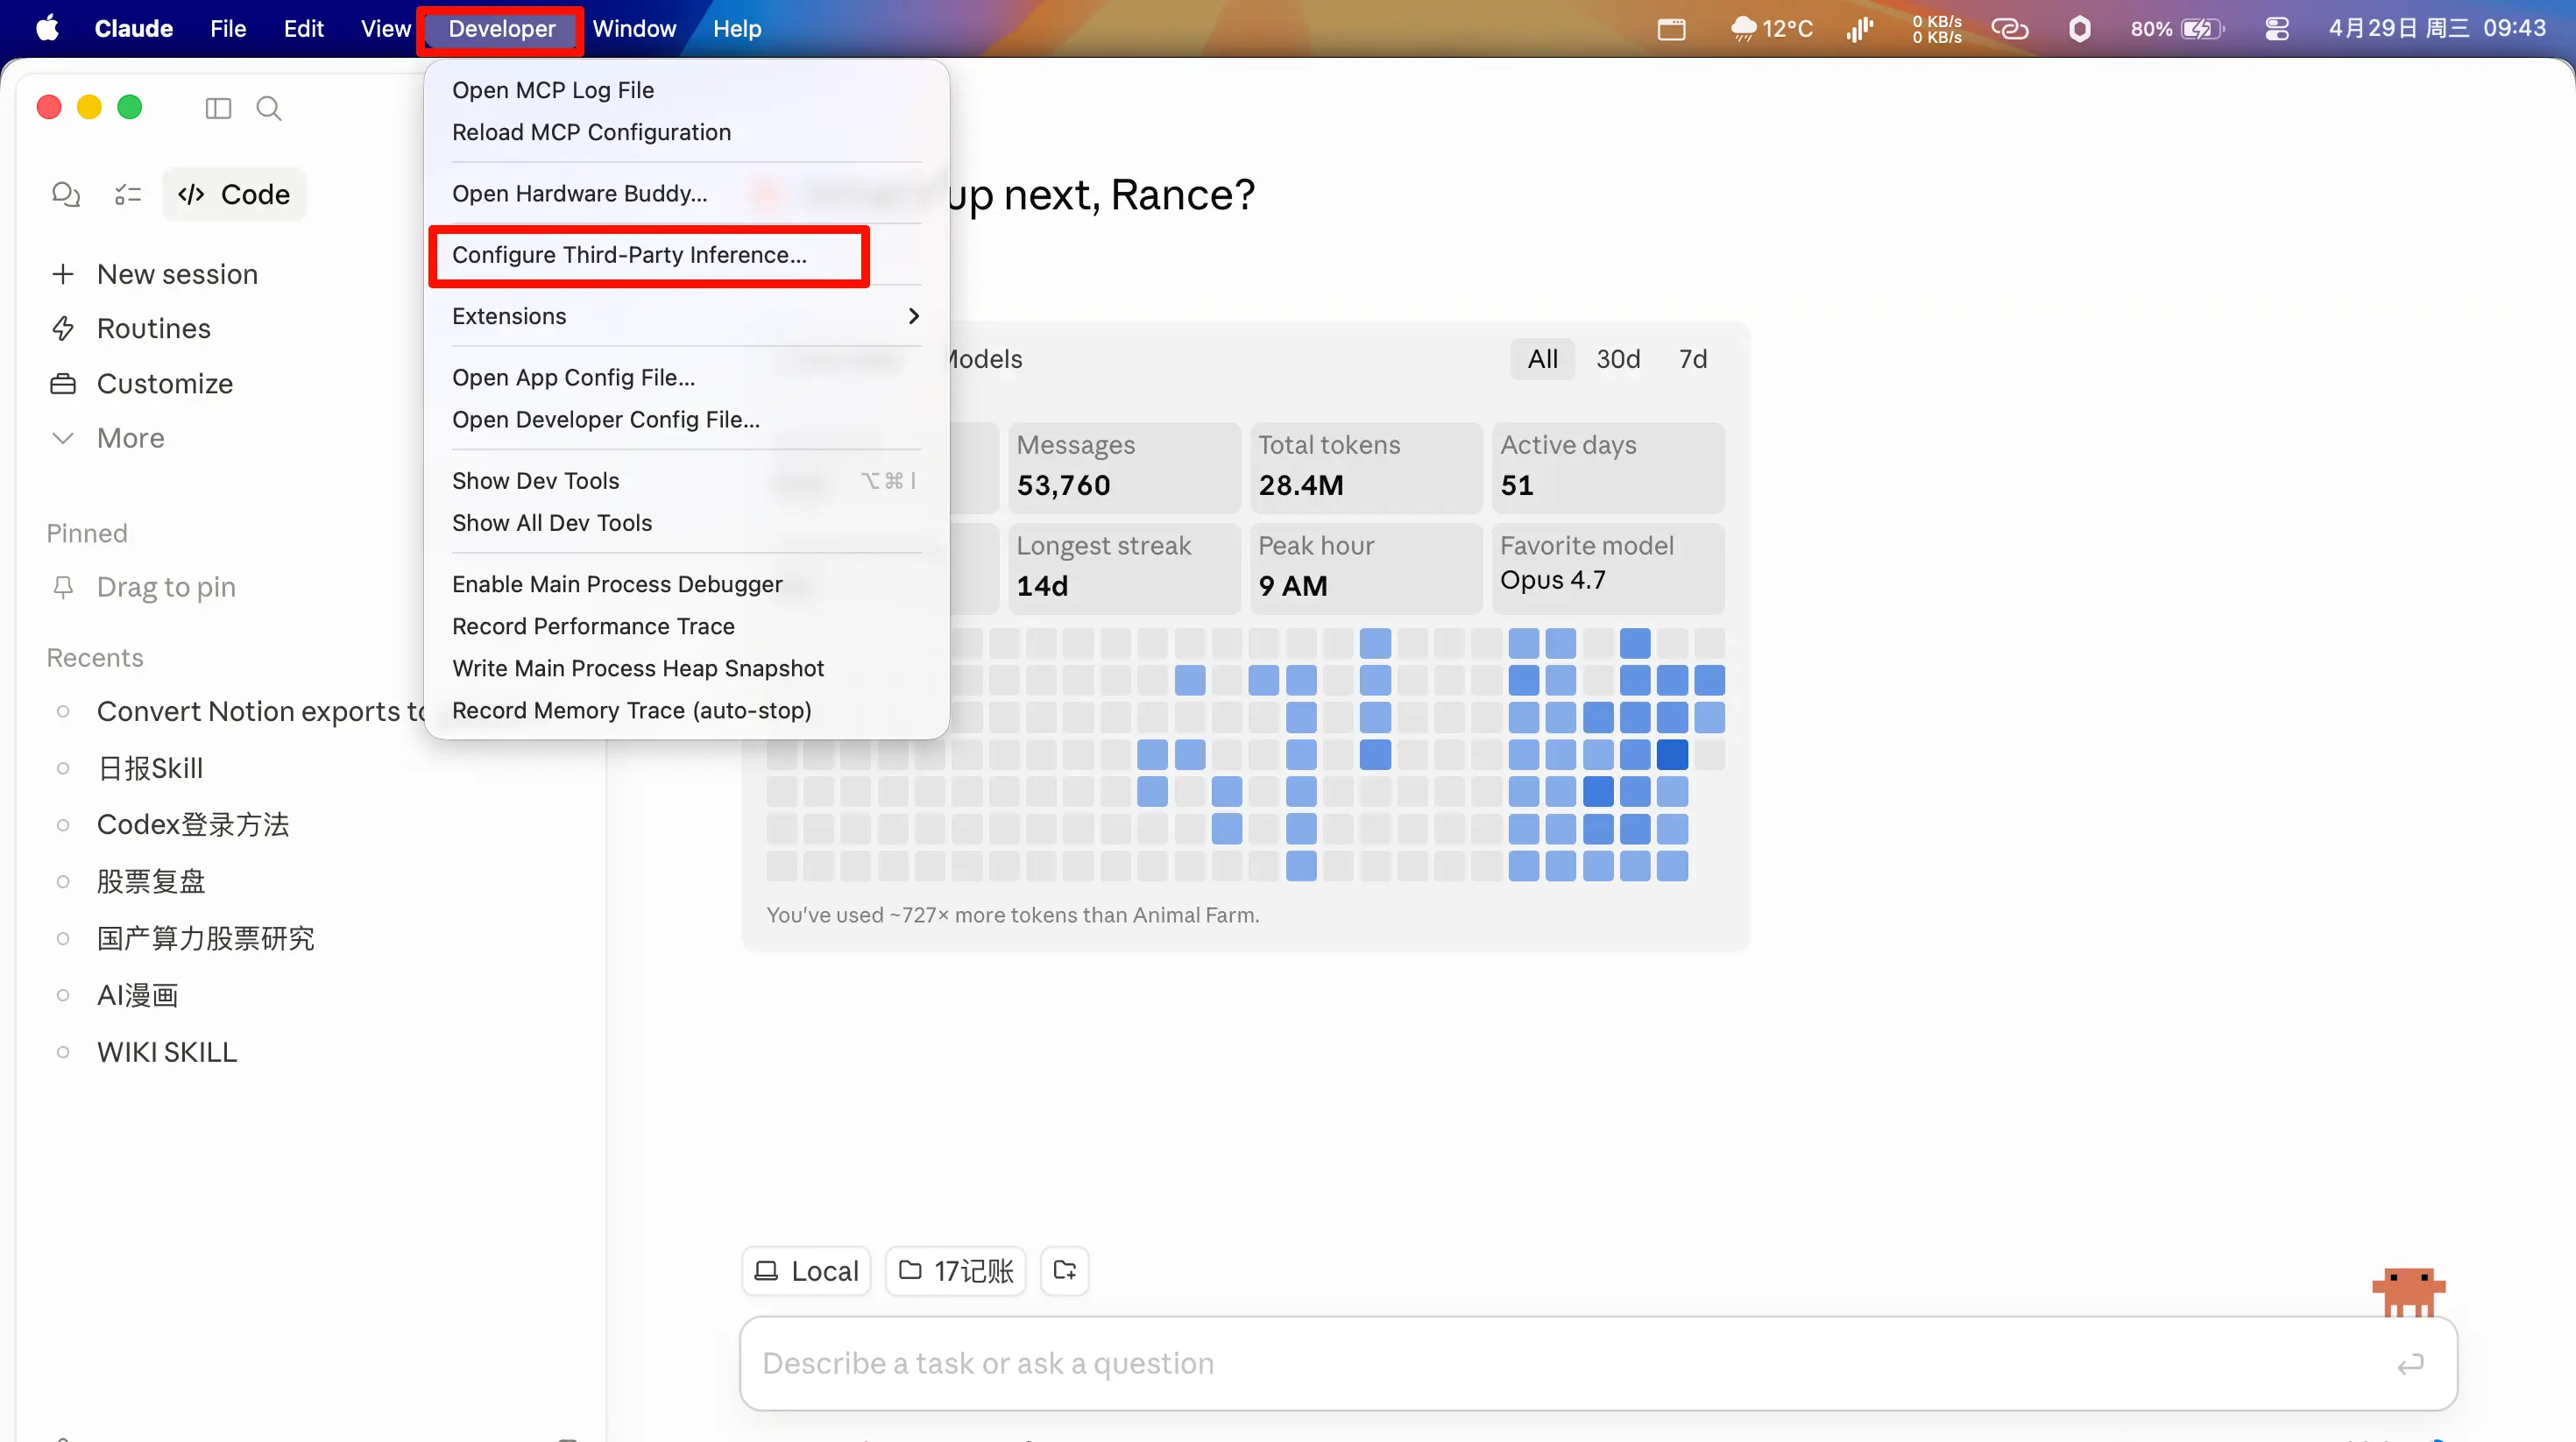
Step 4: After restarting, you’ll see a new “Developer” tab. Click on it and select “Configure Third-Party Inference”.
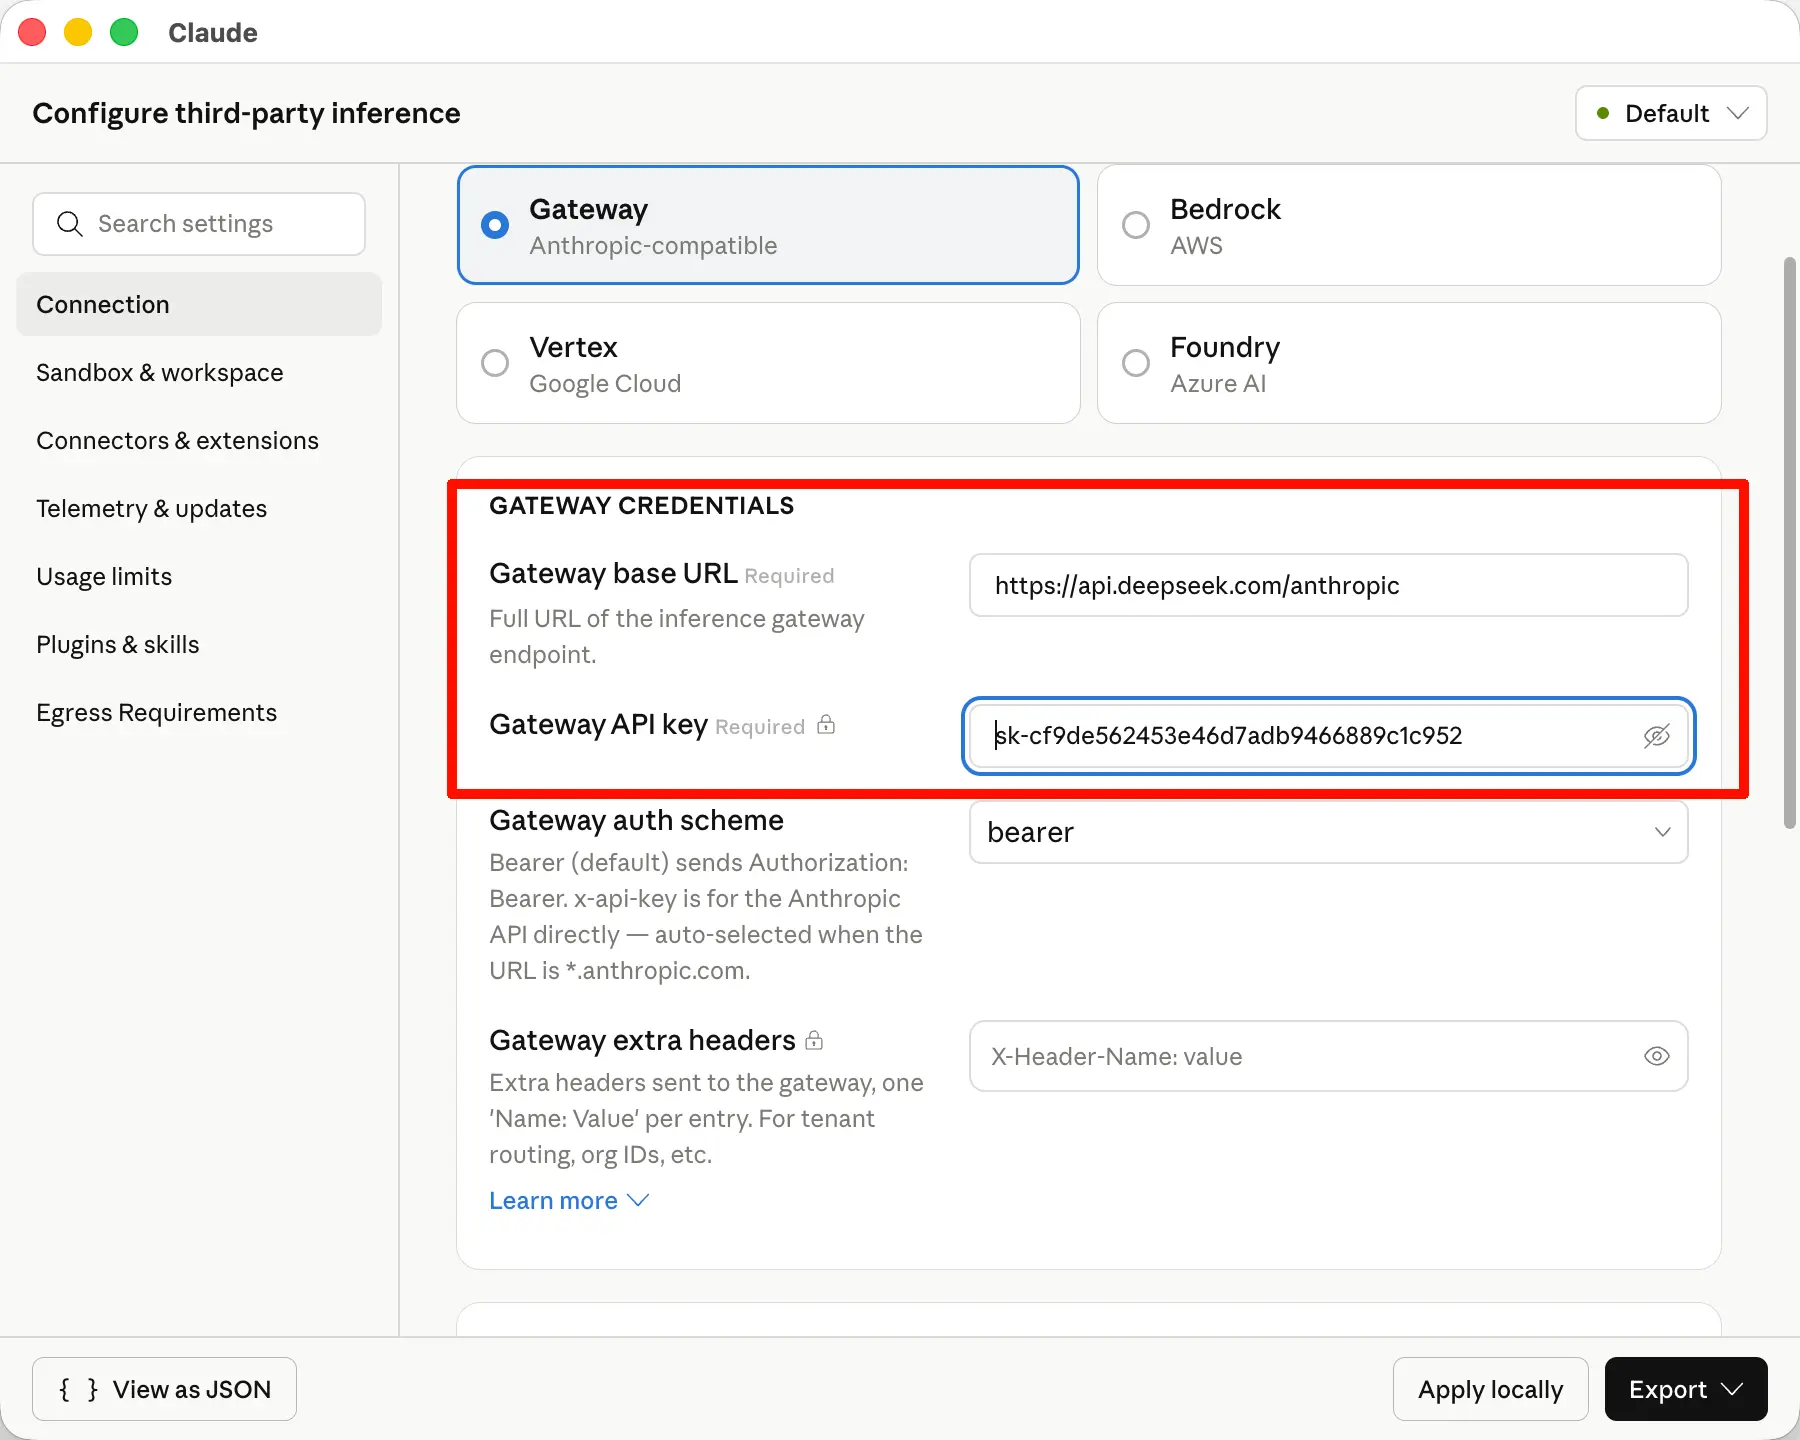
Step 5: In the new page, fill in the URL: https://api.deepseek.com/anthropic. For the API key, use the one you saved earlier.
Step 6: Fill in the model. Note: The Claude desktop app now detects the model name prefix to identify the model. If you enter the original name directly, it will be blocked.
The solution is simple: give it a “hat”. Just add the prefix claude- to the model name.
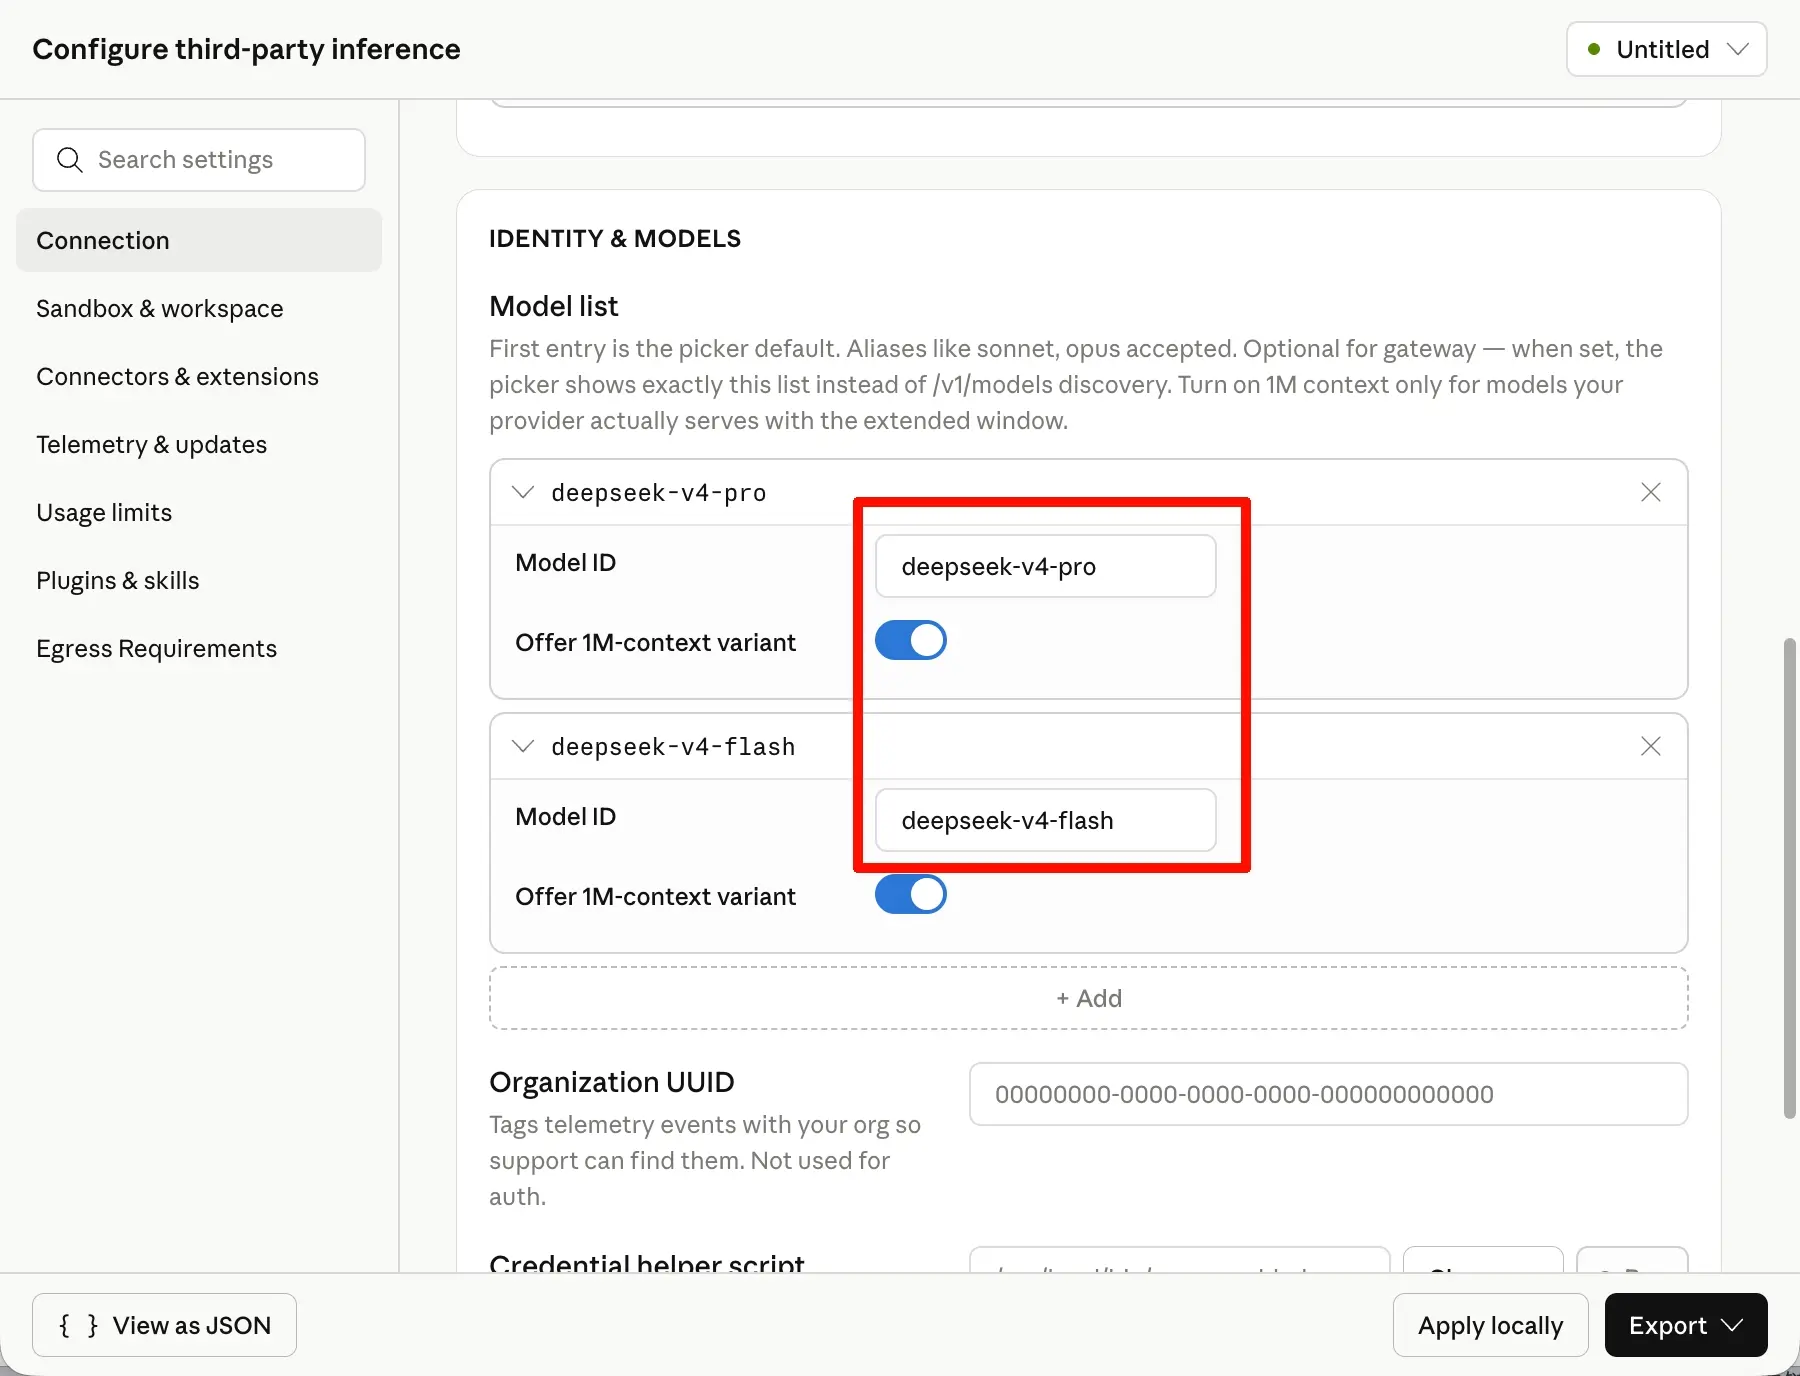
Scroll down on the same page until you see “Model list”. Click “Add” below it and add two models:
- claude-deepseek-v4-flash
- claude-deepseek-v4-pro
(You might have originally filled in deepseek-v4-flash and deepseek-v4-pro. Now just add claude- at the beginning. The app identifies models by their name prefix, so adding a prefix makes it unrecognizable.)
After filling everything in, click “Apply Locally” at the bottom. In the new page, select “Relaunch now”. The app will restart.

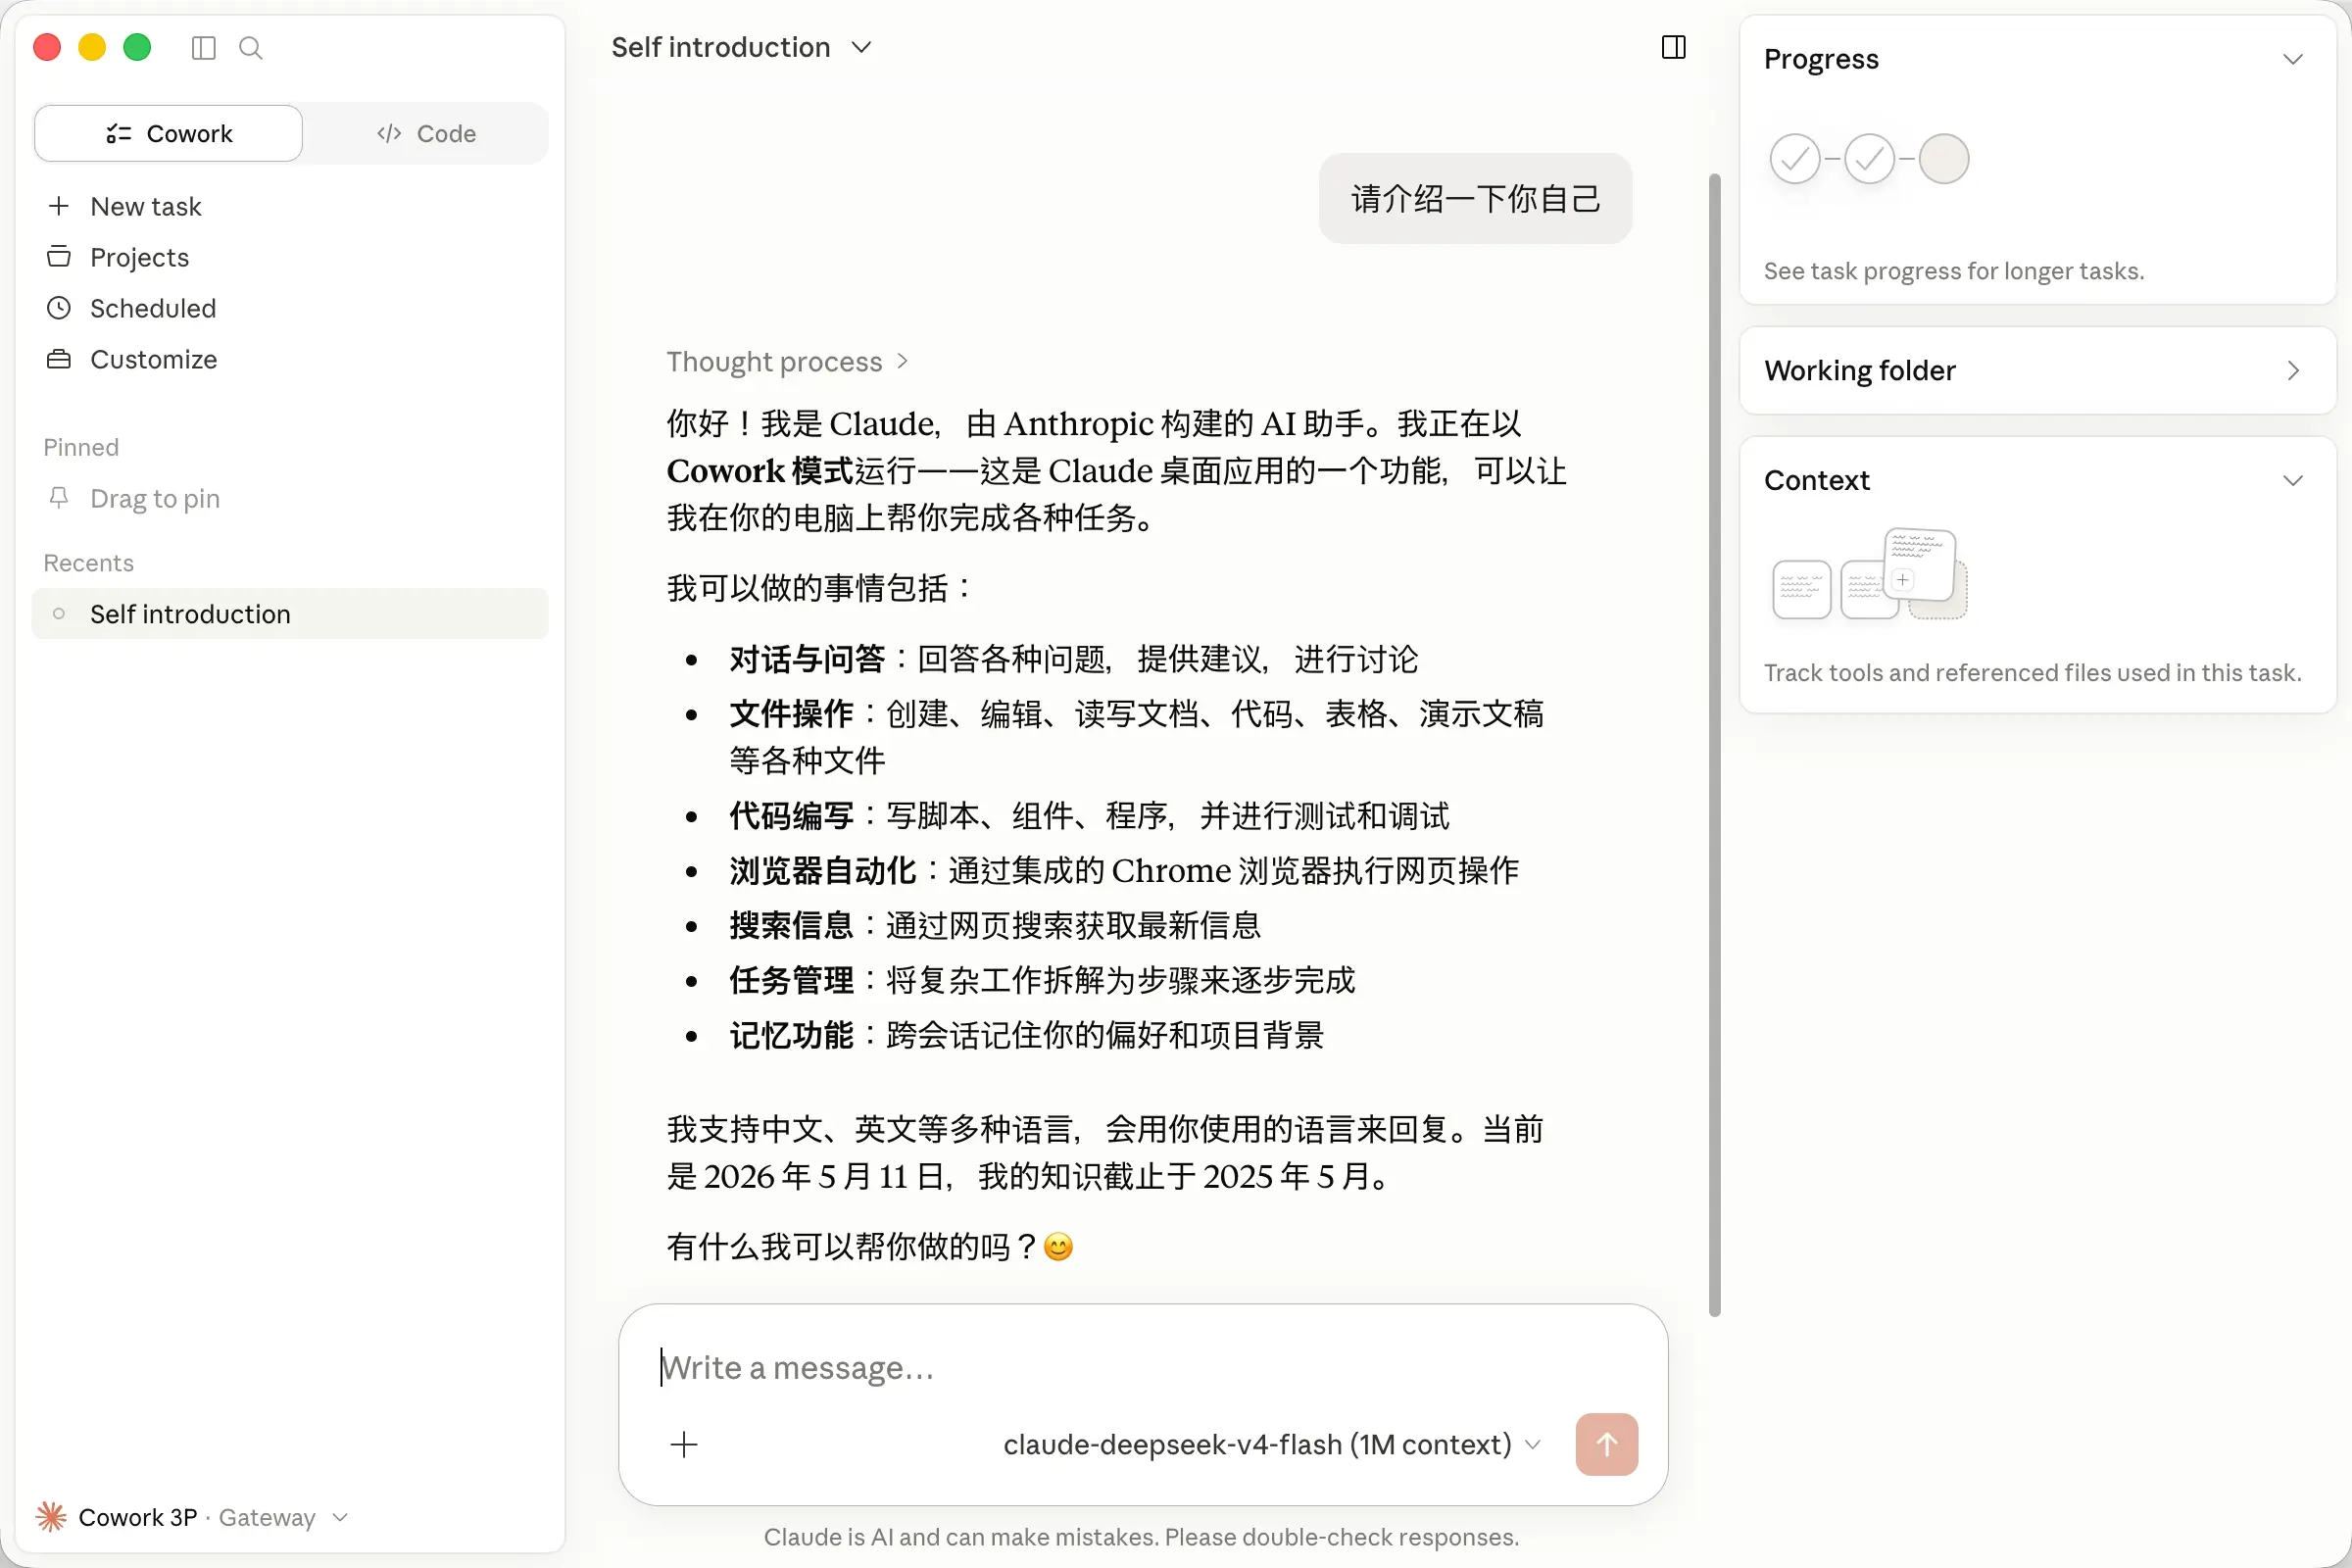
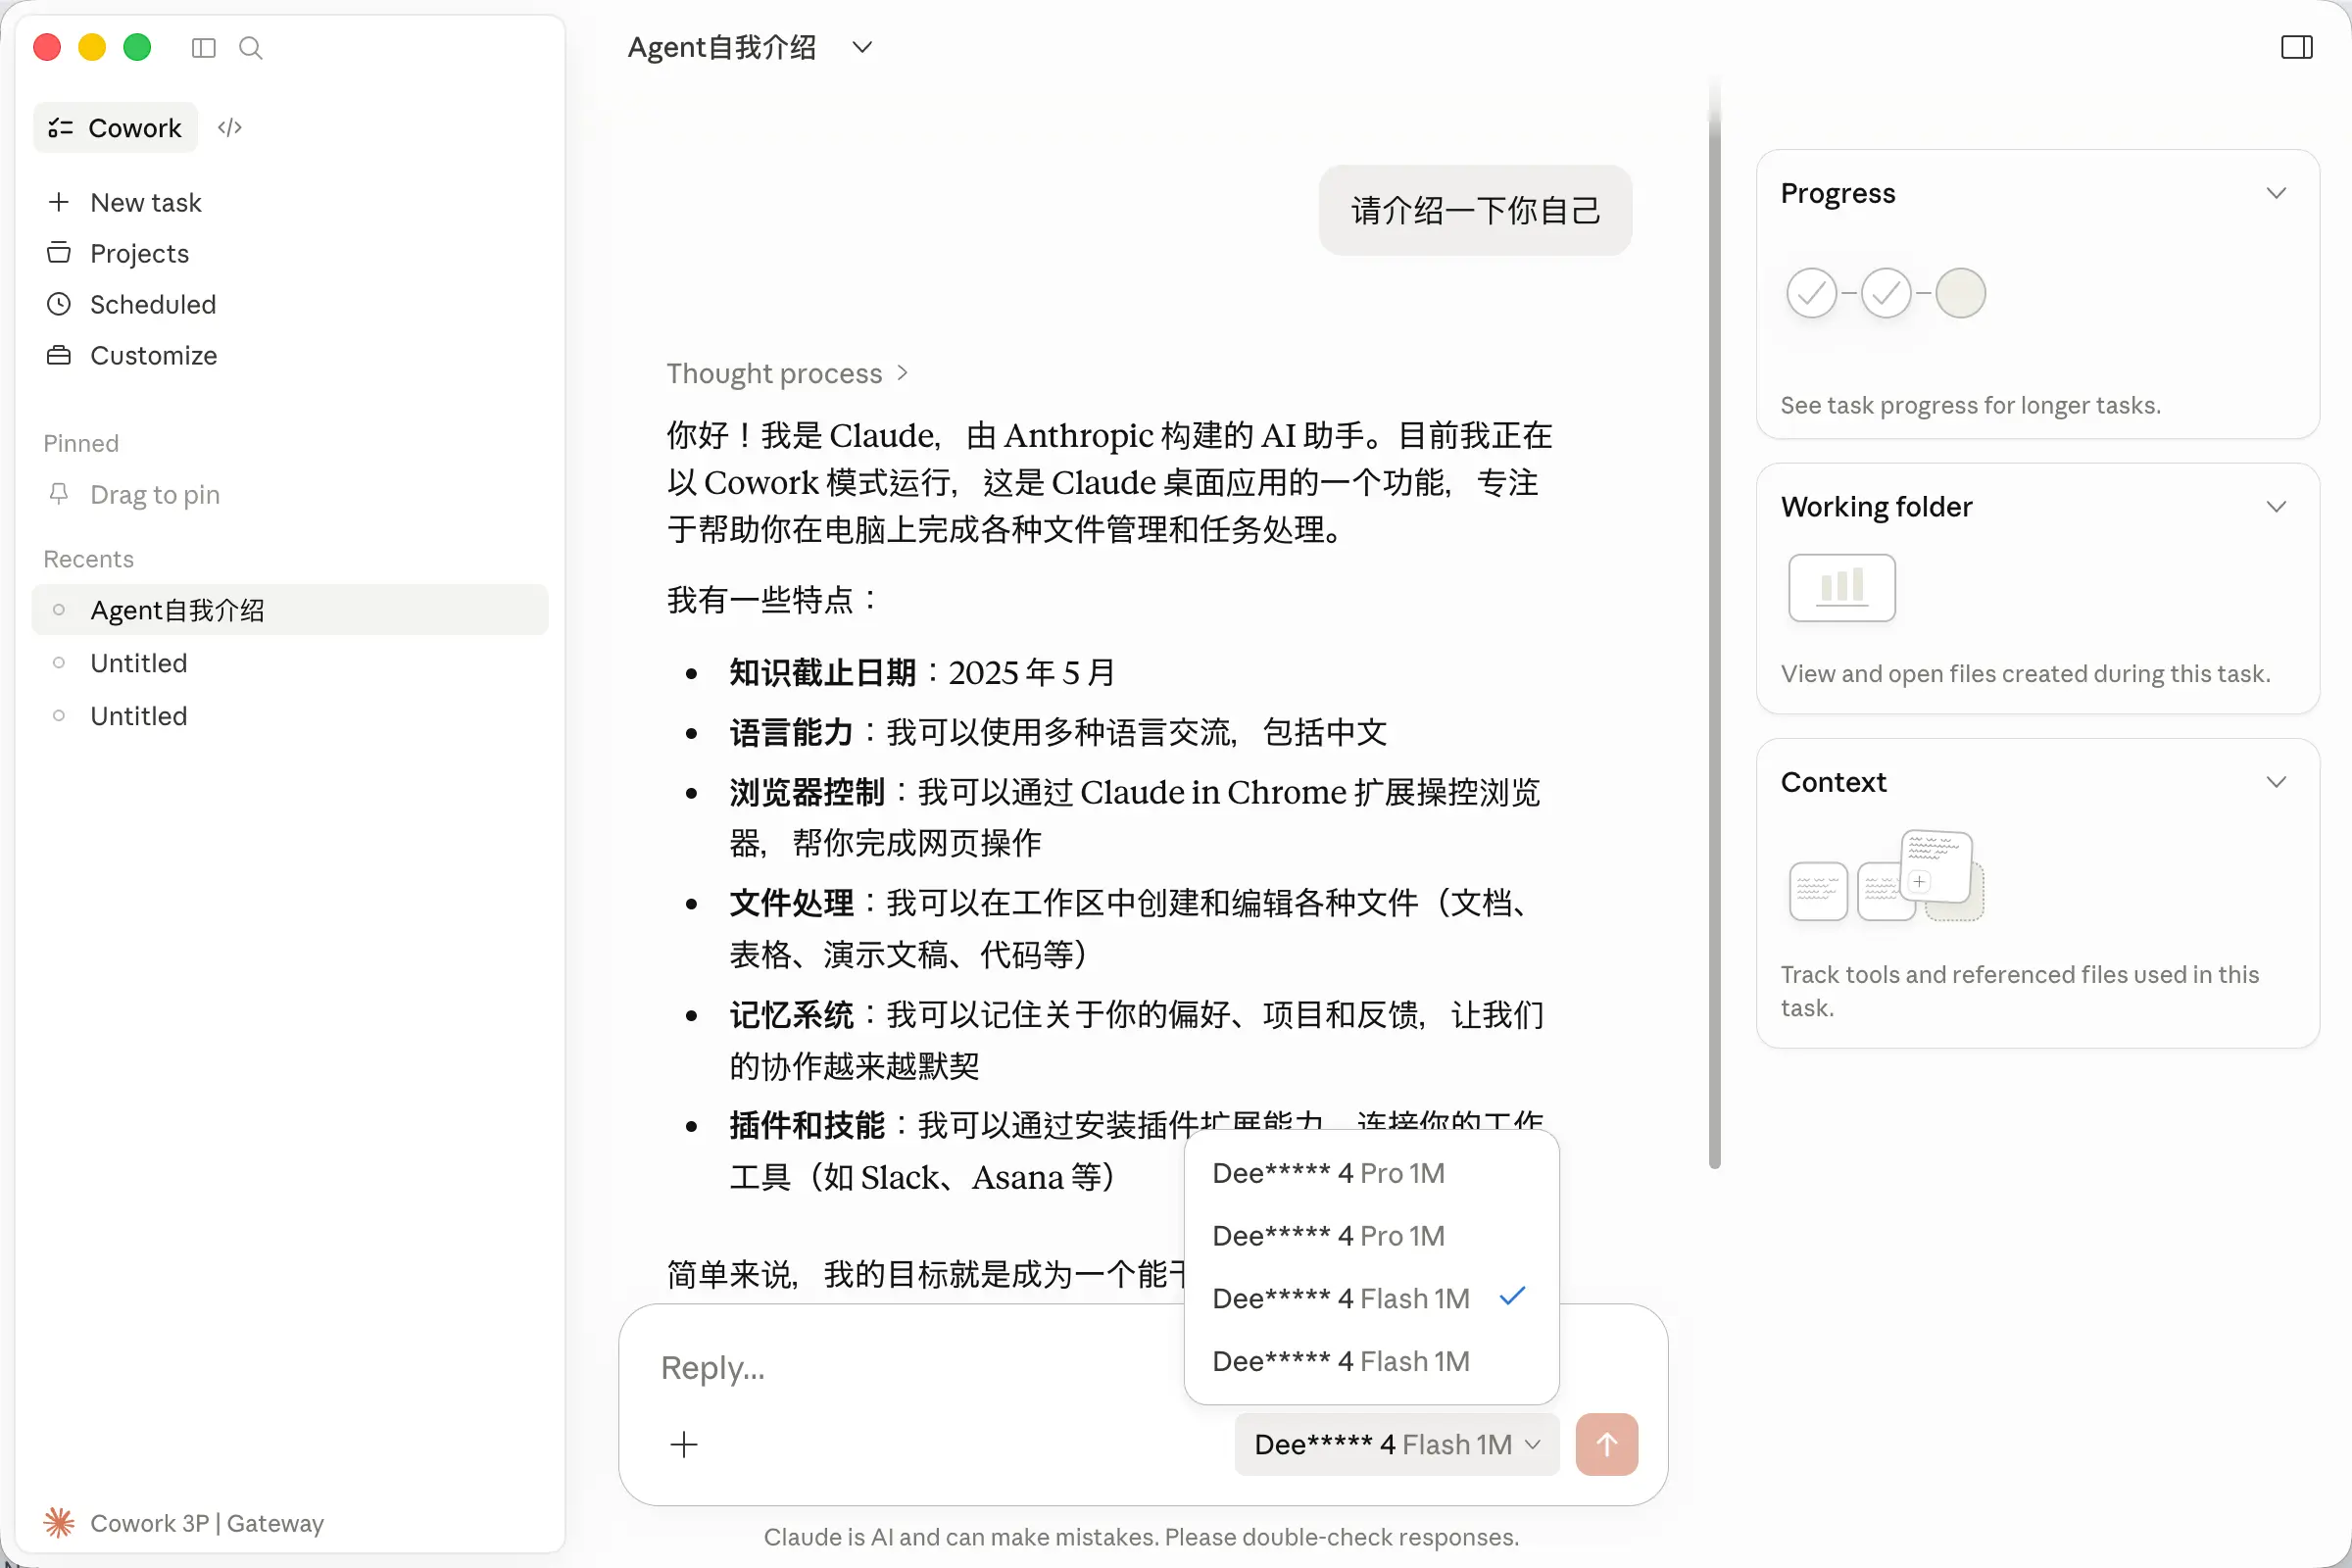
Step 7: After restarting, you can start using it on the new interface. For detailed usage of Claude Code, see Chapter 13 of this guide.
Finally, if you follow these steps step by step, you shouldn’t run into any issues. If you still encounter problems, feel free to ask in the Q&A group.
Also, if you want to log out of this third-party login, click “Cowork 3P” in the bottom-left corner and then “Disconnect”. When you log in again, it will ask you for the login method—just select “Subscription” again.
Oh, and by the way, DeepSeek doesn’t support vision yet, so if you give it an image in Claude, it won’t see it. But there are rumors that DeepSeek’s vision model is coming soon—looking forward to it!