We’ve covered theme settings before, and Obsidian looks much better after installing a theme. But many people still feel something is off after switching themes—font too small, line spacing too tight, note area too narrow… These details are beyond the scope of themes. This chapter will cover how to fine-tune with CSS Snippets.
This chapter covers four things:
- What CSS is—understandable even without coding knowledge
- Why you still need CSS even with a theme
- Let AI write CSS for you—just copy and paste
- Where to put the CSS and how to make it work
What is CSS
CSS stands for Cascading Style Sheets. It sounds technical, but the core logic is simple: CSS is a set of rules that control how things look.
For example:
- What font, size, and color should this text be?
- How wide is this area? What are the margins?
- What should the background color be when hovering?
Almost all visual effects you see on a webpage are controlled by CSS. Obsidian’s interface is also built on web technology (Electron), so CSS can be used to control its appearance as well.
The theme you install is essentially a large package of CSS written by someone else. A CSS Snippet is a small piece of CSS you add yourself, specifically for fine-tuning things the theme doesn’t cover.
The theme is the overall style; snippets are local tweaks. They don’t conflict and can be used together.
Why Still Need CSS with a Theme?
Themes solve the “overall style” problem, but many personal preference details are beyond the scope of themes—and they shouldn’t be, because everyone’s preferences are different.
Several common scenarios where themes fall short:
Note area too narrow: Many themes limit the maximum width of notes by default, leaving large blank spaces on wide screens with content squeezed in the middle. Some like this layout, others find it wasteful.
Line spacing too tight/loose: The default line spacing might not be comfortable for you, but the theme doesn’t have an option for it.
Heading color not right: You like the theme overall, but the H1 color is a bit too bright and you want to dim it.
Annoying UI element: For example, a button you never use—you want to hide it.
These needs are very specific and personal. CSS Snippets are the tool designed to solve these “last mile” problems.
No Need to Write It Yourself—Let AI Write It for You
This is the most important point of this chapter: You don’t need to learn CSS at all—just let AI write it for you.
The process is very simple: just tell the AI what you want to change:
“Write me an Obsidian CSS Snippet to set the maximum width of the note content area to 900px”
“Write me an Obsidian CSS Snippet to set the body line spacing to 1.8”
“Write me an Obsidian CSS Snippet to change the H1 color to dark blue”
The AI will give you a complete CSS code snippet that you can copy and use directly.
A few tips to get better results from AI:
- Specify it’s an Obsidian CSS Snippet, otherwise the AI might give you regular web CSS with incorrect variable names.
- Ask AI to add comments, tell it “Please add comments next to each property explaining what it does” so you can understand your file later.
- Change one thing at a time, one snippet file for one thing—easier to debug and toggle off individually.
Example conversation:
Me: Write me an Obsidian CSS Snippet to set the maximum width of the note content area to 900px, please add comments.

AI:
.markdown-source-view, .markdown-reading-view {
  /* Limit the maximum width of the note content area */
  --file-line-width: 900px;
}
That’s it. No need to understand CSS syntax, no need to look up documentation. Describe what you want, get the code, paste it, done.
Where to Put the CSS? How to Make It Work?
CSS Snippets have a fixed storage location. Just follow these steps.
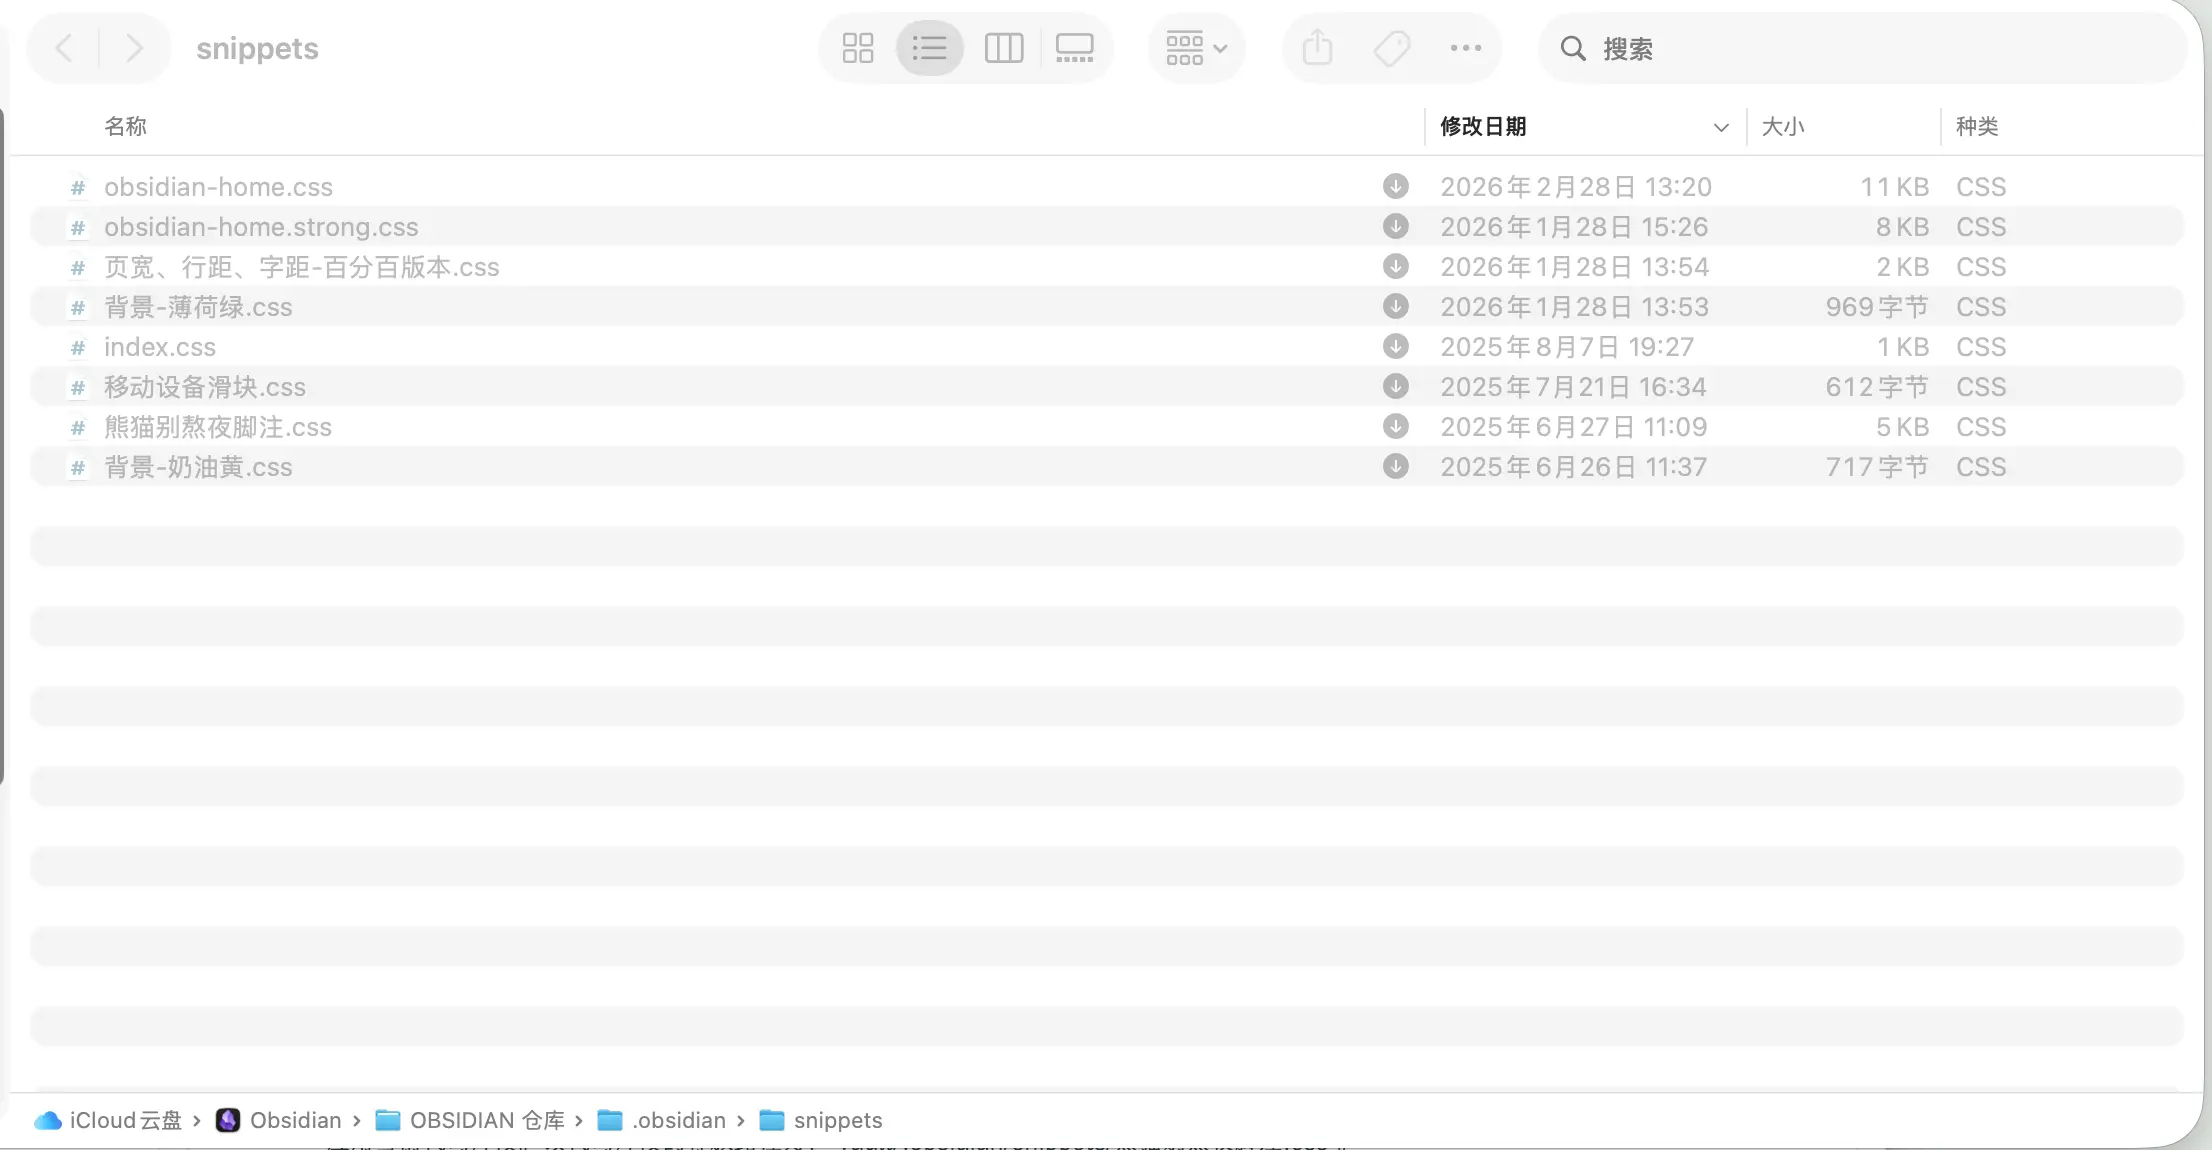
Step 1: Find the snippets folder
Path: Your Vault root → .obsidian folder → snippets folder
.obsidian is a hidden folder. On Mac, press Command + Shift + . to show hidden files. If the snippets folder doesn’t exist, create one manually.
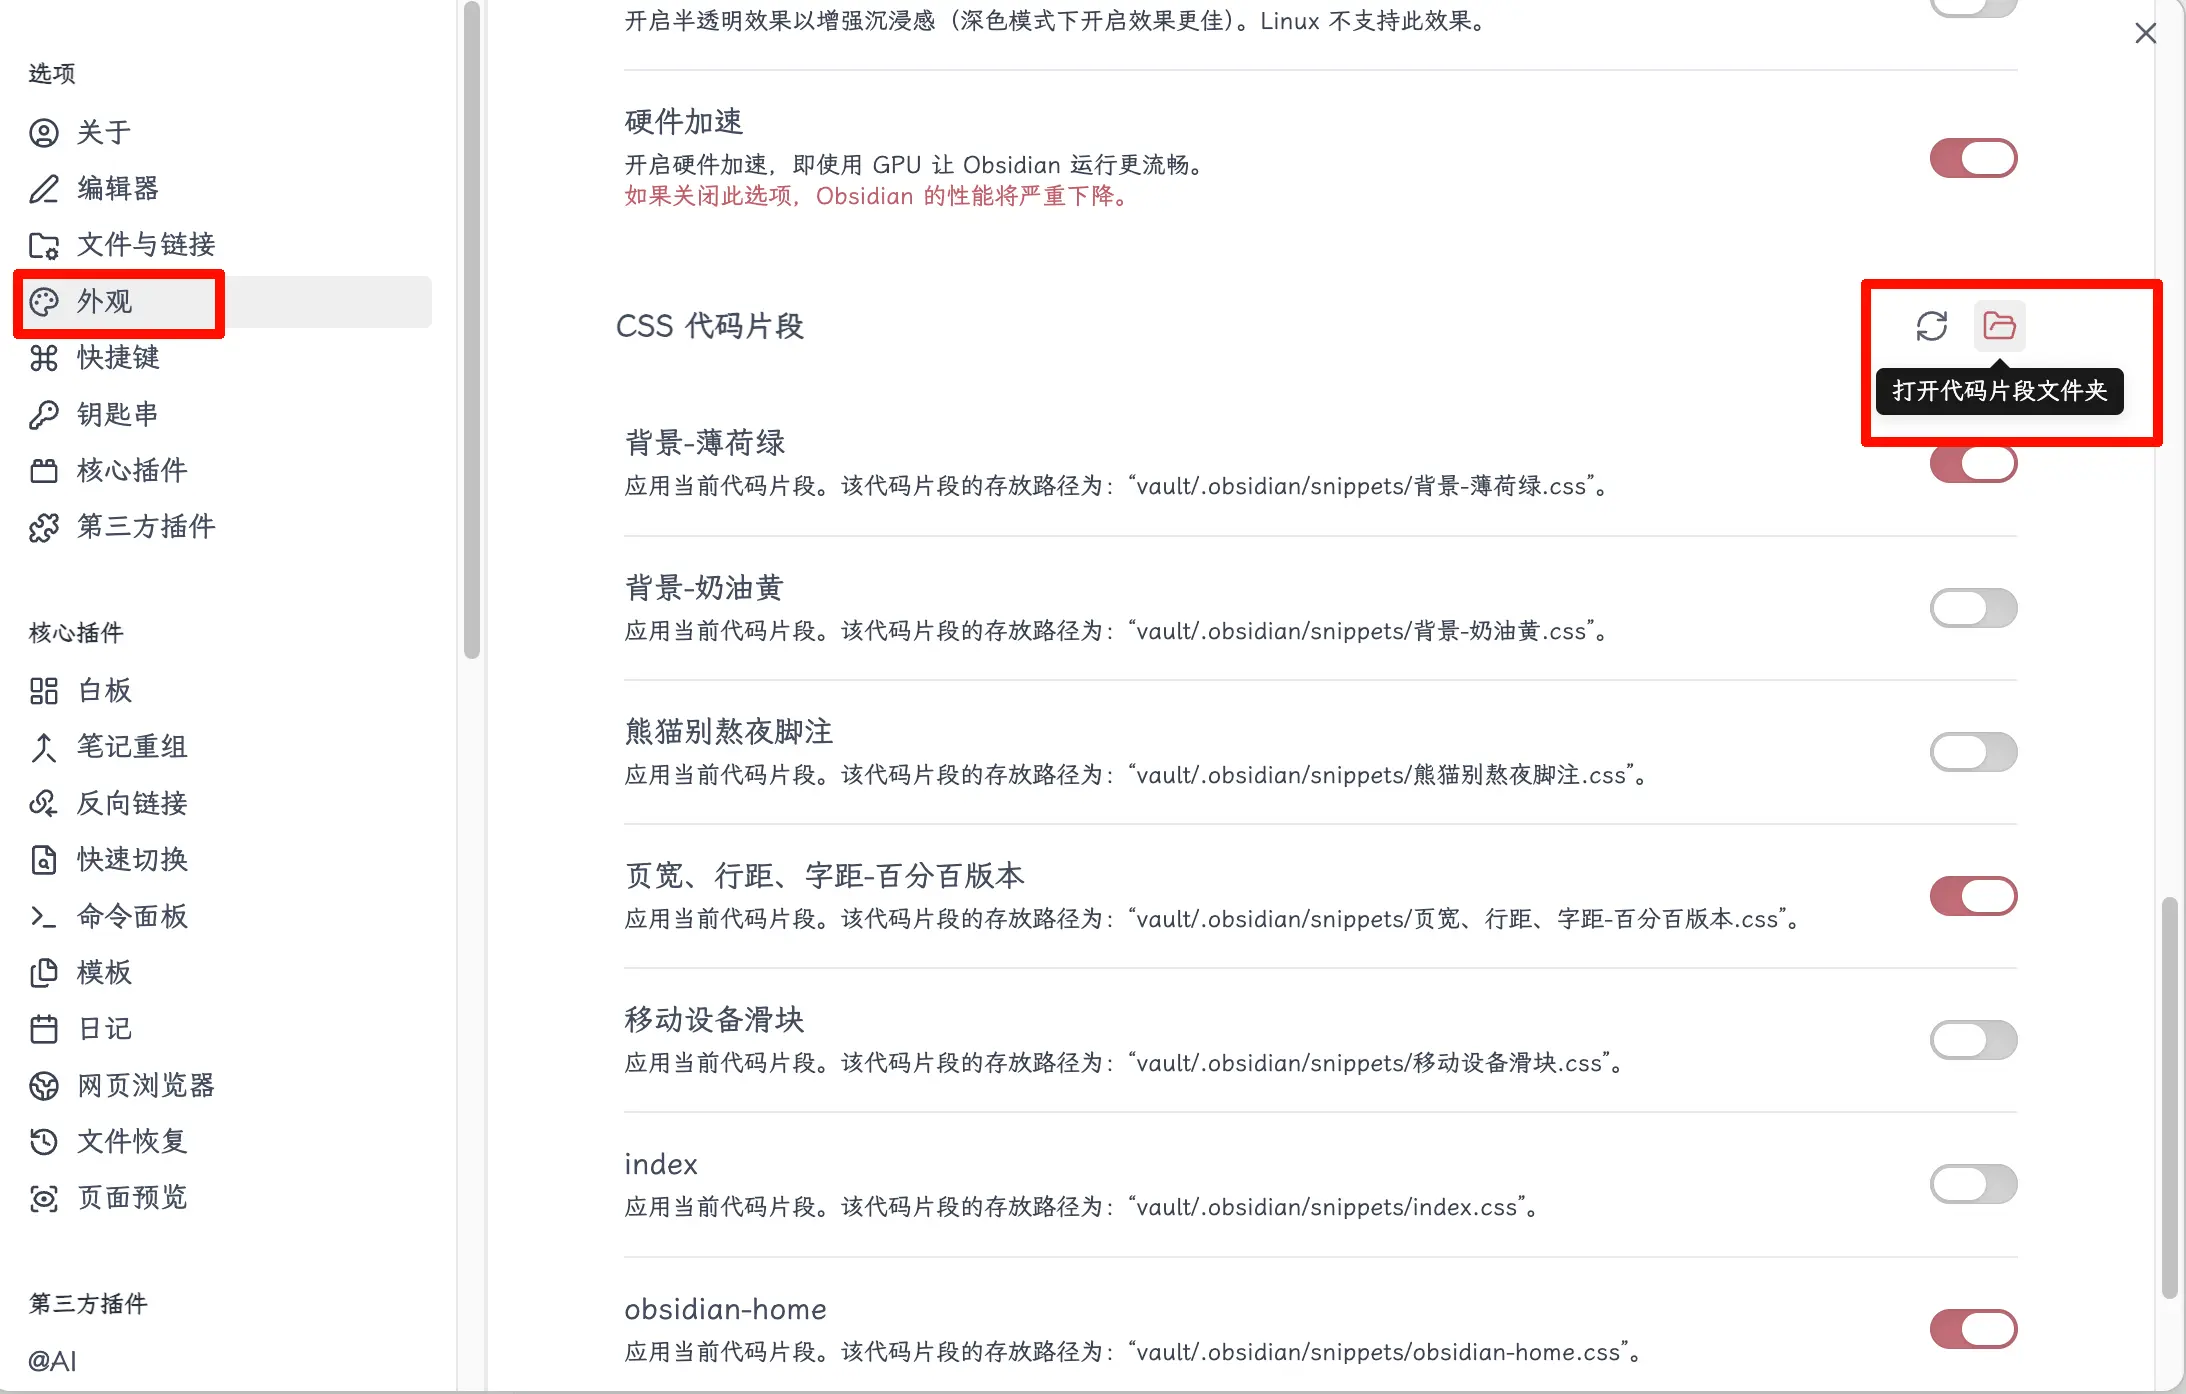
Of course, you can also access it directly from Settings.
Step 2: Create a .css file
In the snippets folder, create a new text file, change the extension to .css. Name it whatever you like, but it’s recommended to use a descriptive name like note-width.css or line-height.css. Paste the code from AI into it and save.
Alternatively, you can open this folder and let AI write the CSS file directly there.
Step 3: Enable it in Obsidian
Path: Settings → Appearance → CSS snippets
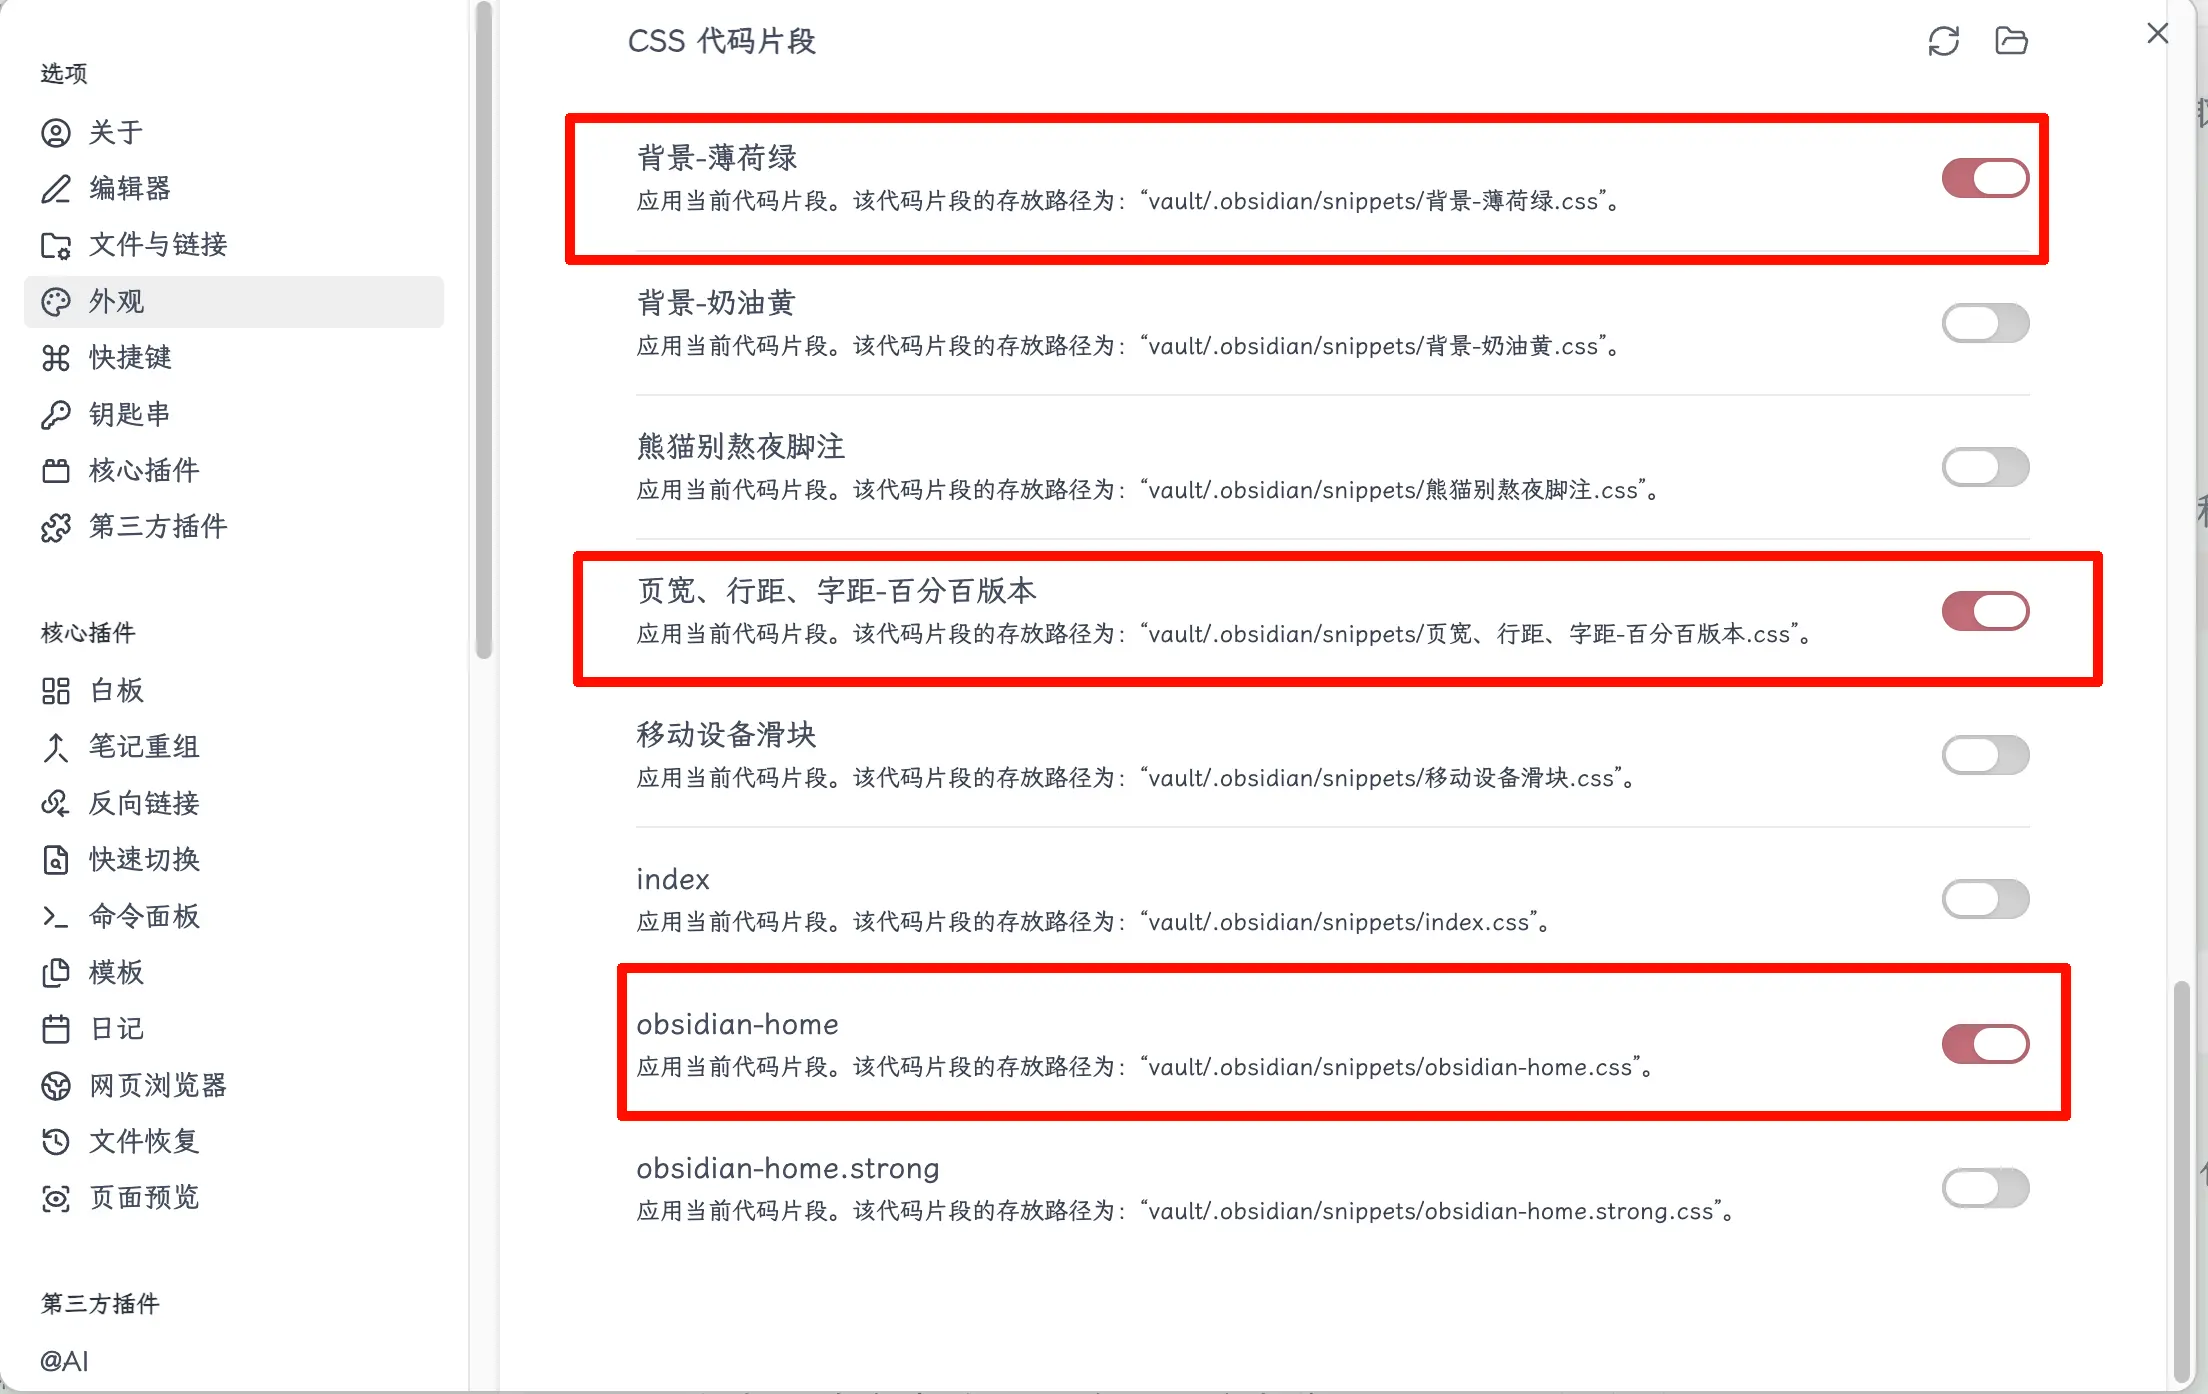
Scroll to the bottom of the page, you’ll see a “CSS snippets” section. Click the refresh icon on the right, and the file you just created will appear in the list. Click the toggle next to the filename, the toggle changes color, and the snippet takes effect. The interface changes immediately, no restart needed. If the effect isn’t right, turn off the toggle and go back to check the code.
How I Use CSS Myself
Here are a few snippets I actually use, for reference.
Widen note area – This is my most used one—set the maximum width of the note content area wider, so there’s less whitespace on large screens.
Adjust line spacing – The default line spacing is a bit tight for me, so I use CSS to increase it slightly for more comfortable reading.
Hide unused elements – There are some buttons and icons in Obsidian’s interface that I never use. I set them to display: none with CSS to hide them, making the interface cleaner.
Callout style tweaks – I didn’t like the default colors of callout blocks in a certain theme, so I used CSS to change them to softer colors.
These four snippets are stored in four separate .css files, each can be toggled individually. If after a while you find one doesn’t suit you, just turn it off—they don’t interfere with each other.
Summary
What you learned today:
- CSS is the rule for controlling interface appearance; Obsidian uses CSS Snippets for local tweaks.
- Themes are overall styles; snippets are detail adjustments—they work together.
- No need to write CSS yourself; tell AI what you want to change and copy the code it gives you.
- Snippet storage path: Vault root →
.obsidian/snippets/→.cssfile. - Enable in Settings → Appearance → CSS snippets, toggle on to activate.
Key takeaways:
- Describing your needs to AI to write CSS is much more efficient than learning CSS syntax yourself.
- One snippet does one thing, making management and debugging easier.
- Toggles can be turned off anytime—safe and reversible, no need to worry about breaking the interface.