Friends, today let’s talk about backing up Obsidian.
The importance of backups goes without saying—they prevent accidental deletions and slip-ups, especially now that many operations are AI-driven. If something goes wrong, it can trigger a chain reaction. Backups can help you recover partially or even completely.
Backup Options
There are two main approaches: local backup and cloud backup.
- Local backup means exactly what it sounds like: you create one or more copies in another folder on your local computer, which you can restore whenever needed. Common methods include manually copying files, using plugins, or using tools like Kopia.
- Cloud backup stores your backups in the cloud, including but not limited to your NAS, VPS, GitHub, or services like Cloudflare.
As for me, I choose both. My documents are backed up locally and to the cloud every morning at 9 AM—double protection!
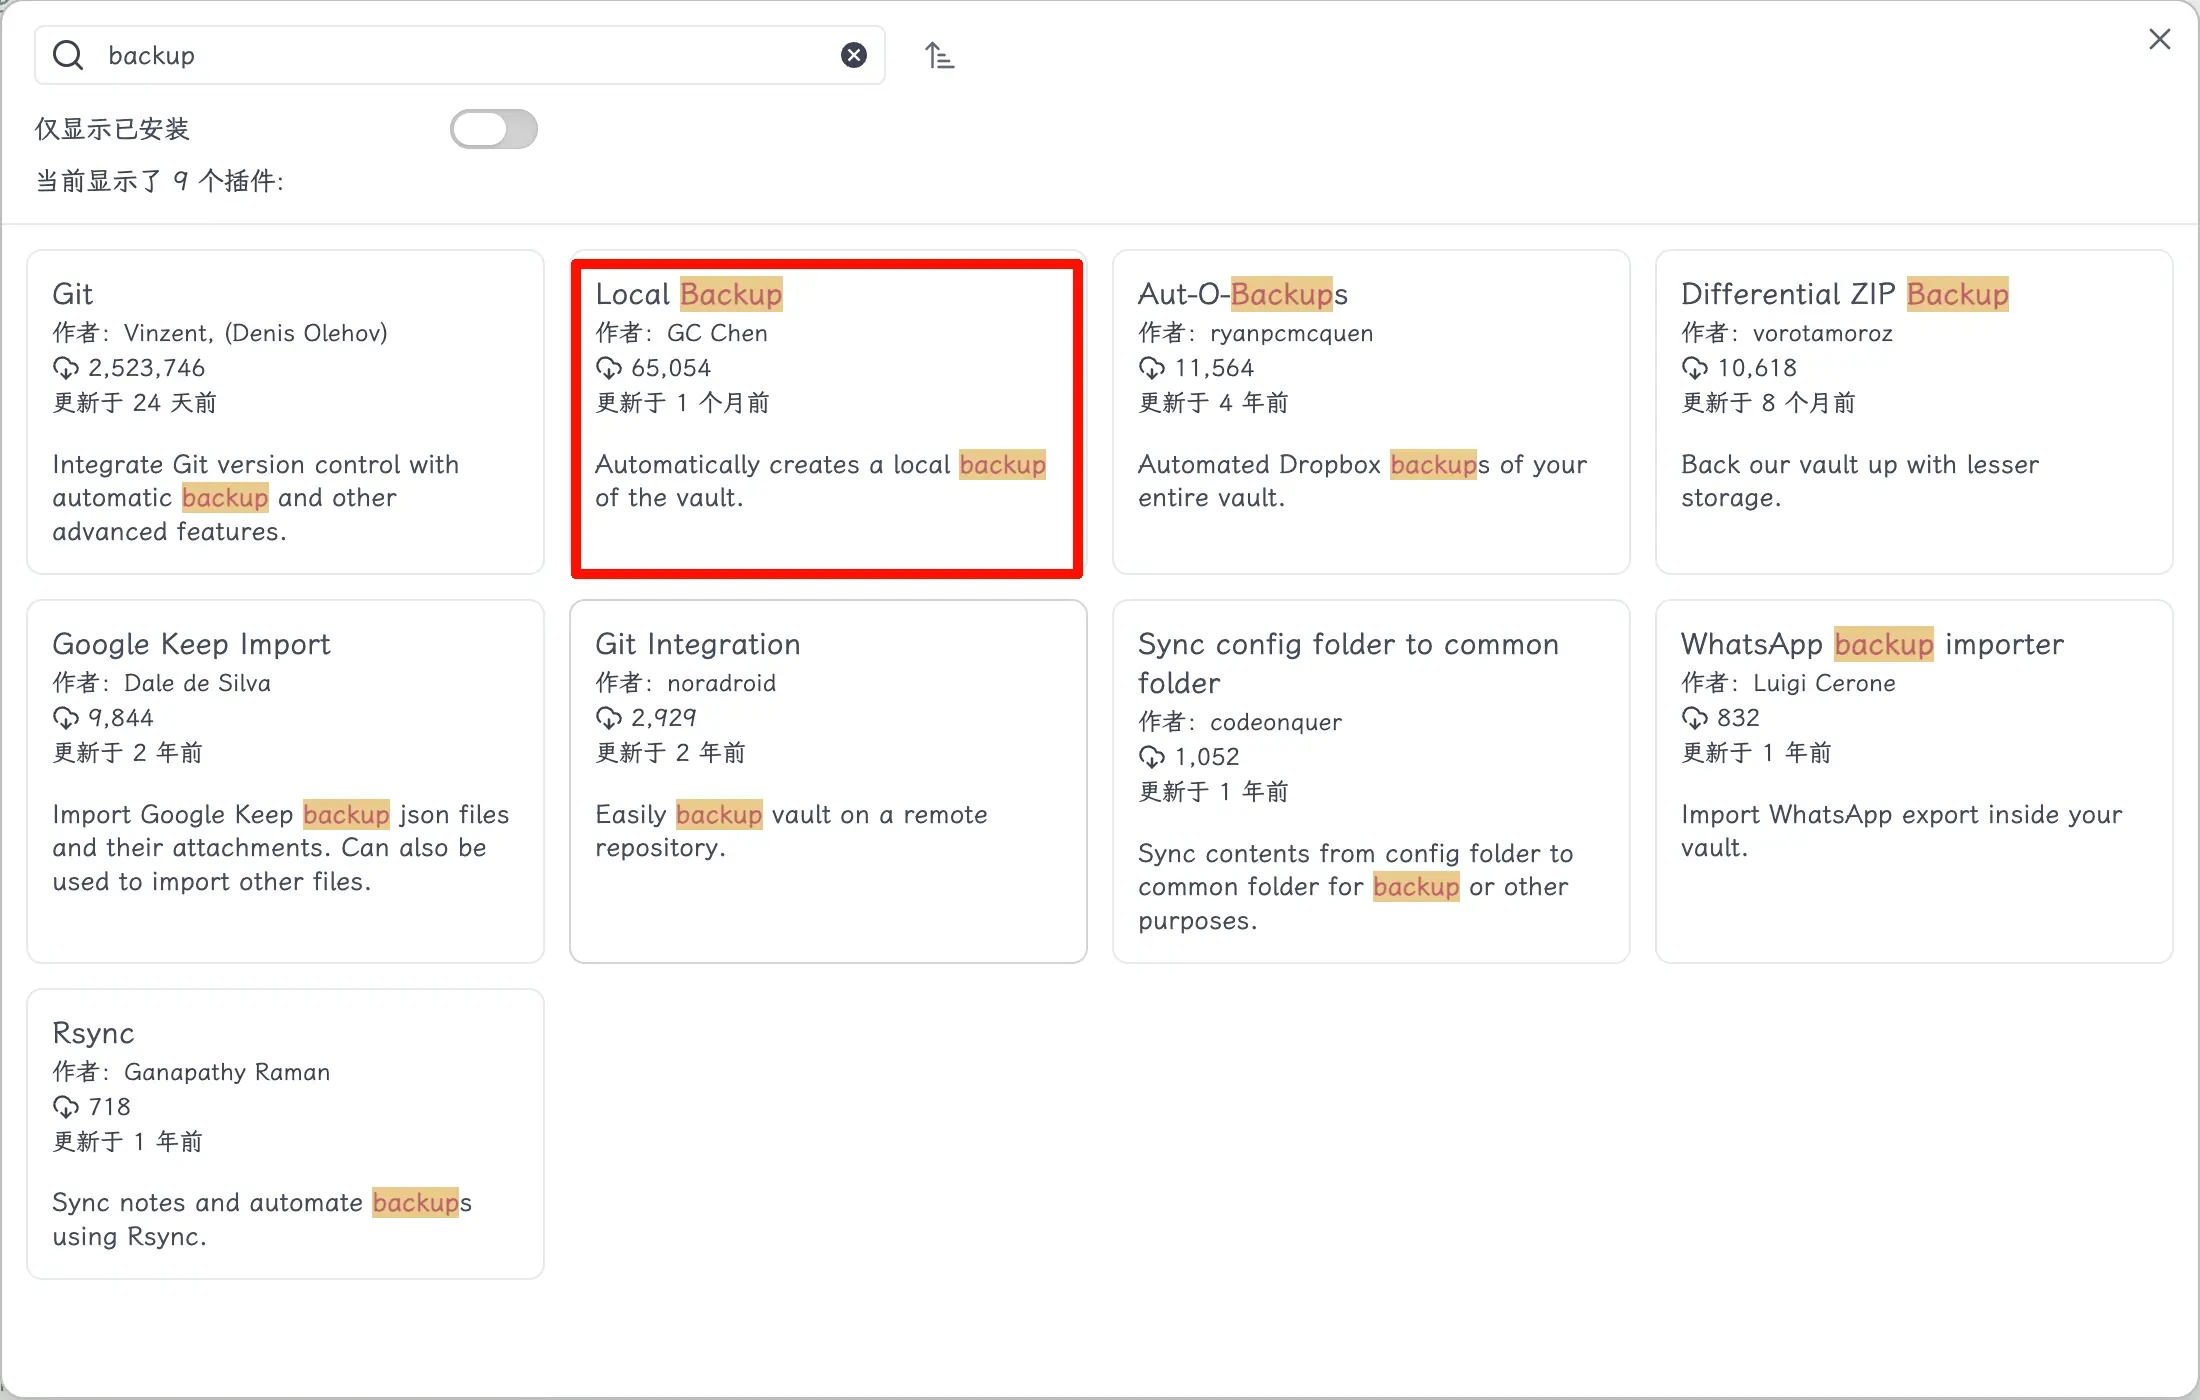
But today, we’ll start with the most beginner-friendly method: using the Local Backup plugin for local backups.
How to Use the Plugin
As mentioned earlier, open the official plugin marketplace, search for the plugin, and install it.
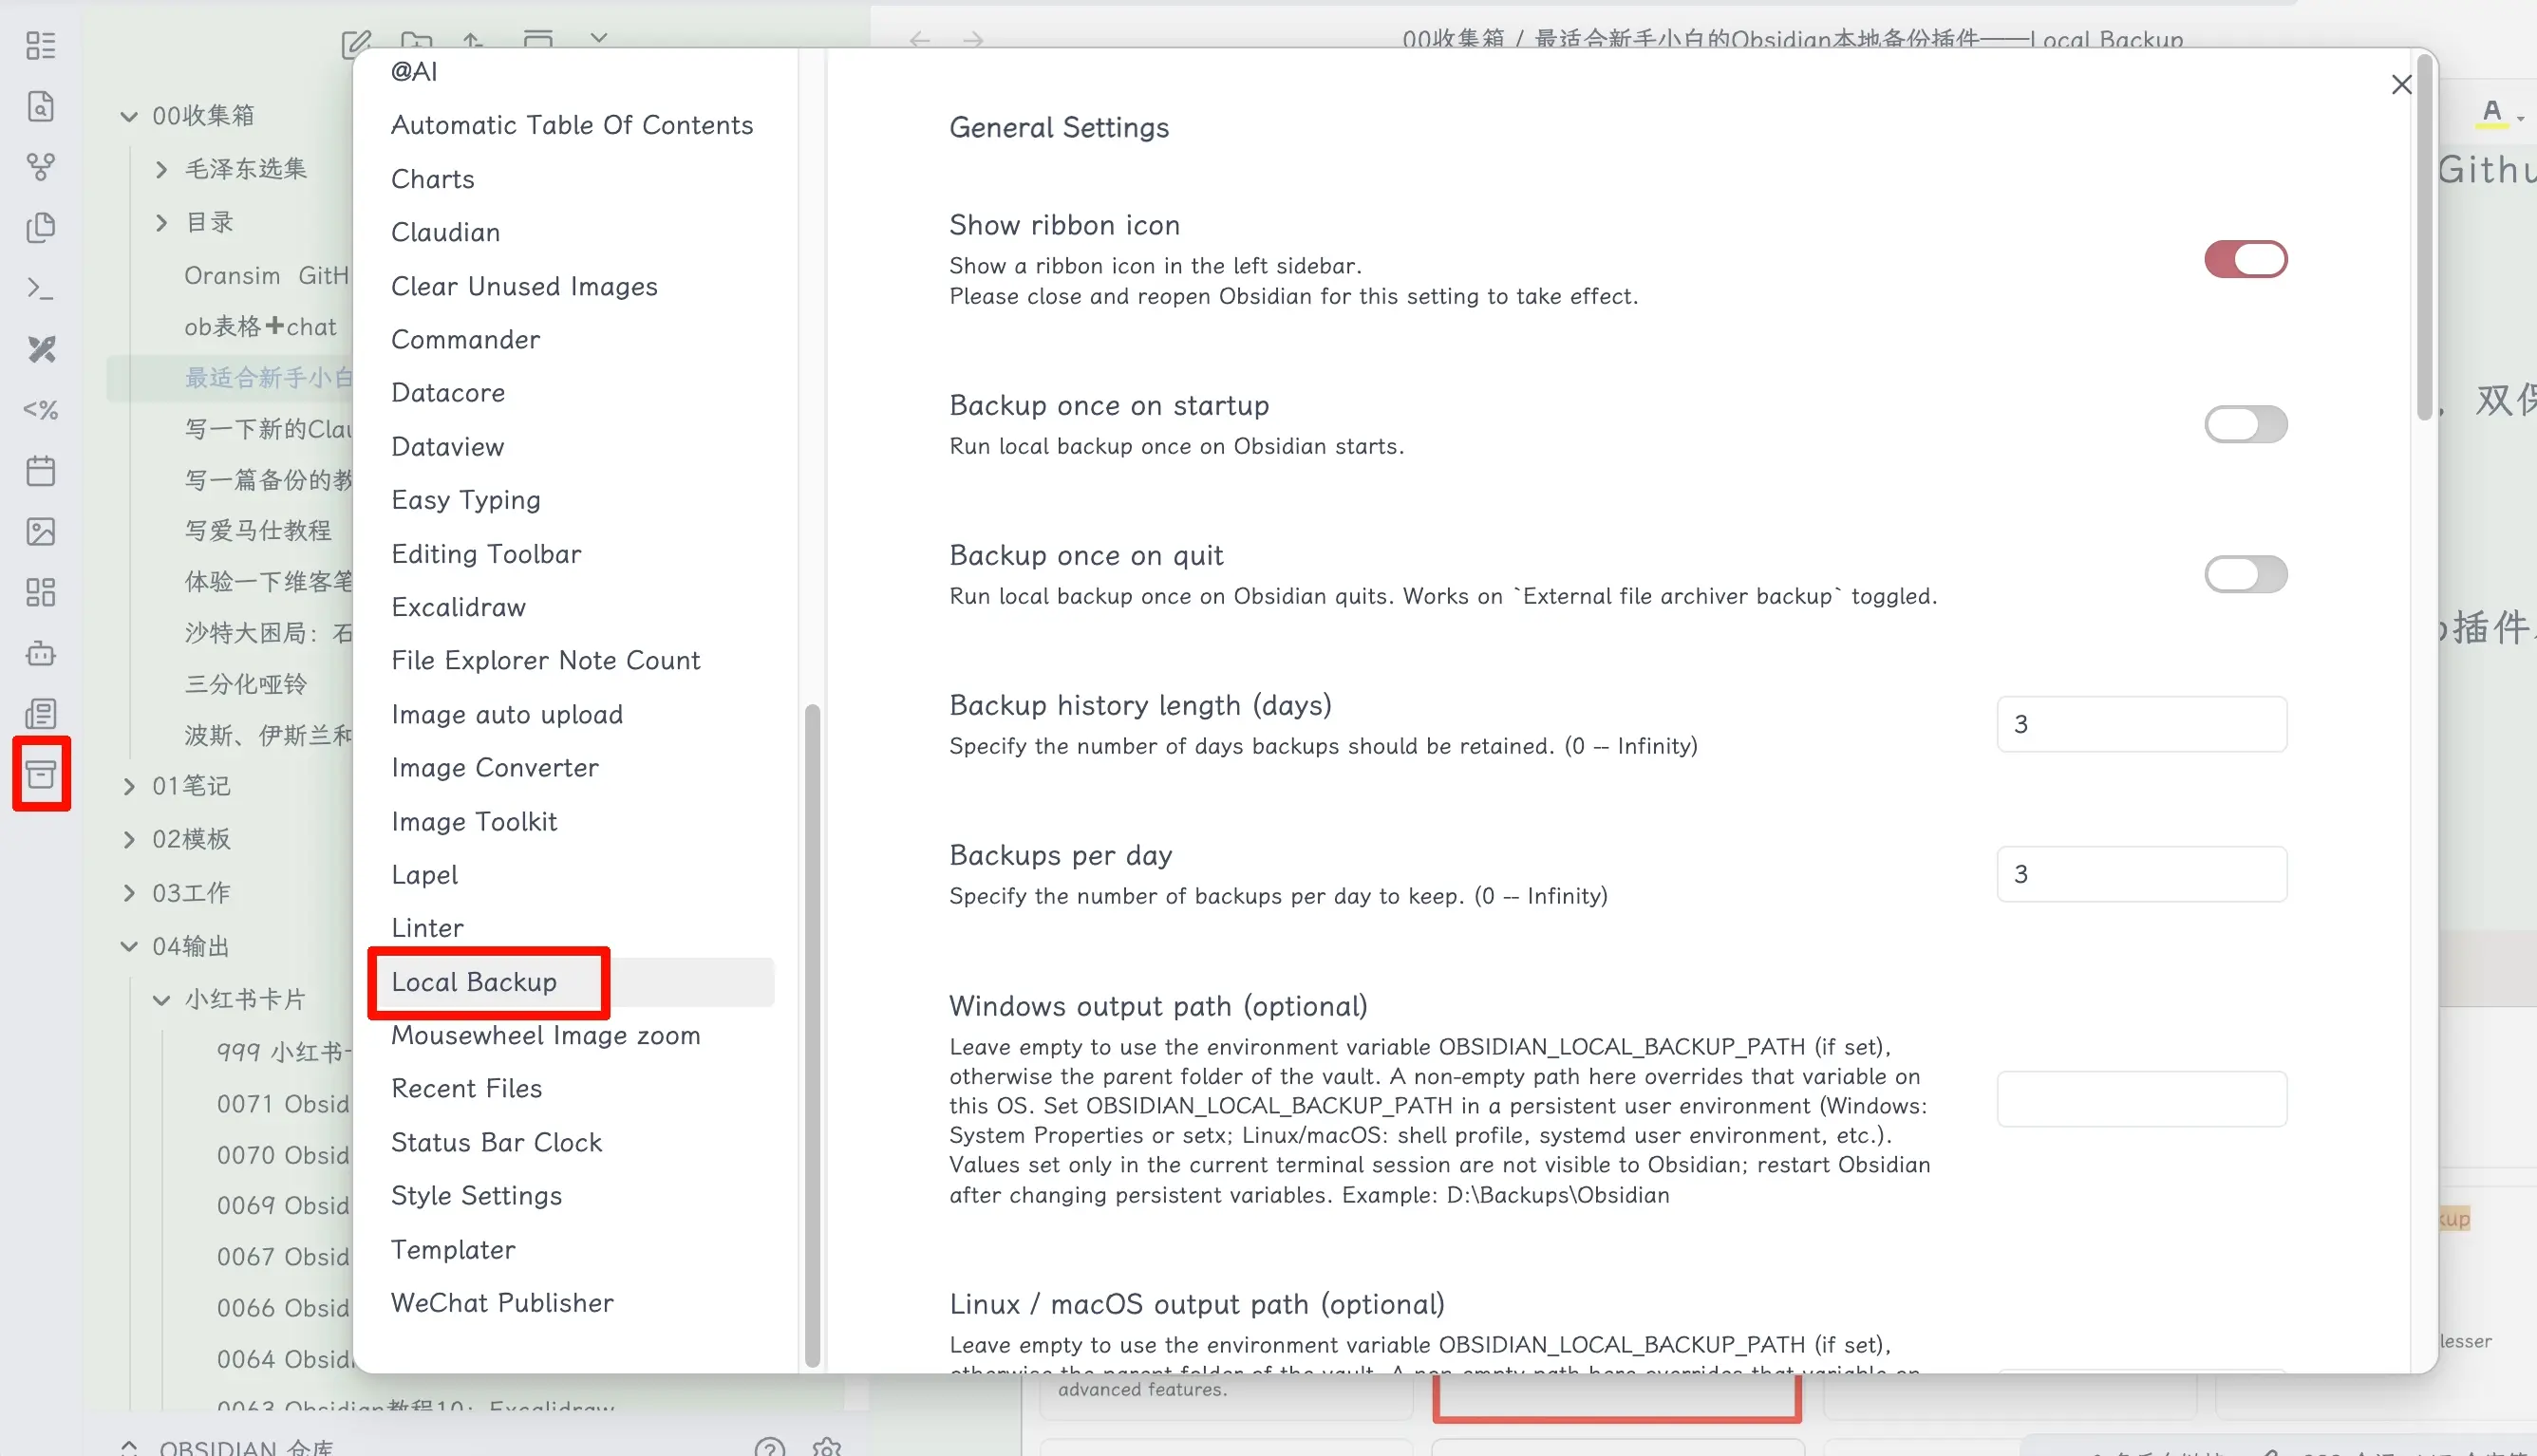
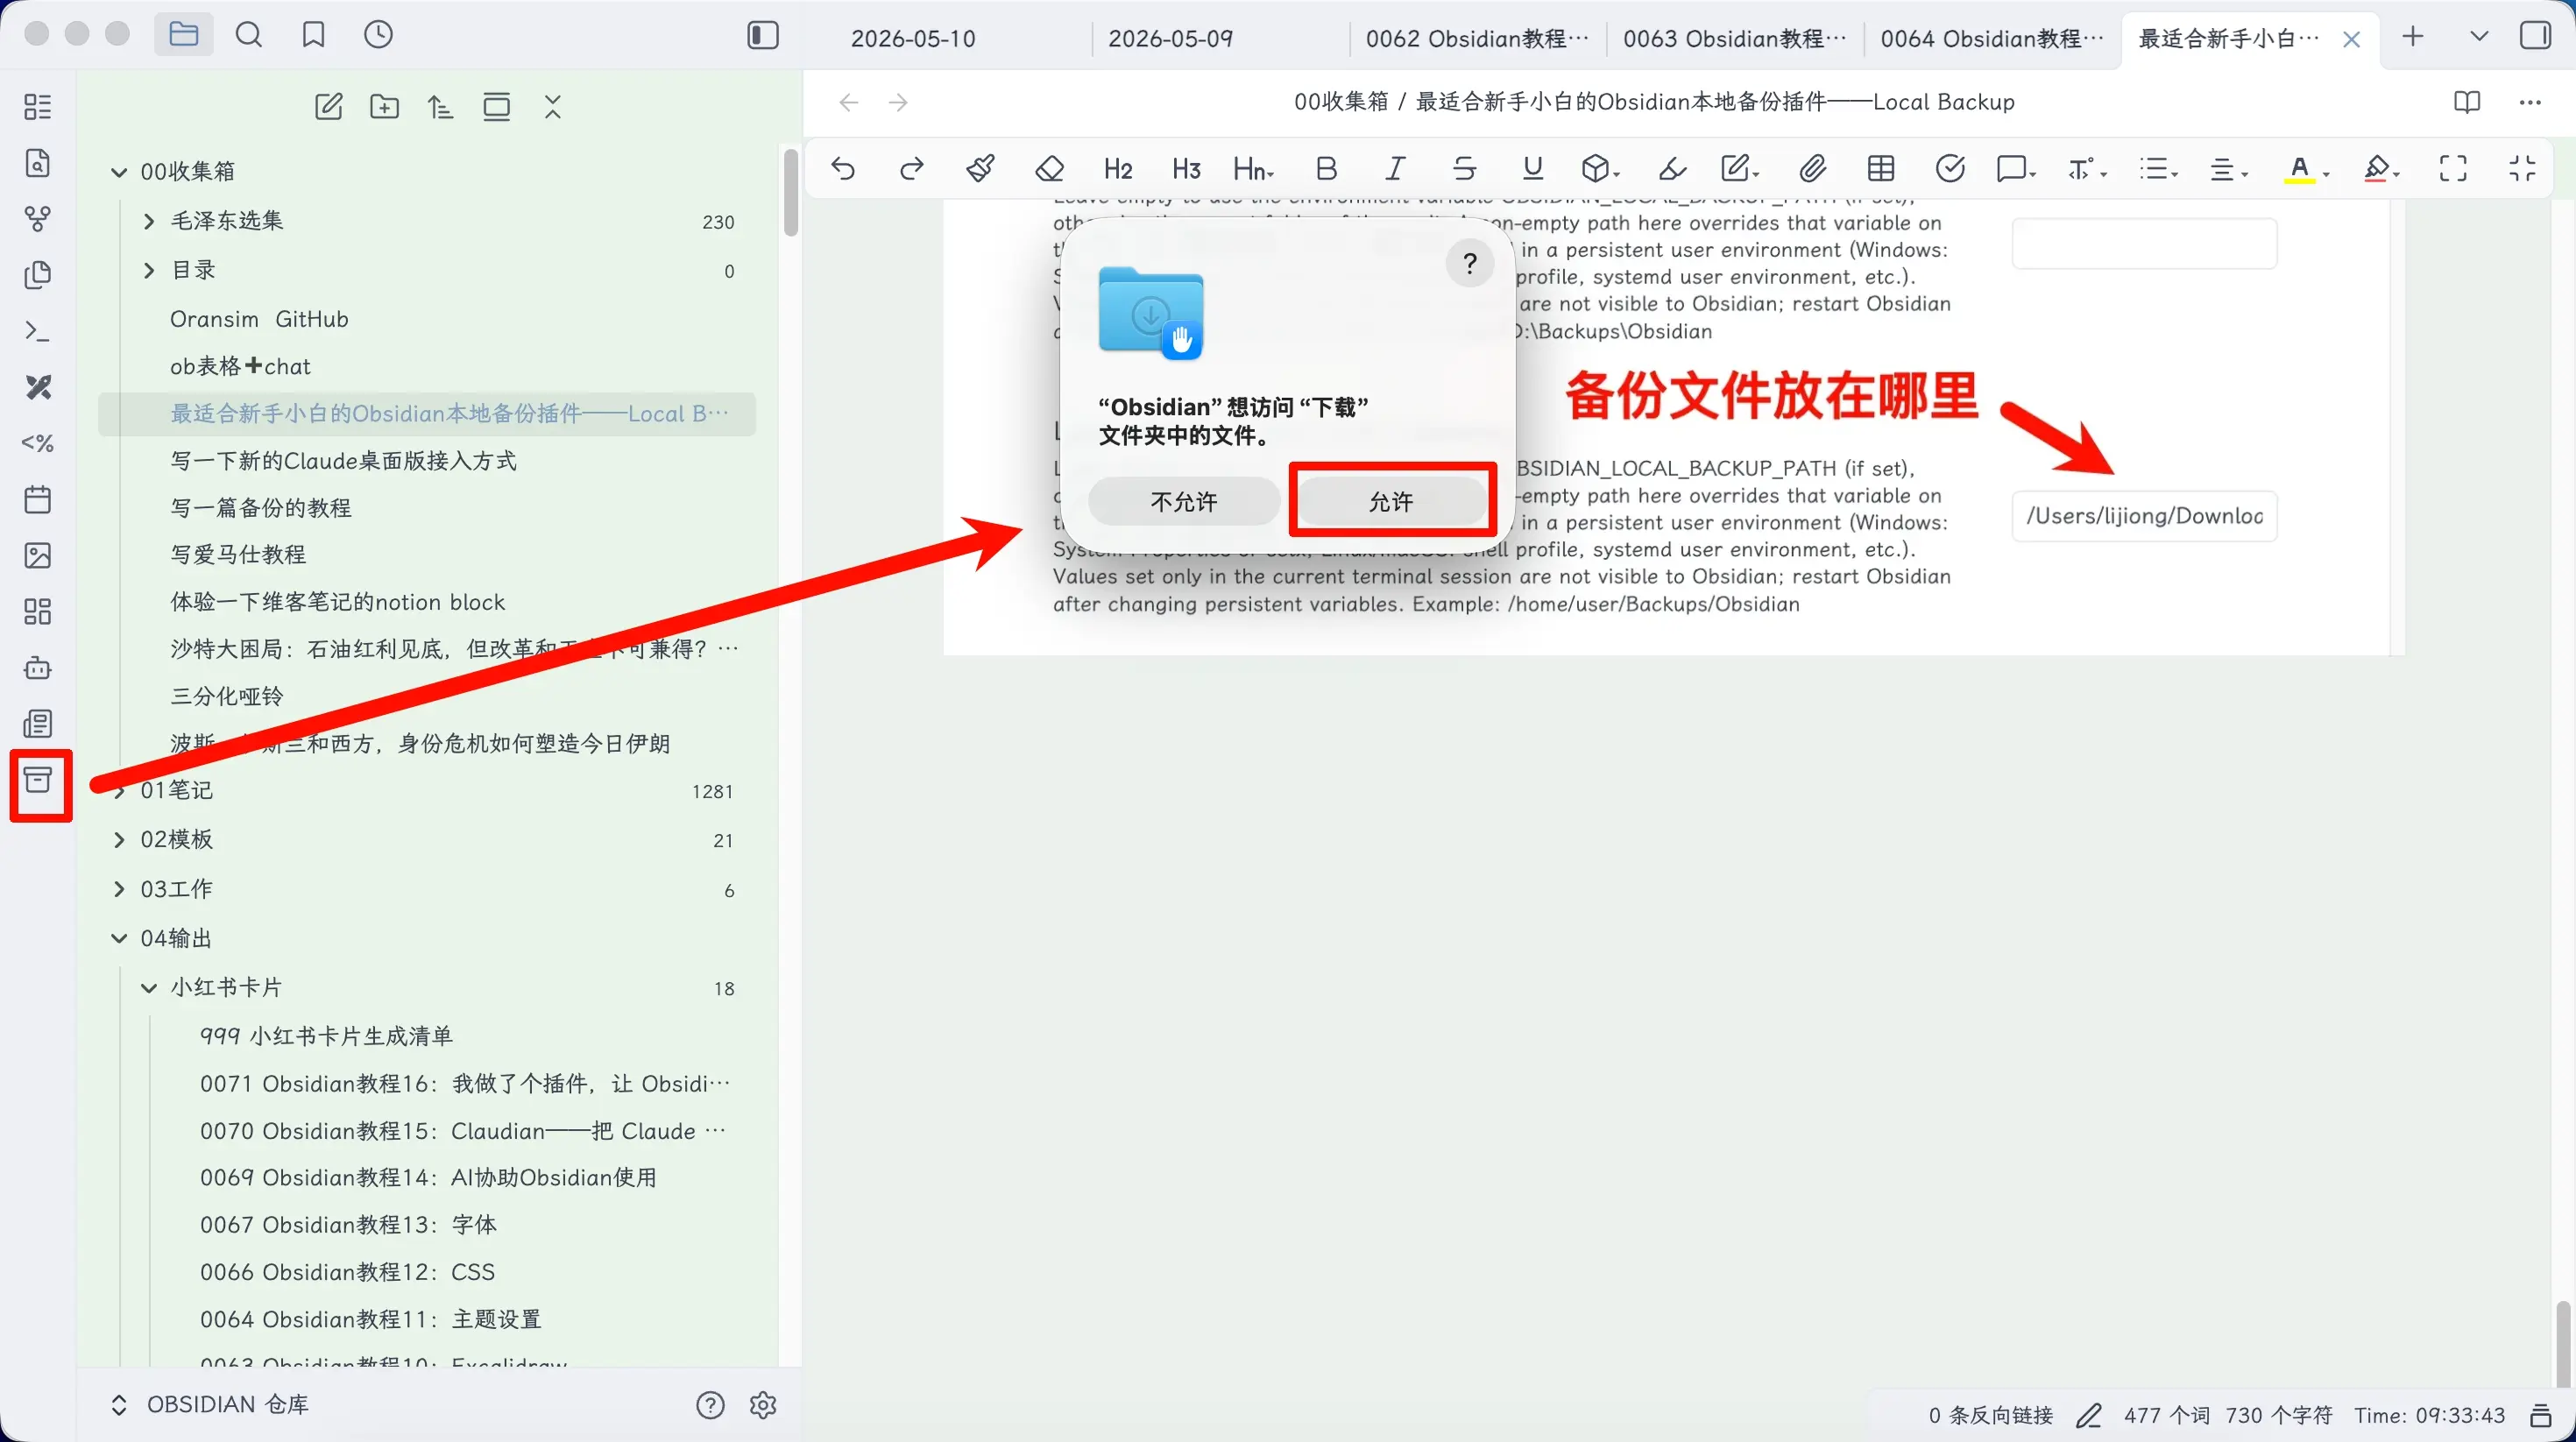
Then open the plugin settings. Note that a corresponding icon also appears on the left sidebar for quick access.
Seeing a bunch of English might be intimidating? Don’t worry—I’ve translated everything for you. Pretty thoughtful, right? 😊
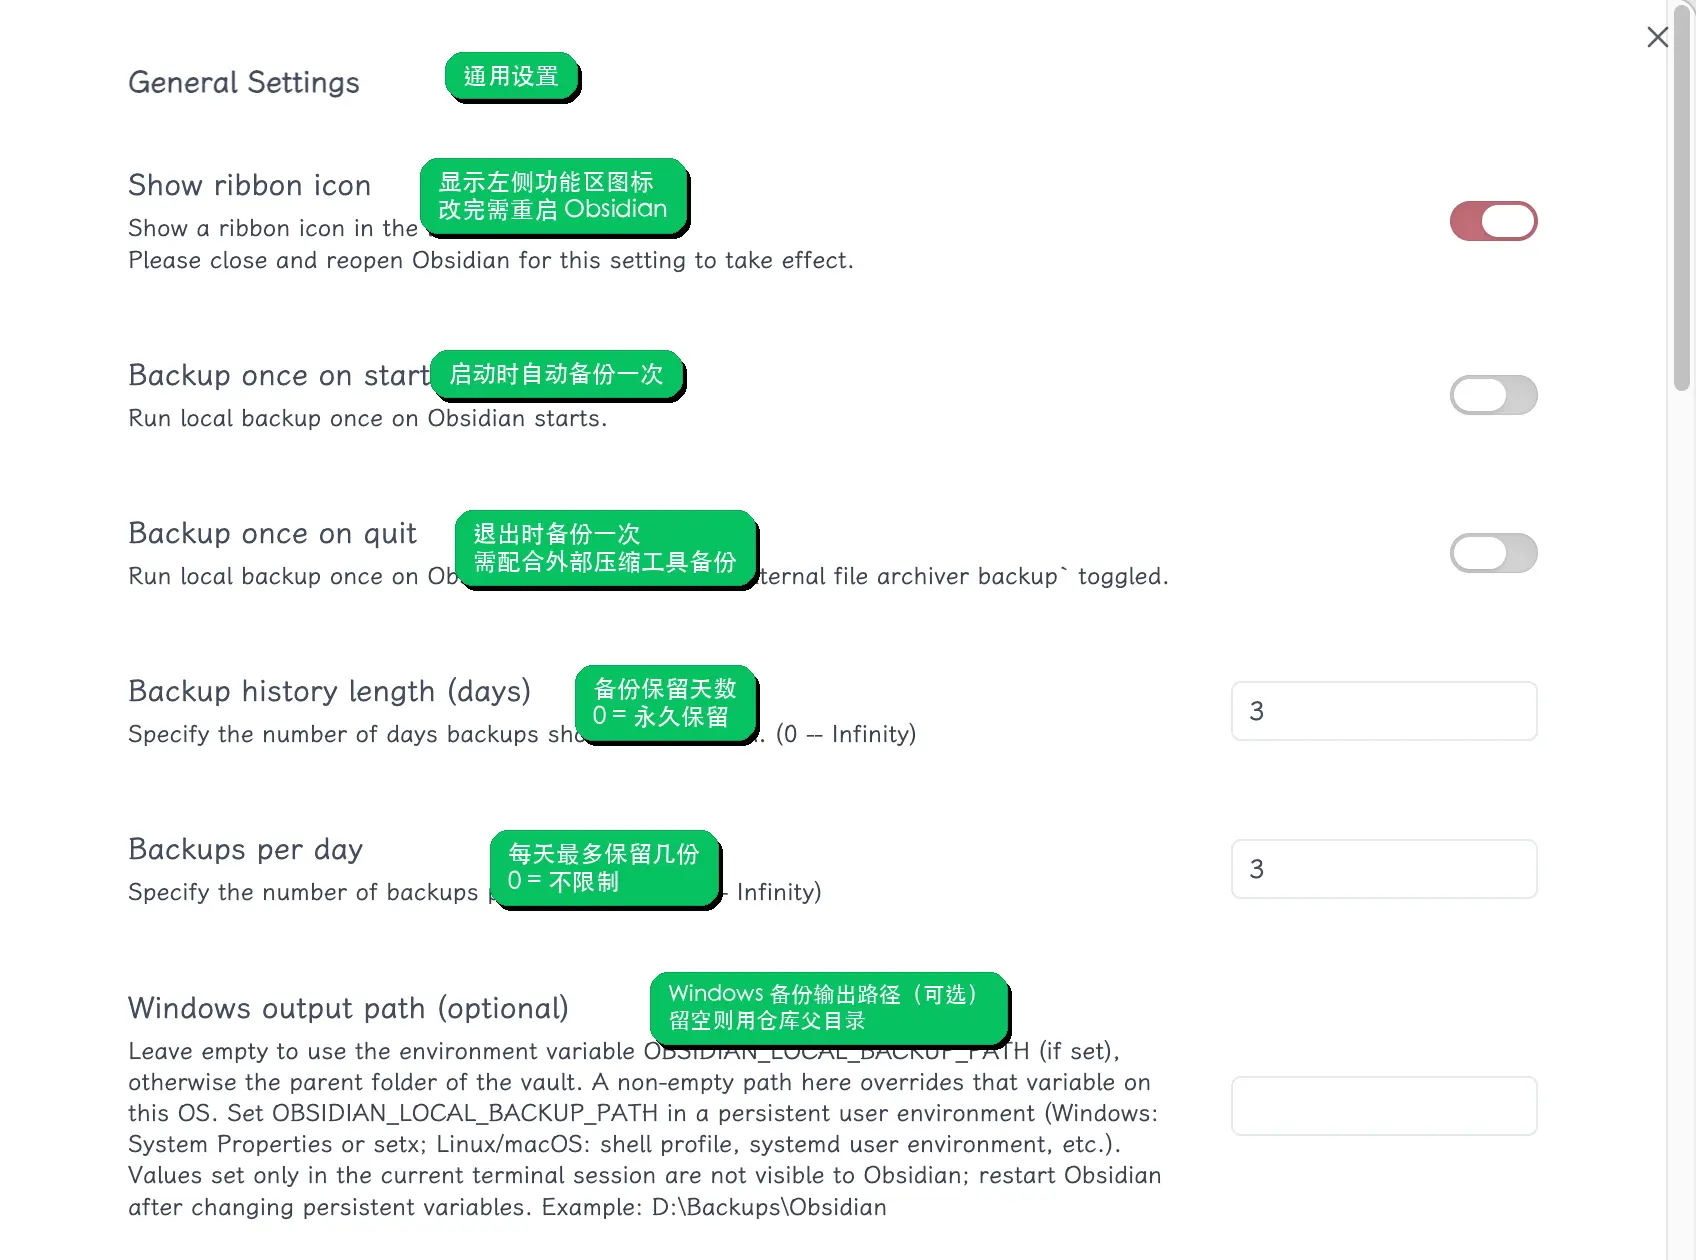
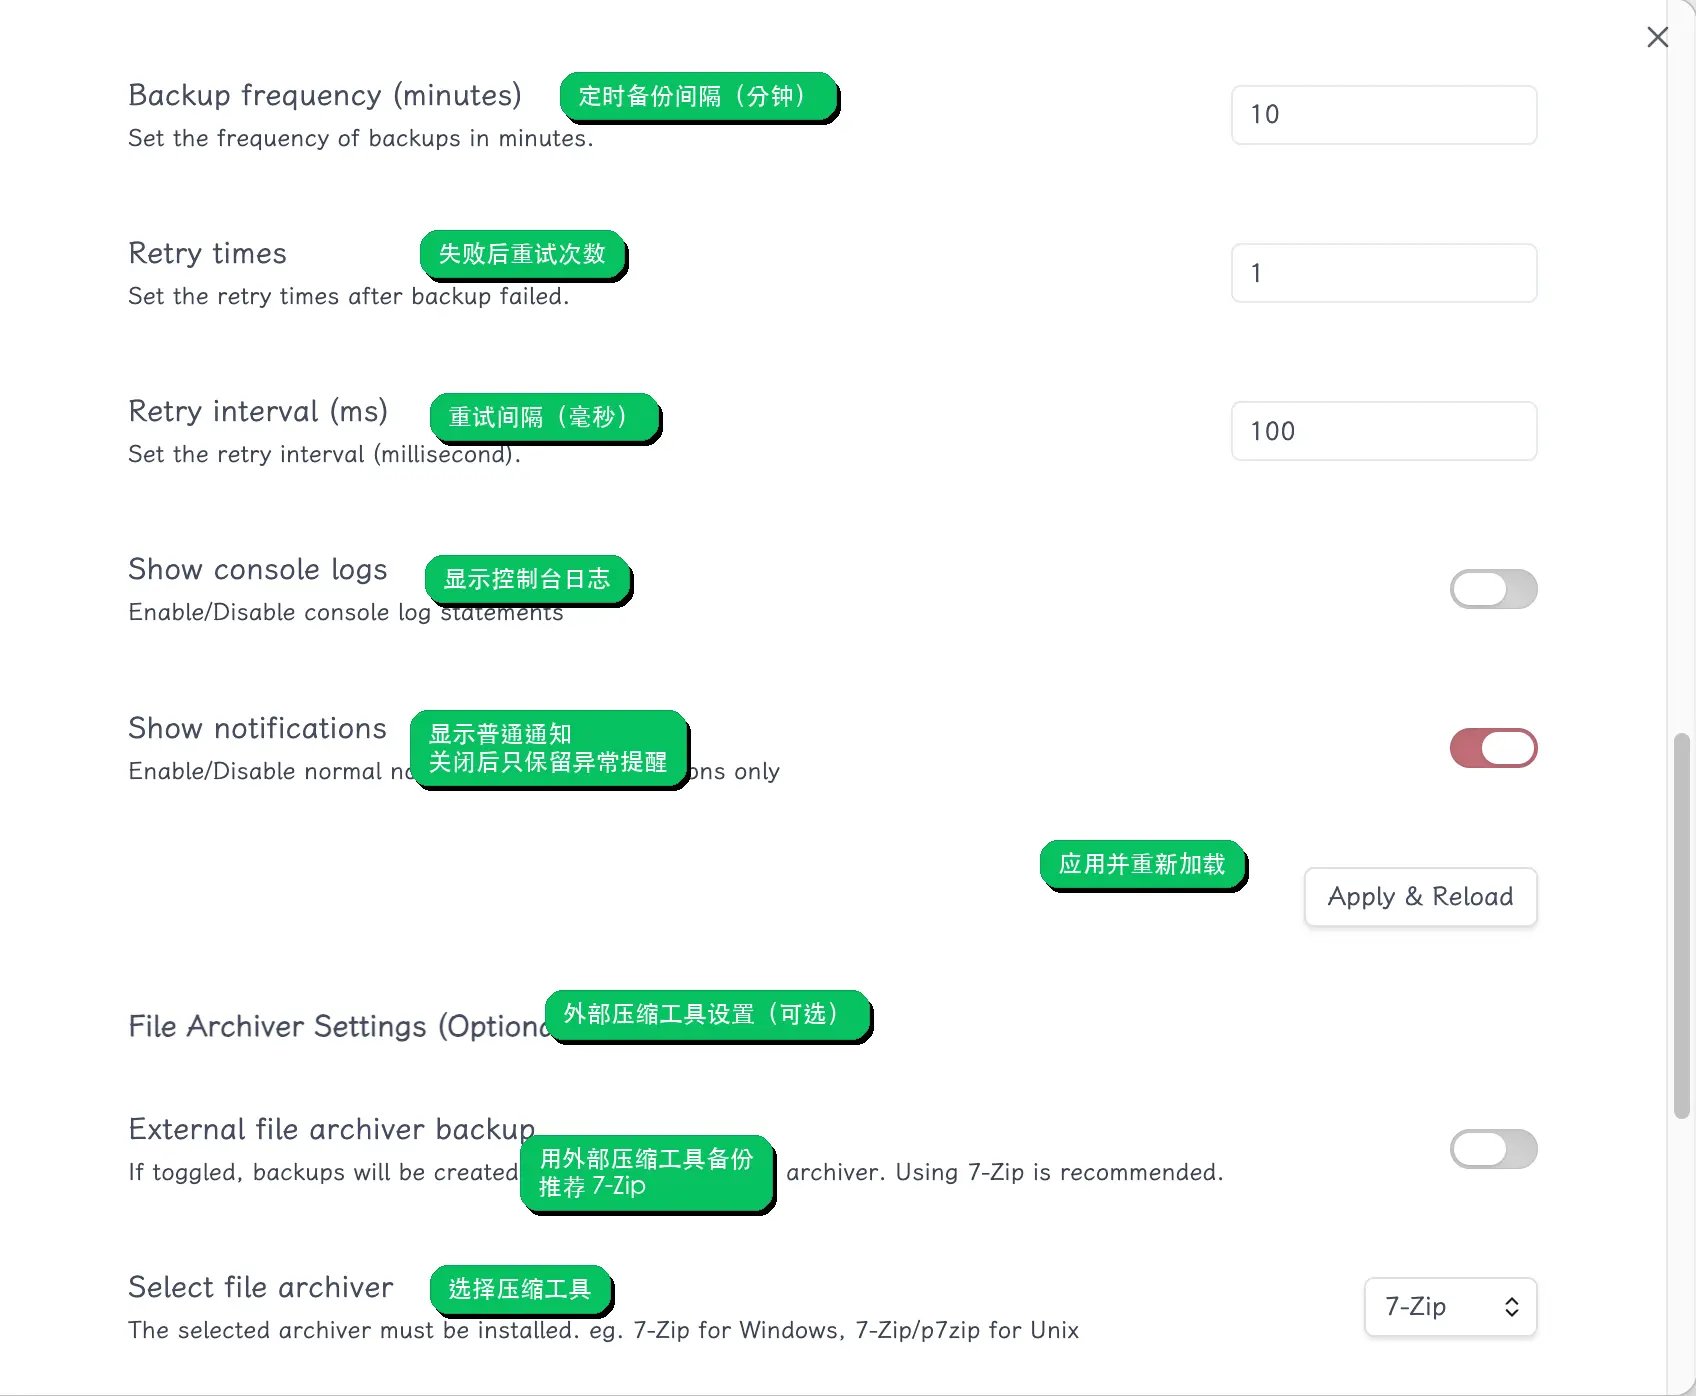

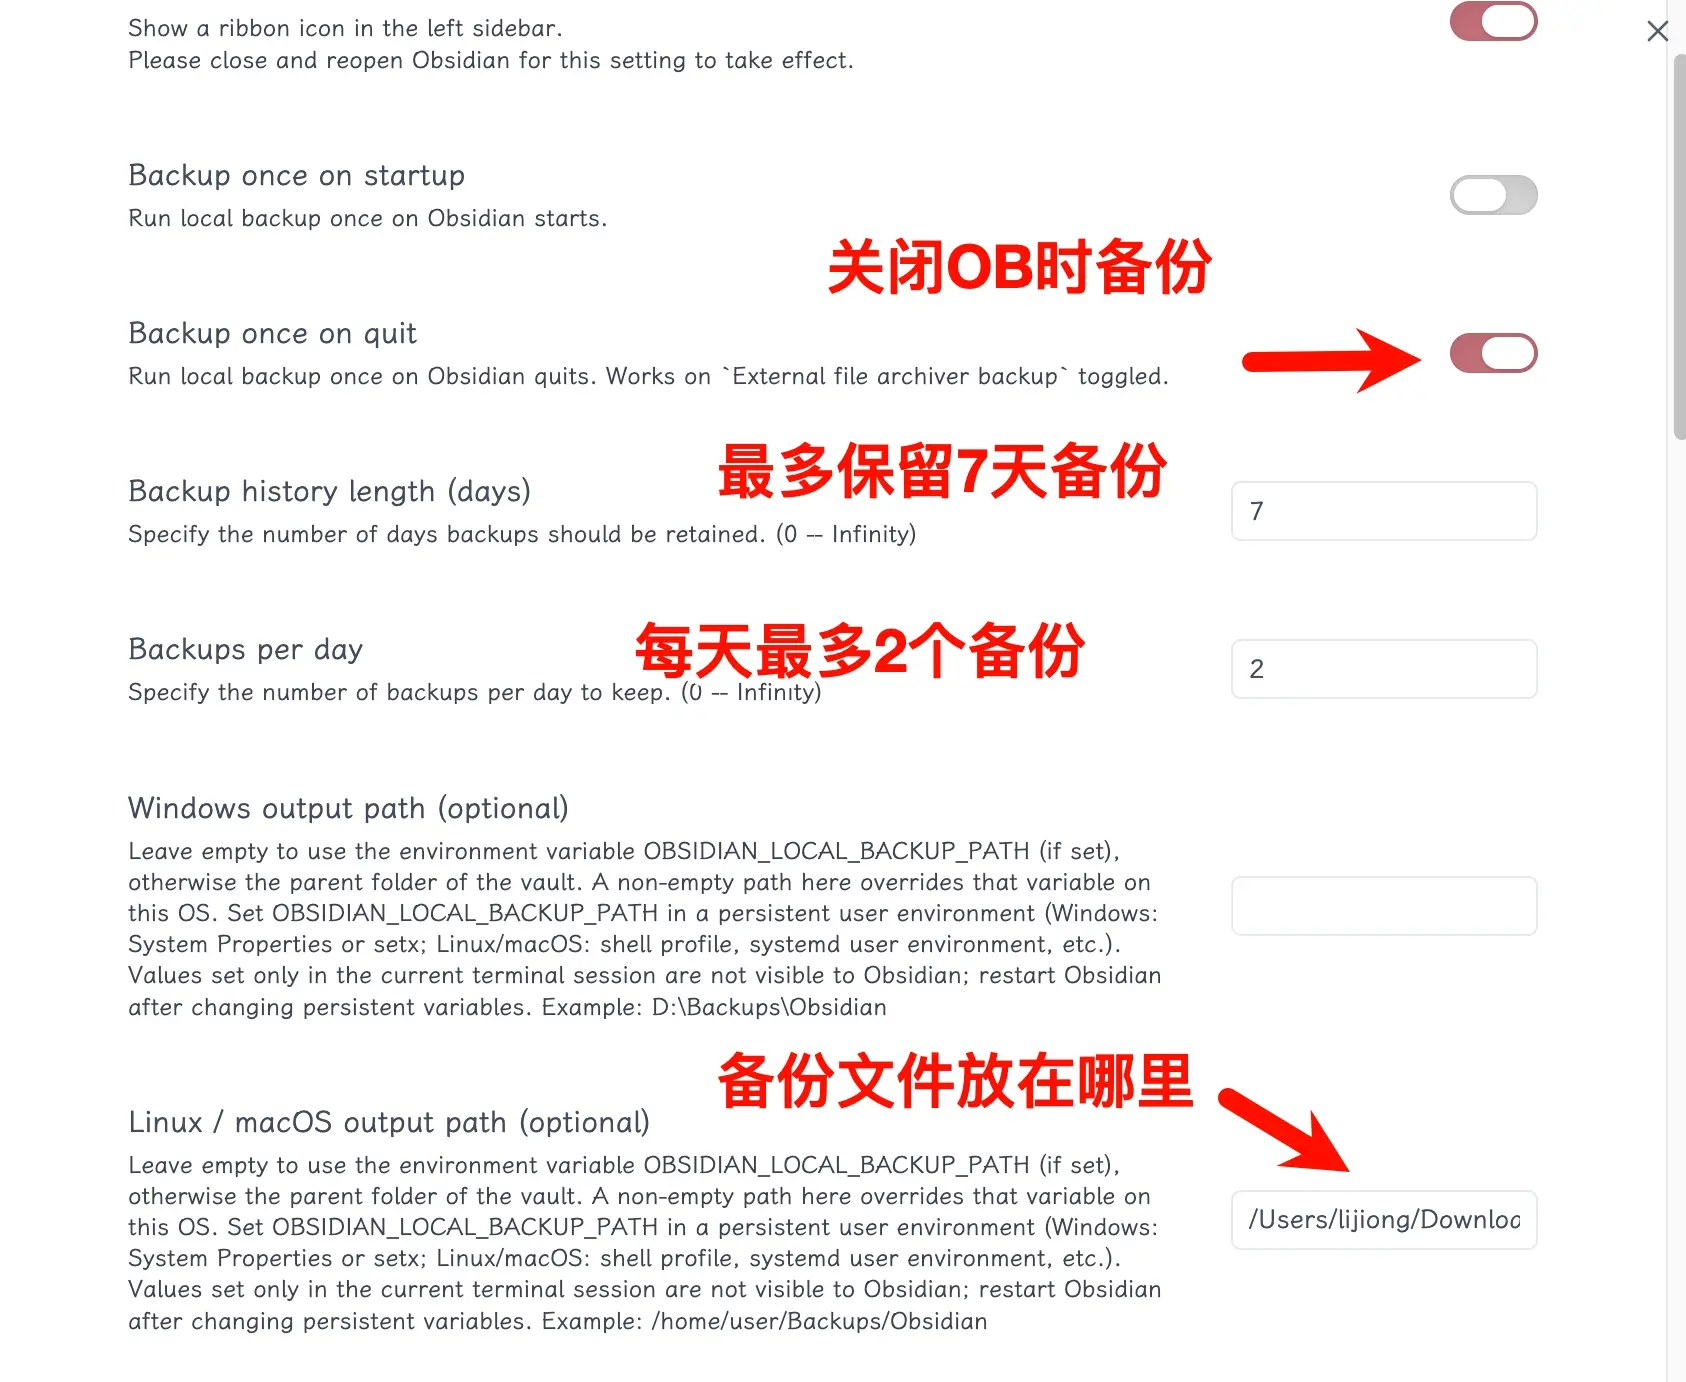
The settings are straightforward. Just choose what you need. If you’re unsure, you can refer to my configuration: backup on every Obsidian exit, keep backups for the last 7 days (auto-delete old ones), and save a maximum of 2 backups per day.
Also, remember to set the backup path according to your system; otherwise, it will default to your vault directory.
Once configured, click the icon on the left to test if it works. You can see that a backup has been successfully created.
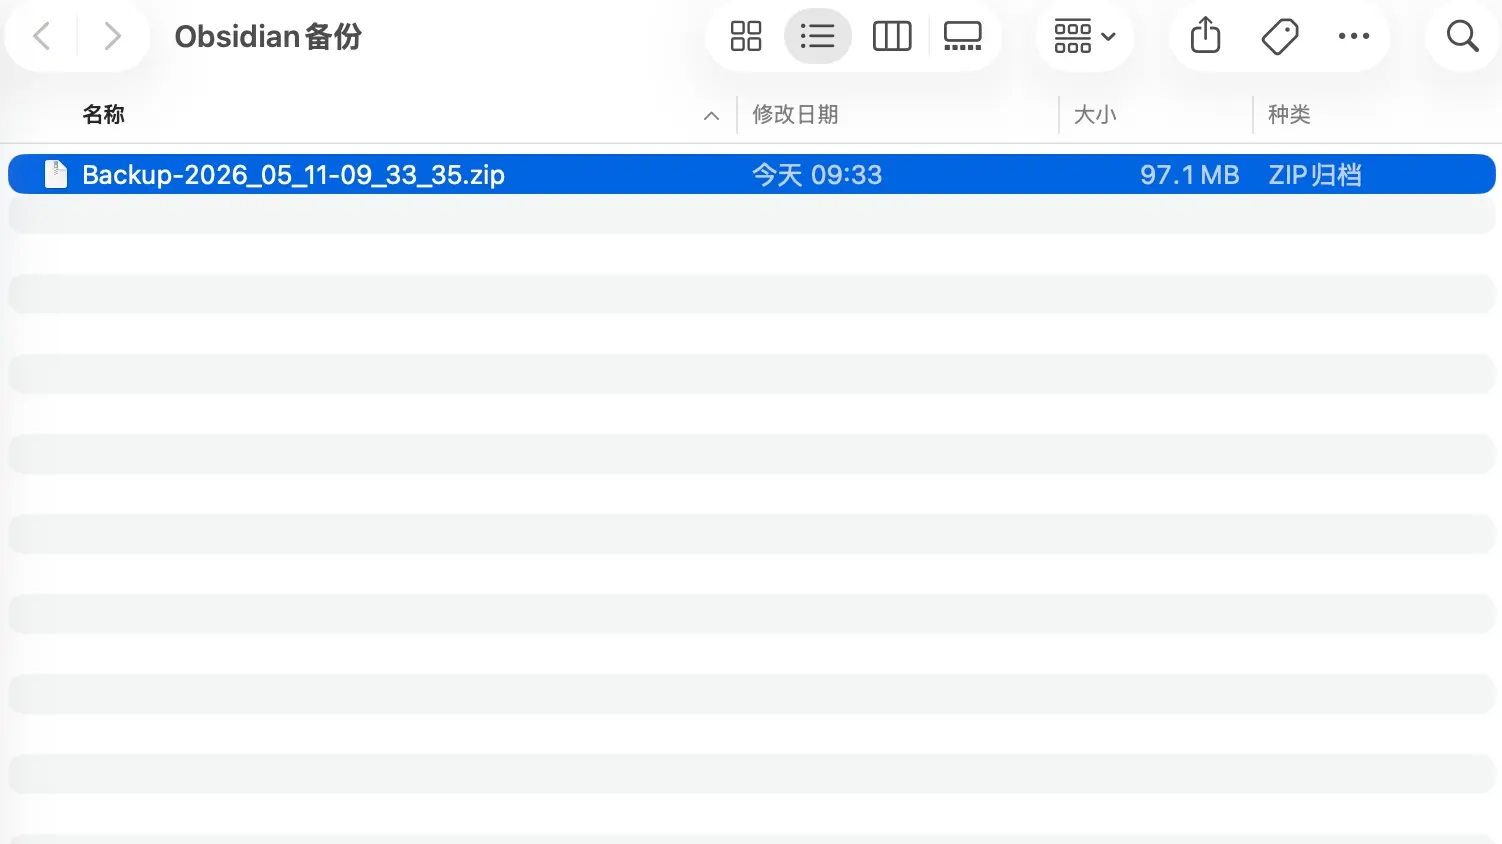
If you see a green notification or a new backup file in the target folder, the configuration is successful.
Common Issues
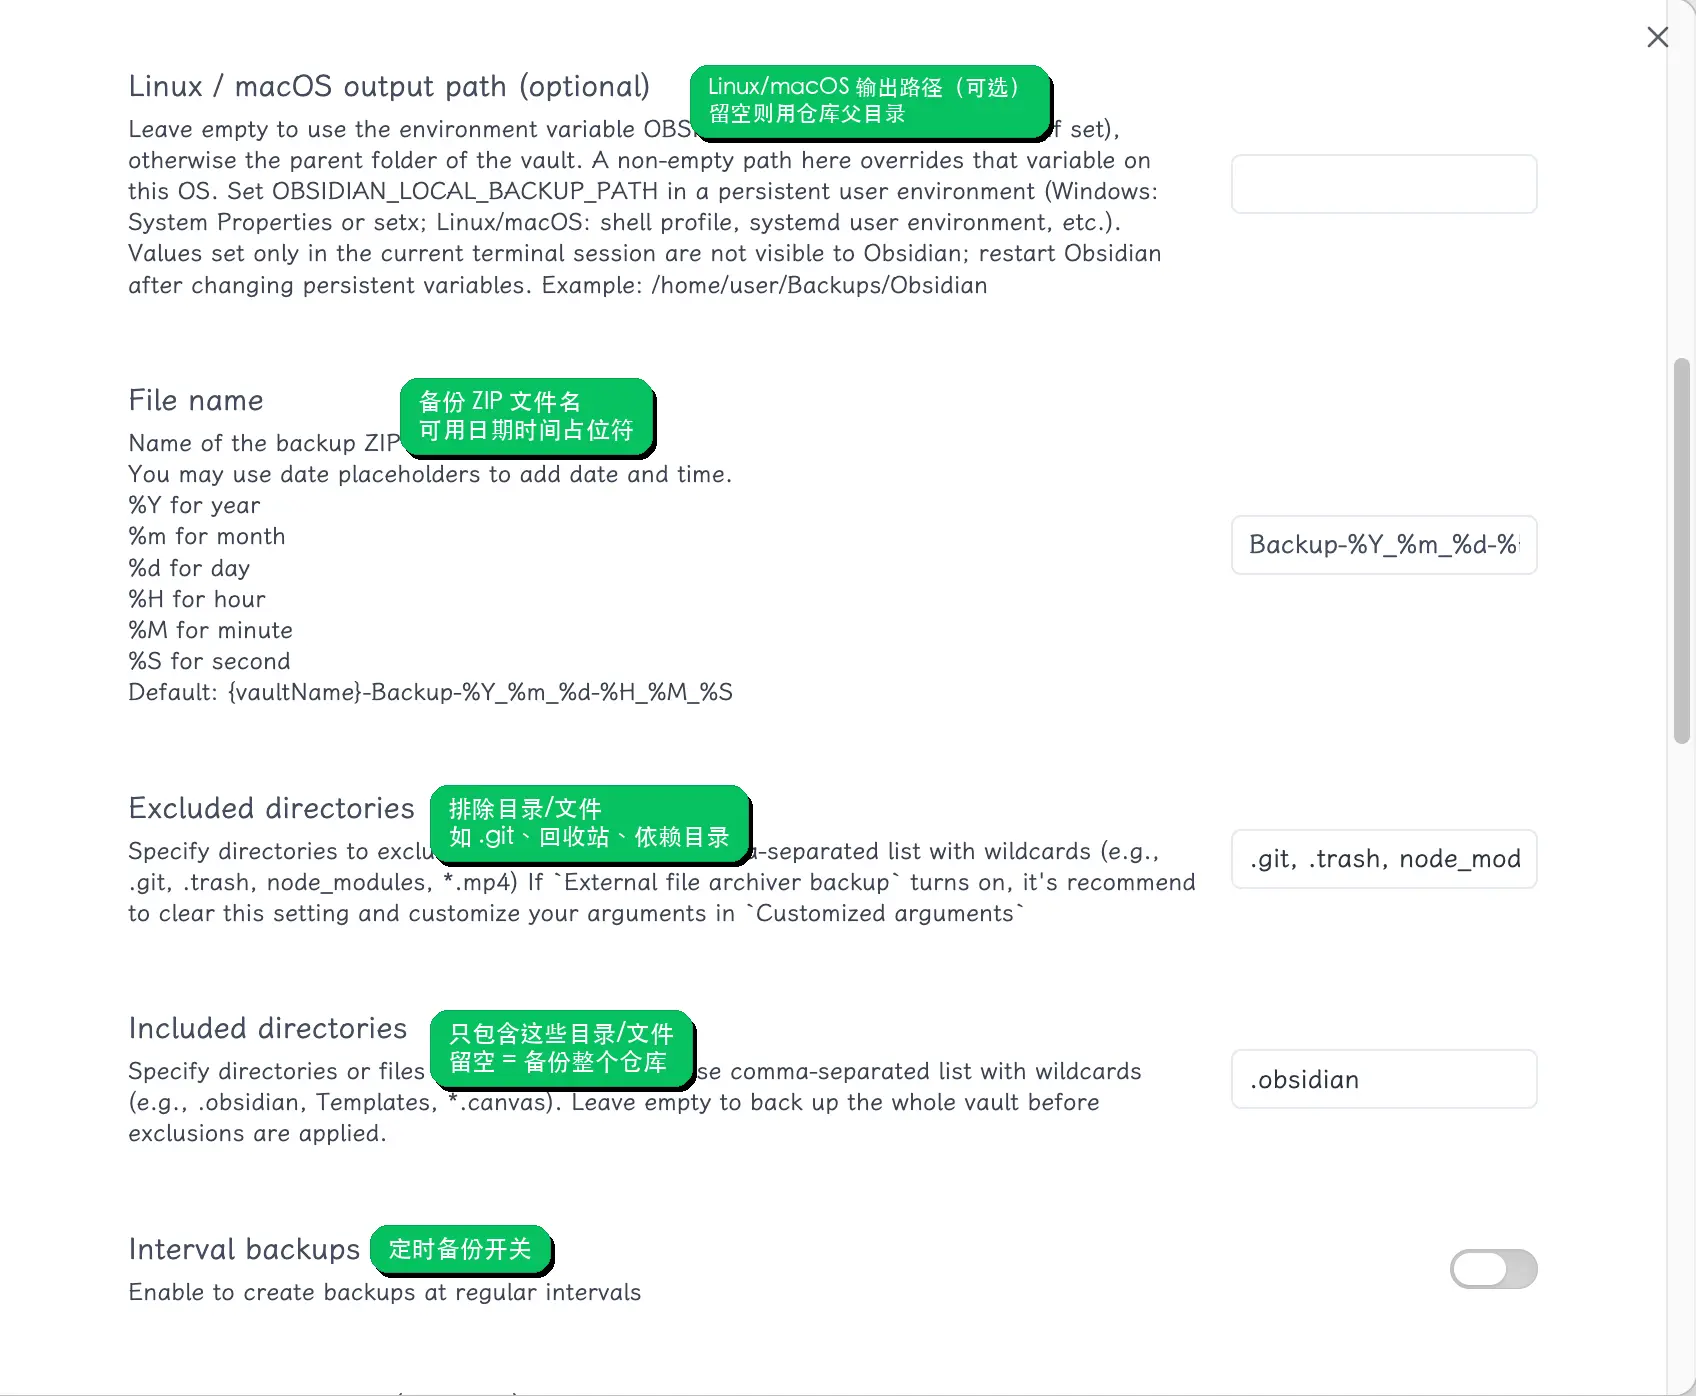
Also, note that I encountered an error before because my vault folder contained a virtual environment.
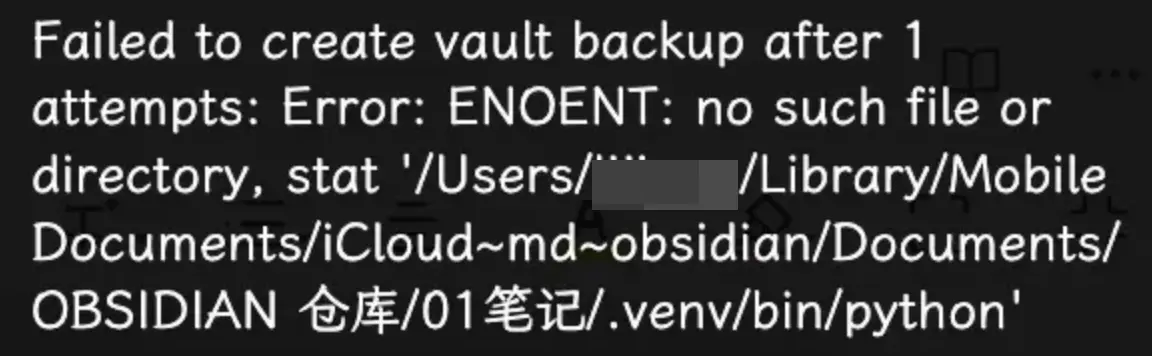
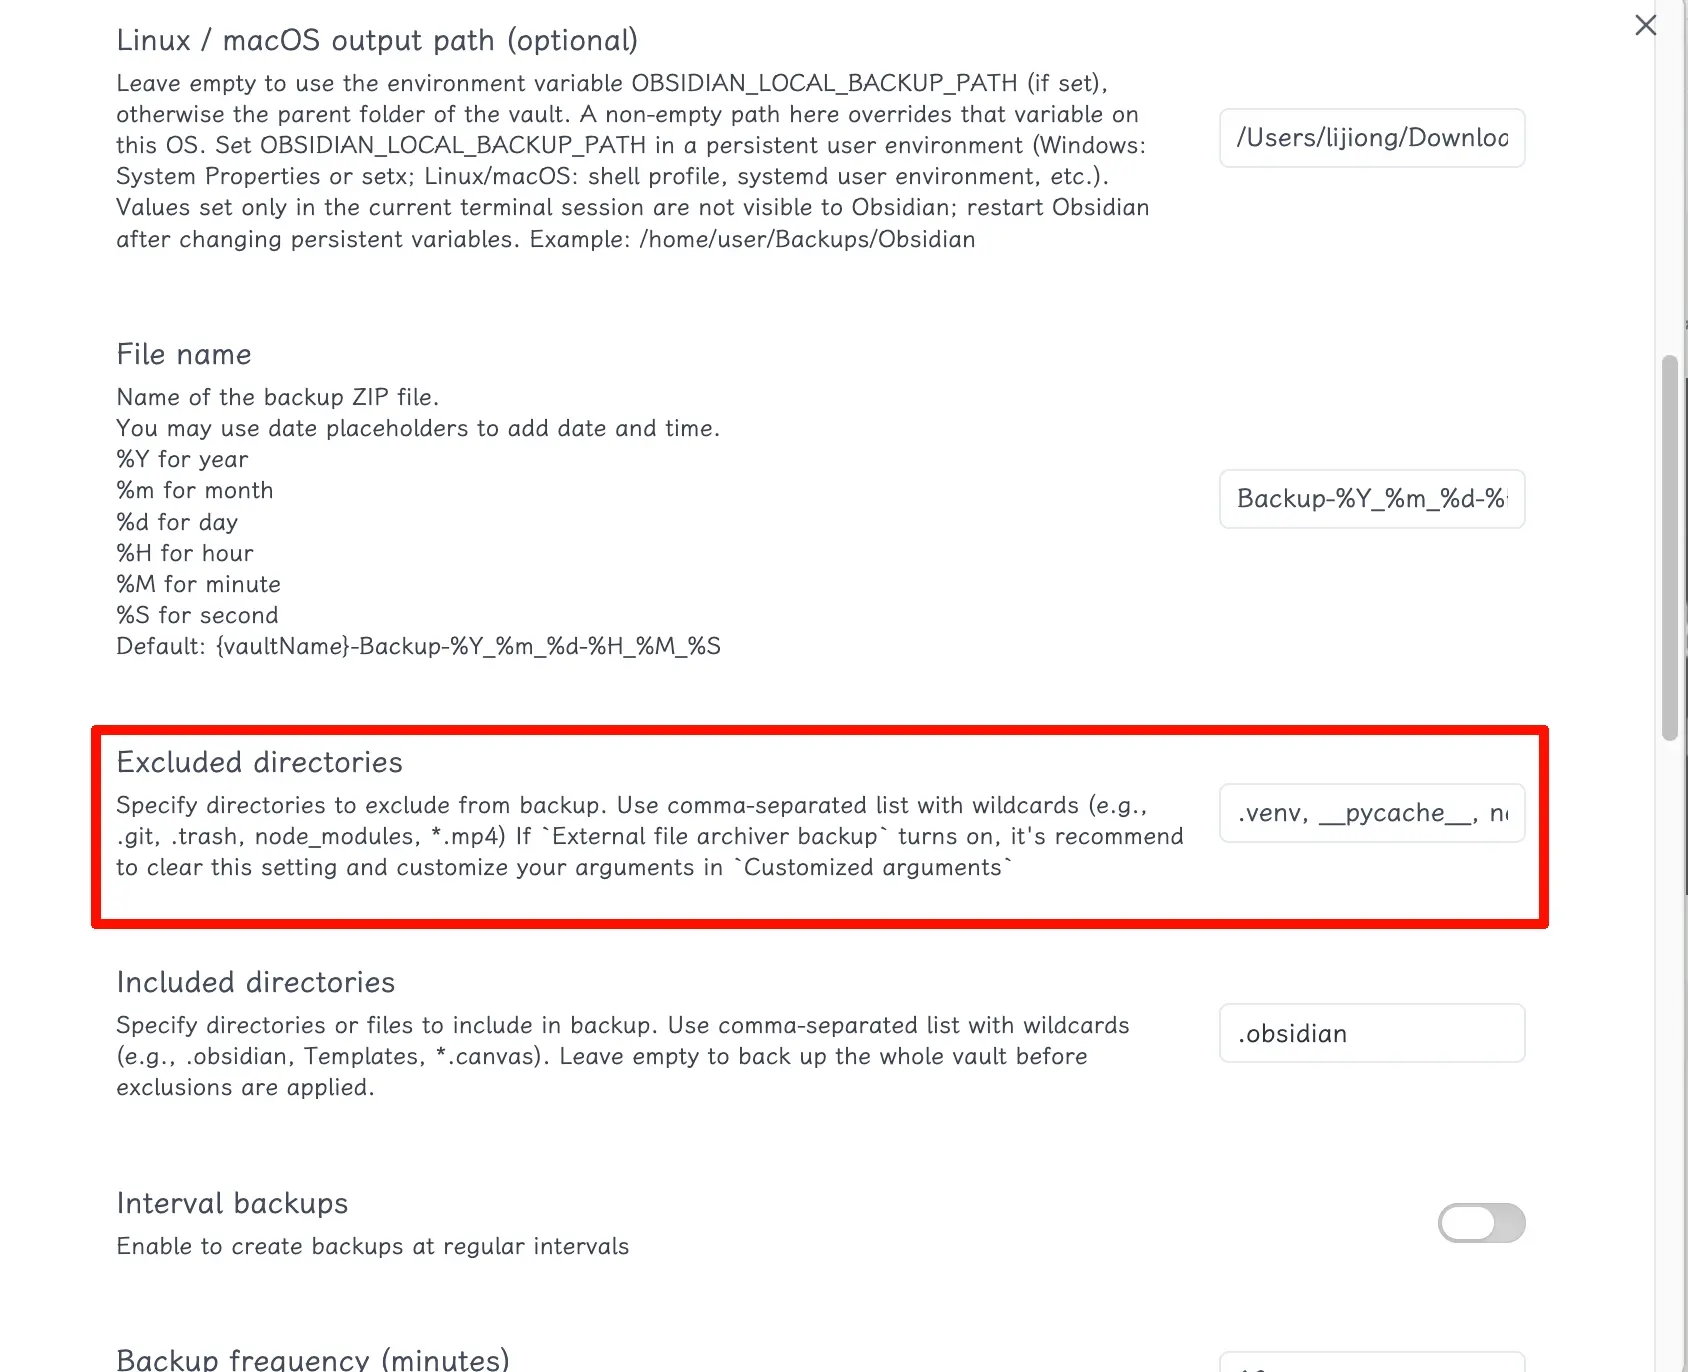
The solution is simple: add exclusion patterns in the option shown in the screenshot. If you’re not sure, you can copy my list:
.venv, __pycache__, node_modules, .git, .trash
Tip: Convert PDFs to Markdown to Reduce Backup Size
If your backup package keeps growing, first check if you’ve added a lot of PDFs to your vault.
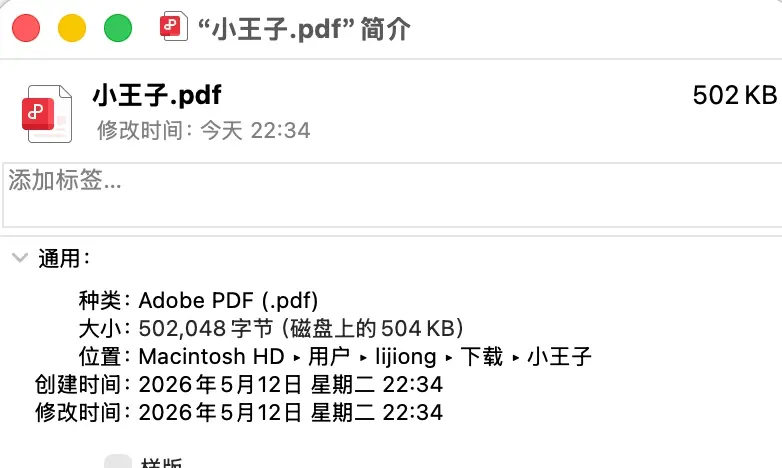
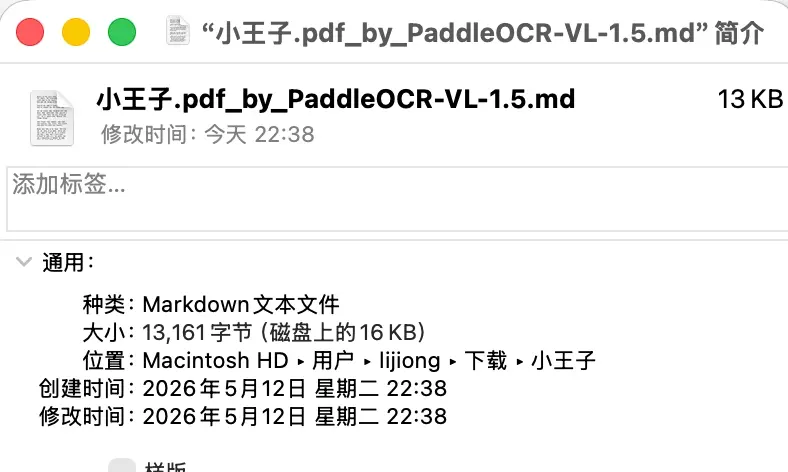
PDF files are large, so having many of them will bloat your backups. Converting reference PDFs to Markdown preserves the content while significantly reducing backup size. For example, a 504KB PDF becomes only 13KB after conversion (the ratio varies by file).
And don’t worry about images—the conversion tool automatically inserts them as image hosting links.
Currently, there are free online tools available:

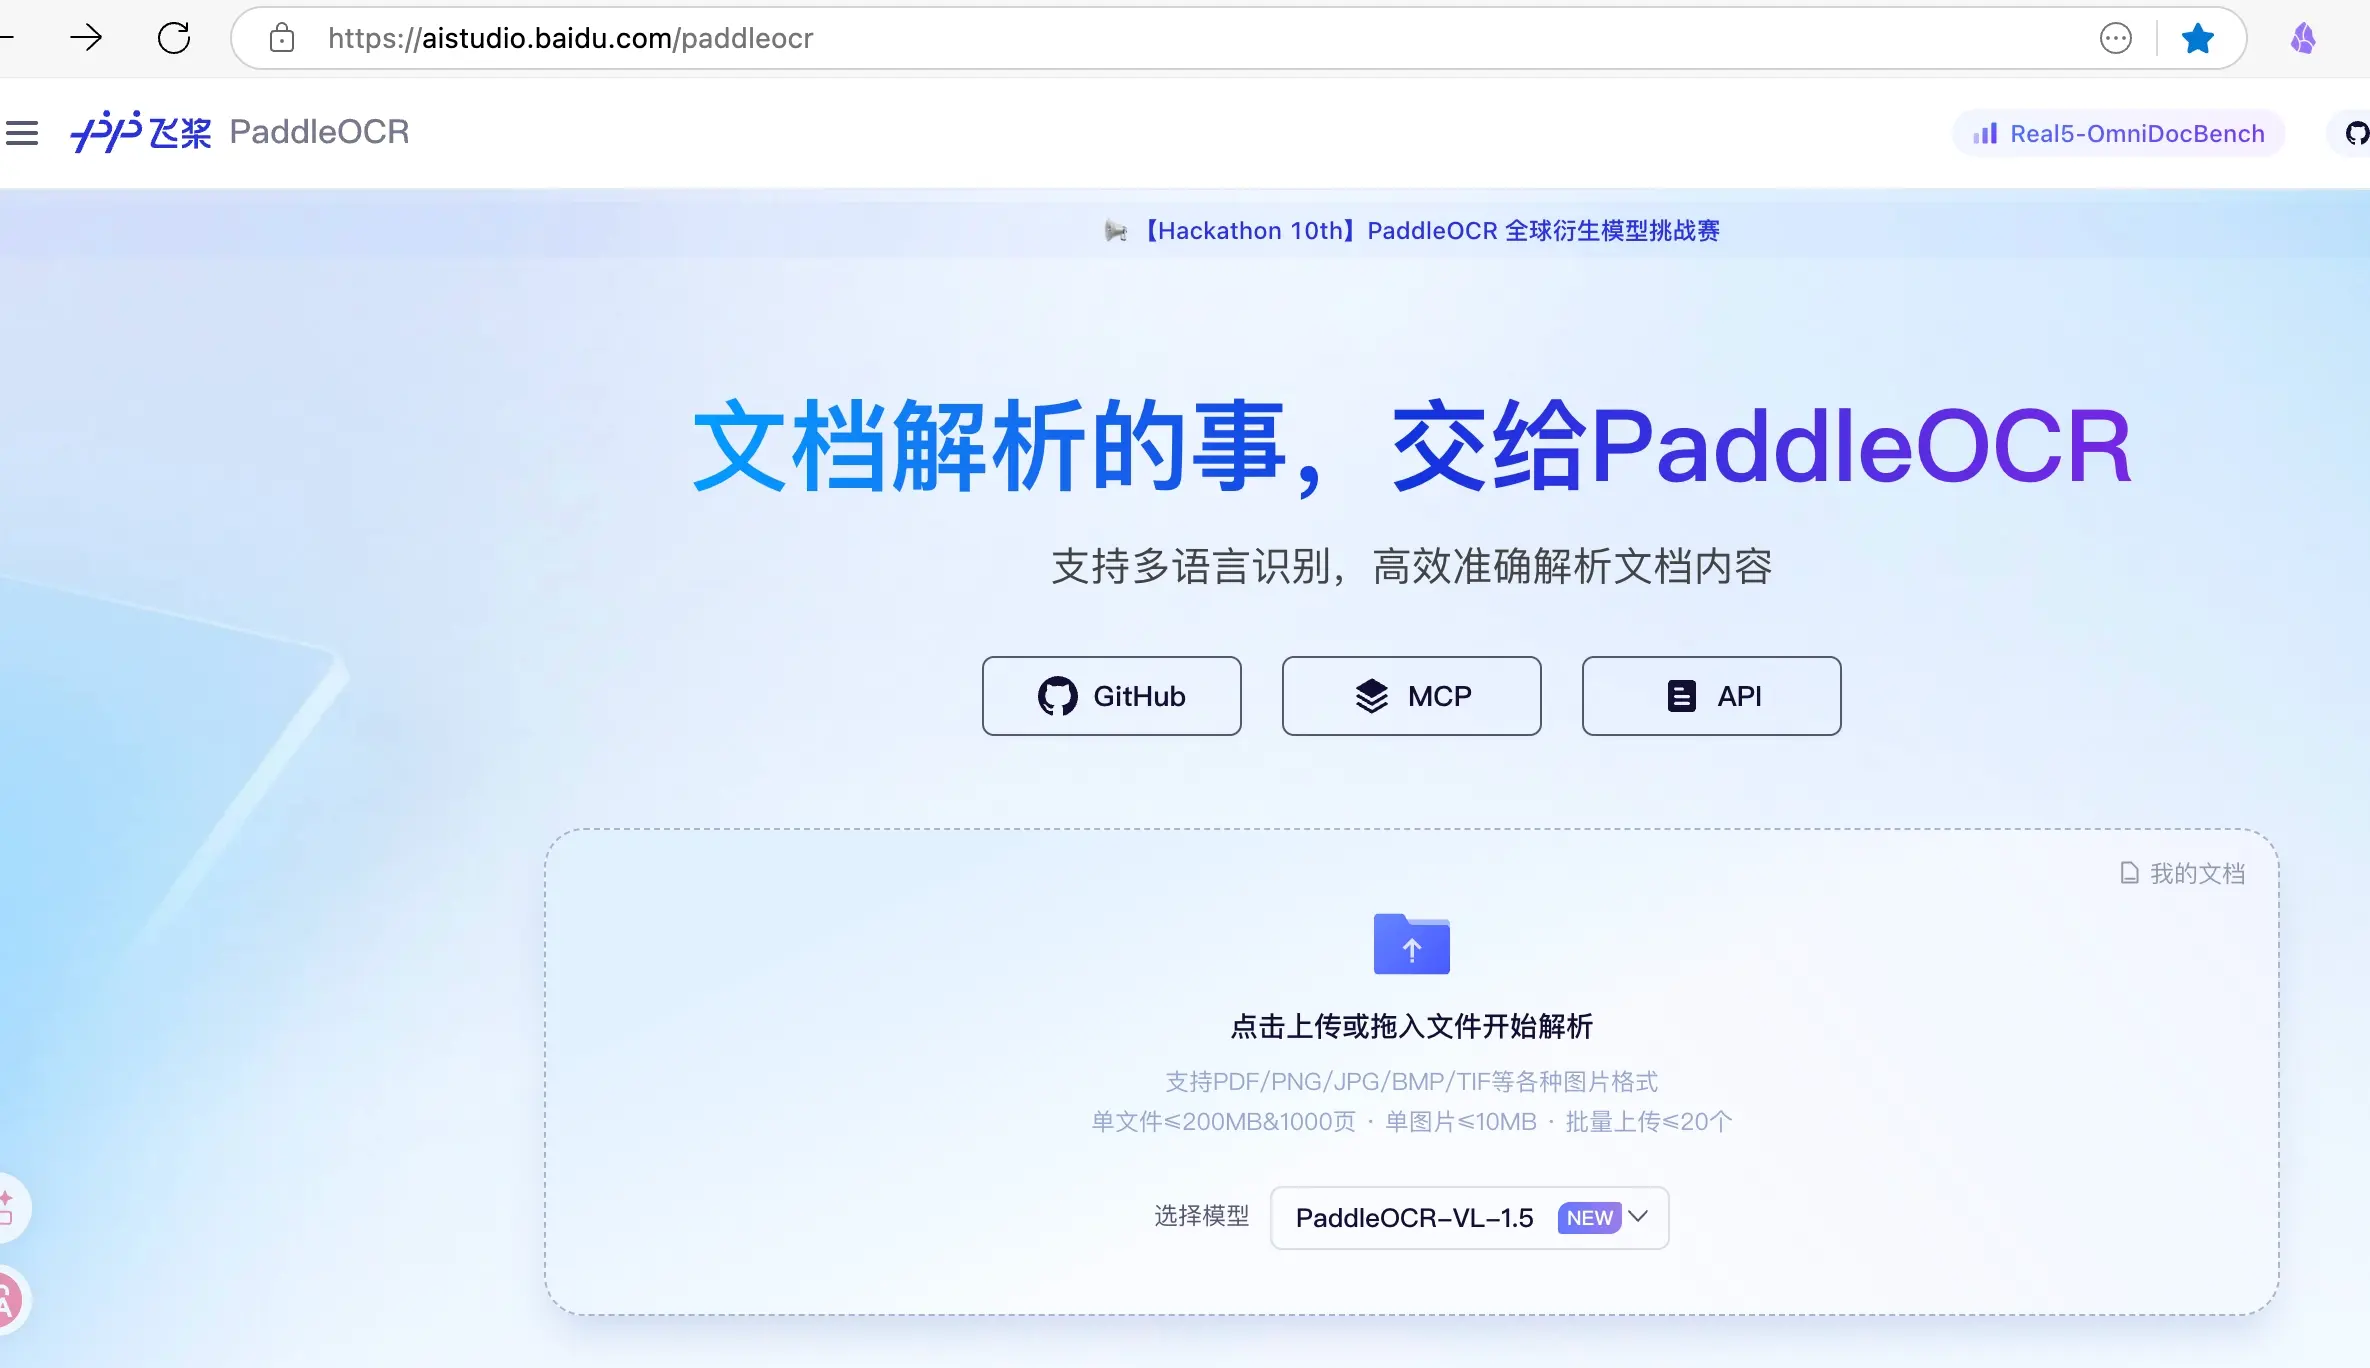
Usage is simple: just drag and drop the PDF to convert it.
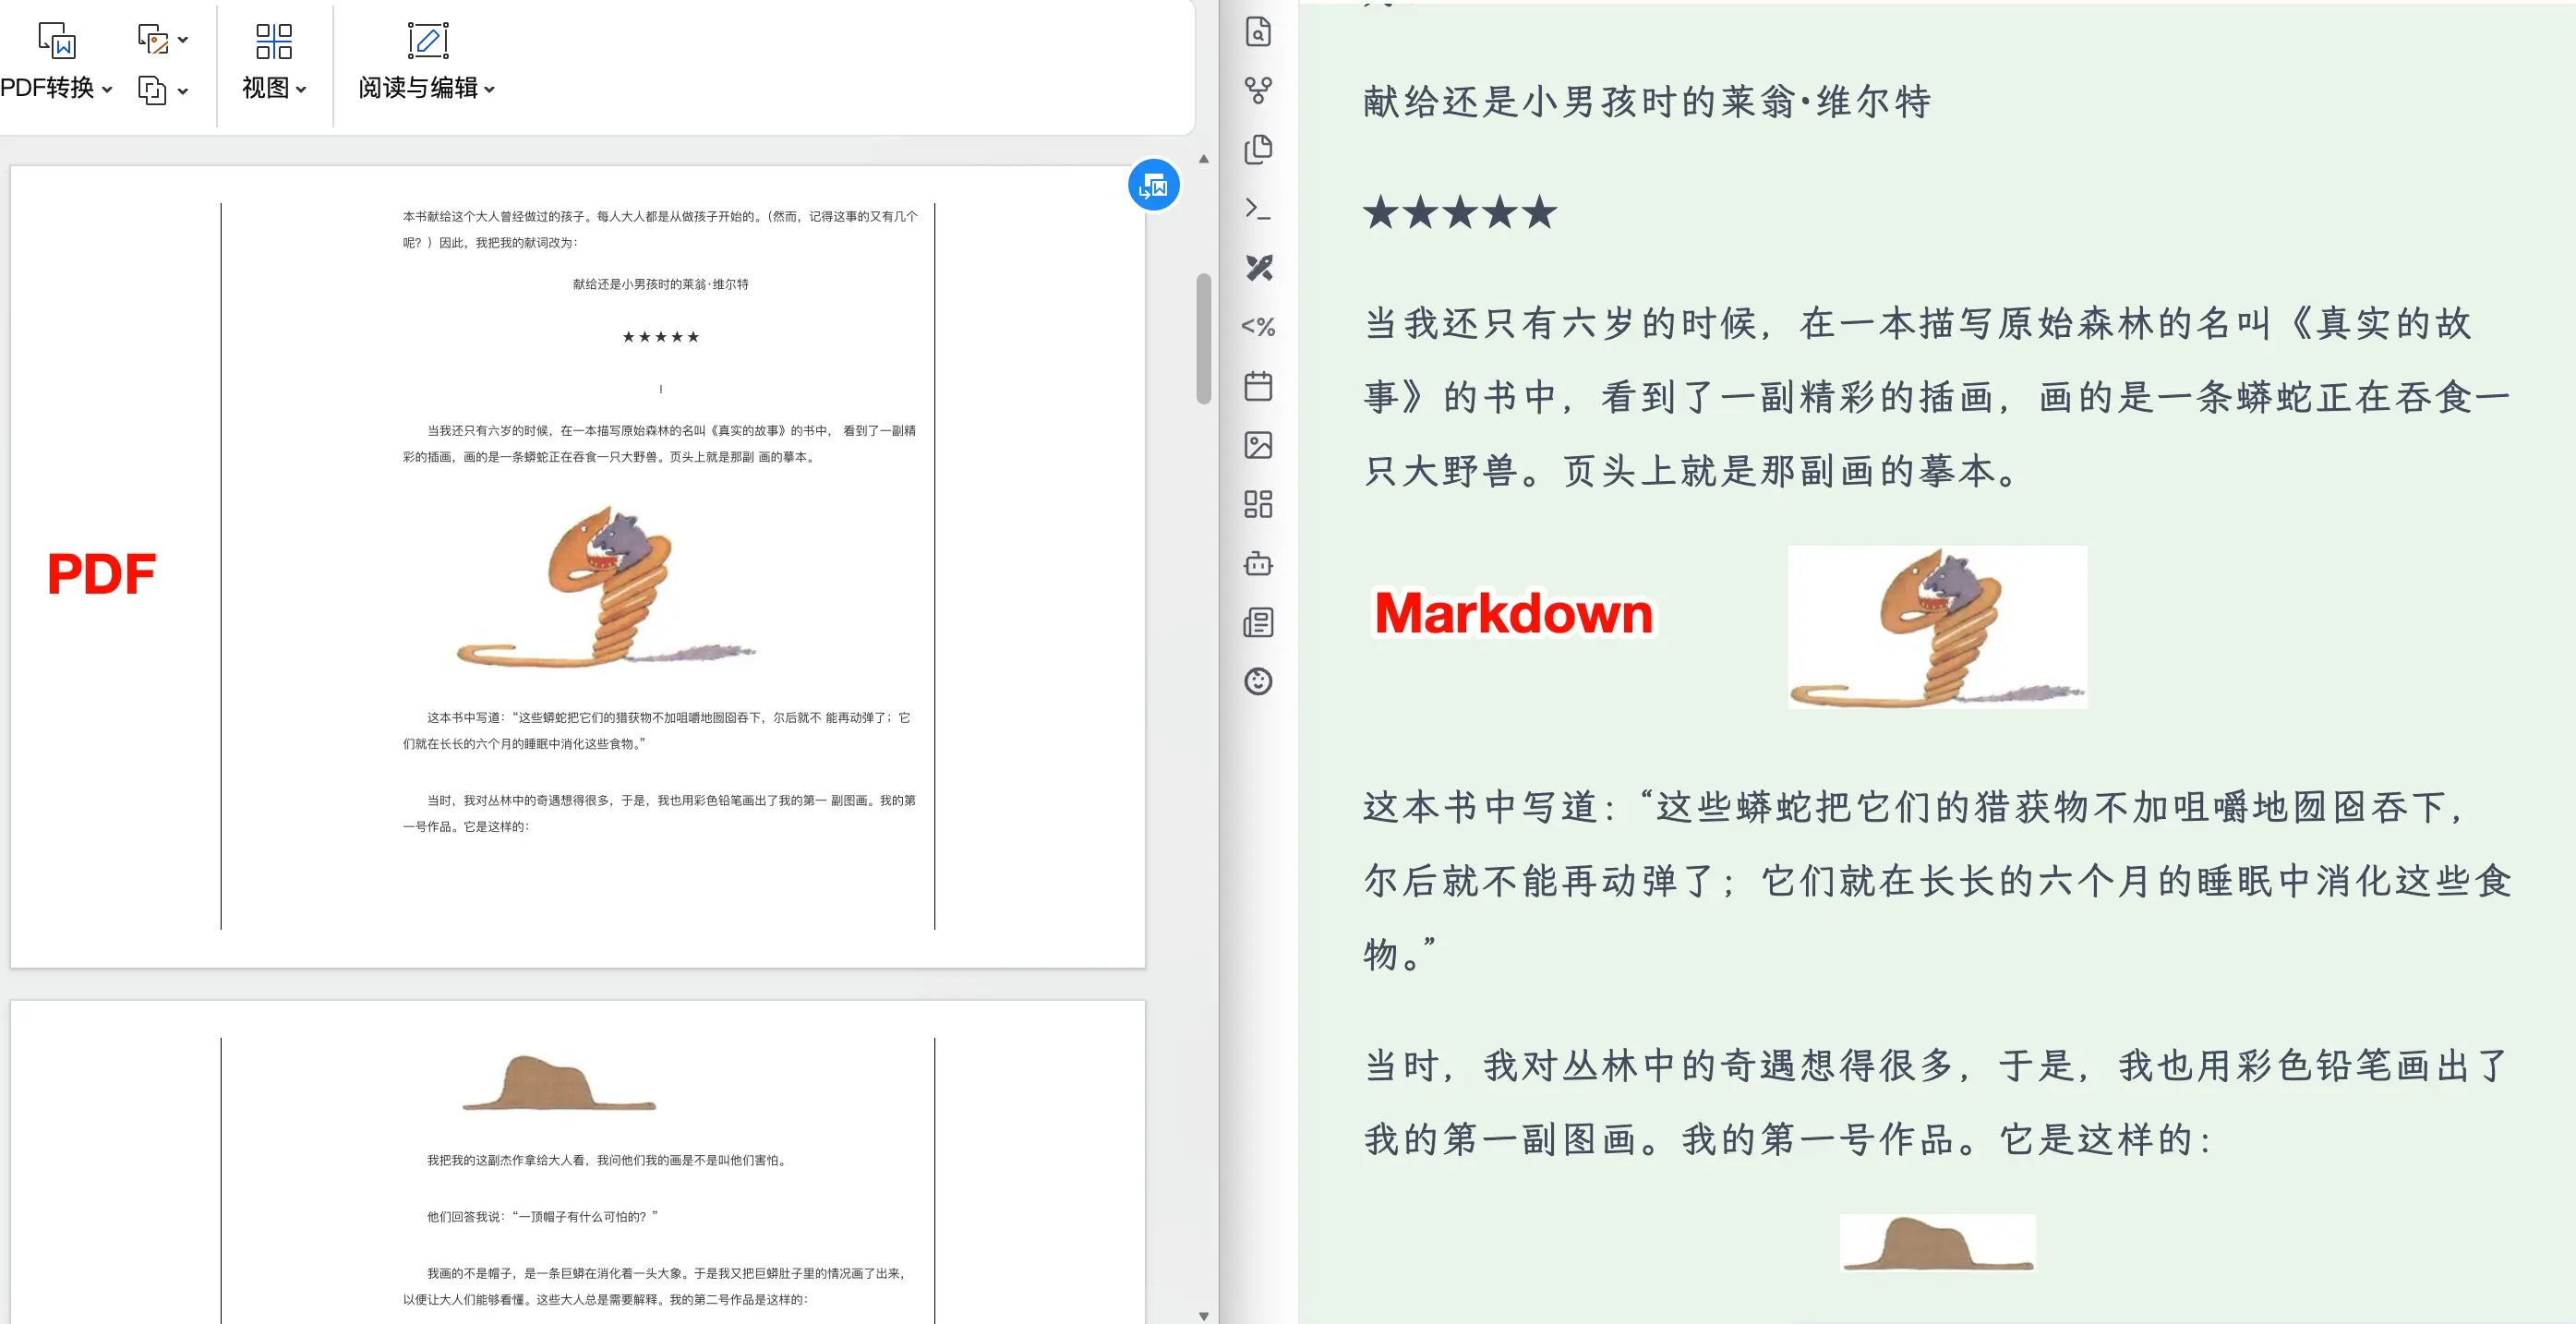
After conversion, the left side shows the original, and the right side shows the converted format. Click the download button on the right to save it locally.
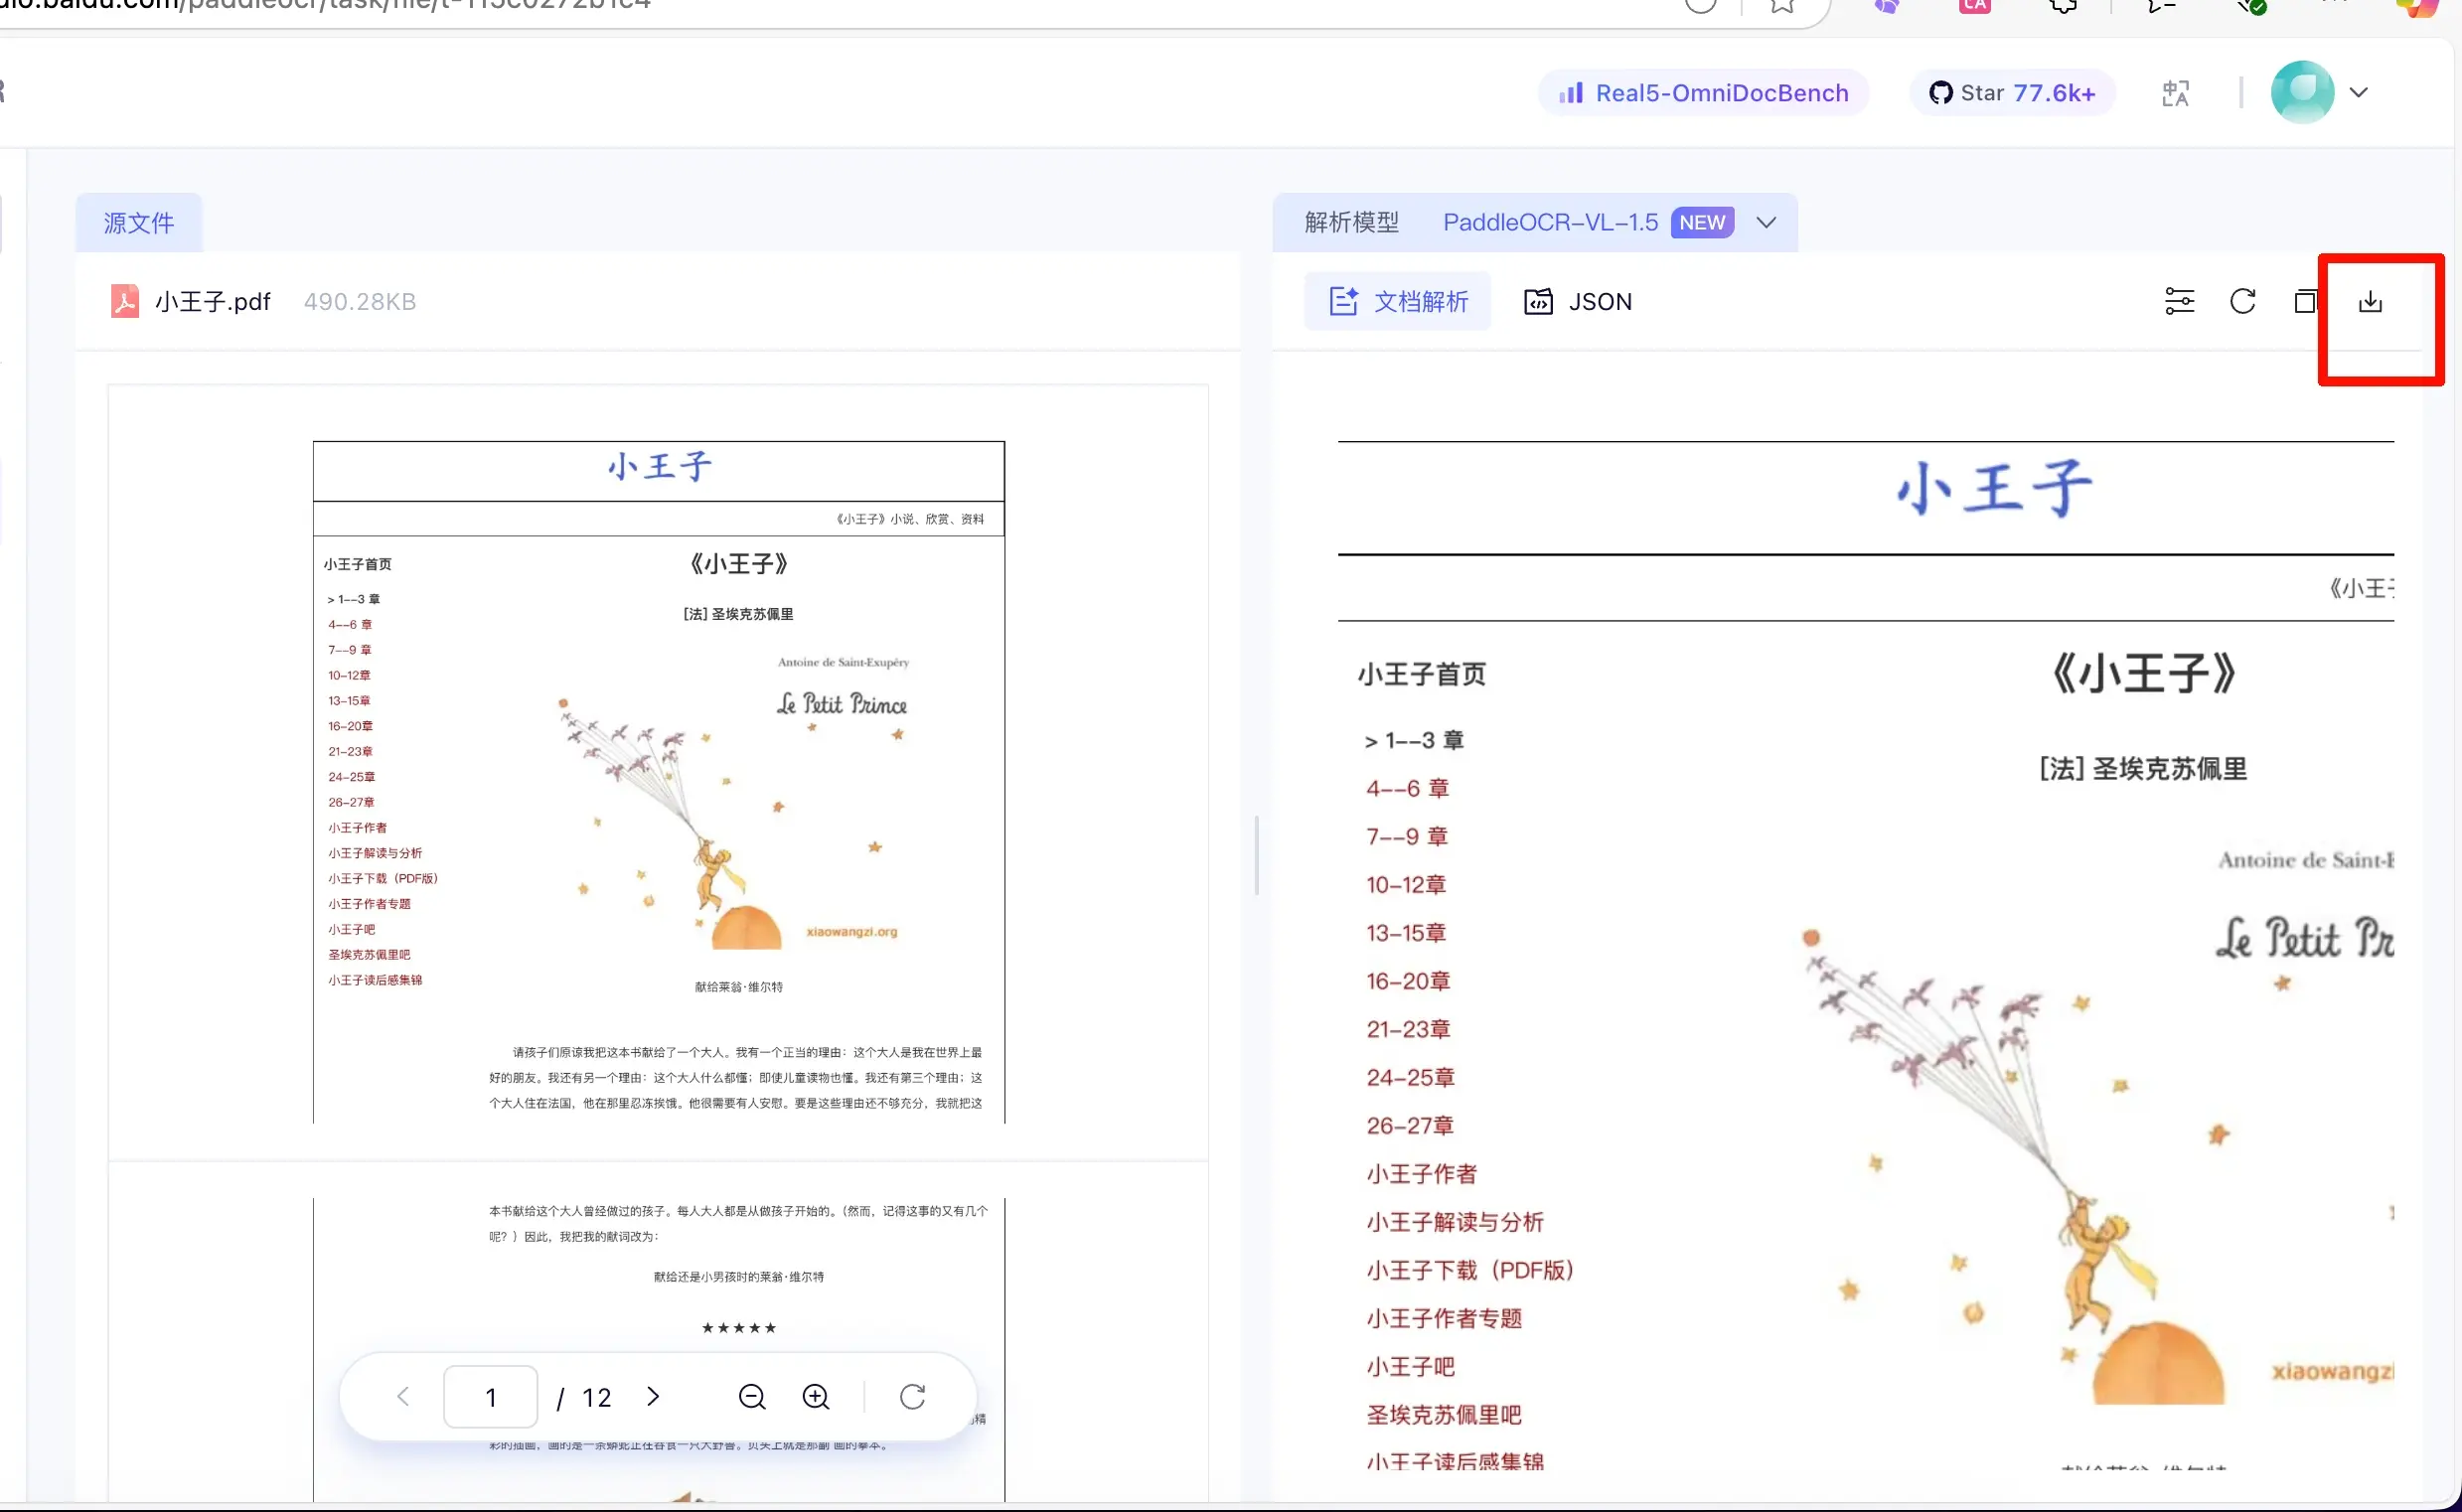
You can see the original PDF is 504KB, while the converted version is only 13KB.
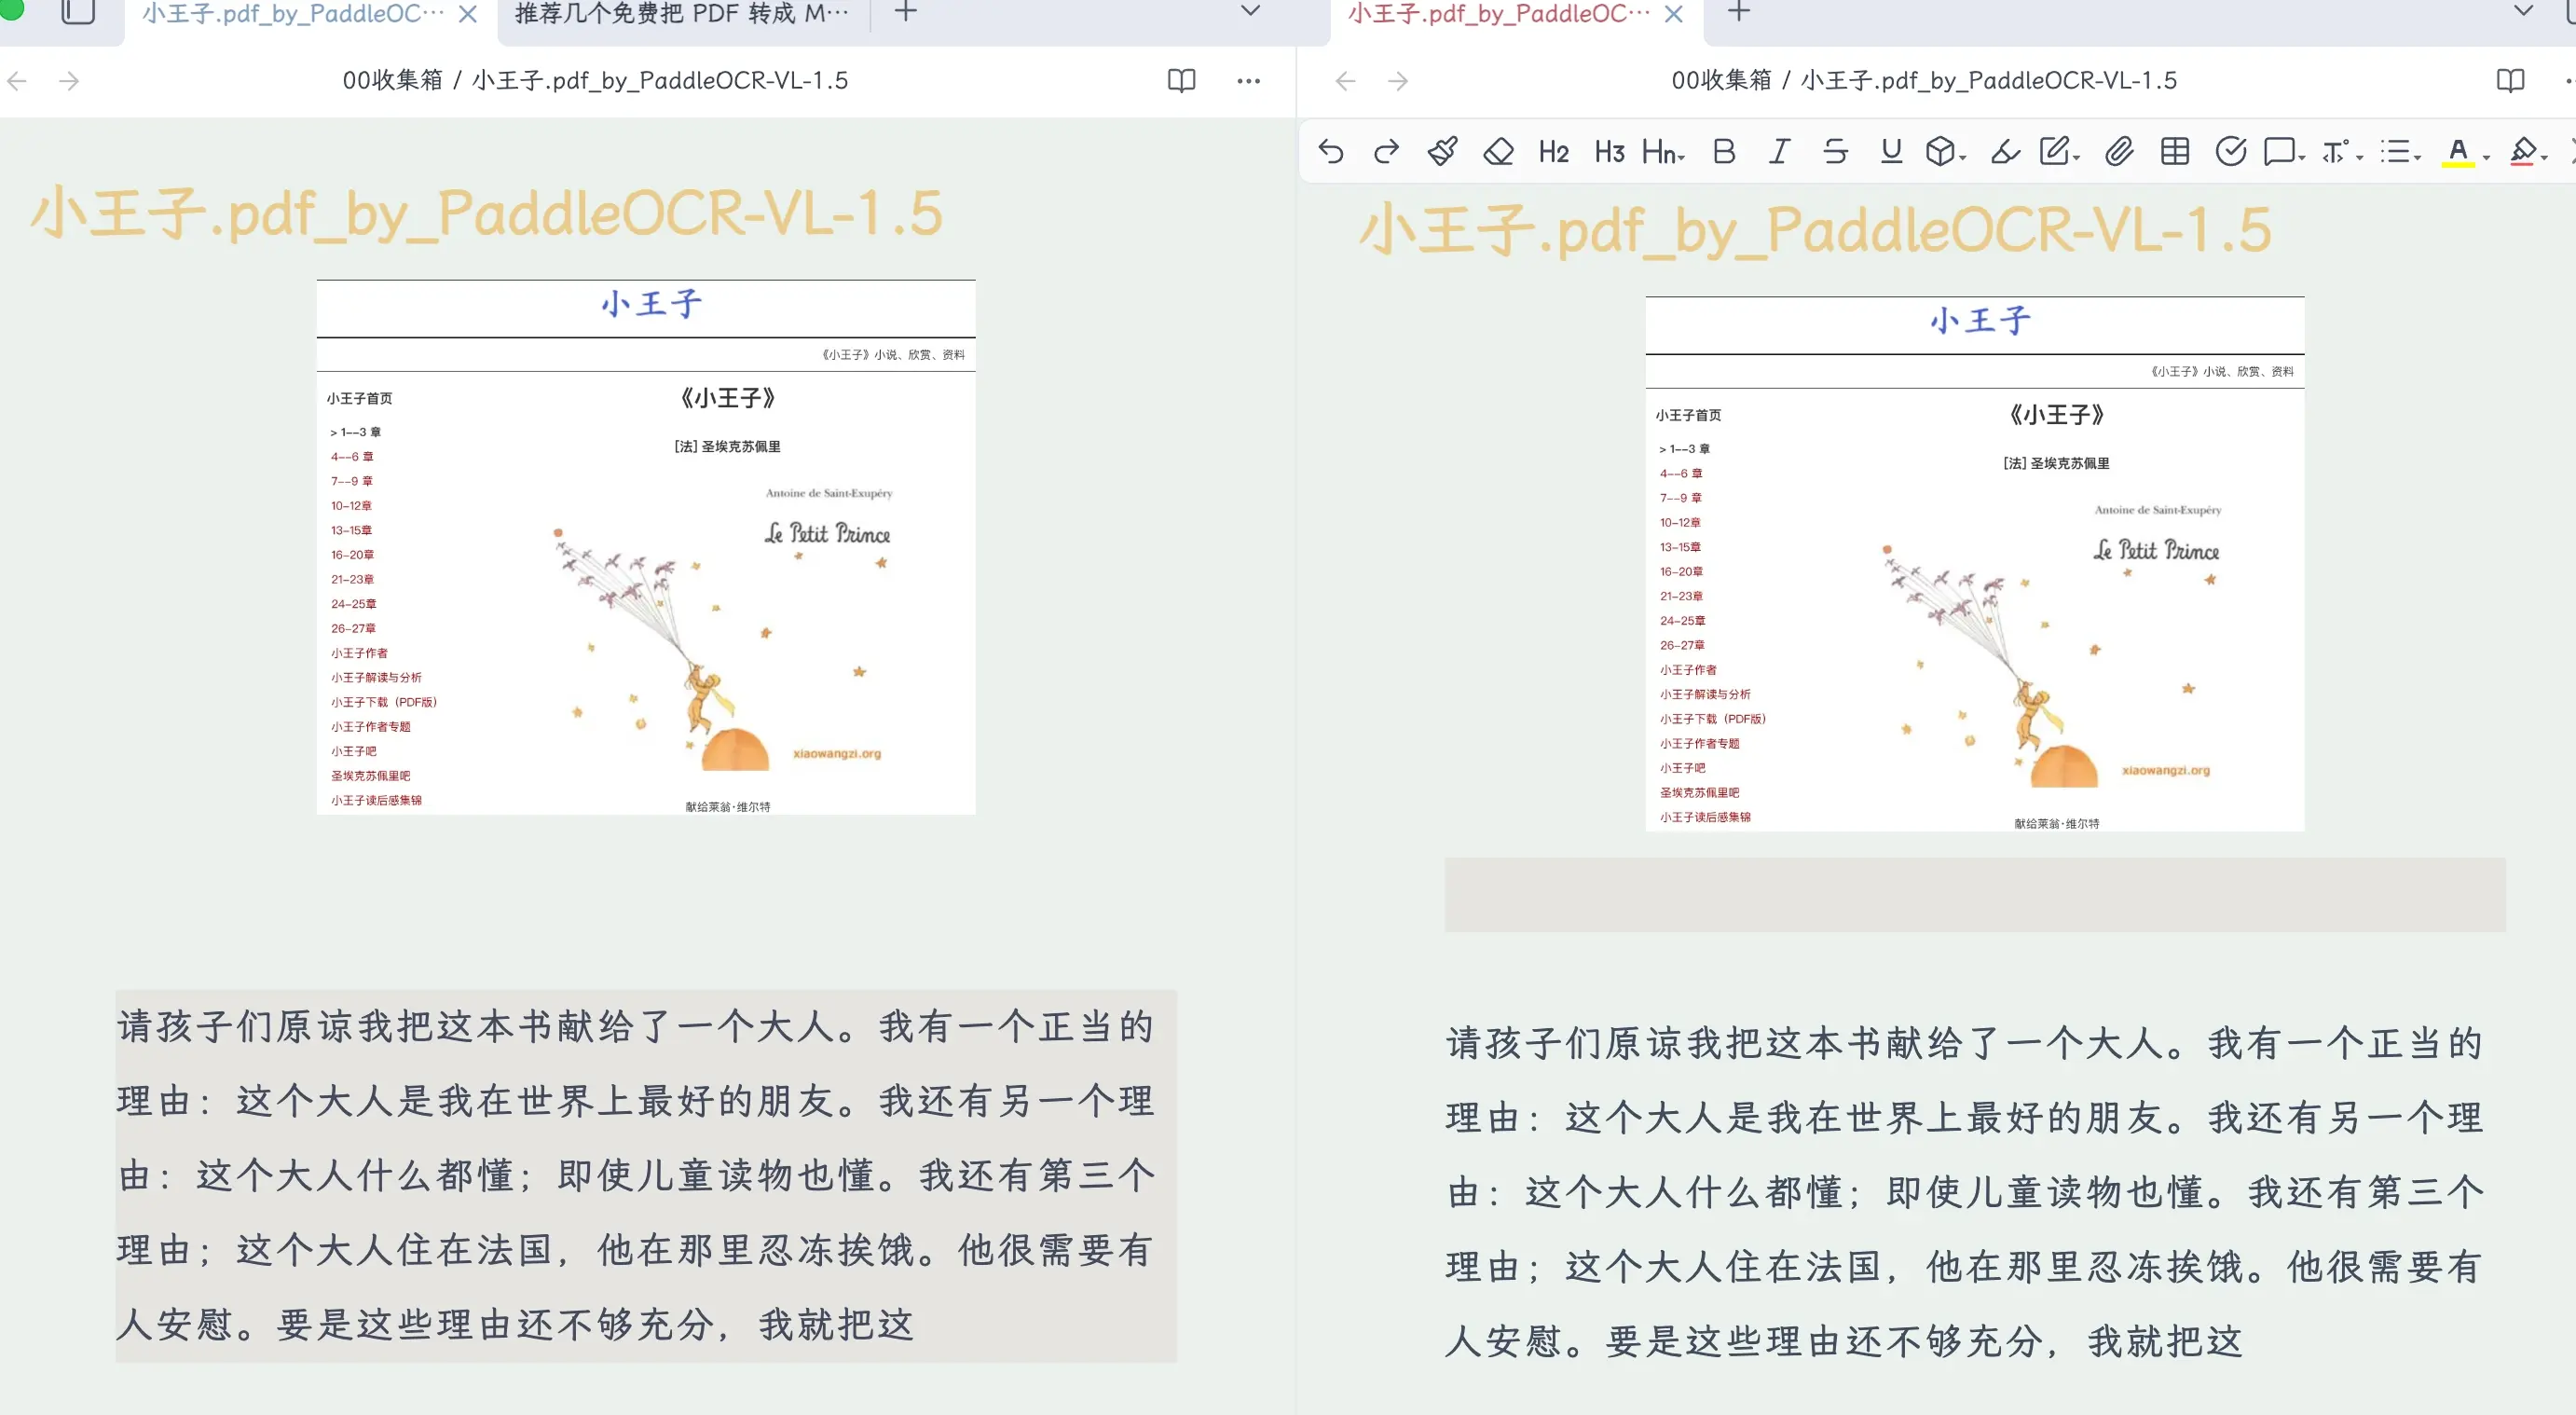
The image below compares the PDF and Markdown versions—they look very similar.
Note that these images are hosted on the website’s own image hosting service, and it’s uncertain how long they will be preserved. It is recommended to migrate them to your own image hosting as described in the chapter on image hosting, so that even if the website removes their hosting, your usage won’t be affected.
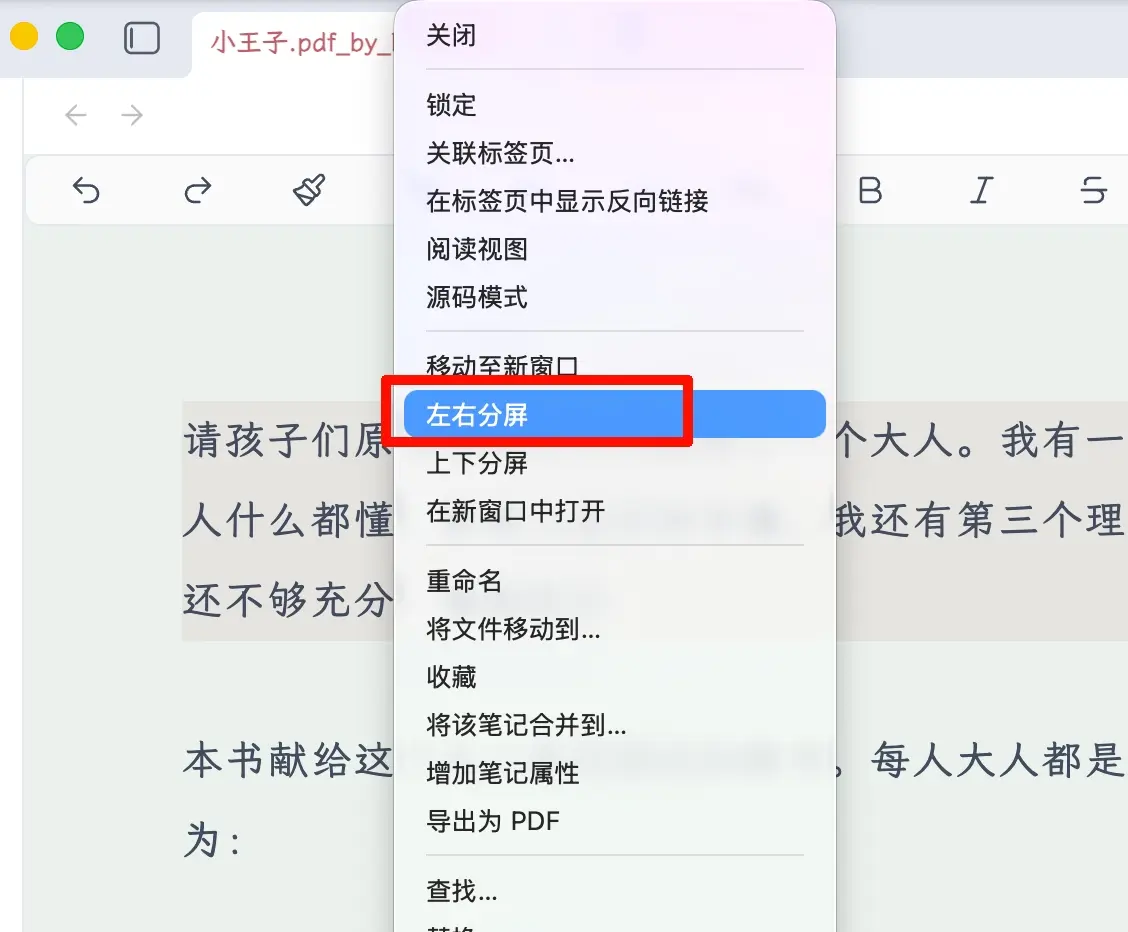
When taking notes, you can use a split-screen view: open the same document on both sides, viewing the converted Markdown on one side while writing notes on the other. A dual-monitor setup makes this even more convenient.
Summary
What we learned today:
- Local Backup is the simplest local backup plugin for Obsidian—just install it, set the path, and it works without any command line.
- Only three steps to set up: Install the plugin → Set the backup path and rules → Click the left icon to verify.
- Test before you rely on it—click “Try” to confirm the path is writable. Don’t wait until you lose data to verify.
- Common error fix: Check the exclusion list and add temporary directories like
.venv,node_modules,.git, etc.
Key takeaways:
- Local backup + cloud backup for double protection—this is the most reliable approach.
- Beginners can start with local backup only—no need to dive into NAS or GitHub sync right away.
- Verify once before relying on backups to ensure the path and exclusions are correct.