We’ve covered the basics of Obsidian—creating vaults, writing notes, using bidirectional links, and embedding images. Now let’s dive into the most exciting part of Obsidian: plugins.
What are plugins?
Plugins are add-ons that extend Obsidian’s functionality. Obsidian itself provides a clean note-taking environment, but you can make it much more powerful by installing plugins—add a calendar, a Kanban board, an AI assistant, you name it.
Obsidian plugins come in two types: core plugins and third-party plugins (also called community plugins).
Core Plugins
Core plugins are built into Obsidian by default. Go to Settings → Core plugins to see a list.
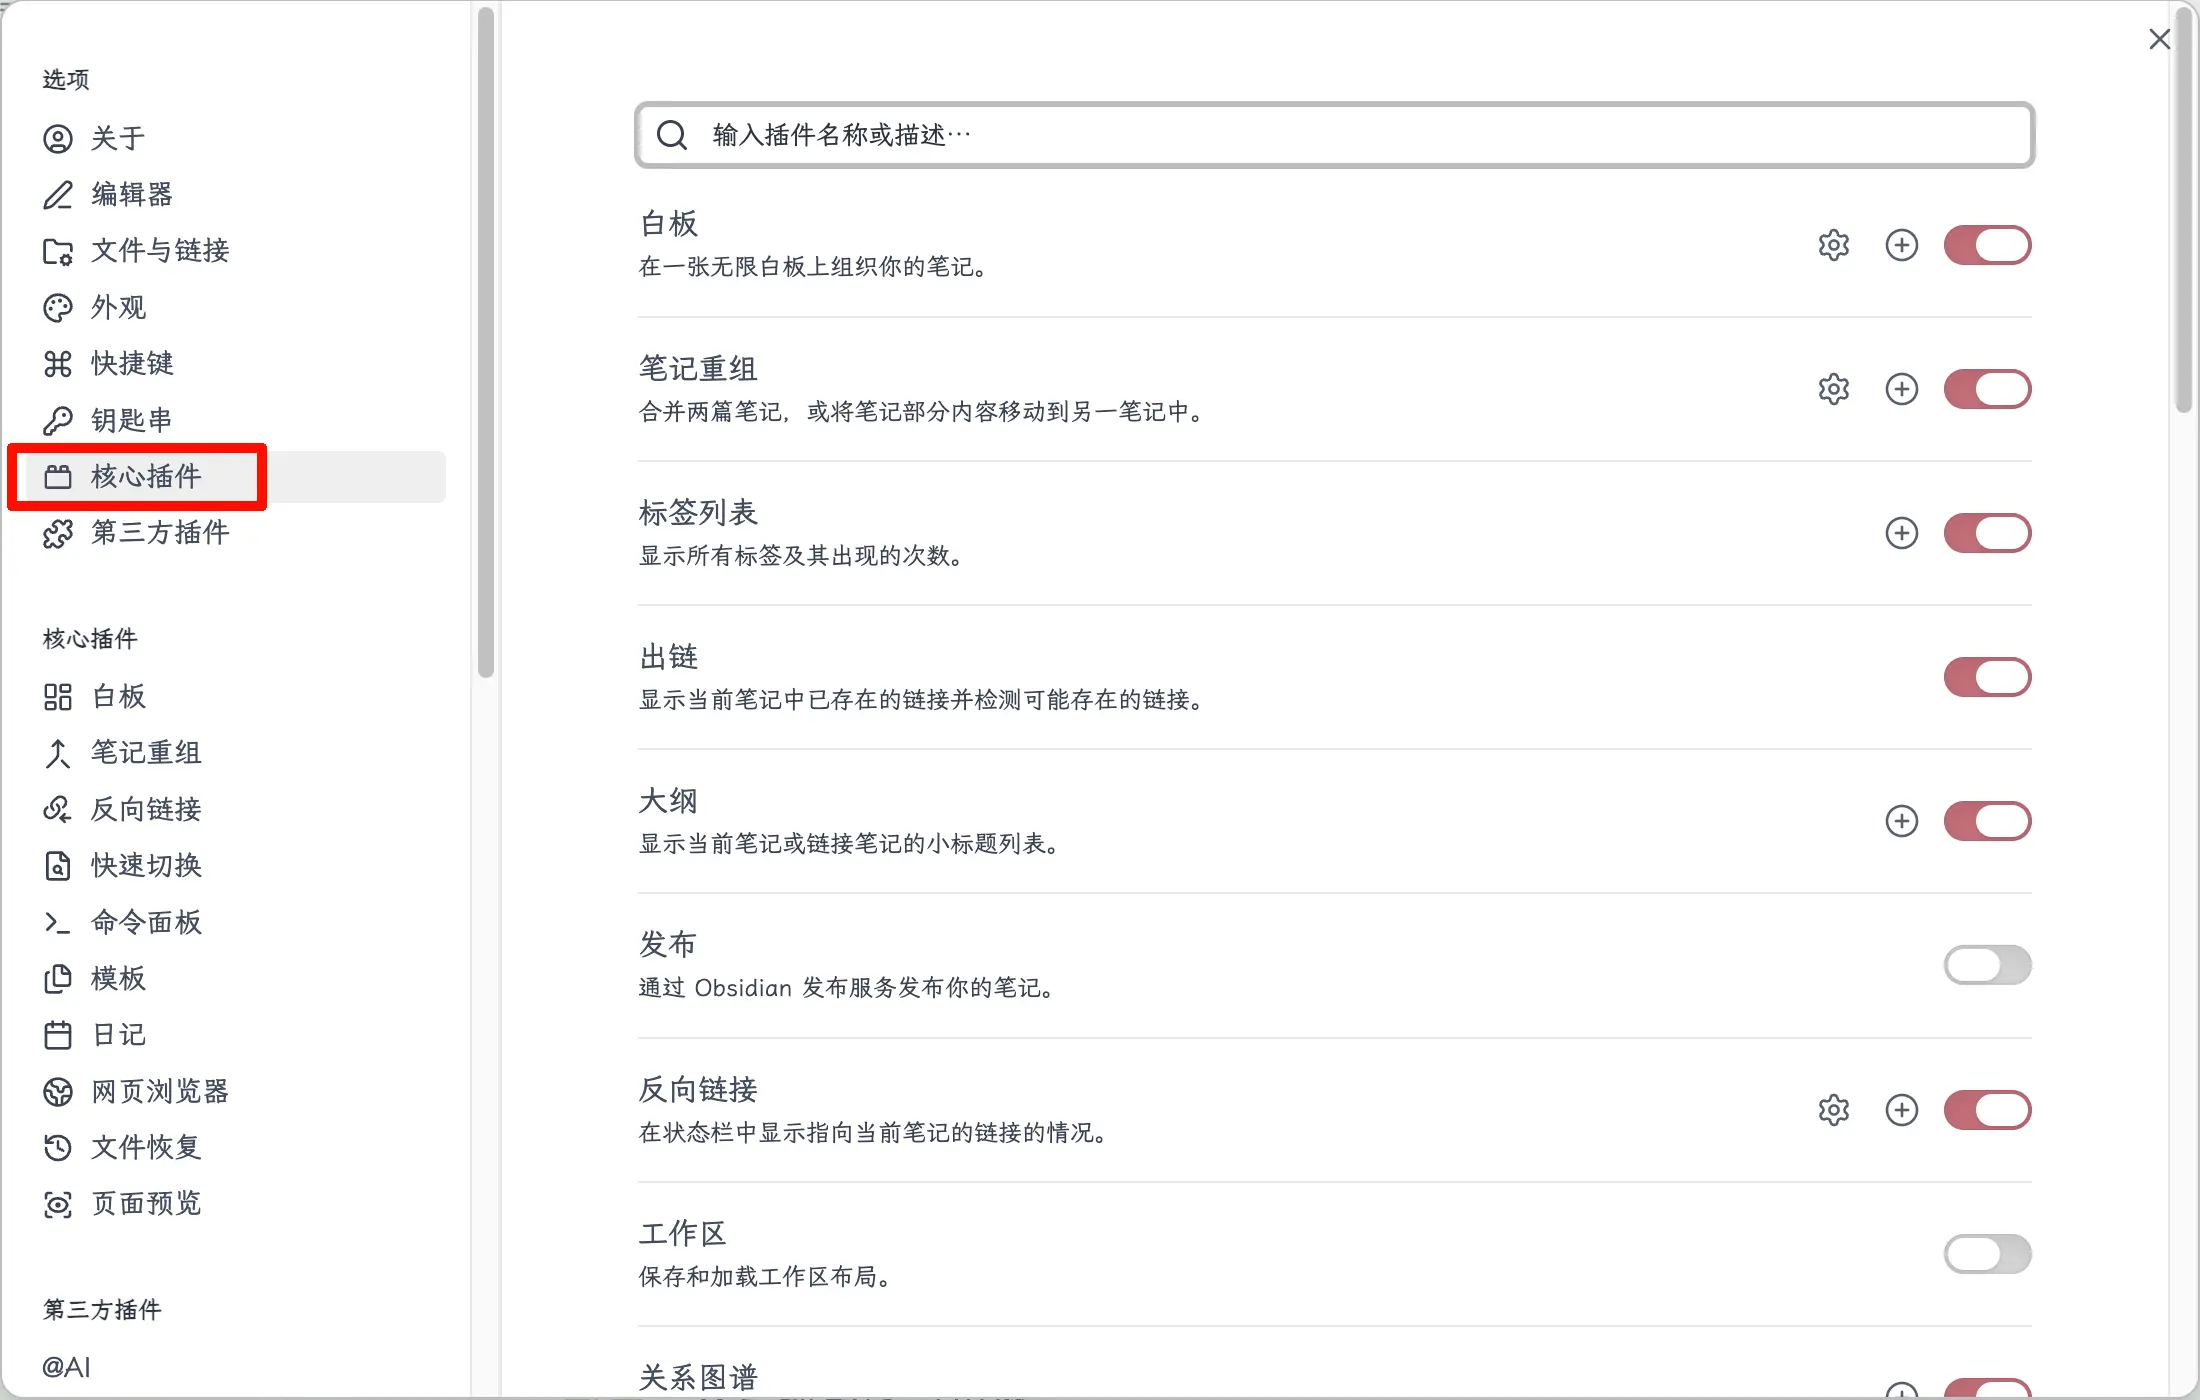
These are developed by the Obsidian team, for example:
- Search: Search note content globally
- Graph view: Visualize links between notes
- Daily notes: Automatically create a daily note
- Outline: Generate a table of contents based on heading levels
Some core plugins are enabled by default, others are not. You can toggle them on or off as needed.
Features: Officially maintained, stable and secure, but limited in number.
Third-Party Plugins (Community Plugins)
Third-party plugins are contributed by developers worldwide. Almost any feature you can think of has already been built by someone.
Features: Huge variety, rich functionality, maintained by community developers.
If core plugins can’t do what you need, chances are you’ll find a solution in the community plugin marketplace.
How to Install Third-Party Plugins
Two methods.
Method 1: Install from the Community Plugin Marketplace (Recommended)
The easiest way, just three steps.
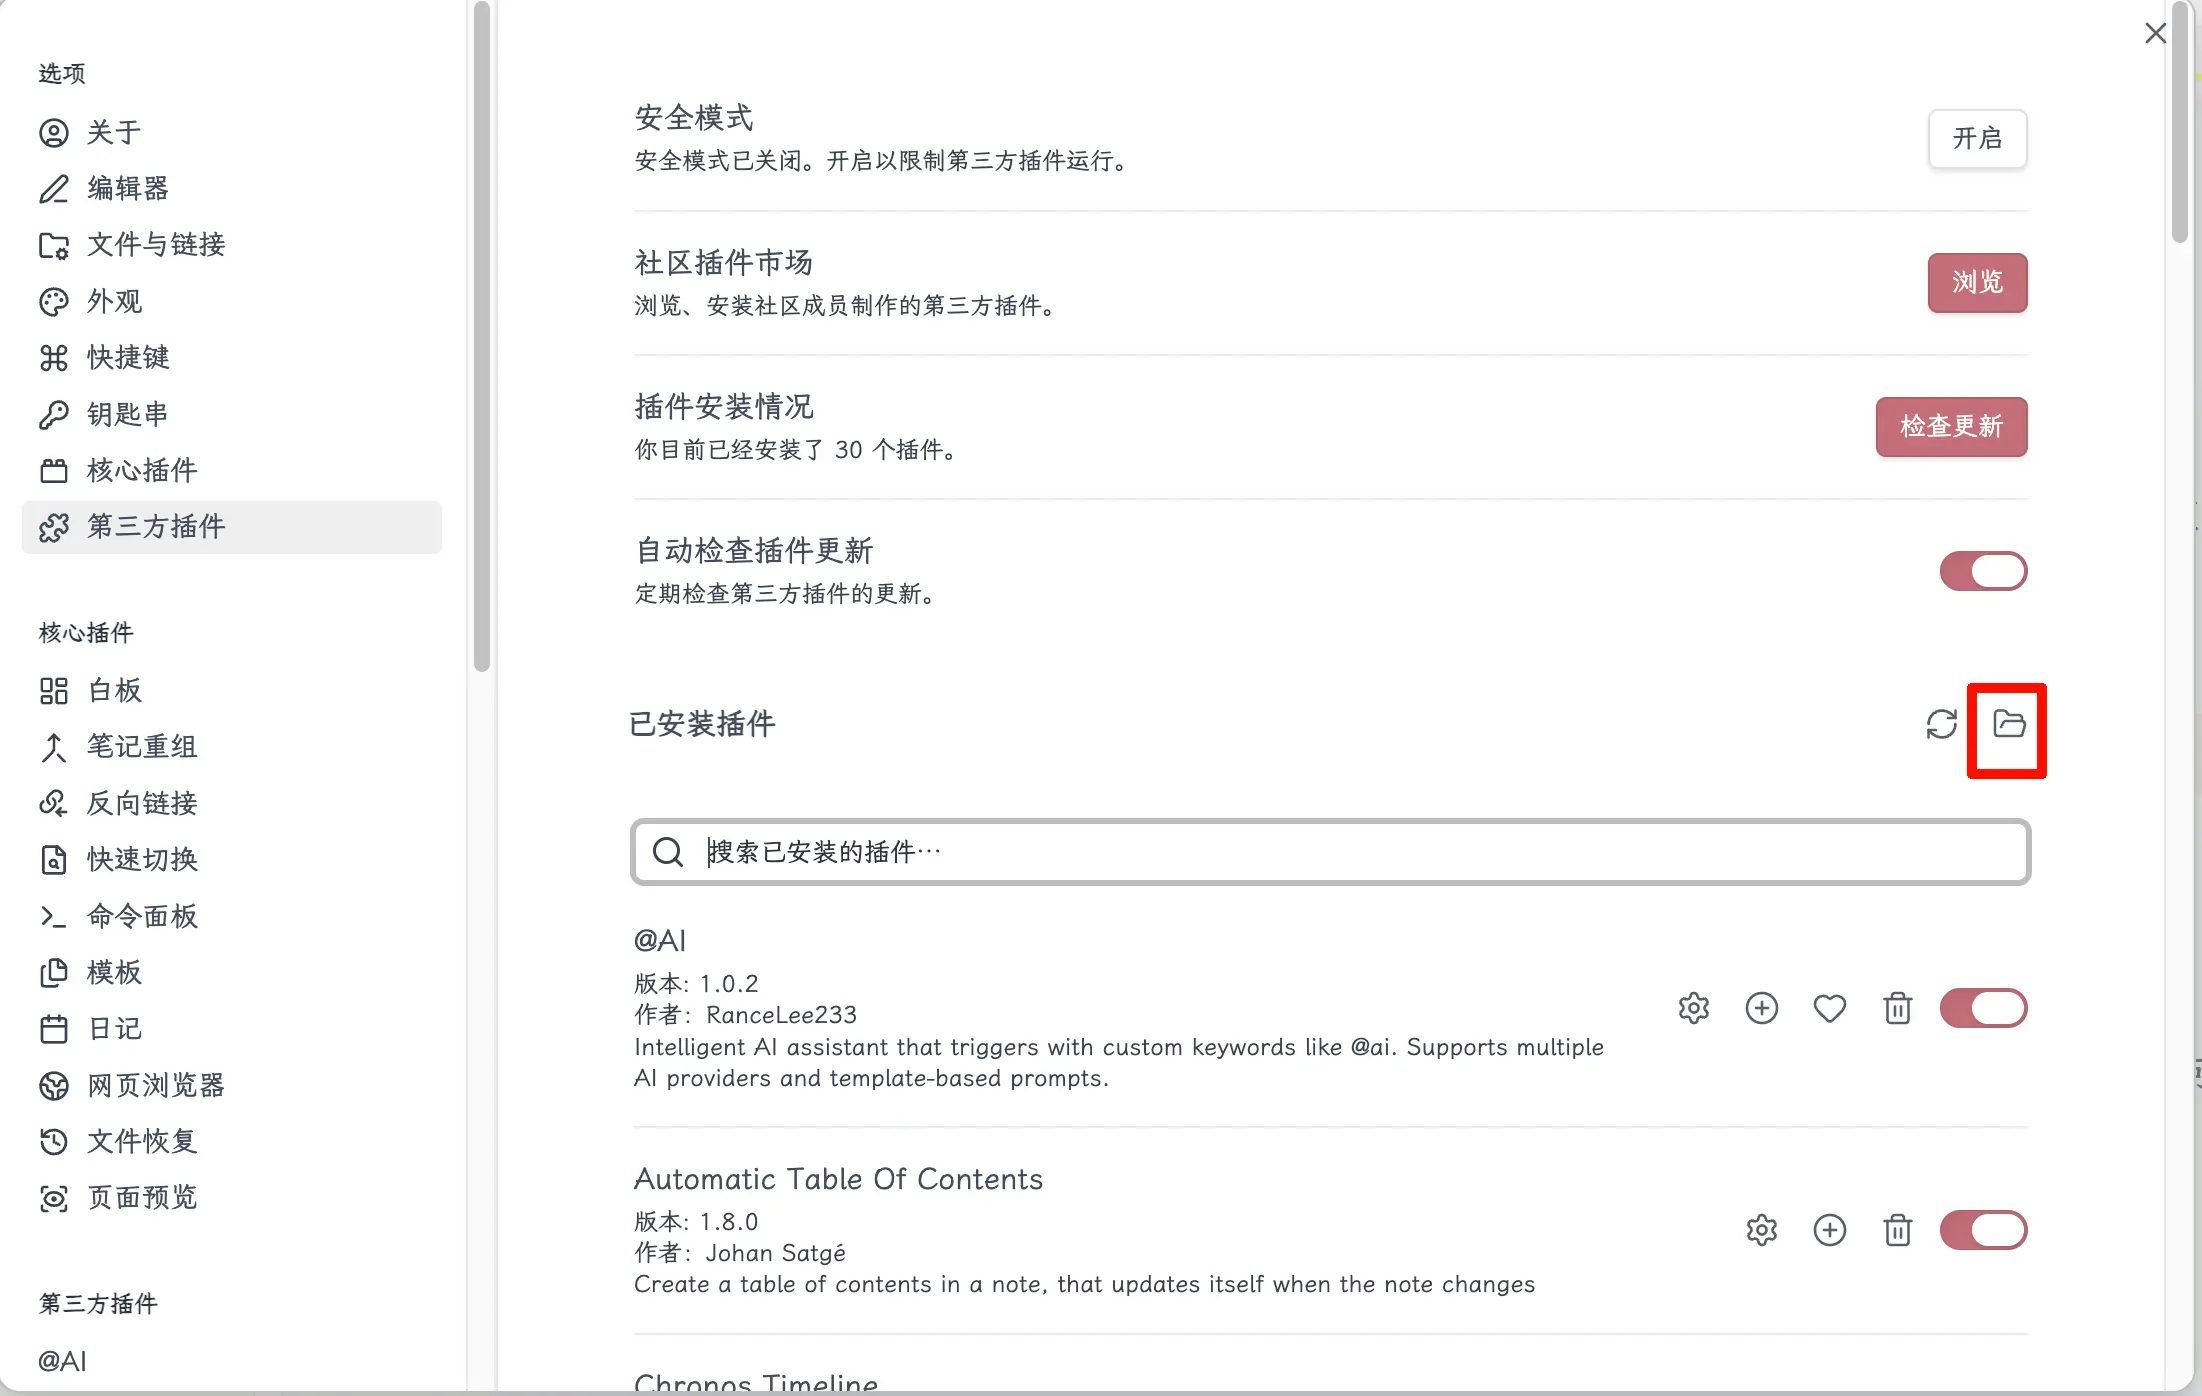
Step 1: Turn off Restricted Mode.
Go to Settings → Third-party plugins. You’ll see that “Safe Mode” is enabled. Click “Turn off” and confirm.
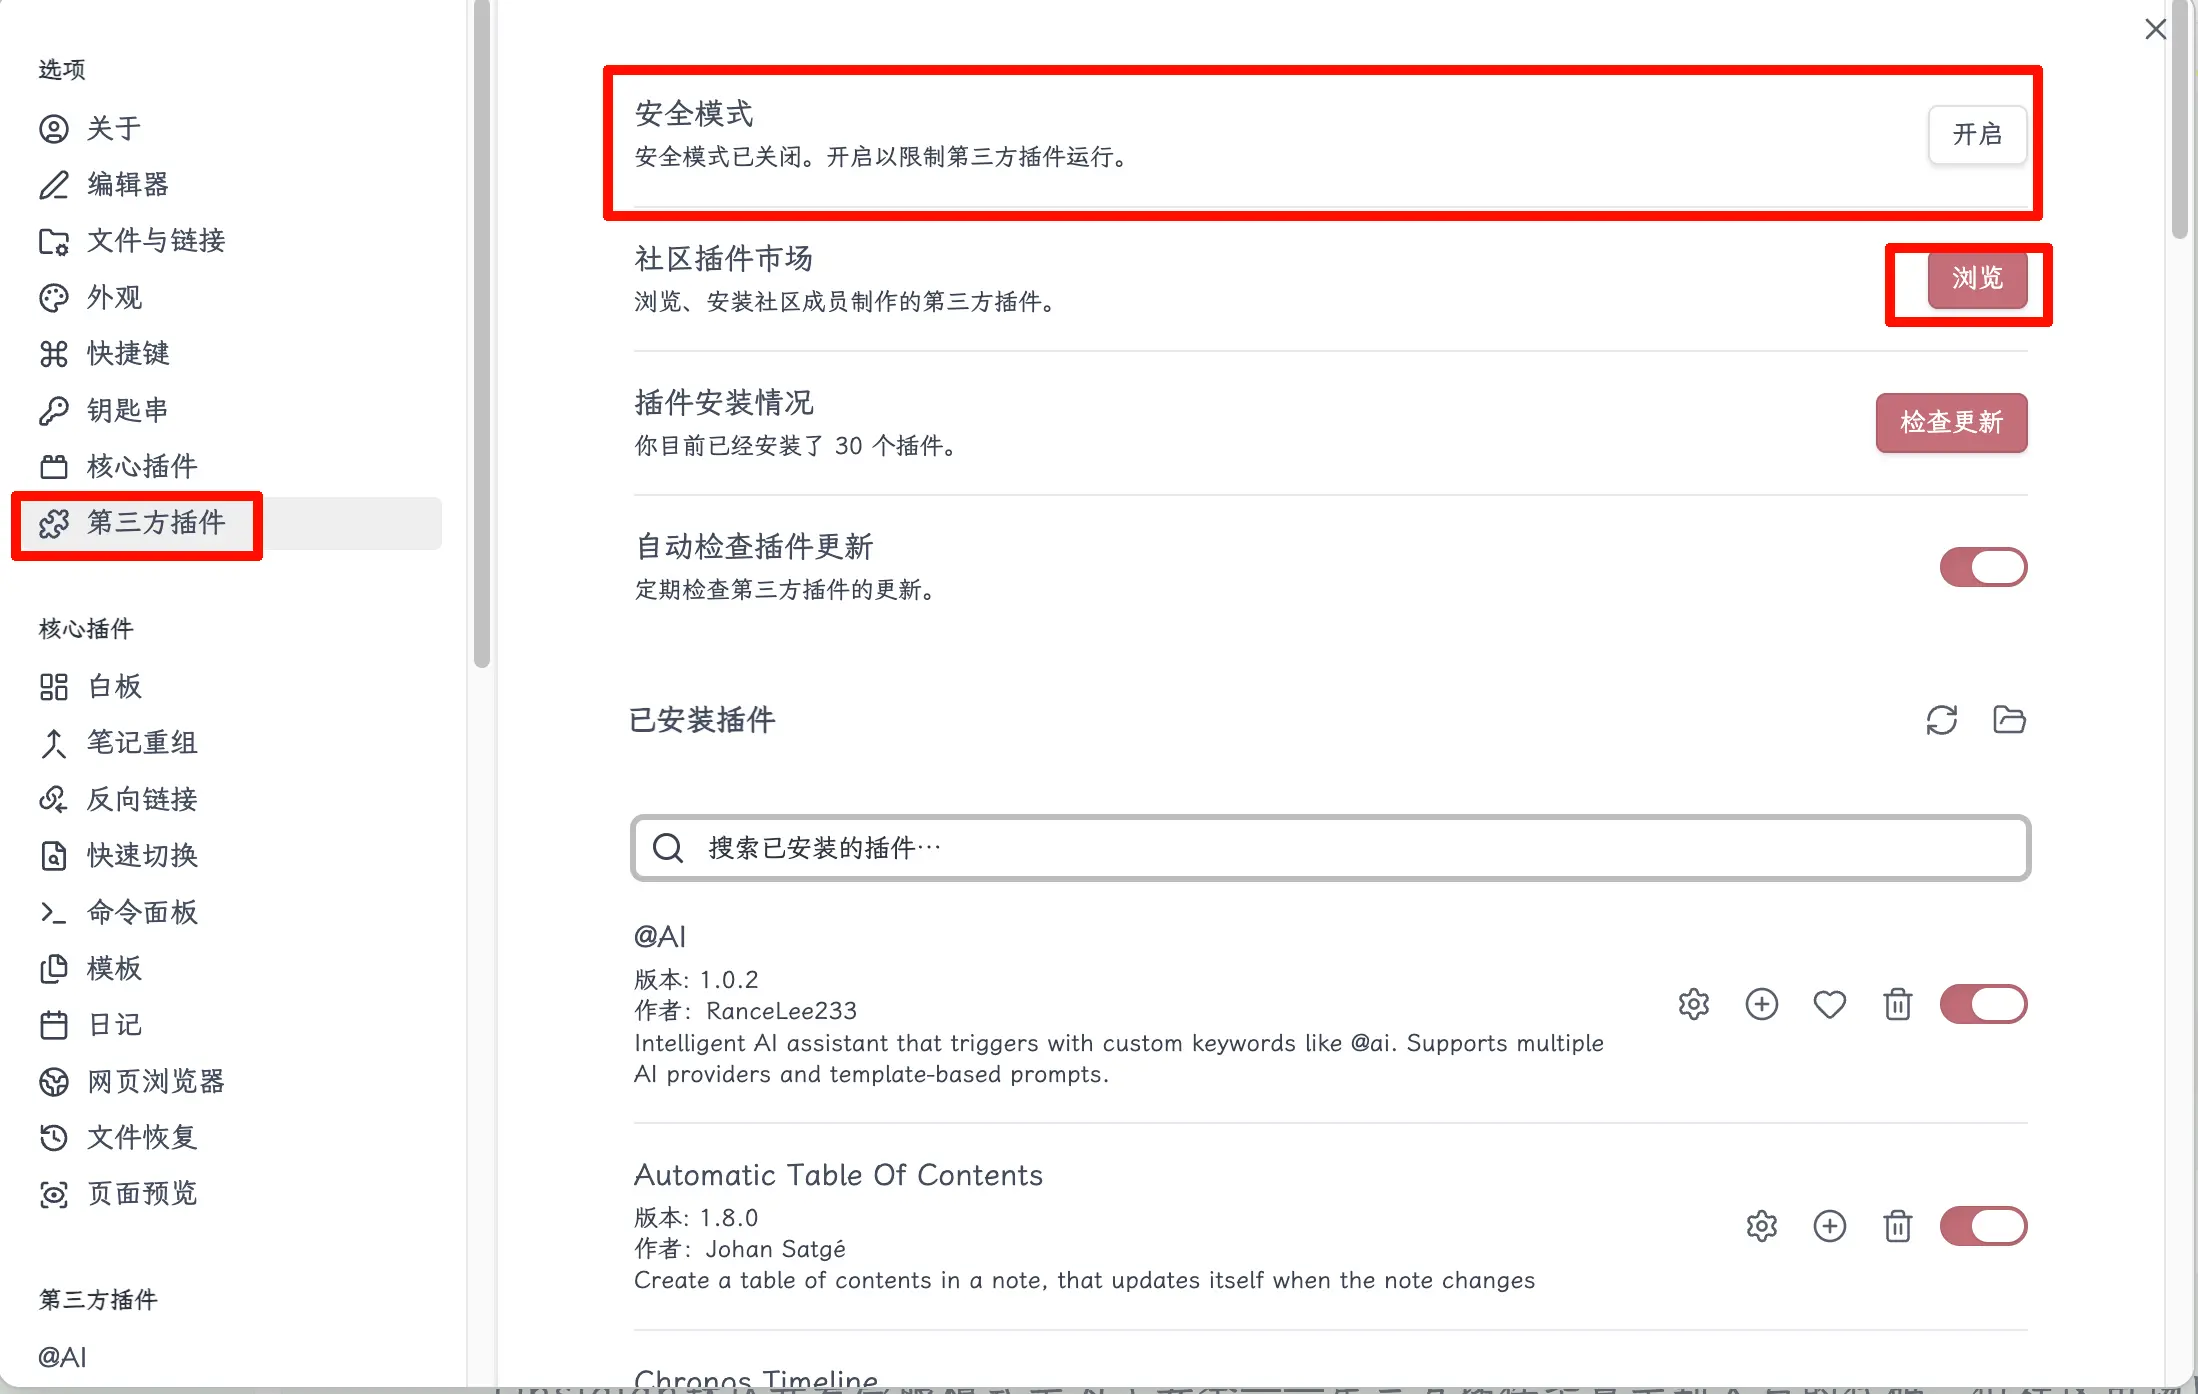
Obsidian enables Restricted Mode by default for security—after all, third-party plugins are code written by others. However, plugins in the community marketplace have been reviewed by the official team, so it’s safe to use them.
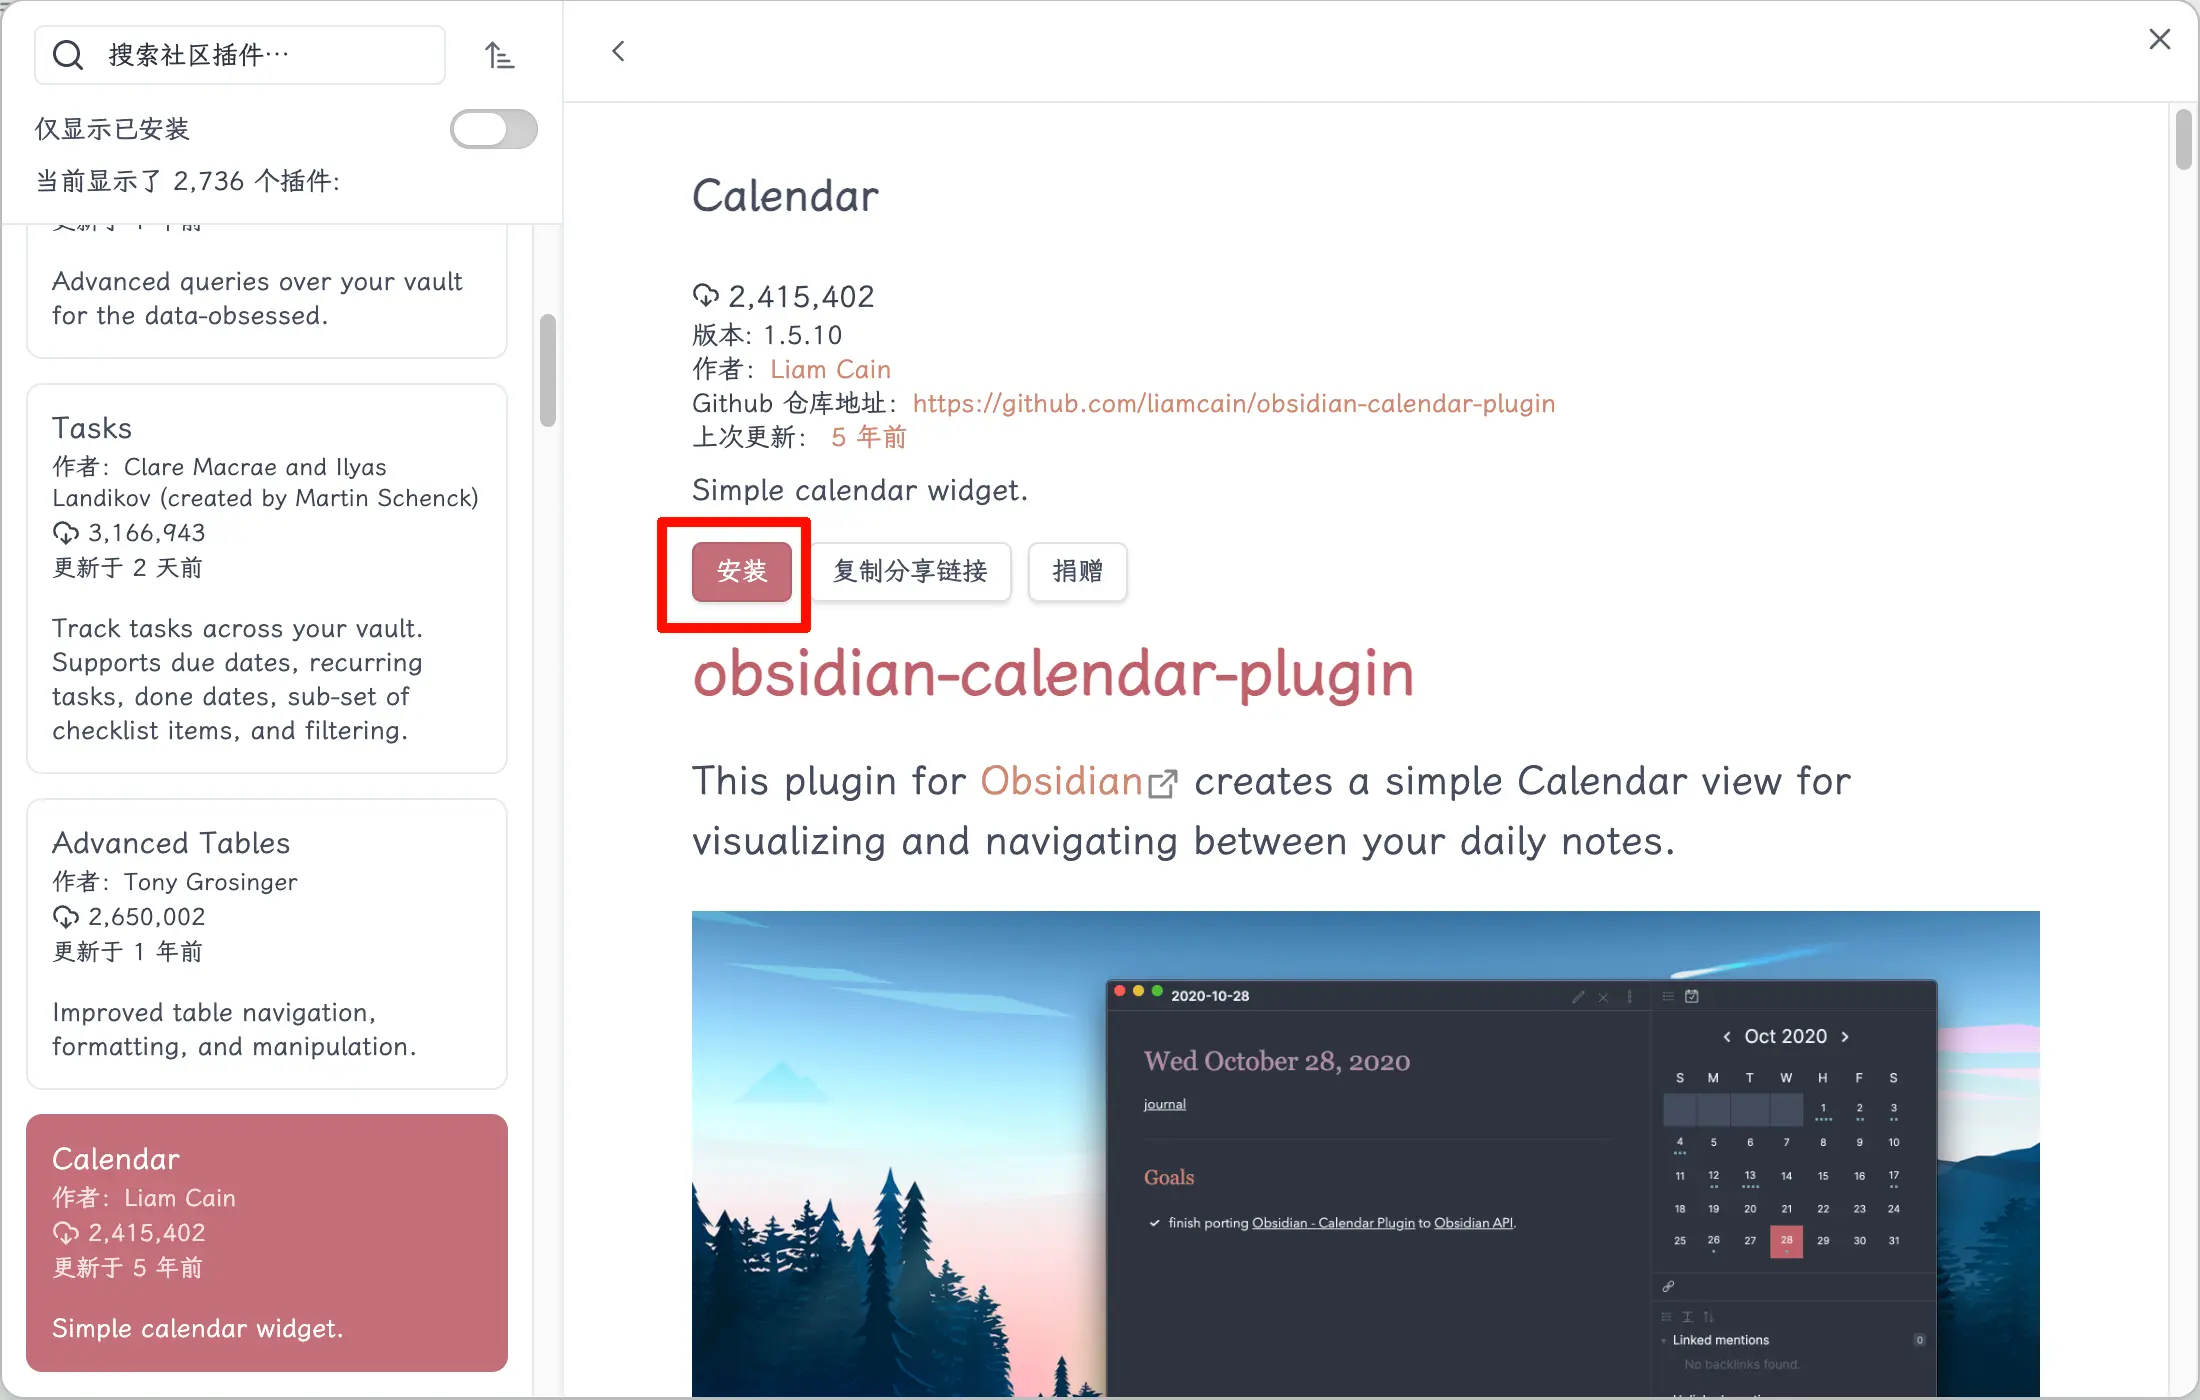
Step 2: Browse and Install.
After turning off Restricted Mode, click the “Browse” button to open the community plugin marketplace. Search for the plugin you want, find it, and click “Install”.
Step 3: Enable.
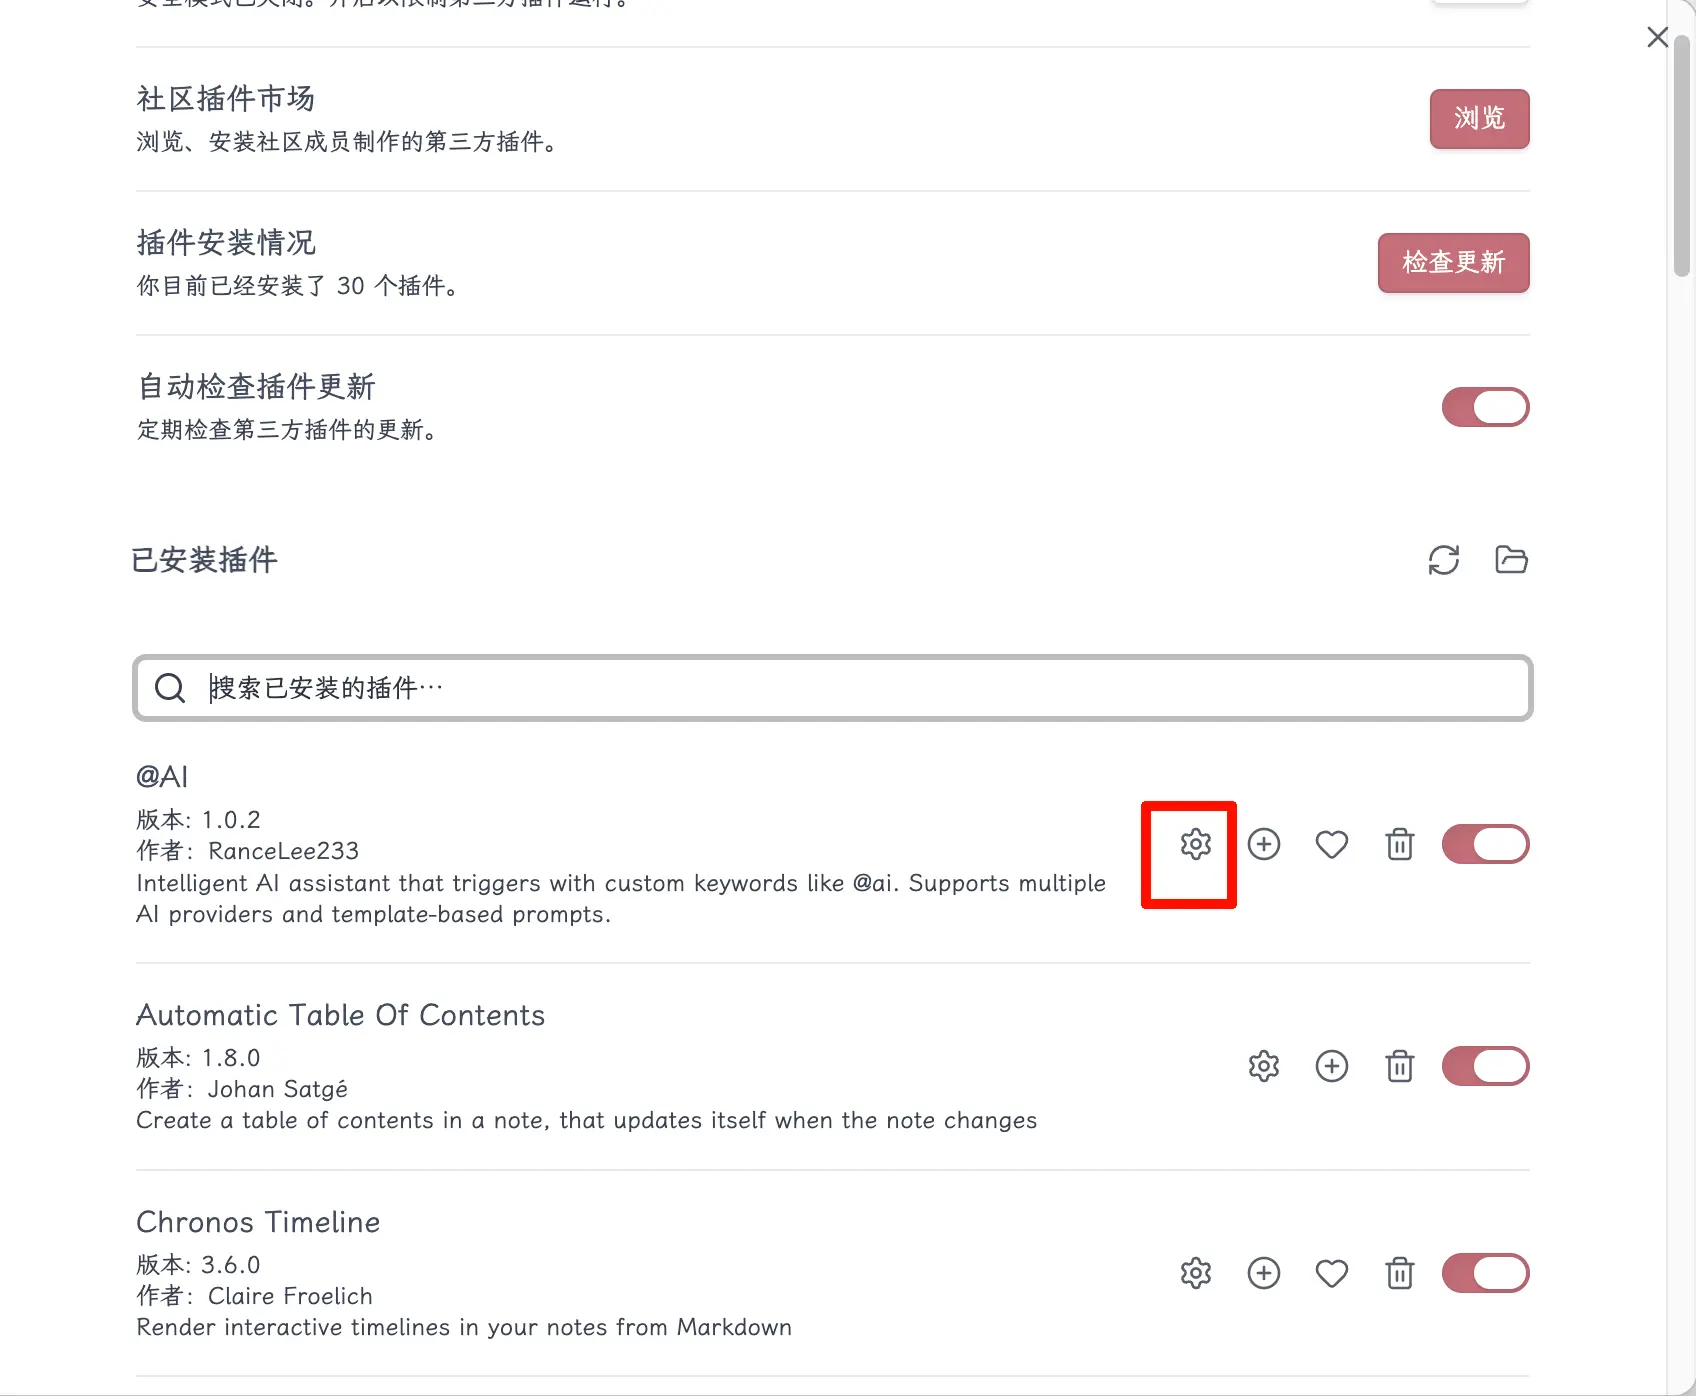
After installation, the plugin won’t be enabled automatically. Go back to Settings → Third-party plugins, find the plugin you just installed, and toggle the switch on.
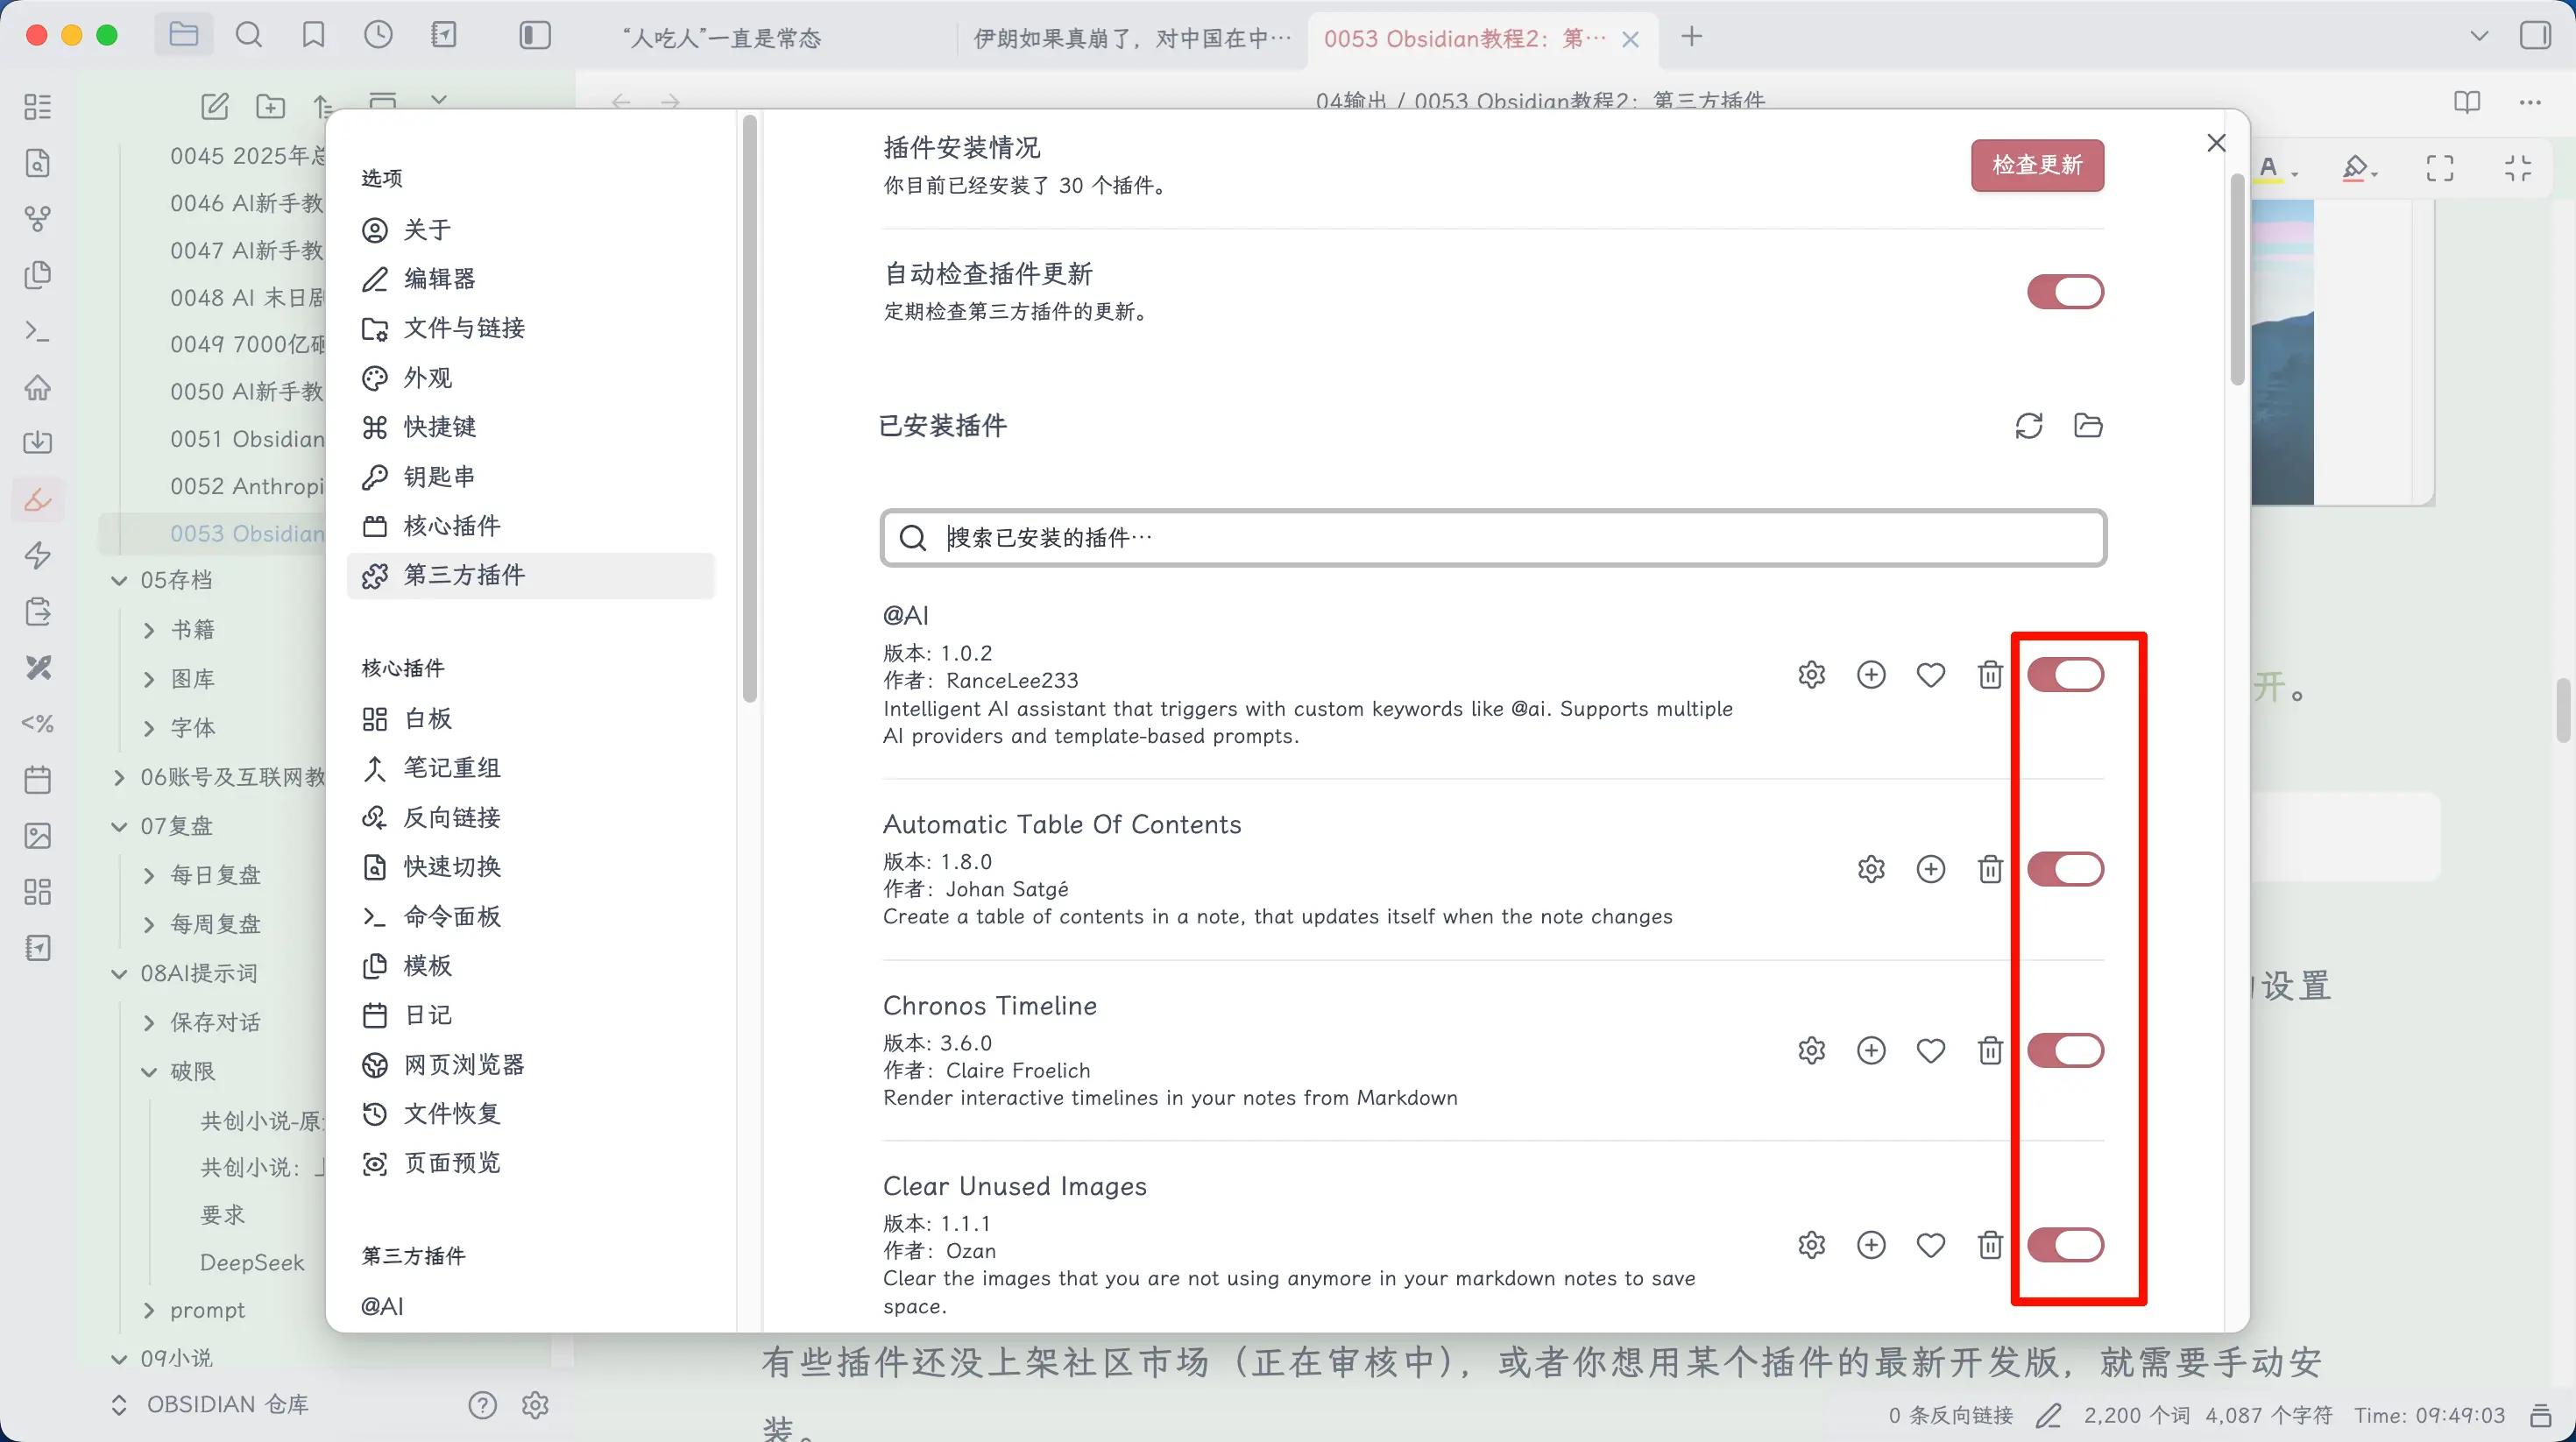
Some plugins work right after enabling, while others need configuration. Those with a gear icon next to them can be configured—click it to see the options.
Method 2: Manual Installation (Download from GitHub)
Some plugins haven’t been listed in the community marketplace yet (still under review), or you might want to use the latest development version of a plugin. In these cases, you’ll need to install manually. This method is generally not recommended for beginners, but it’s good to know.
Step 1: Download the plugin files.
Go to the plugin’s GitHub page, find the Releases section, and download the latest version. You’ll typically need three files:
main.jsmanifest.jsonstyles.css(some plugins don’t have this; if not, ignore it)
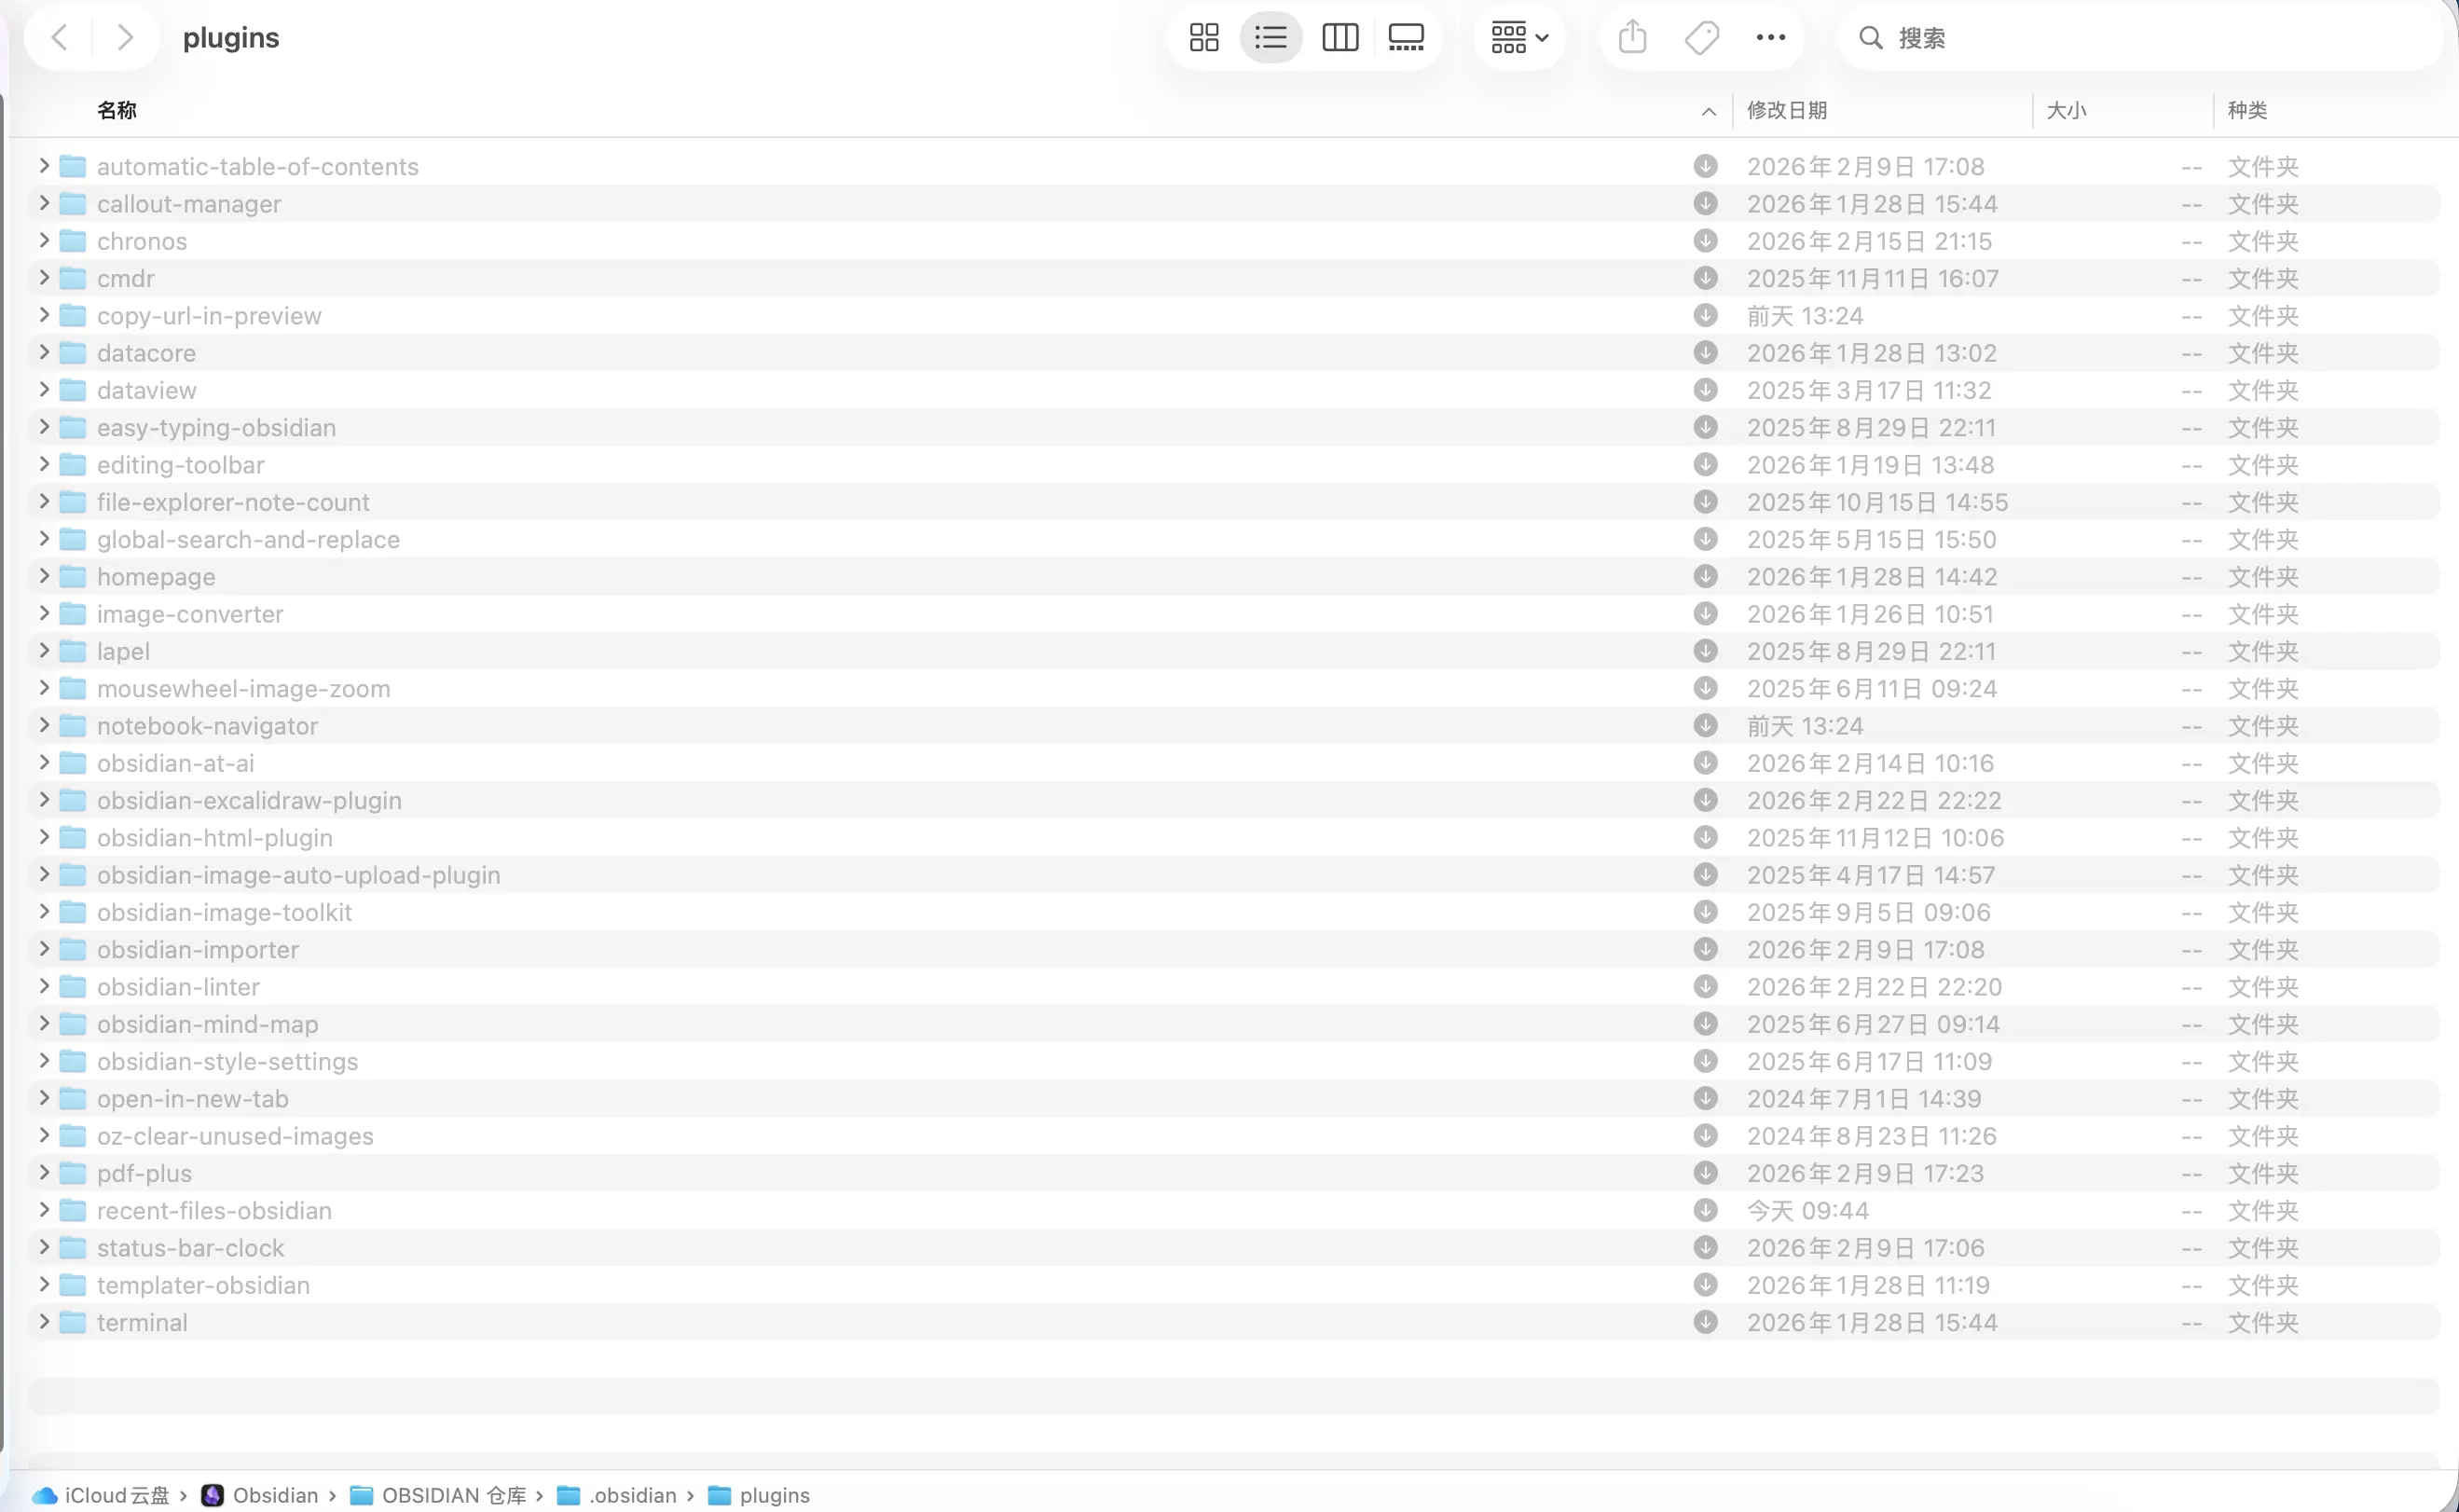
Step 2: Place them in the plugins folder.
In your vault folder, locate the .obsidian/plugins/ directory (create it if it doesn’t exist). Create a folder inside it and place the downloaded files there:
Your Vault/
├── .obsidian/
│   └── plugins/
│       └── plugin-name/
│           ├── main.js
│           ├── manifest.json
│           └── styles.css
.obsidian is a hidden folder. On Mac, press Cmd + Shift + . to show hidden files. On Windows, check “Show hidden files” in folder options.
If you’ve already installed third-party plugins, you can click the button shown in the image to open this folder.
Step 3: Enable.
Go back to Obsidian, Settings → Third-party plugins, refresh the list, and the plugin you placed will appear. Toggle the switch to enable it.
Method 1 is usually sufficient. Method 2 is for advanced users or those who want to try the latest features.
How to Use Plugin Features
After installing and enabling a plugin, how do you access its features? Two ways.
Method 1: Left Sidebar Shortcut Buttons
The vertical row of small icons on the far left of Obsidian are shortcut entries for various features.
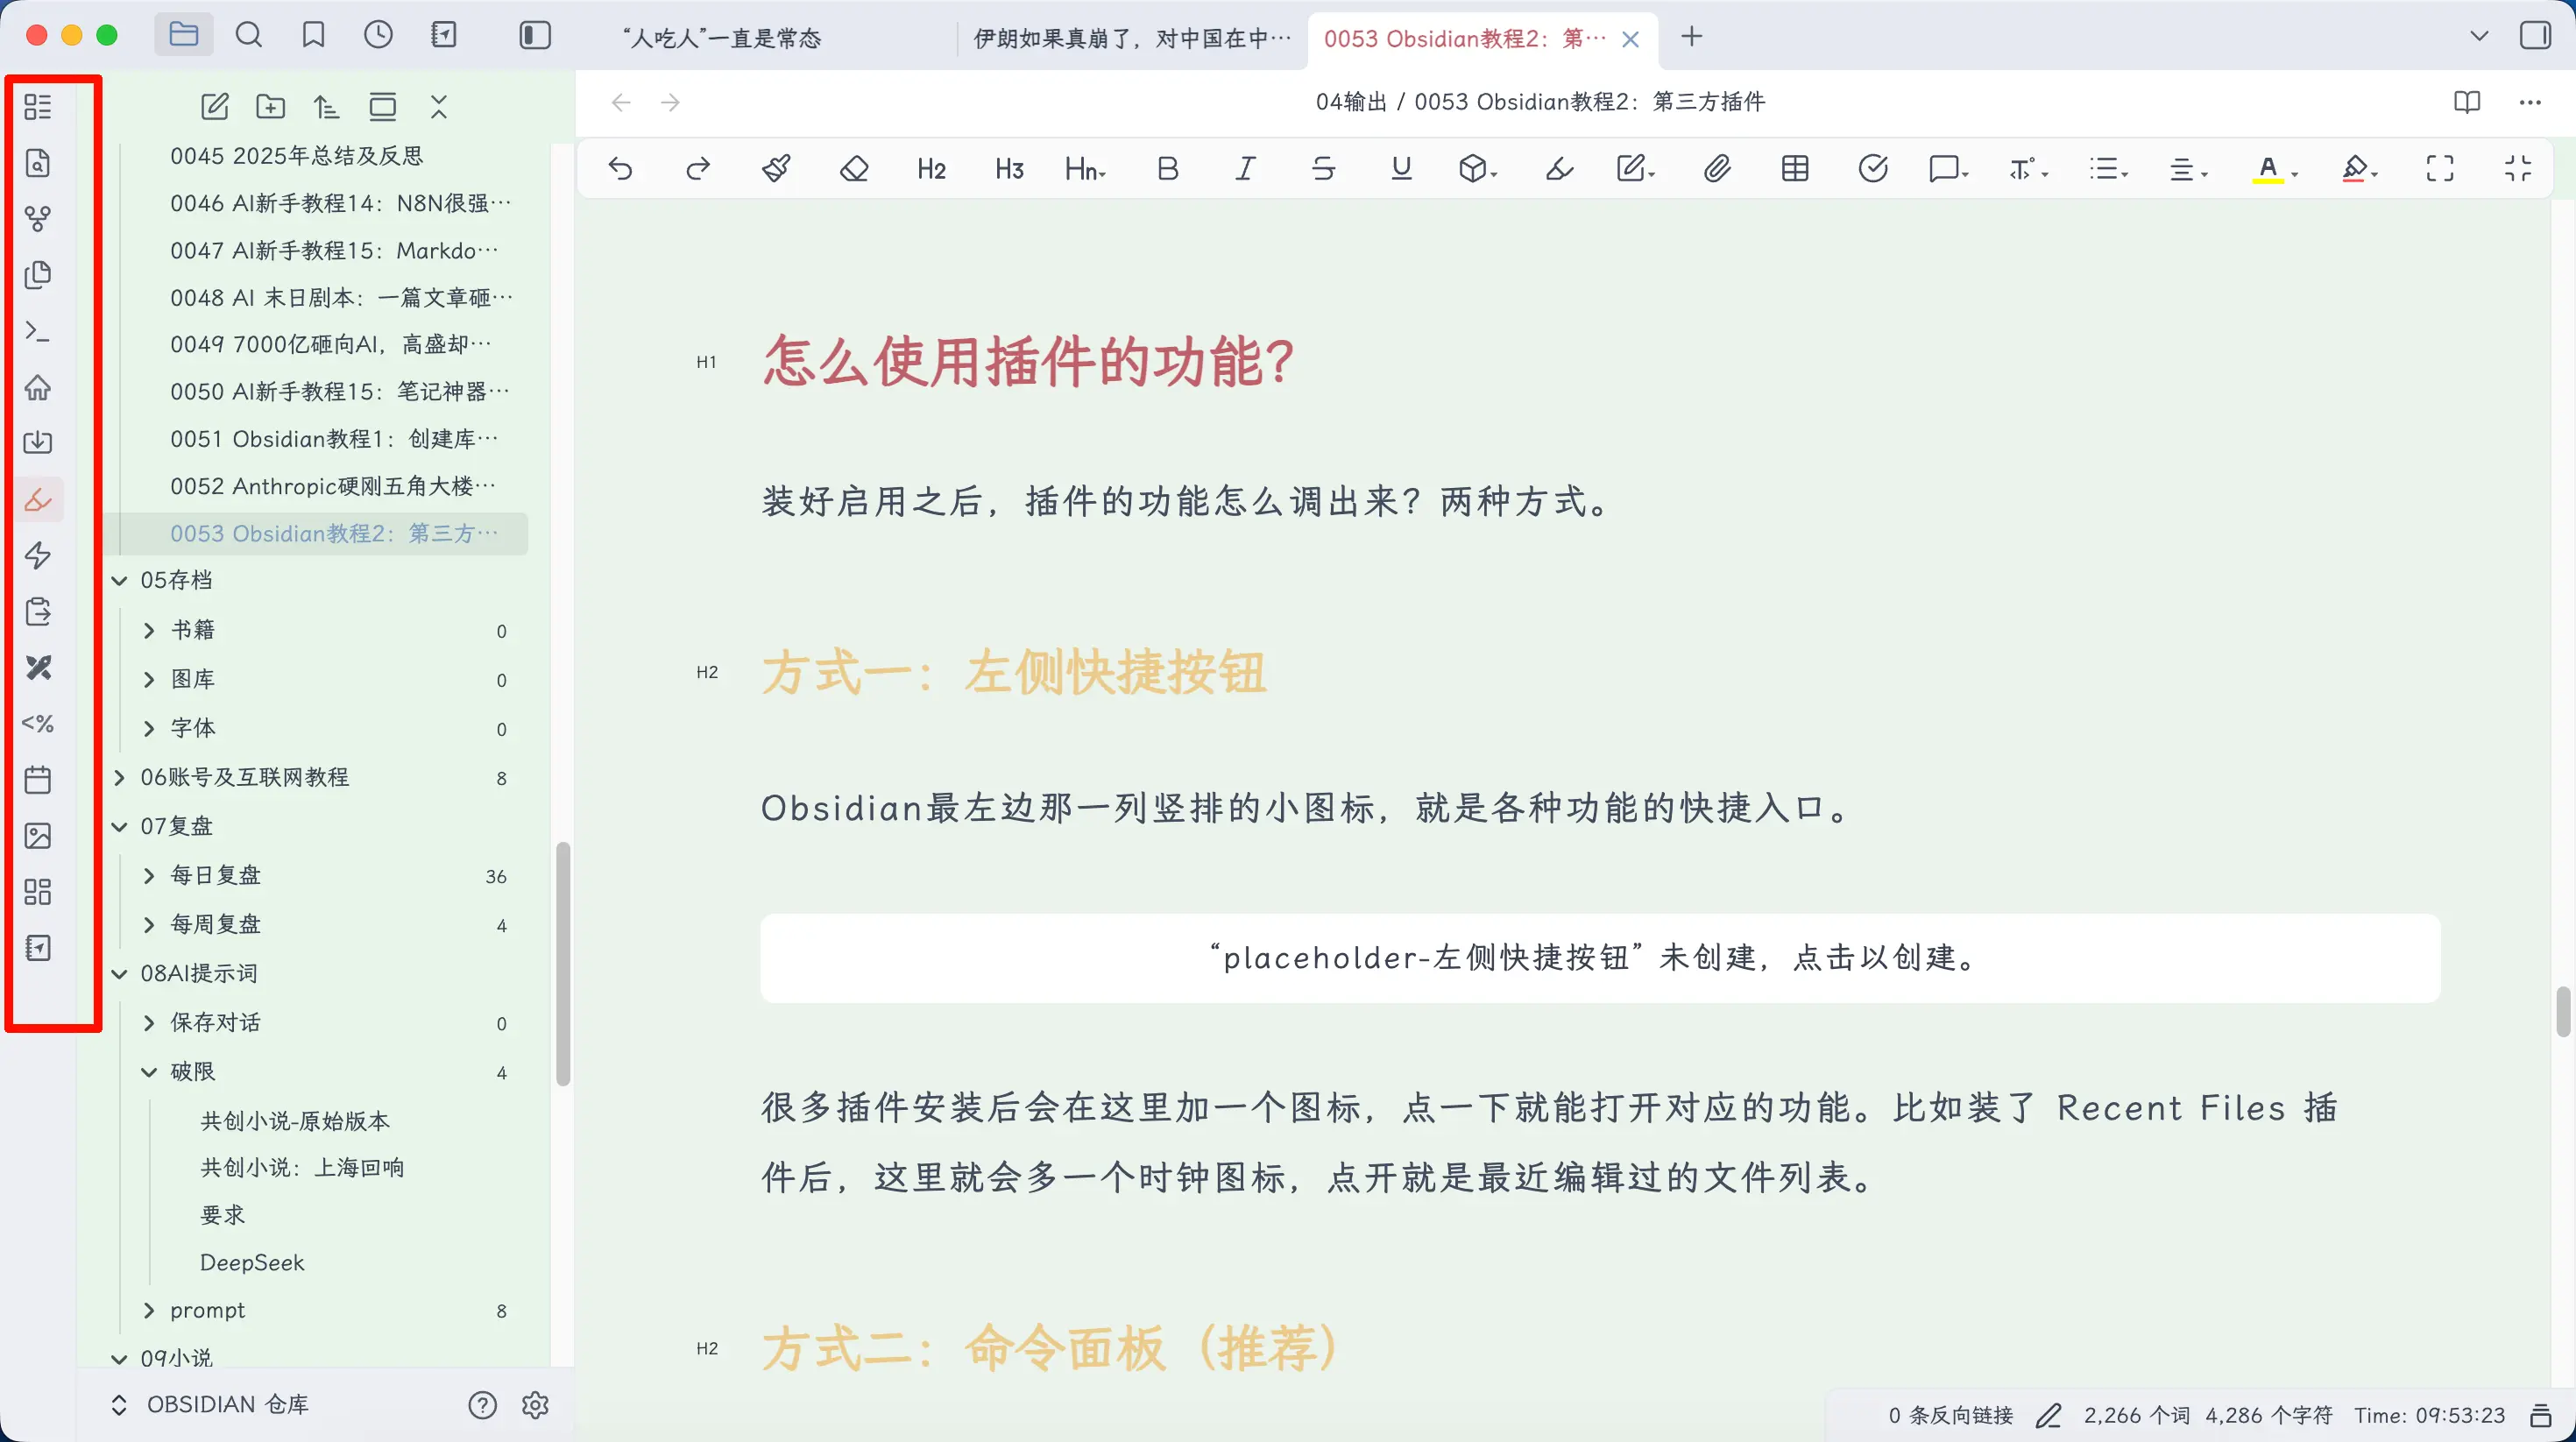
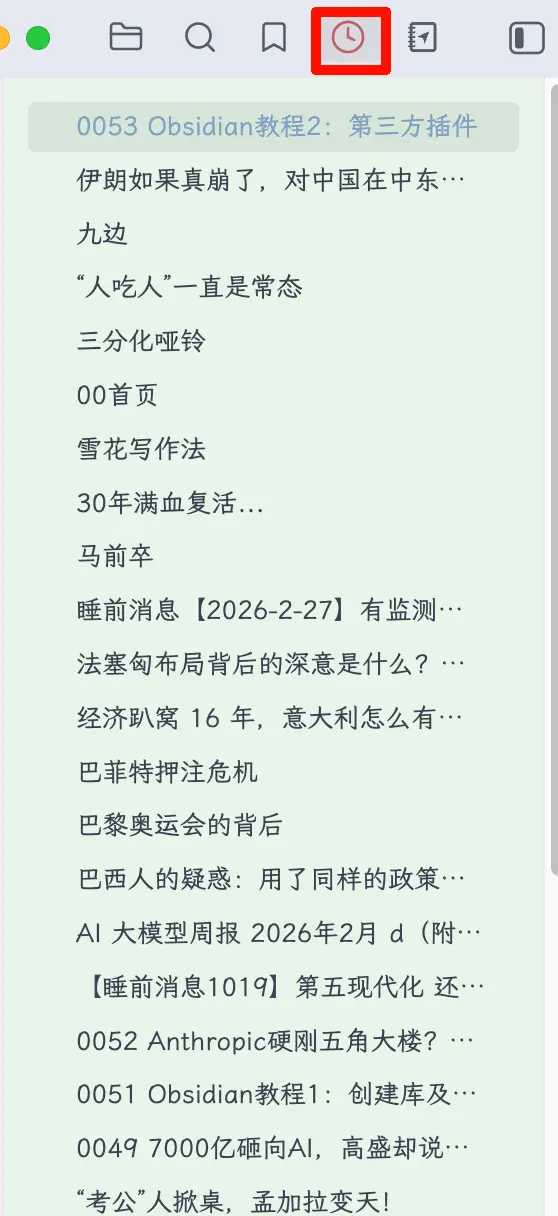
Many plugins add an icon here after installation. Click it to open the corresponding feature. For example, after installing the Recent Files plugin, a clock icon appears here; clicking it shows a list of recently edited files.
Method 2: Command Palette (Recommended)
Press Ctrl/Cmd + P to open the command palette, type the action you want to perform, and press Enter.
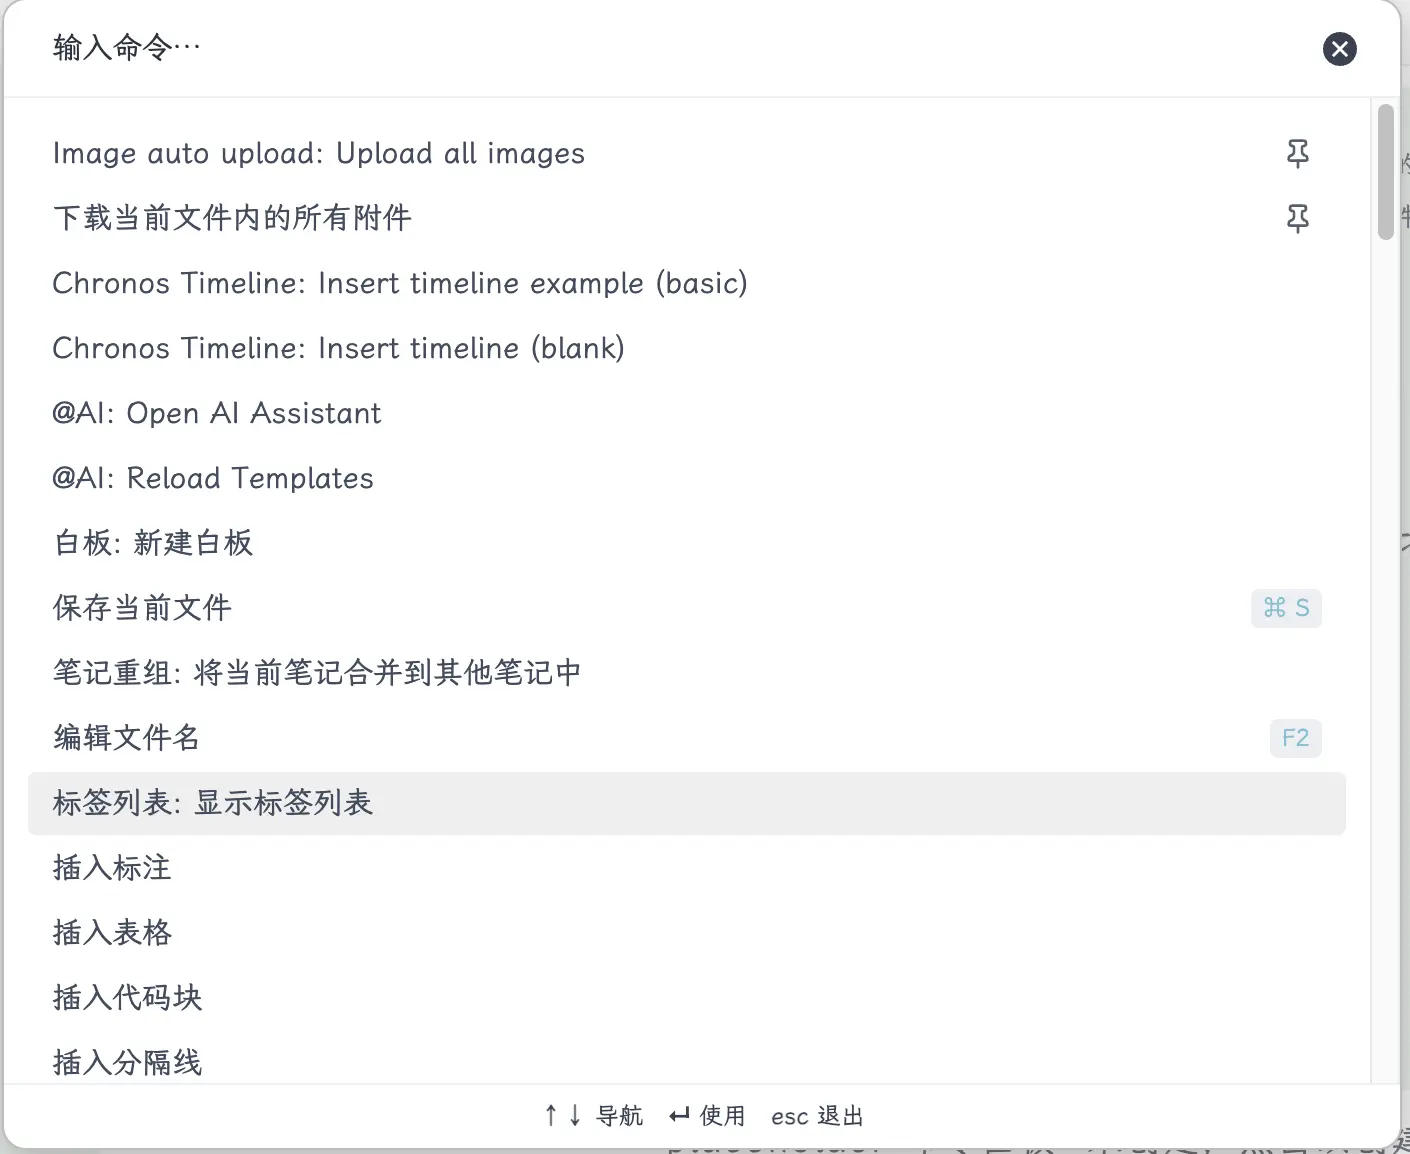
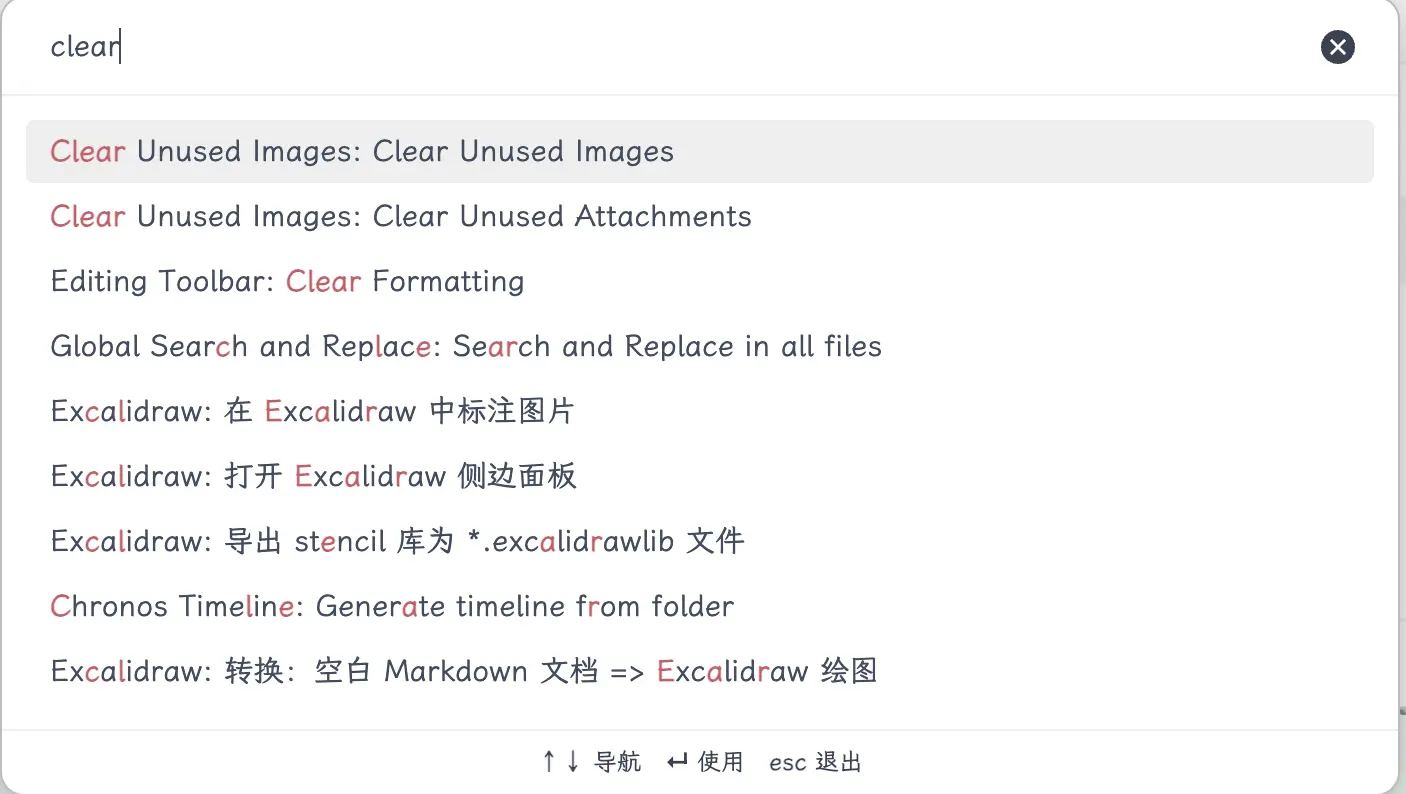
Almost all plugin features can be accessed via the command palette. Can’t remember where a feature is? Just press Ctrl/Cmd + P and search. For example, if you want to clear unused images, you don’t need to find a button—just type “Clear” in the command palette and you’ll find the corresponding action.
The command palette is Obsidian’s universal entry point. Just remember Ctrl/Cmd + P.
Four Must-Have Plugins for Beginners
The Obsidian plugin library is huge, but you don’t need to install many at the start. Here are four that I personally use all the time, each solving a real pain point.
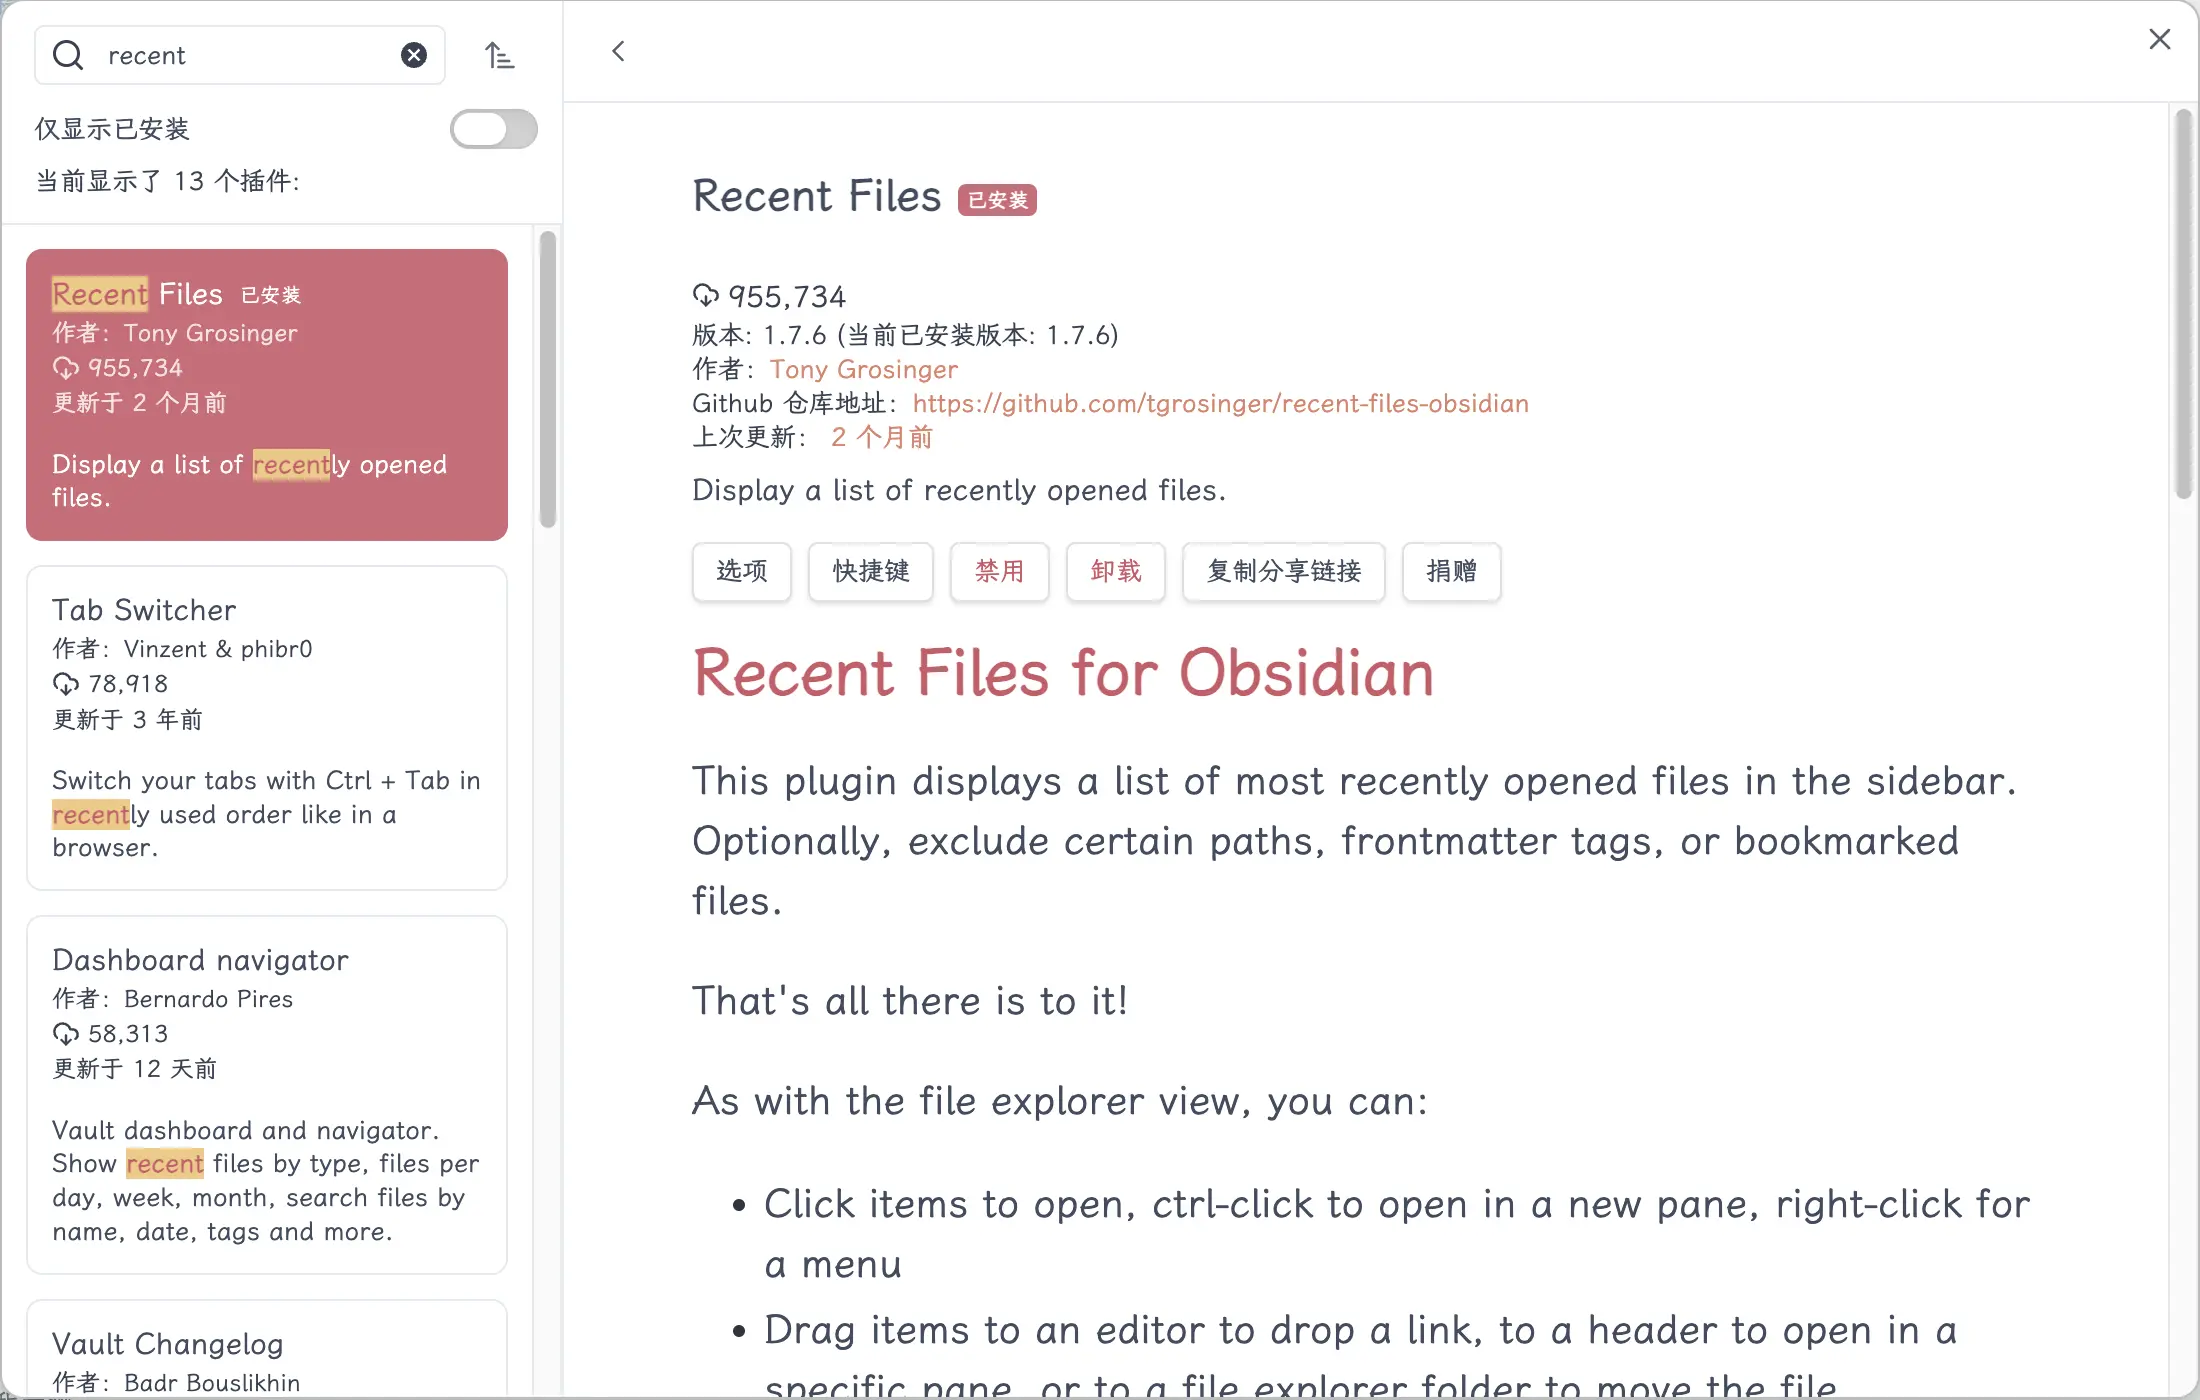
1. Recent Files — Recent Files List
Obsidian doesn’t have a “recent files” list by default. As your notes grow, finding the file you just edited means digging through folders.
After installing: A new panel appears in the left sidebar, listing your recently opened files in chronological order. Click one to jump to it.
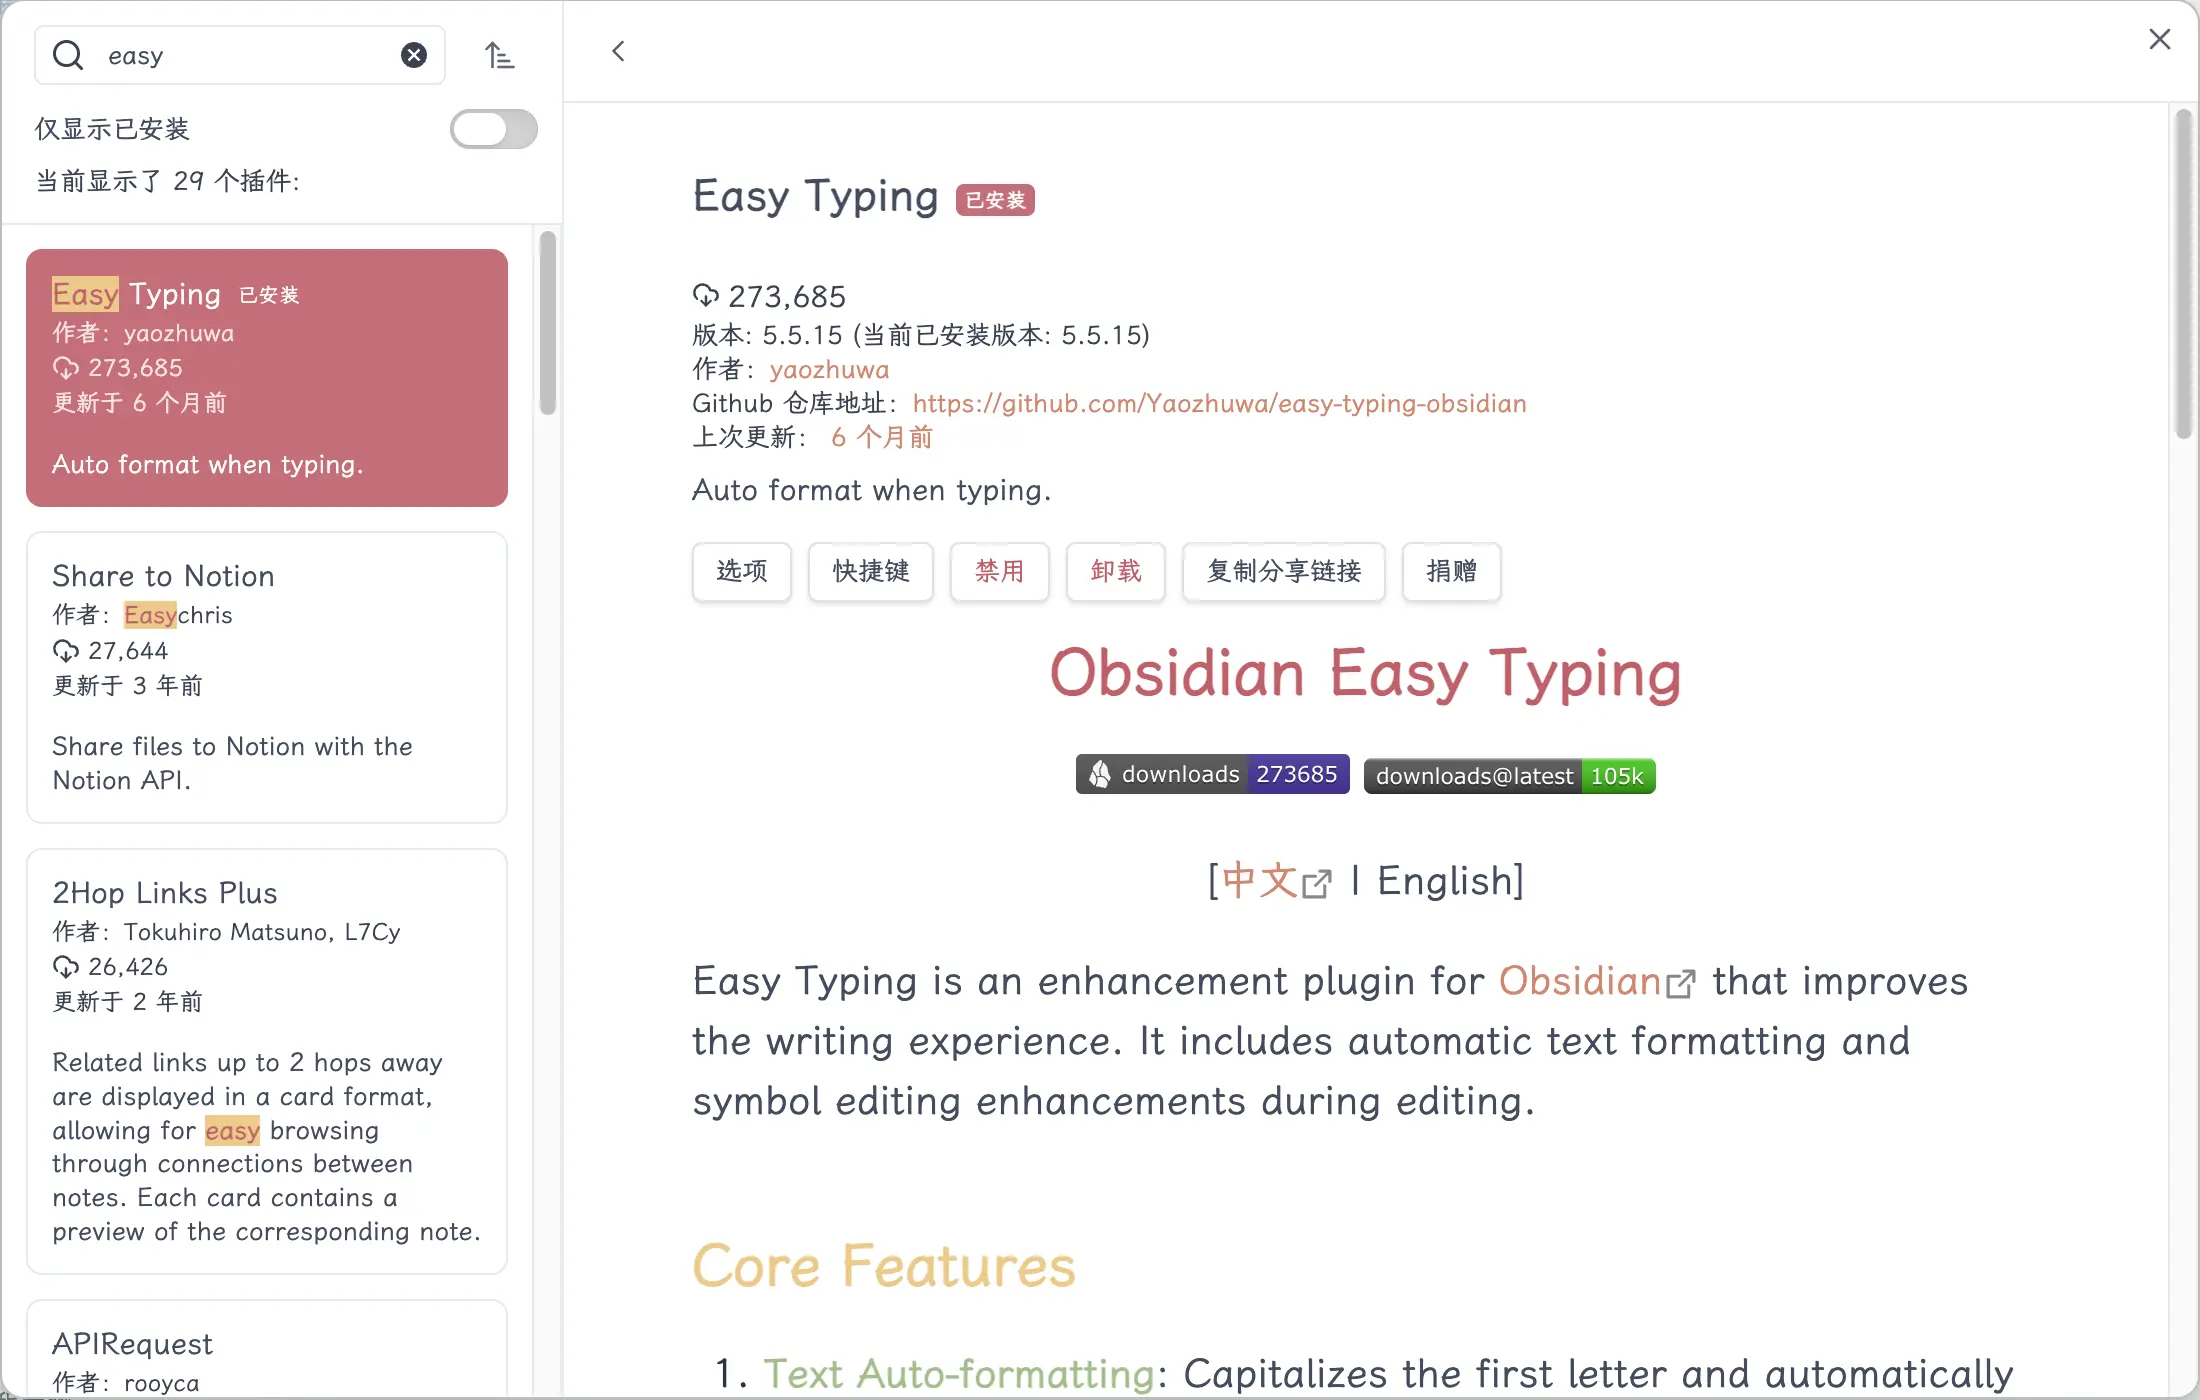
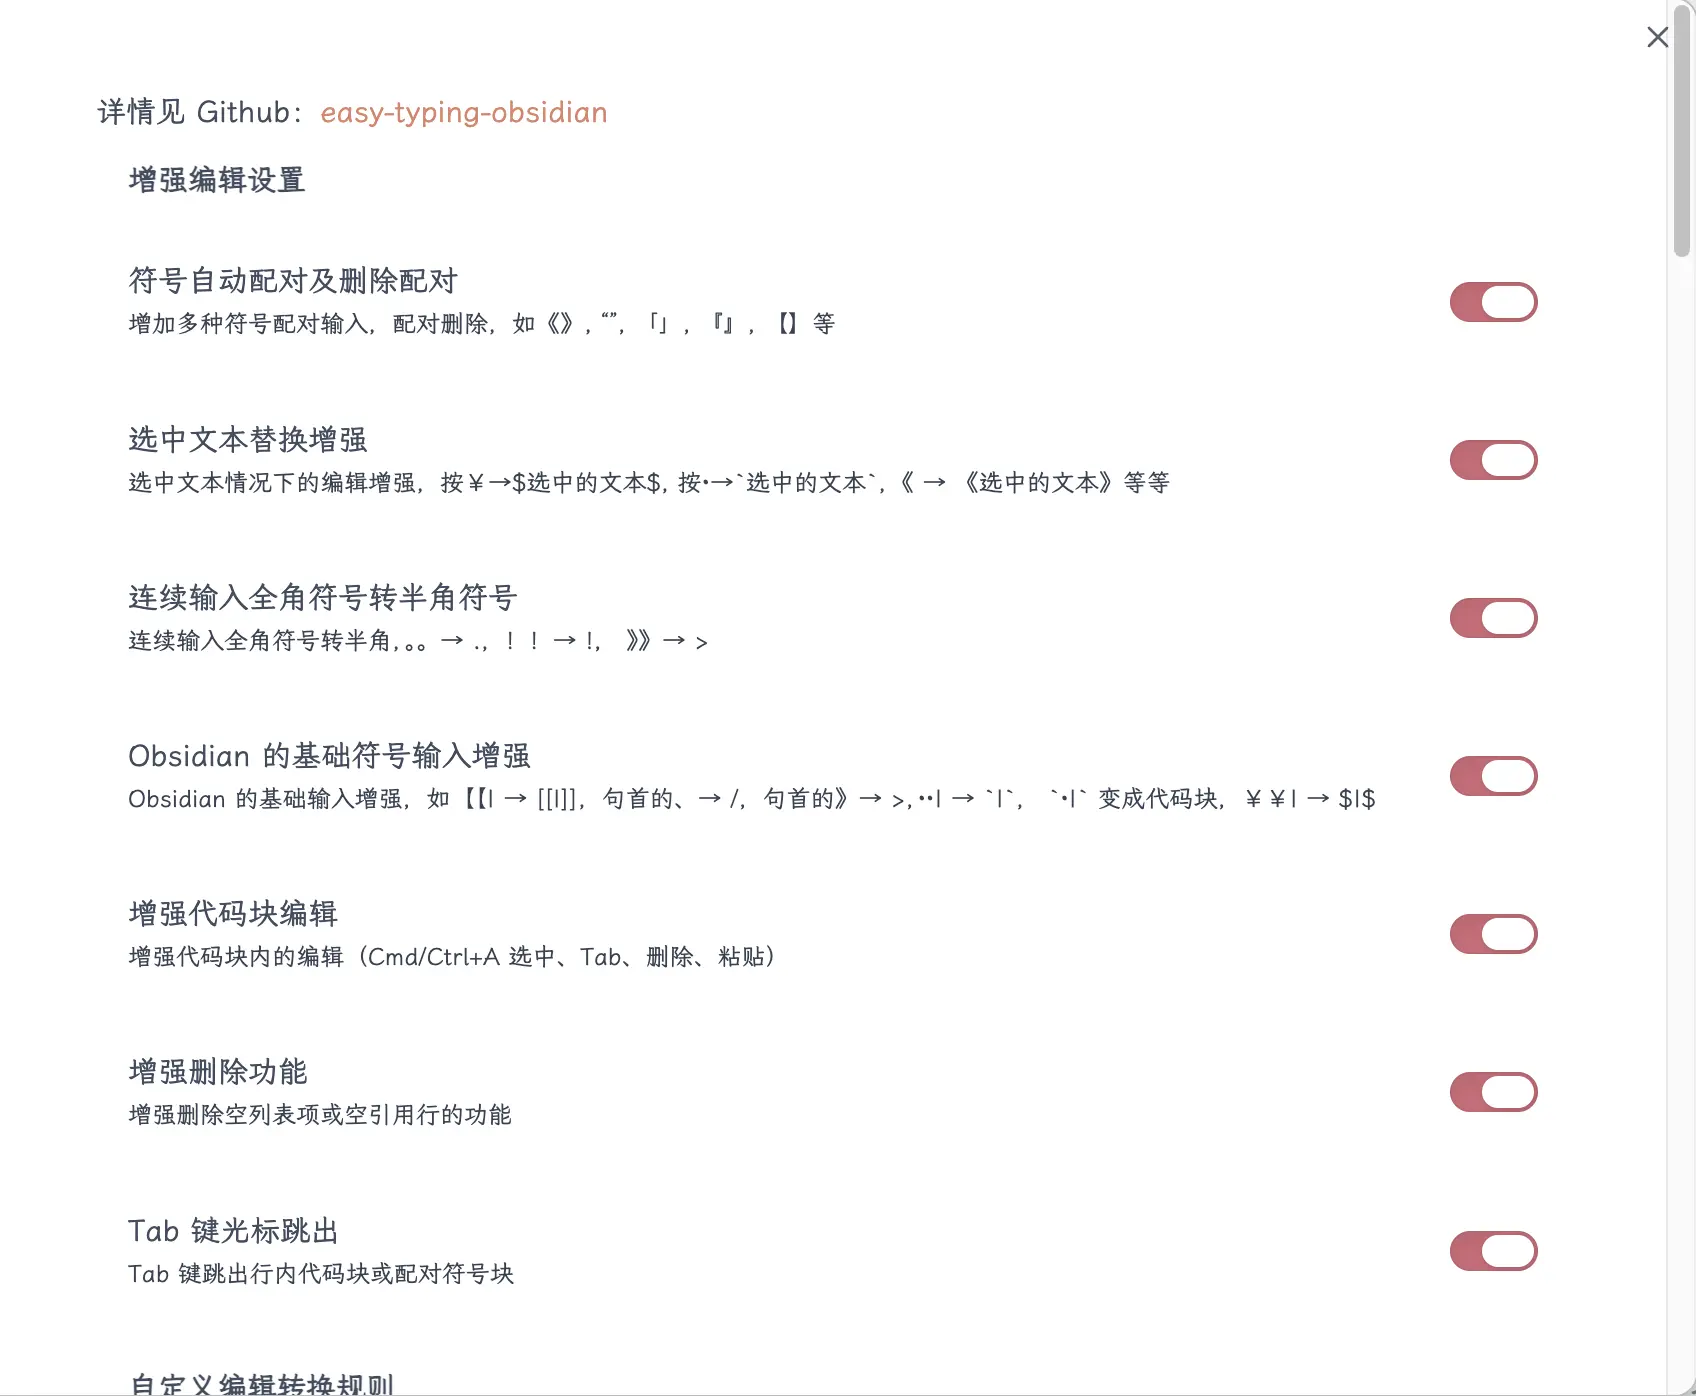
2. Easy Typing — Auto Formatting
Users migrating from Notion, Word, or other platforms may not be familiar with Markdown syntax. When mixing Chinese and English, formatting can be inconsistent, and manually adding spaces is tedious. Writing tables, adding color highlights, and other Markdown operations have complex syntax.
But this plugin—if you’ve used Word, you’ll find it familiar.
After installing:
- Automatically adds spaces between Chinese and English text—type “我用Obsidian” and it becomes “我用 Obsidian”, instantly improving readability.
- Editing enhancements—select text and press a symbol key (like
*) to quickly wrap it, making it bold without manually typing two asterisks. - Smart full-width symbol conversion—automatically converts full-width punctuation to half-width in code environments, so you don’t have to switch input methods.
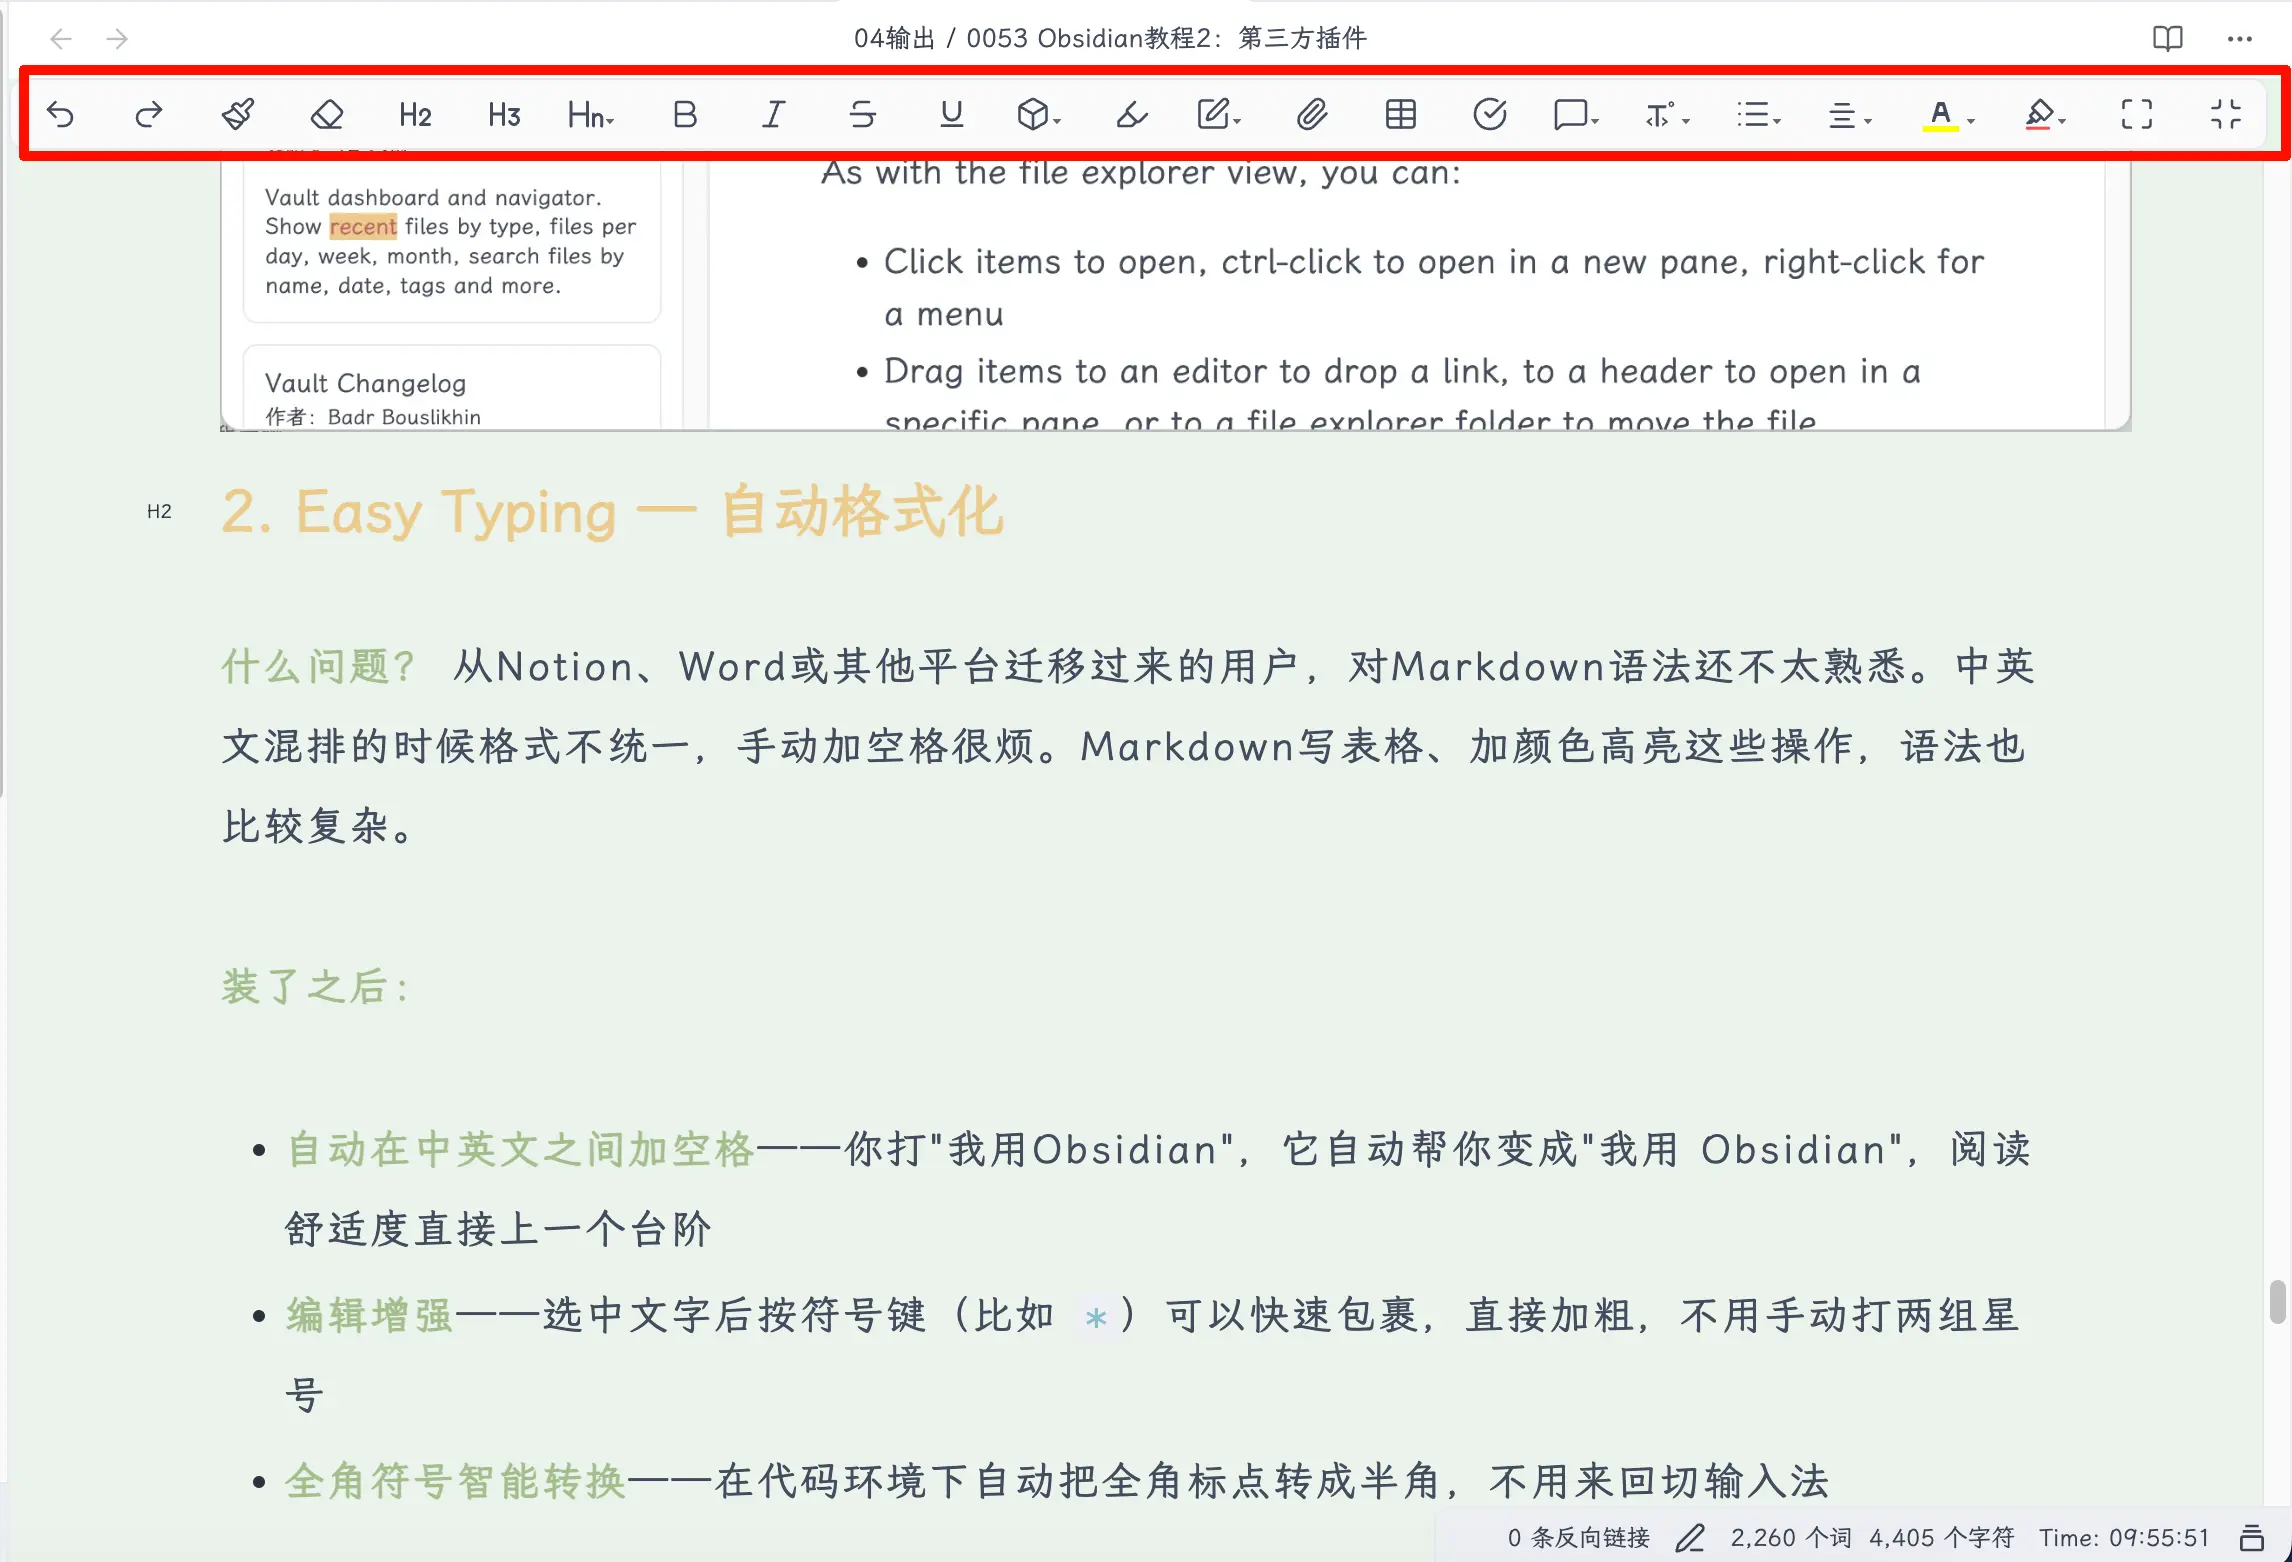
This plugin has many options; you can enable them according to your needs.
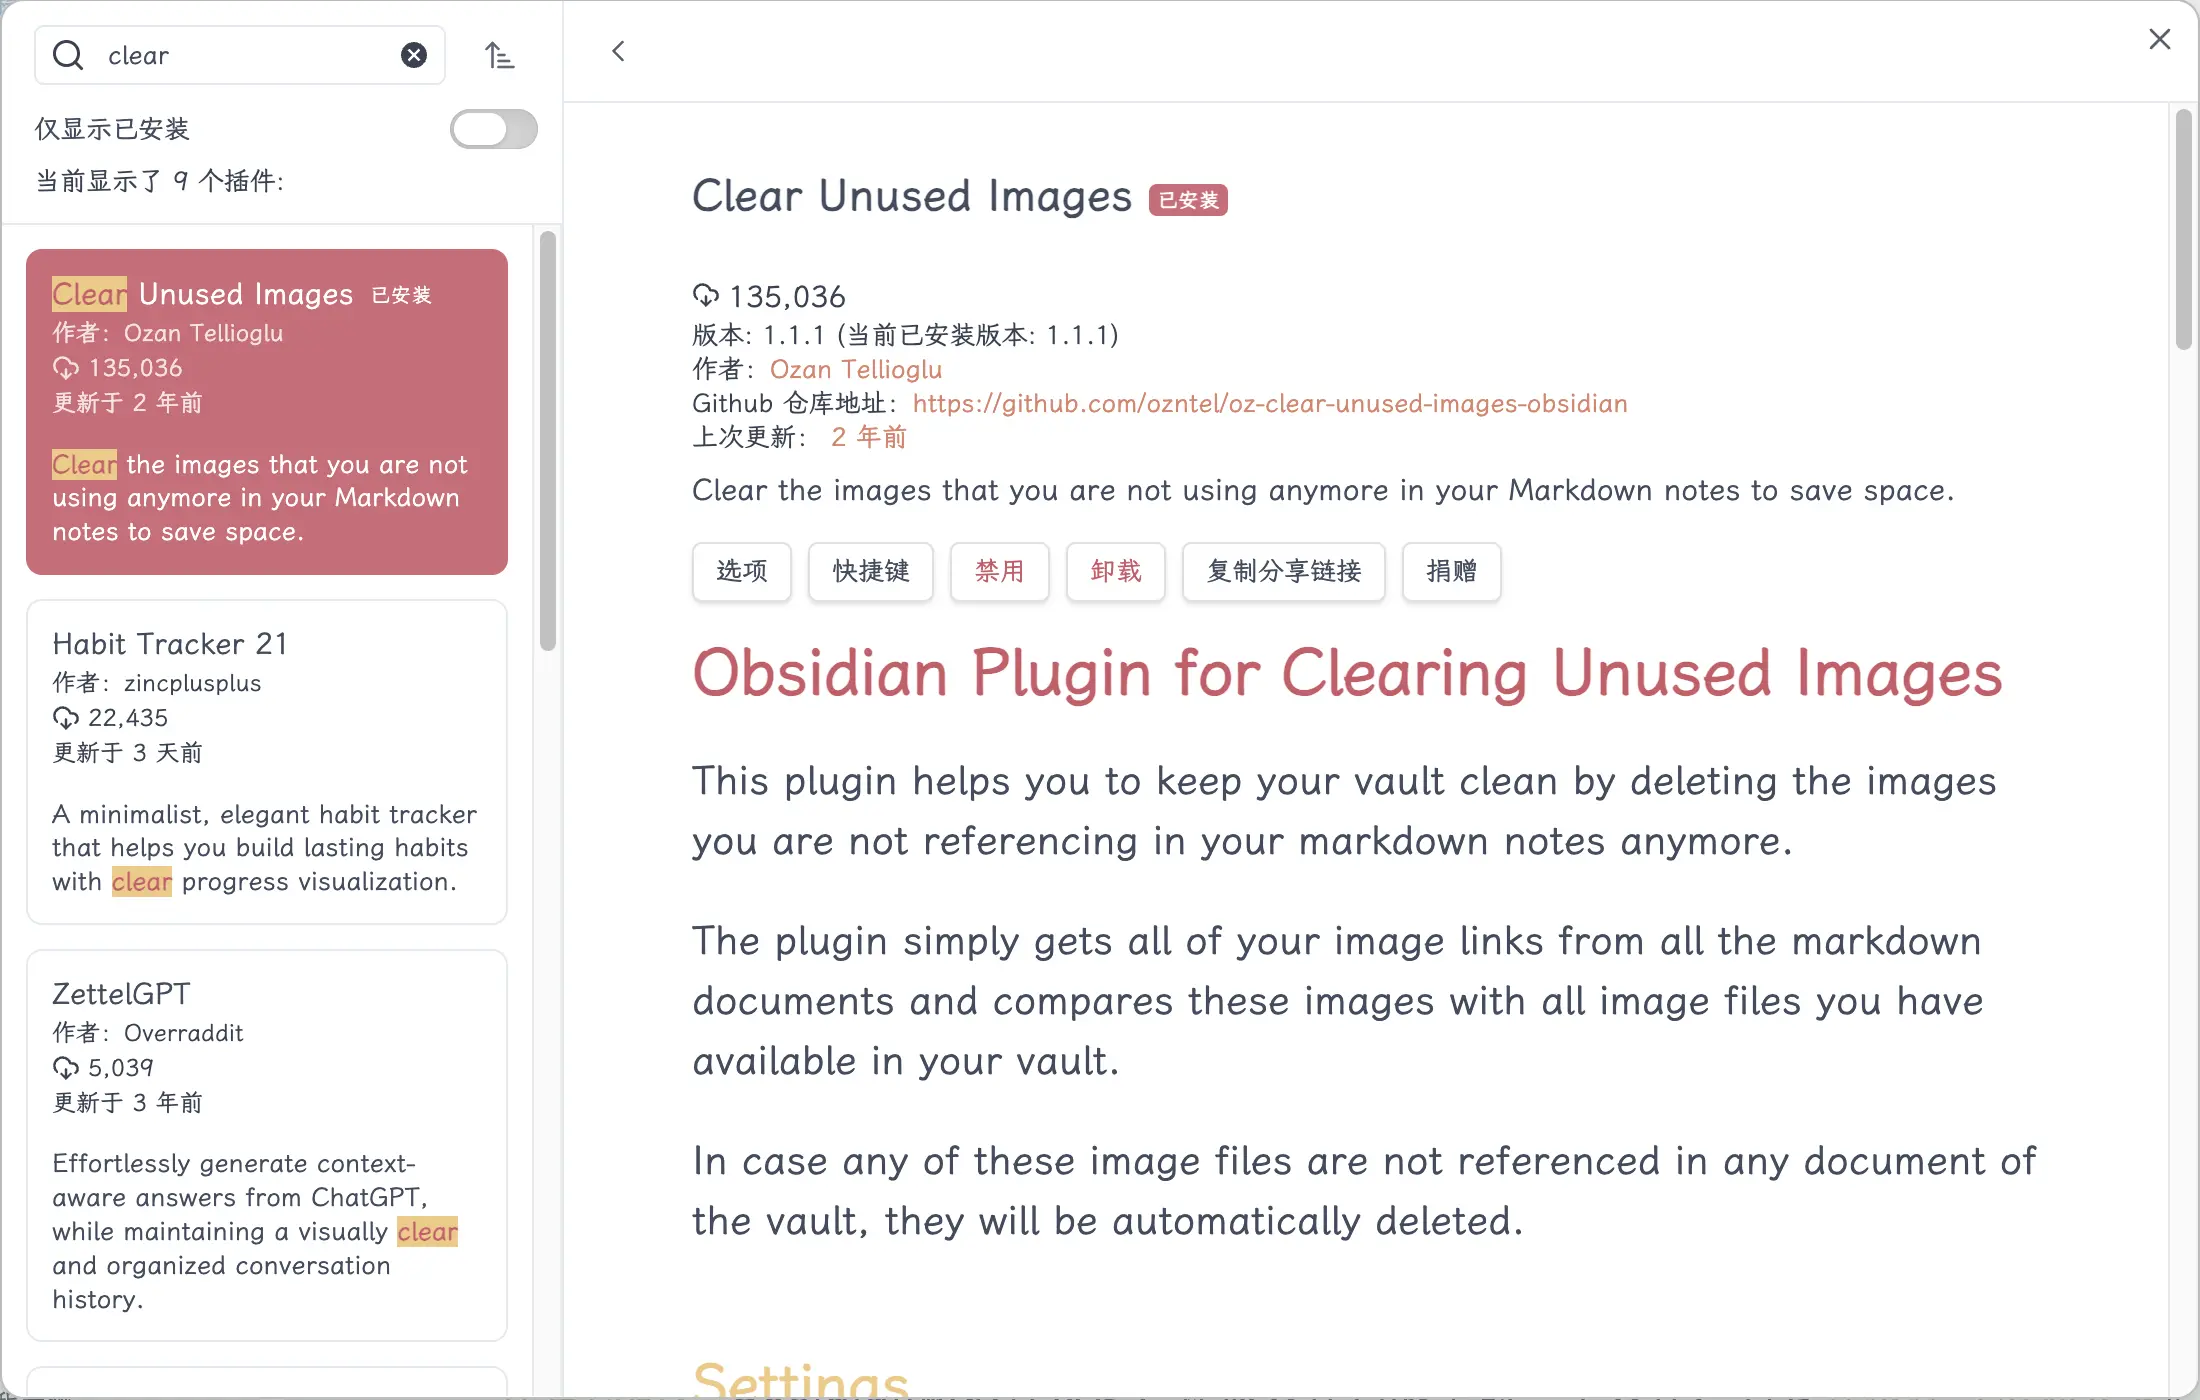
3. Clear Unused Images — Clean Up Unused Images
When writing notes, you often take screenshots and insert images. But sometimes you delete a section, and the images it referenced become “orphans”—no note references them anymore, but the image files still take up space. Over time, your attachments folder fills up with junk images.
After installing: Run it once, and it will scan your entire vault, find all images not referenced by any note, and clean them up for you.

How to use: Click the shortcut button on the left sidebar, or press Ctrl/Cmd + P to open the command palette, type “Clear Unused Images”, and press Enter.
4. Open In New Tab — Open Files in New Tab
Obsidian’s default behavior: when you click a file in the file list, it replaces the current tab. You’re editing A, want to check B, click B, and A is gone—now you have to go back and find it.
After installing: Clicking any file in the file list opens it in a new tab without overwriting the current content. Same logic as a browser. If the file is already open, it automatically jumps to that existing tab instead of opening a duplicate.
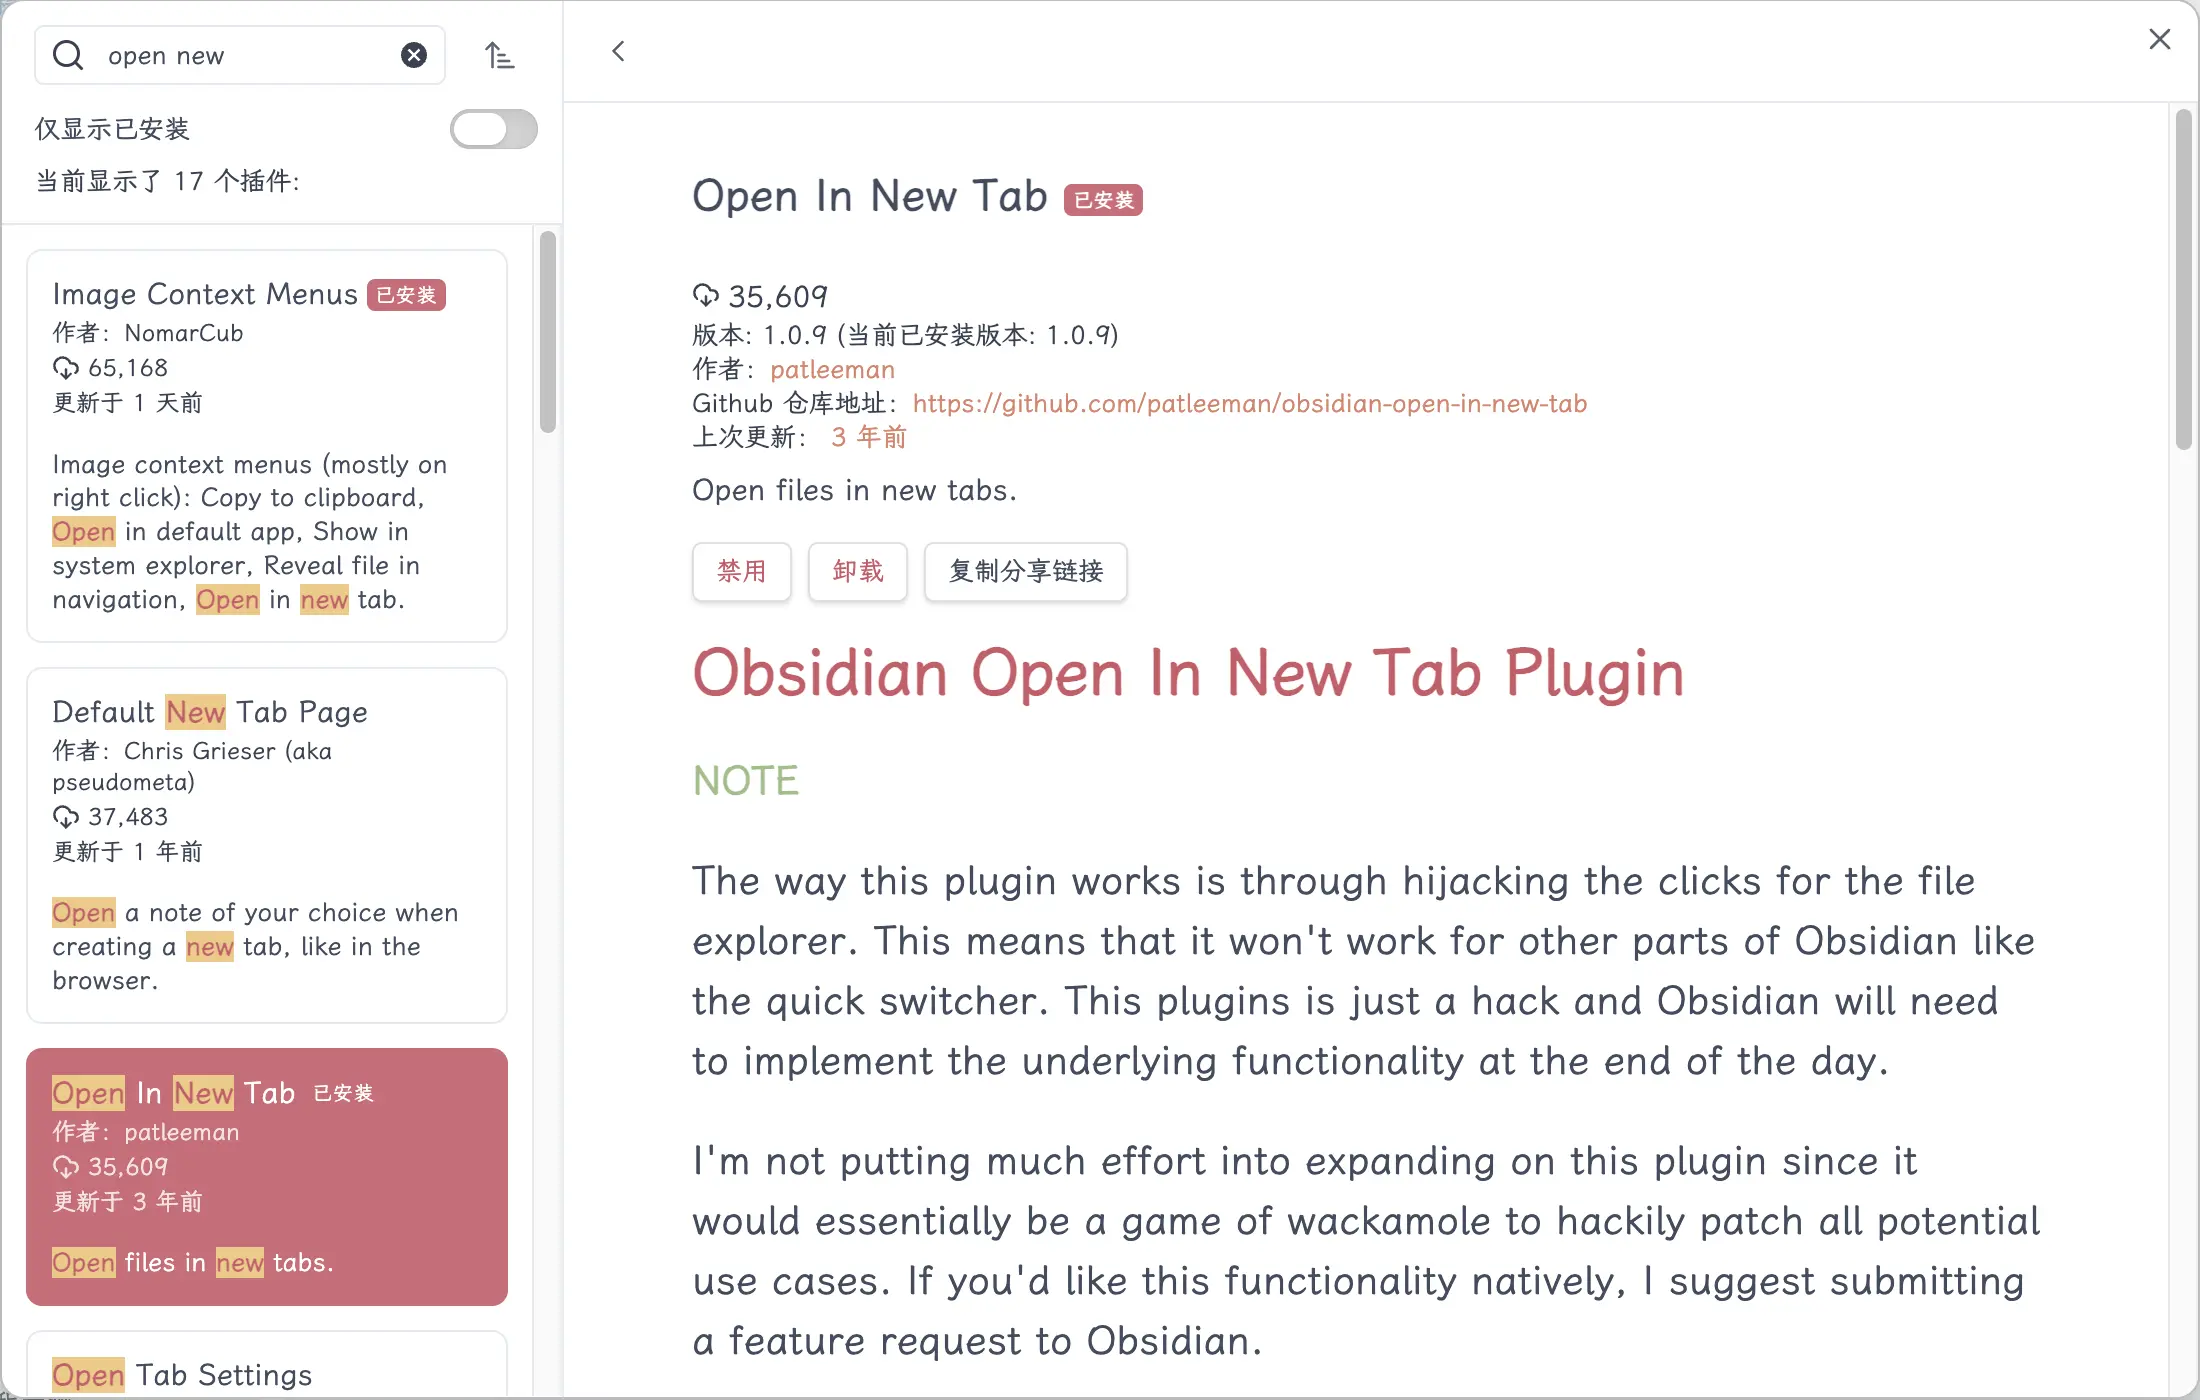
Works immediately after installation, no configuration needed.
Summary
What you learned today:
- Two types of plugins: Core plugins (built-in) and third-party plugins (community-contributed)
- Two installation methods: Directly from the community marketplace (recommended) or manually from GitHub
- Two ways to use them: Left sidebar shortcut buttons, or the command palette Ctrl/Cmd + P (recommended)
- Four must-have plugins:
- Recent Files — Quickly find recently edited files
- Easy Typing — Editing enhancements
- Clear Unused Images — Clean up unreferenced images
- Open In New Tab — Open files in new tabs
Key takeaways:
- More plugins isn’t always better; just install what you need
- Start with these four, then add more as needed
- Remember Ctrl/Cmd + P—it’s Obsidian’s universal entry point