As the final chapter of the introductory section, we’ll set up image hosting. We briefly touched on this in Chapter 02 when discussing inserting images—upload images to the cloud, keep your local repository lightweight, and images will automatically follow your articles when you publish. This chapter covers it in depth.
An “image hosting service” stores your images on a cloud server and uses external links to reference them, rather than keeping them as local attachments. This has several benefits: first, your local repository stays lightweight and doesn’t bloat with a bunch of images; second, images have a permanent web link, making it easy to publish your articles to blogs, WeChat Official Accounts, and other platforms without re-uploading images.
However, there’s one important caveat: do not use image hosting for screenshots containing private information or API keys. Images on an image hosting service are publicly accessible, and leaks can be troublesome.
Tools Needed
To configure image hosting, you need two things:
- Image auto upload: An Obsidian plugin. You can search for and install it directly from the community plugin marketplace.
- PicList: Image hosting management software. Download and install it from https://piclist.cn/.
Once both are installed, we can start configuring.
Which Image Hosting to Choose?
There are many options for image hosting. In this tutorial, I’ll demonstrate Tencent Cloud because its interface is intuitive and suitable for beginners. However, I personally use Cloudflare R2 daily because it’s completely free and offers fast image loading worldwide. If you want to go completely zero-cost, GitHub can also serve as an image hosting service—just push images to a repository and reference them using raw links. All three are viable options. Today, we’ll focus on Tencent Cloud, but the configuration logic is the same for others—just change the image hosting type in PicList.
Step 1: Tencent Cloud COS Configuration
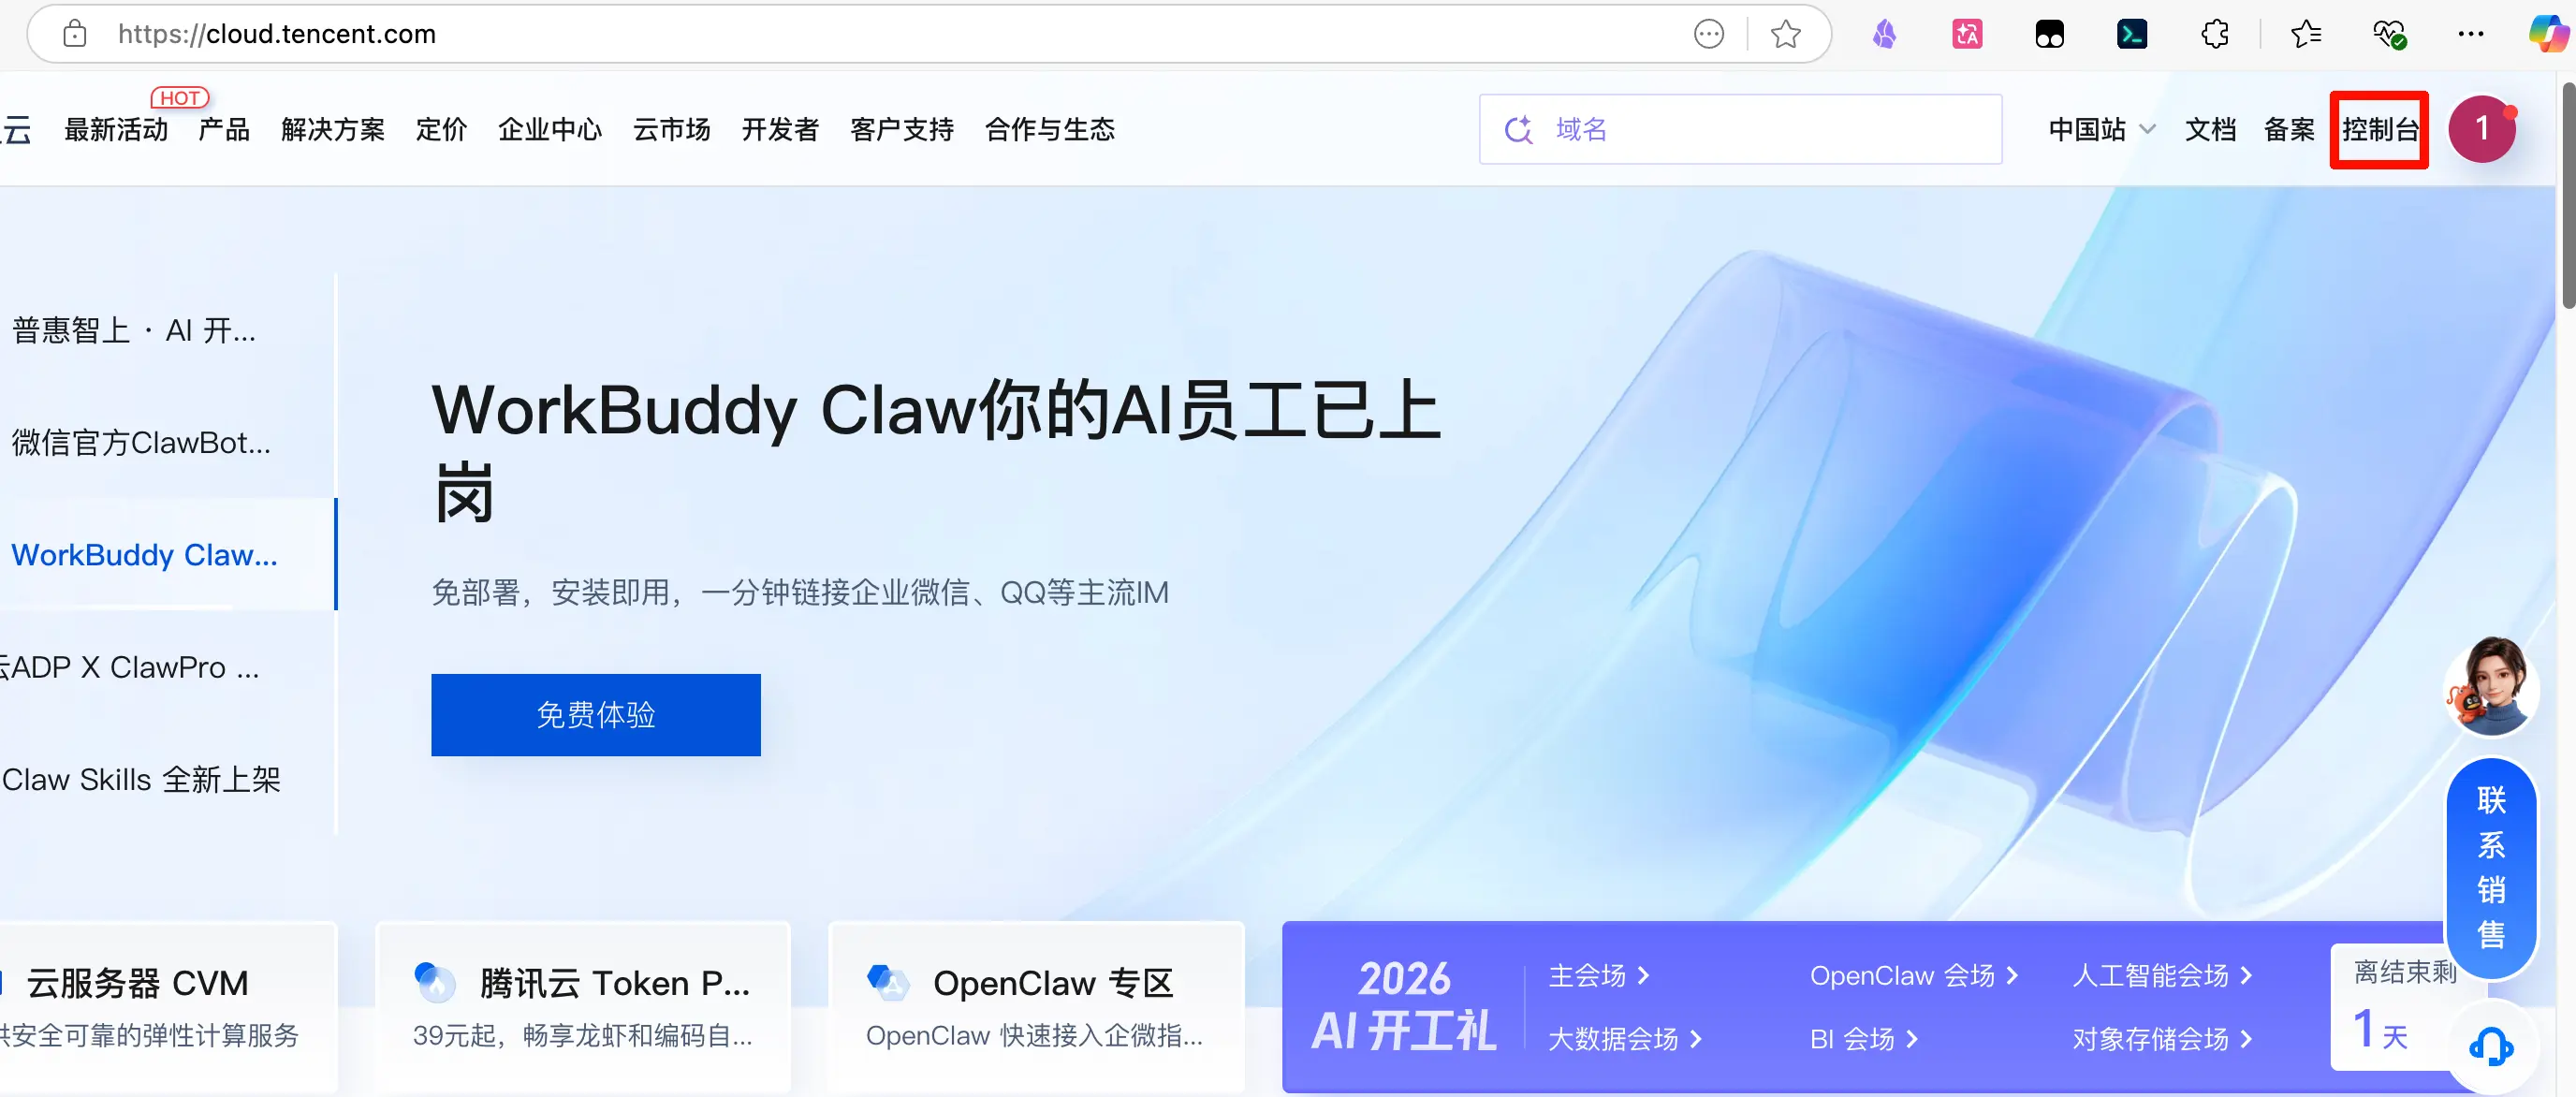
First, go to https://cloud.tencent.com/ and register an account. Then click “Console” in the top right corner.
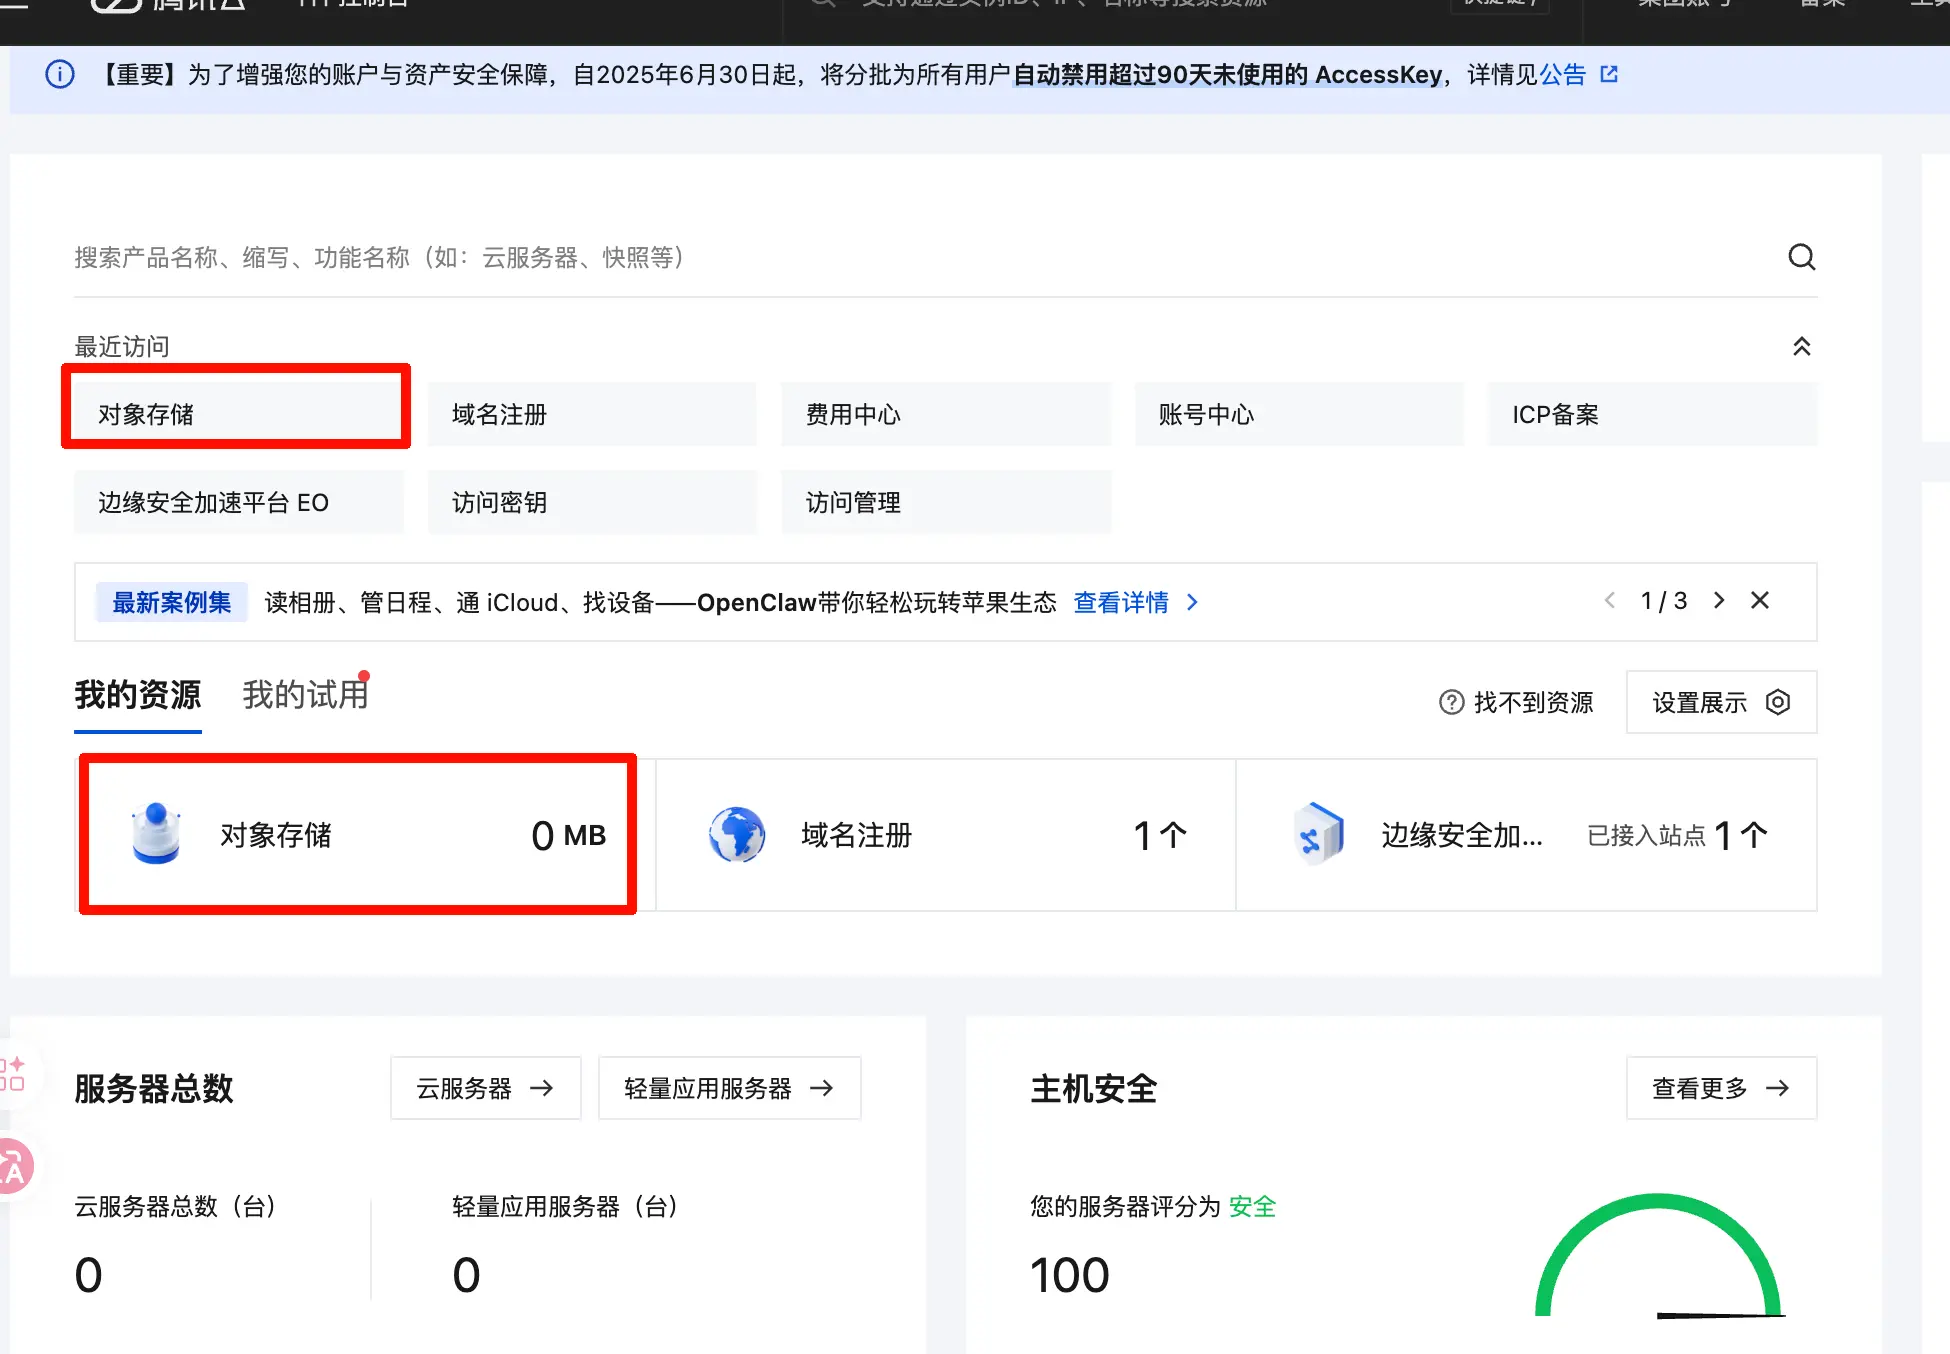
After entering the console, search for “Object Storage” at the top or find it in the left menu.
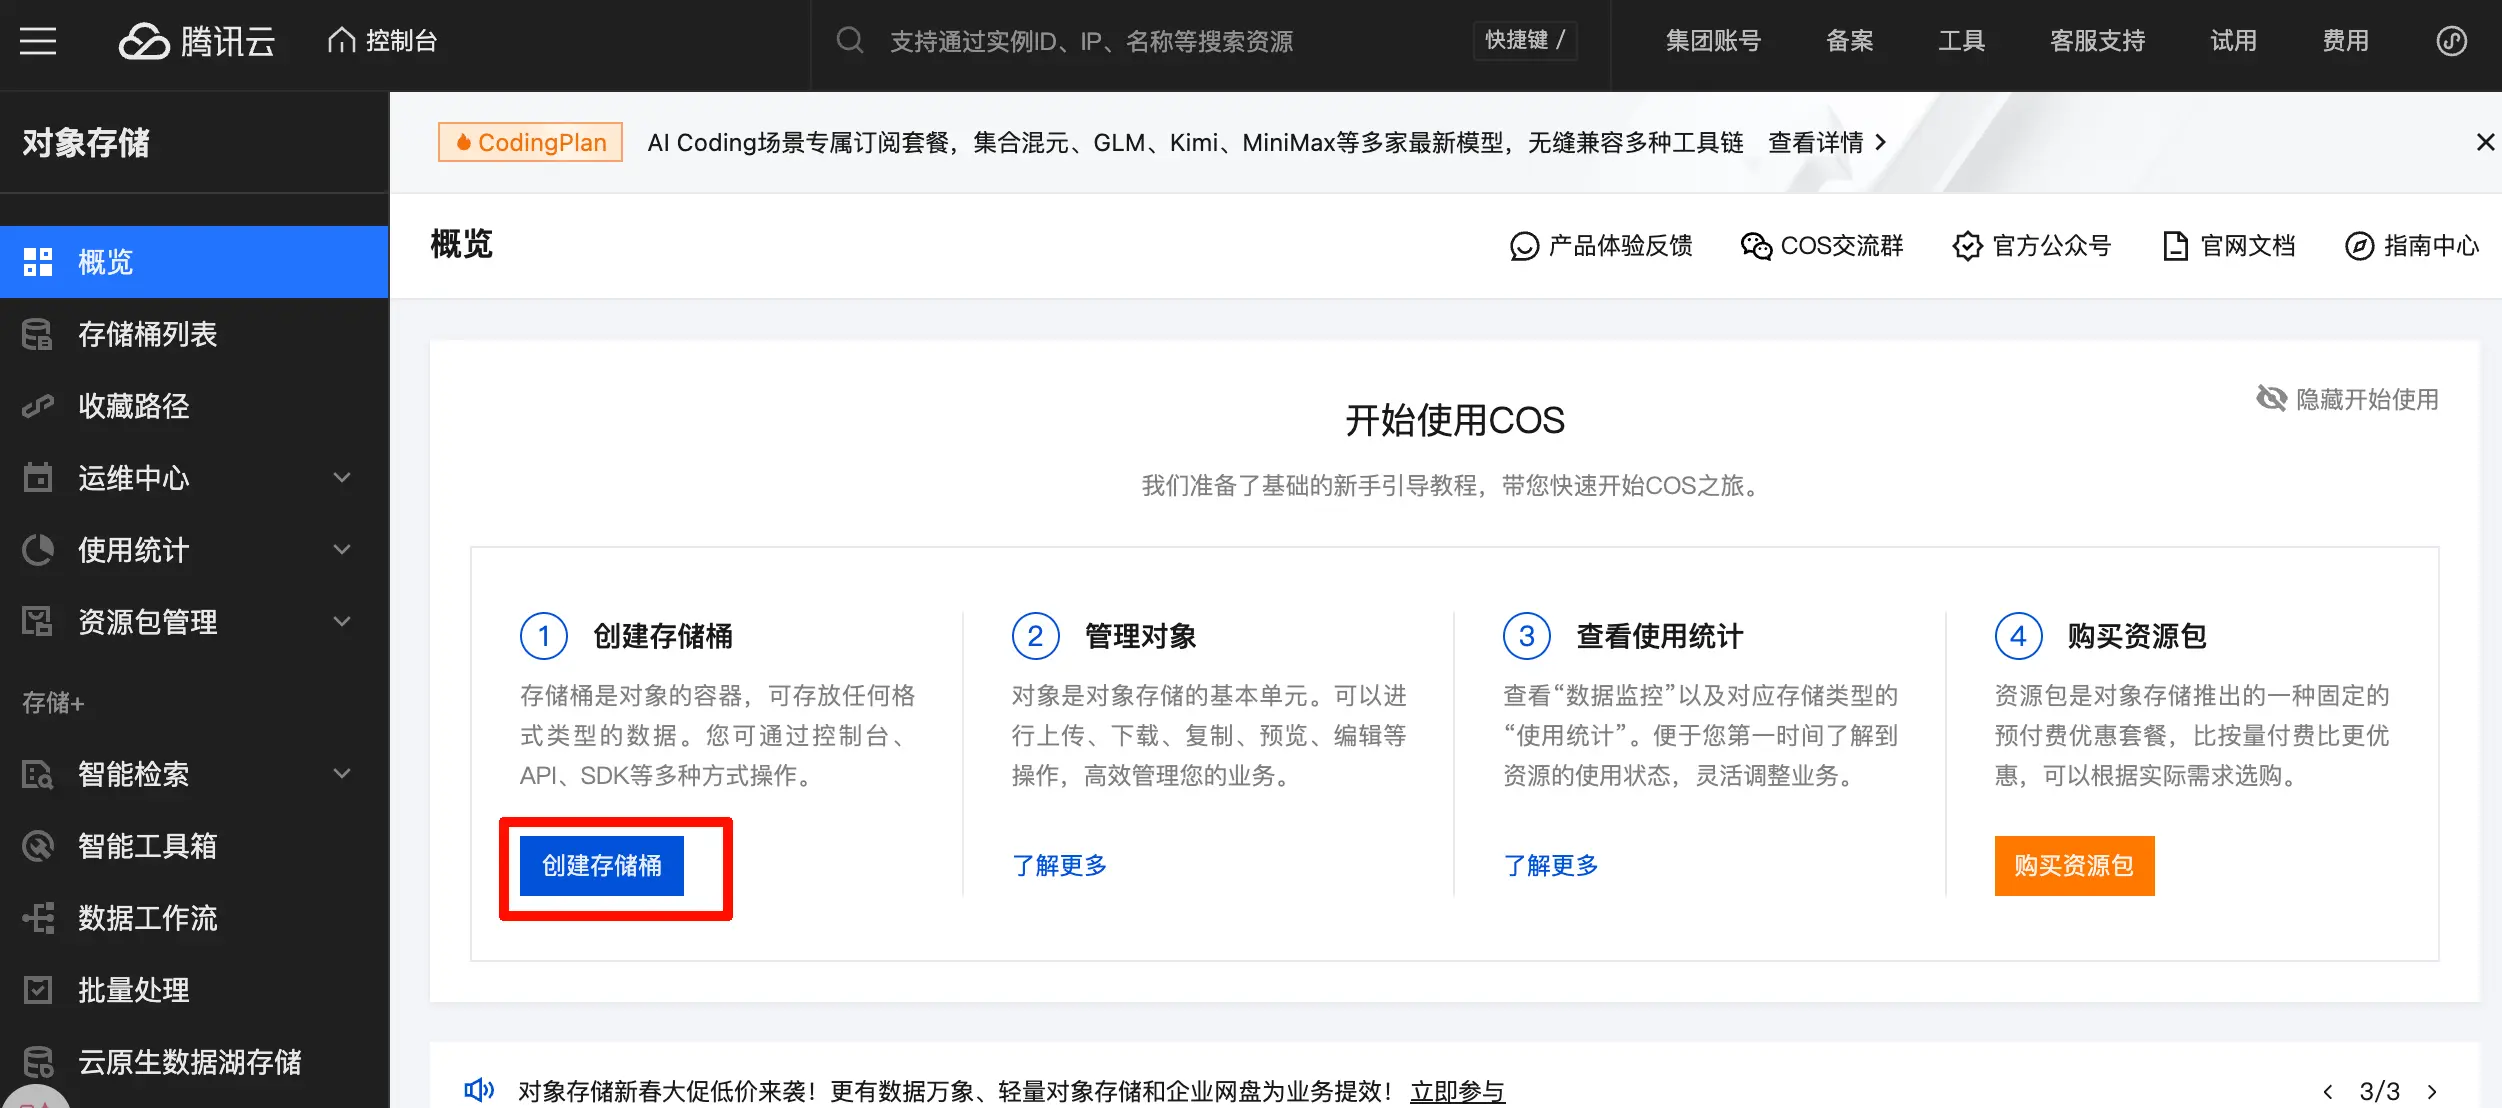
Click “Create Bucket”.
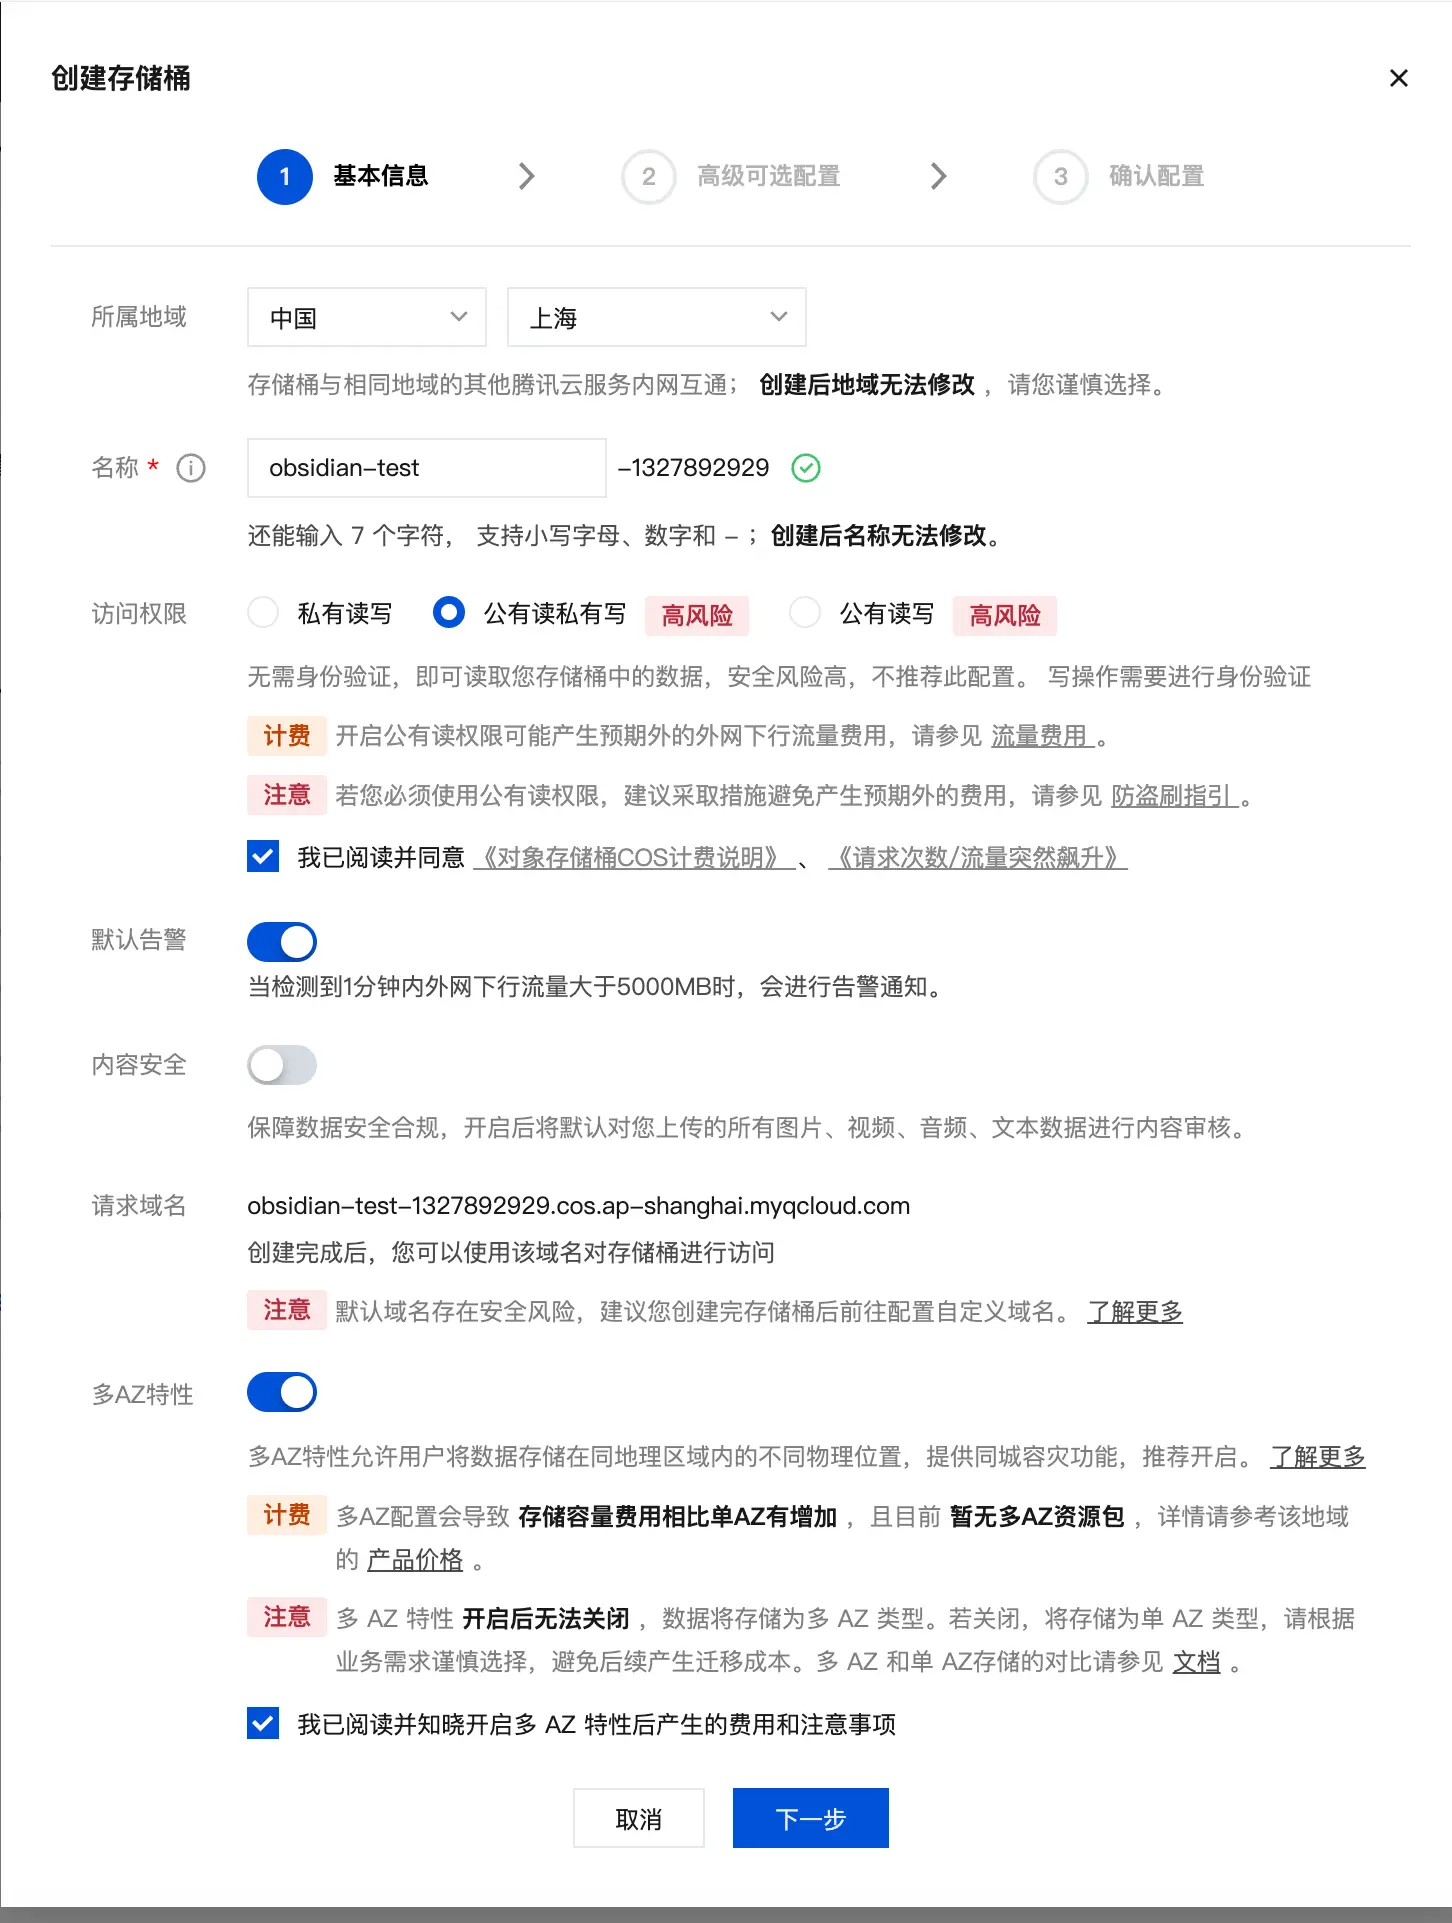
Start configuring. For Region, select the one closest to you (for example, I’m in Shanghai, so I choose “Shanghai”). For Name, pick any name you like; I used obsidian-test. For Access Permissions, make sure to select “Public Read, Private Write”, otherwise others won’t be able to access your images. Check all the necessary boxes below, then click “Next”.
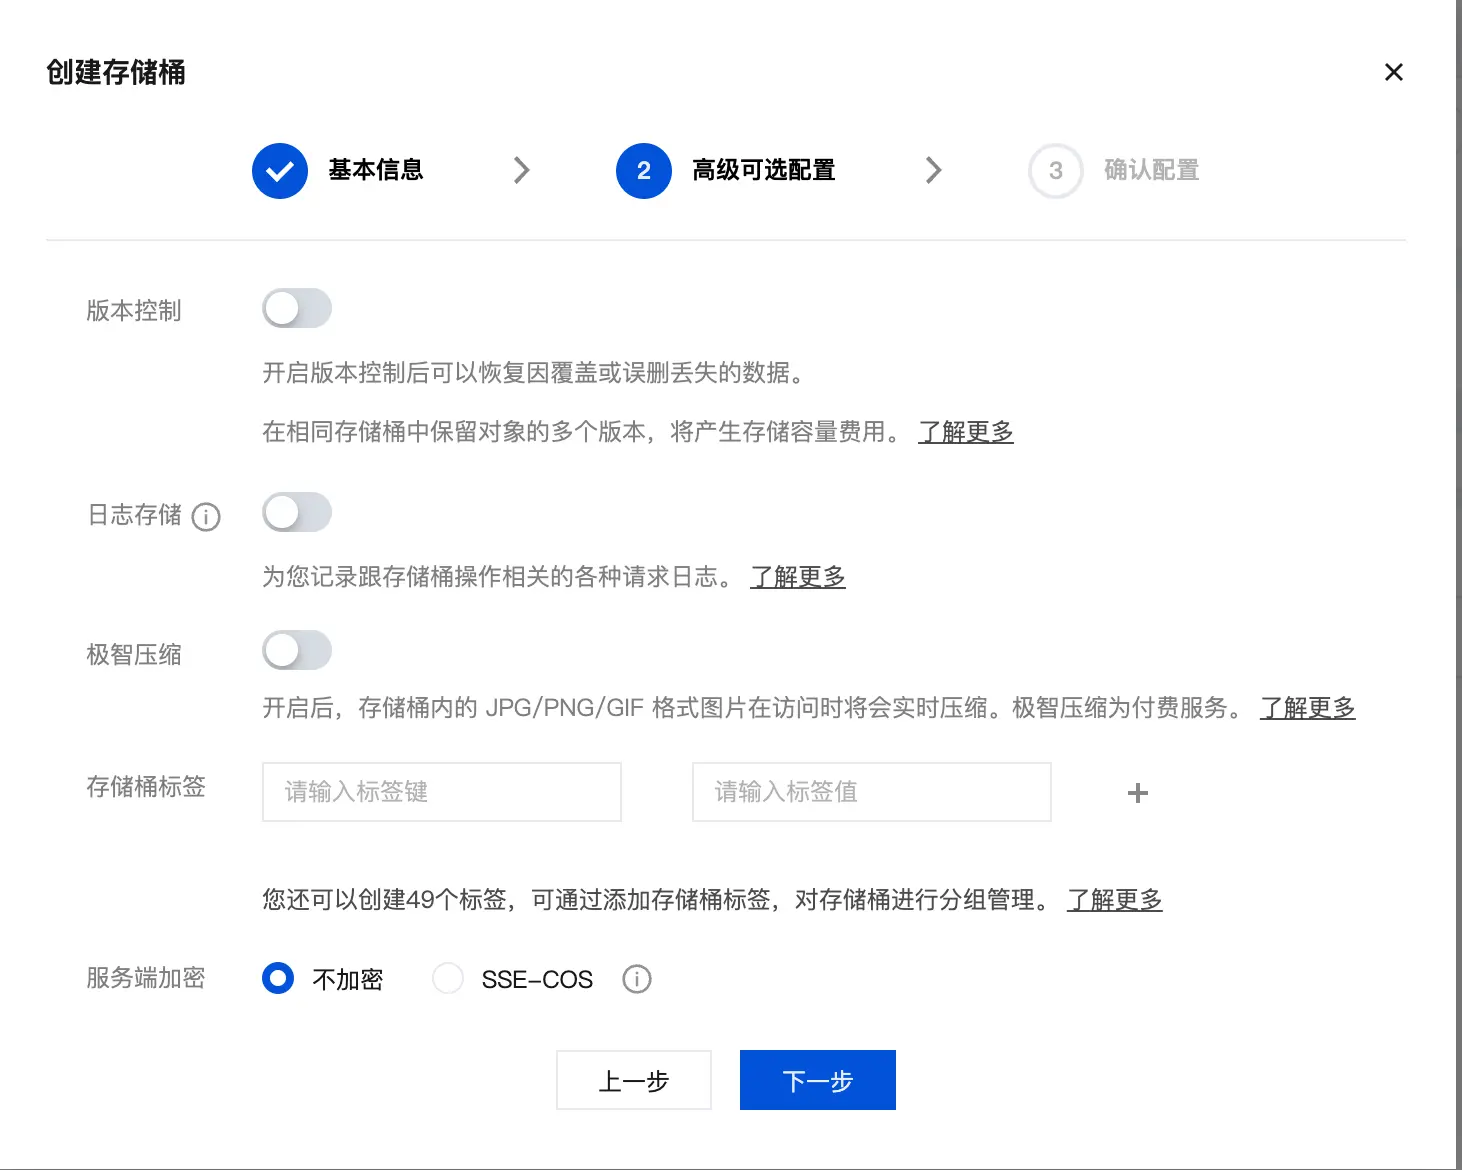
I left all advanced settings at their defaults and clicked “Next”.
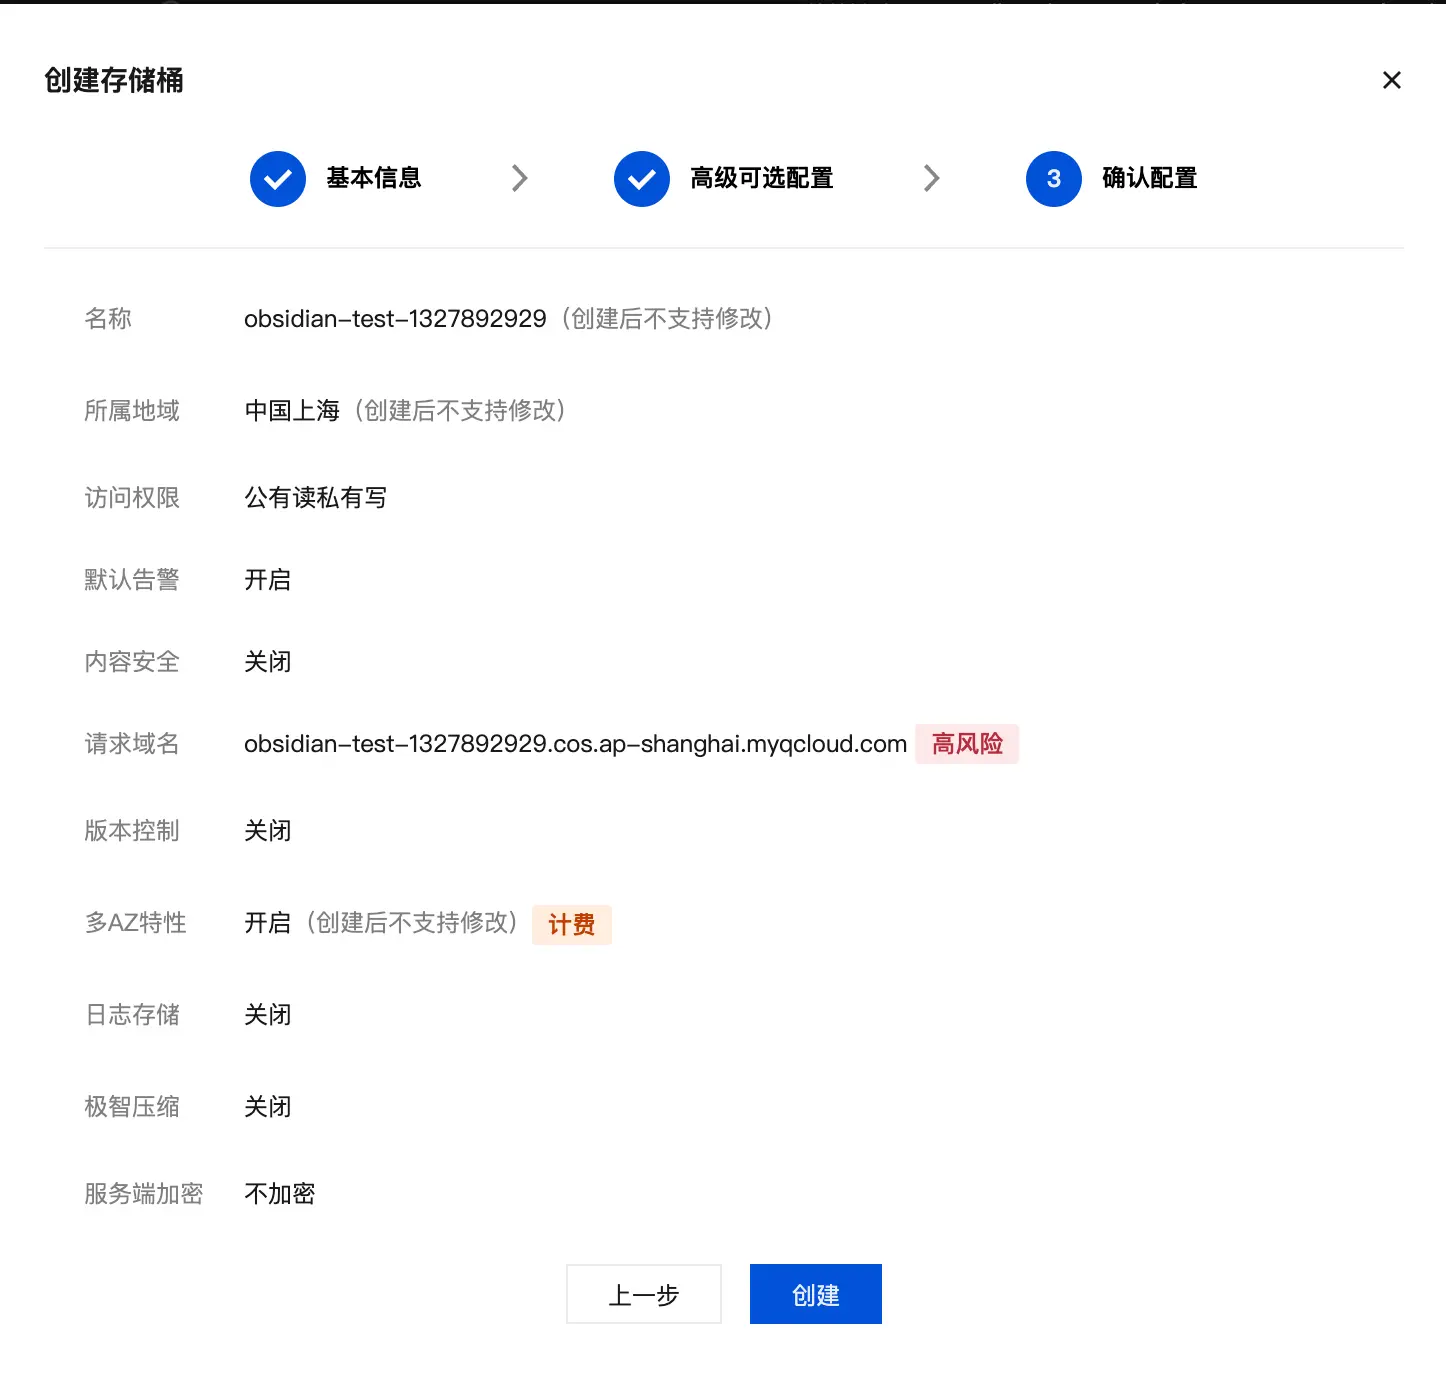
Confirm the configuration is correct, then click “Create”.
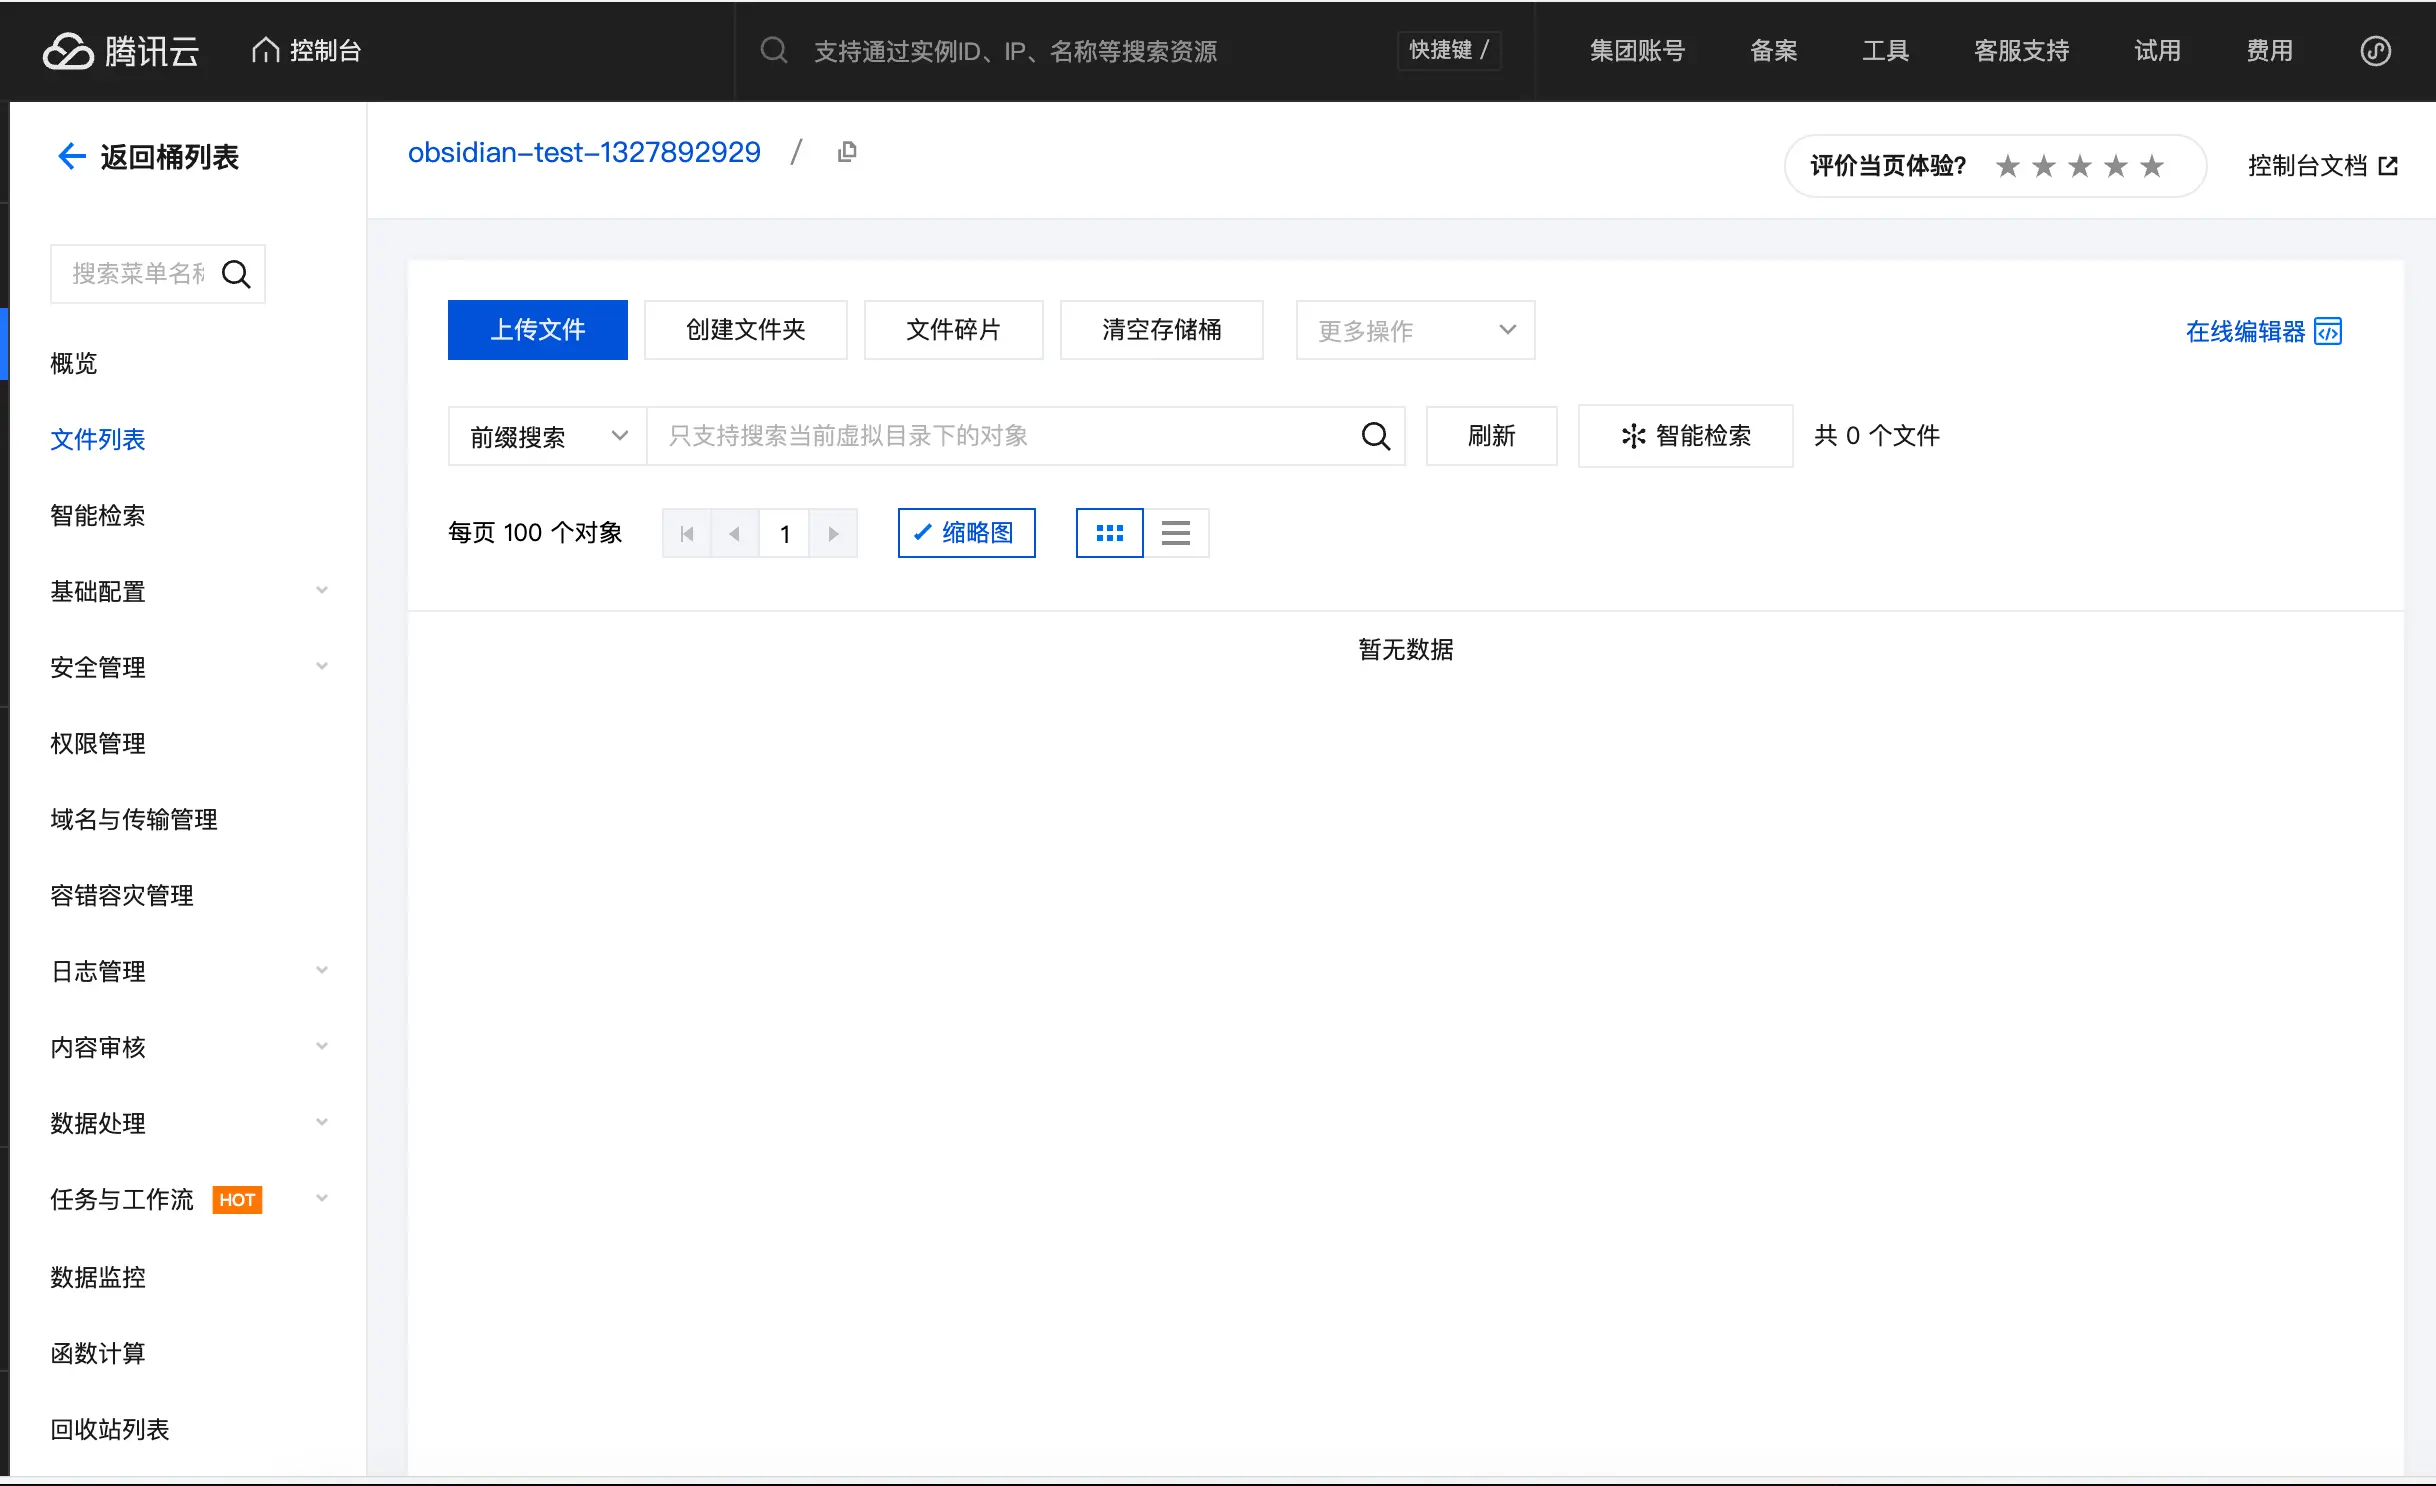
After creation, you’ll see this page indicating the bucket has been created. We’ll leave it for now.
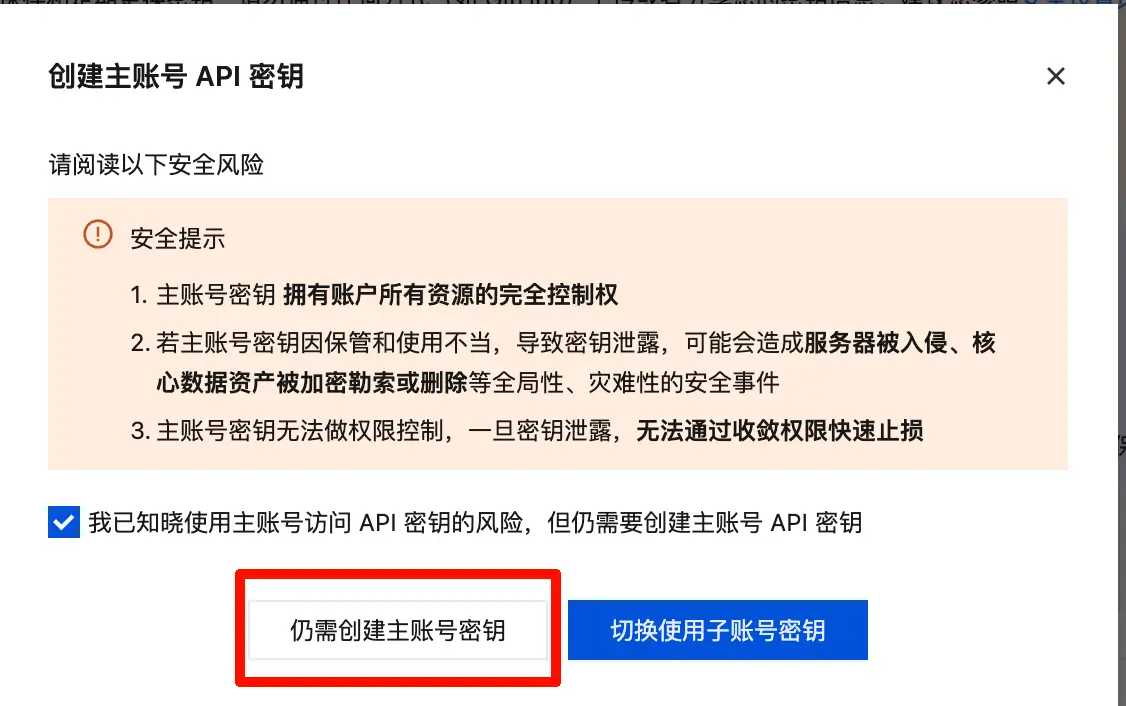
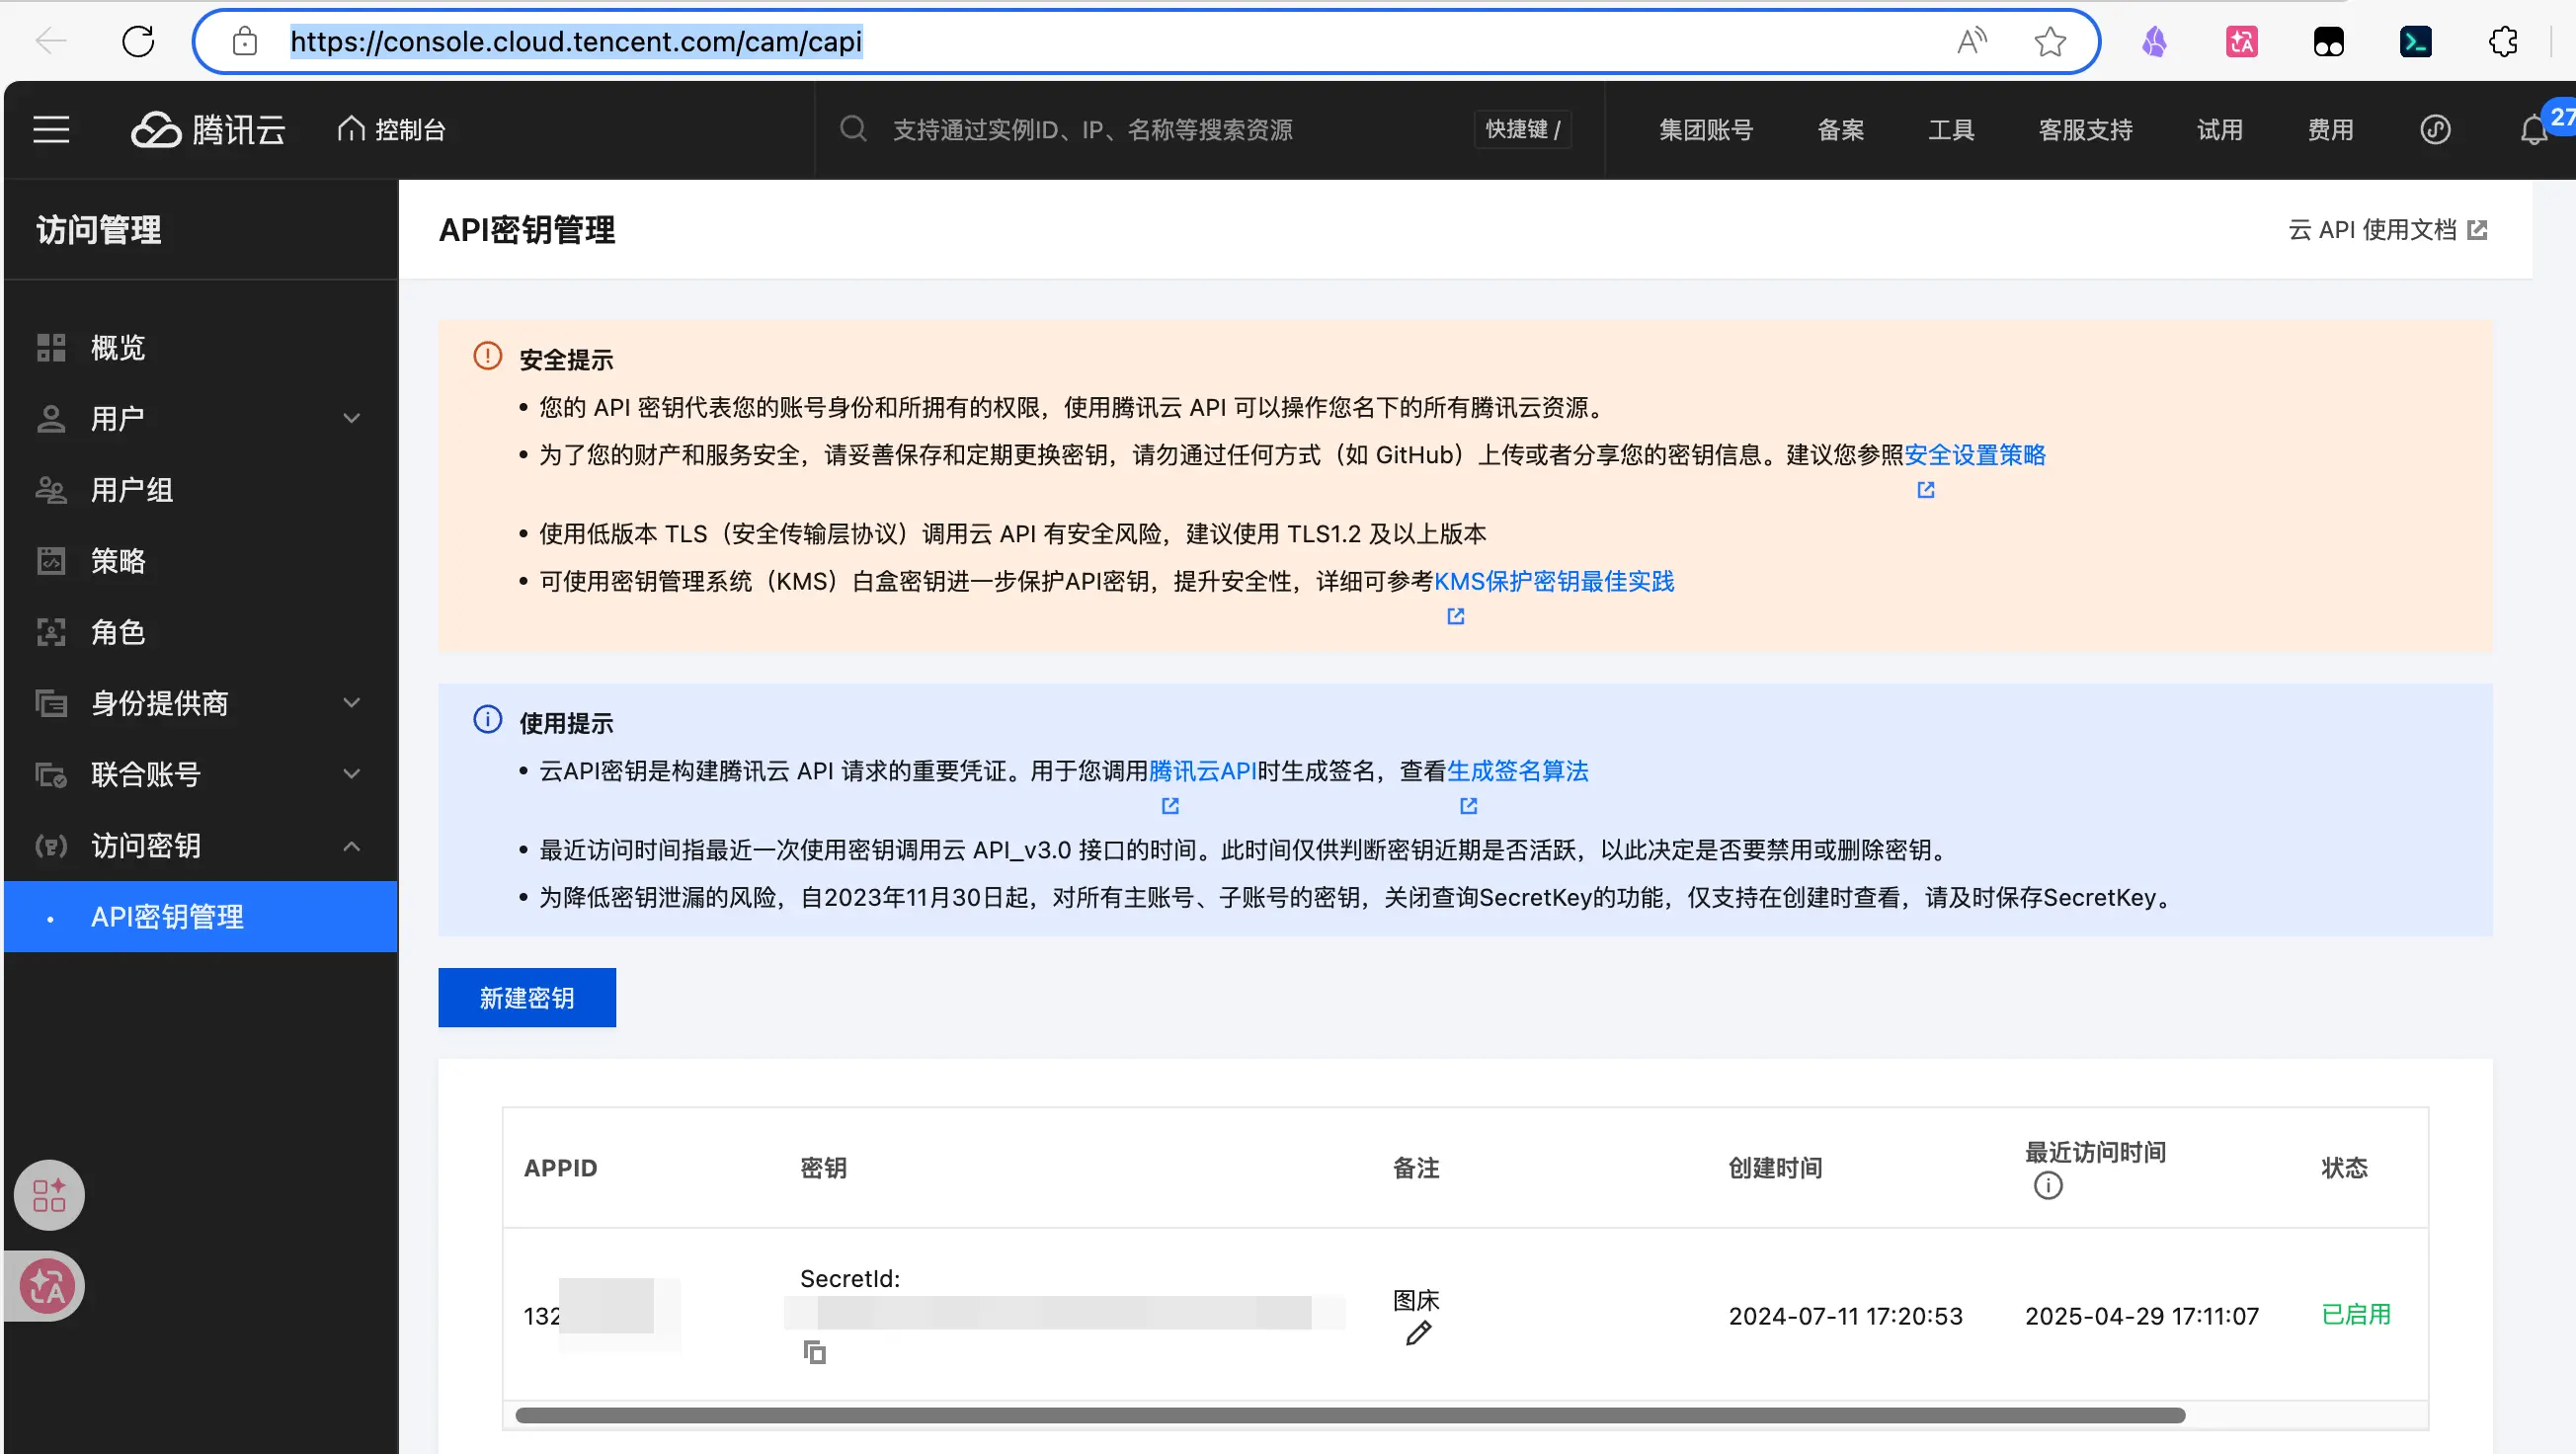
Next, create an API key so PicList has permission to upload images to your bucket. Go to https://console.cloud.tencent.com/cam/capi and click “Create Key”. A security prompt will appear—just confirm it.
After creation, you’ll see your SecretId and SecretKey. Save these, along with your AppID and bucket name, locally immediately. Do not share them with anyone.
Step 2: Configure PicList
Open PicList, select “Image Hosting” on the left, then click “Add”.
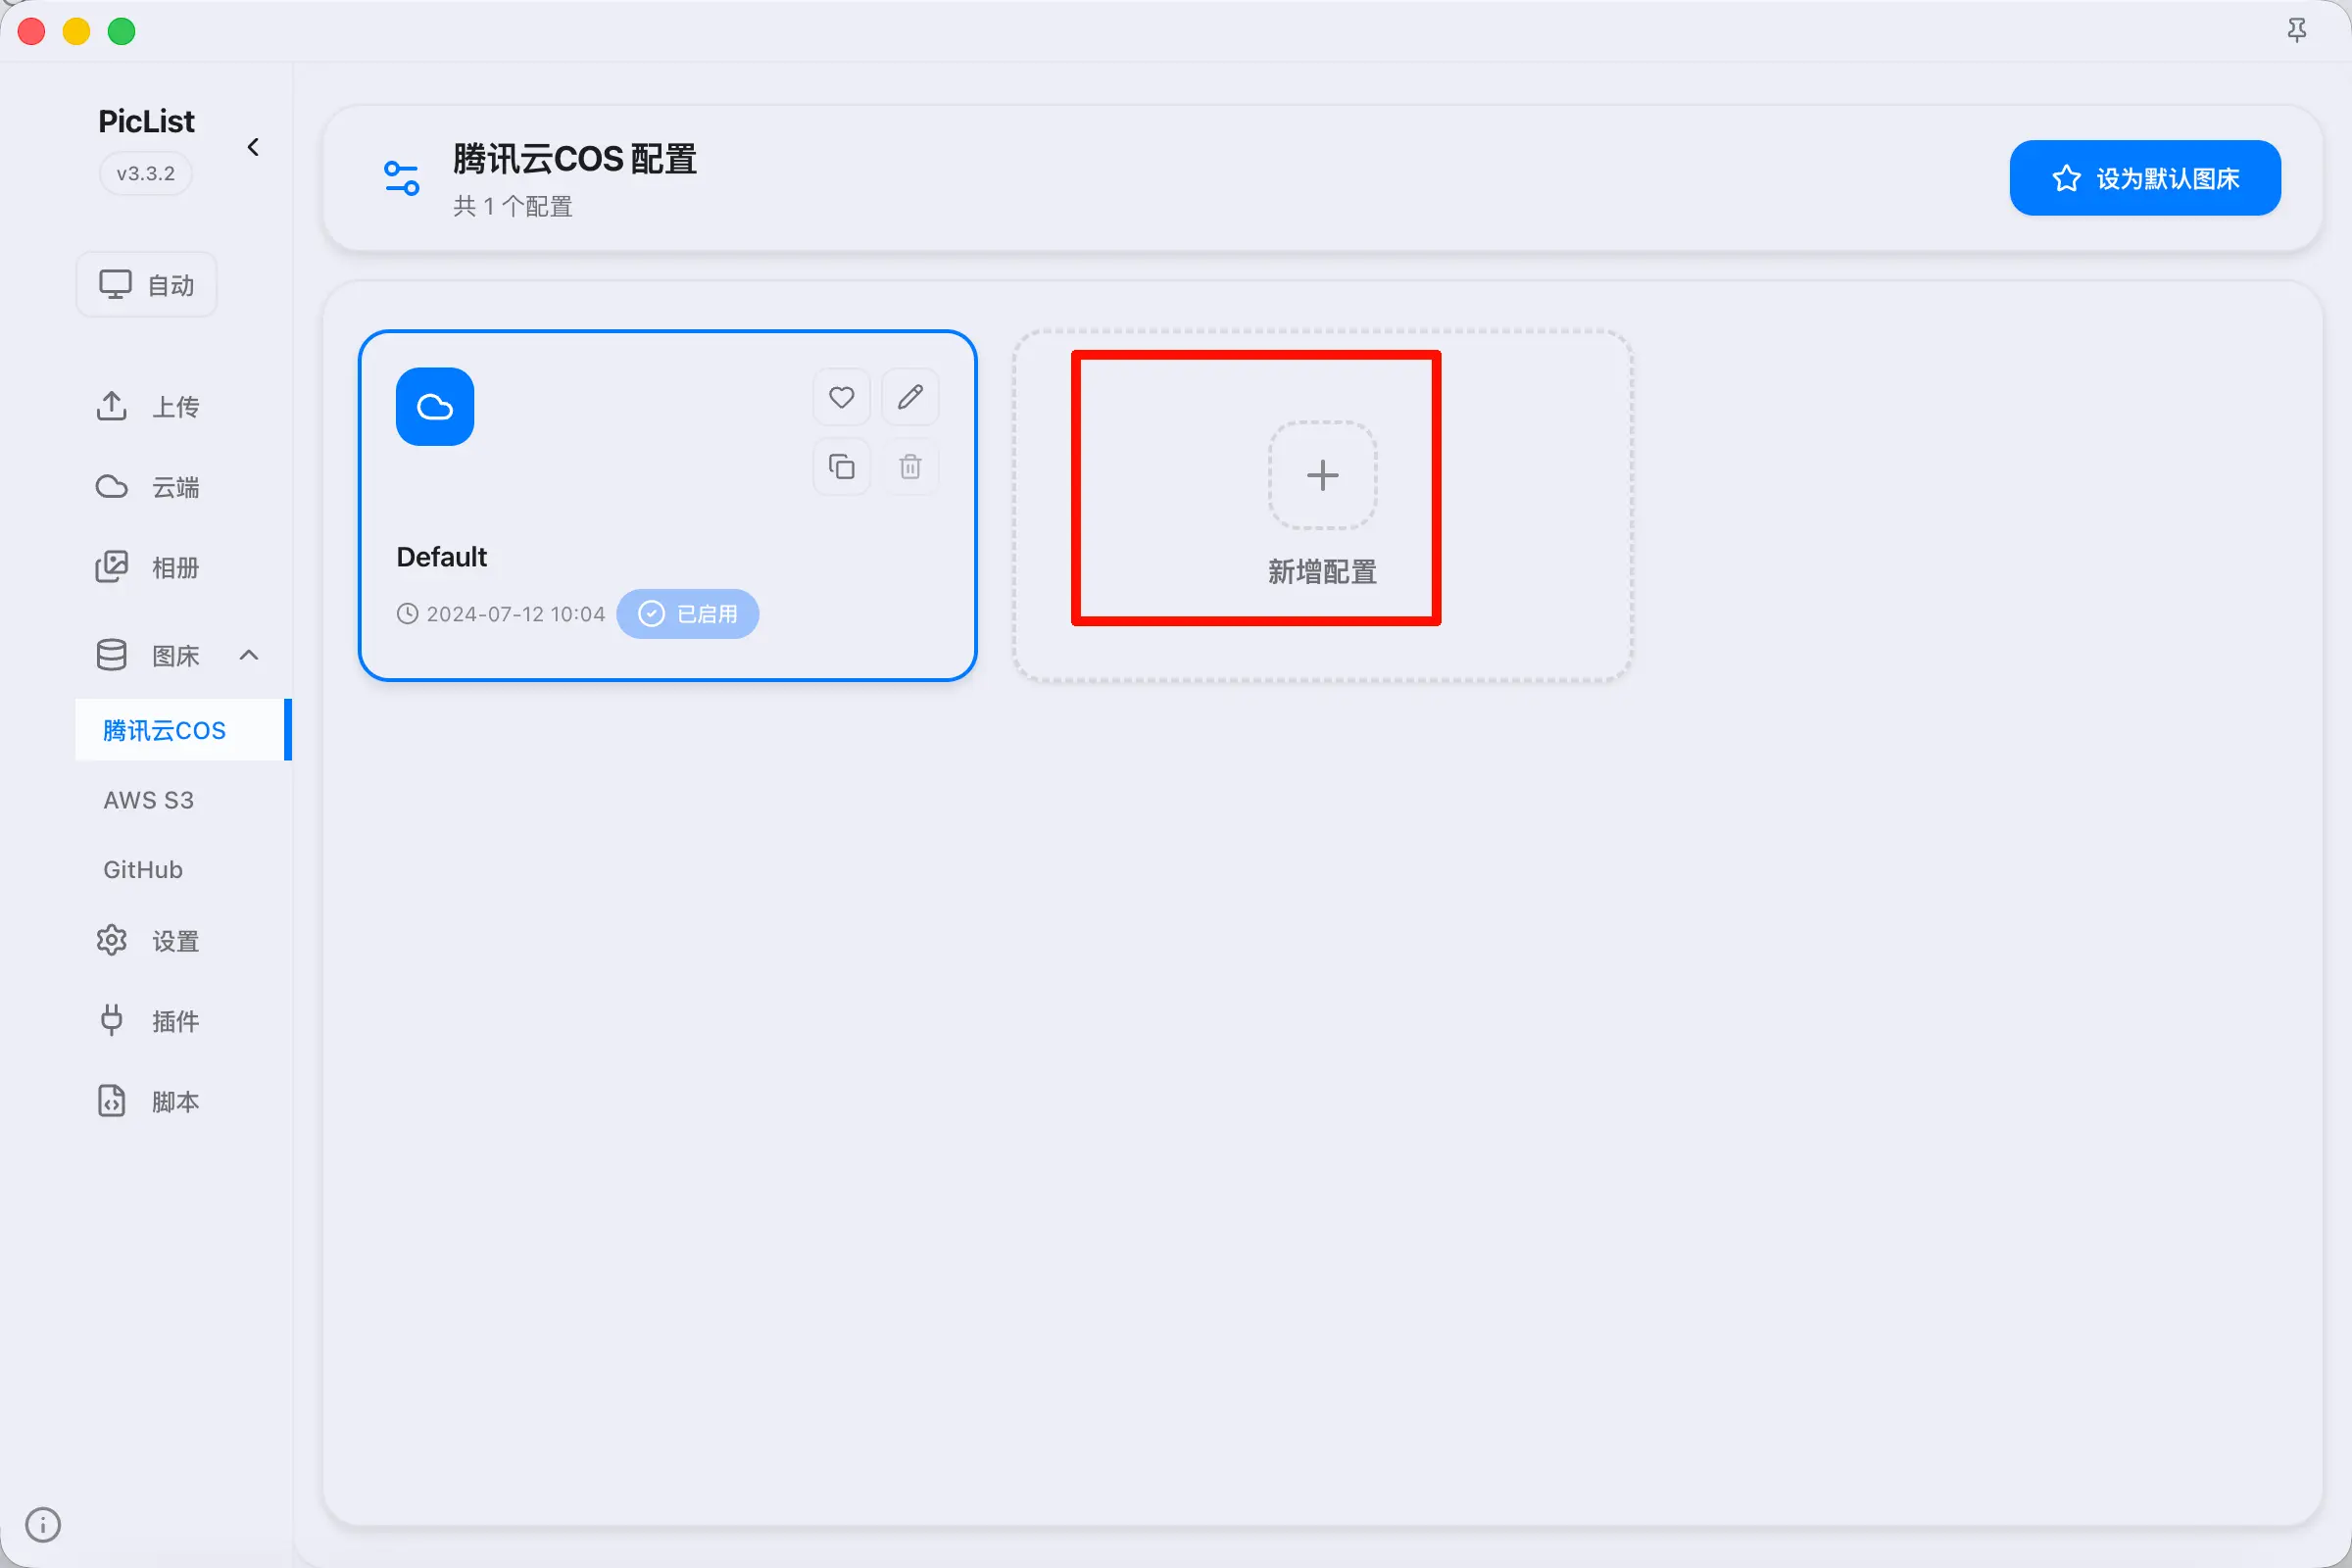
A configuration form will appear. For “Configuration Name”, you can enter any name you like. Fill in the other fields with the information you saved earlier: AppID, SecretId, SecretKey, and Bucket Name. One important thing: the region must be entered in pinyin format. For example, for Shanghai, use ap-shanghai; for Guangzhou, use ap-guangzhou. Do not use Chinese characters.
If you encounter issues after configuration, refer to the official documentation at https://piclist.cn/configure.html to check your parameters.
After configuration, it’s recommended to manually upload a test image in PicList first to confirm the image hosting works properly before using it in Obsidian. Troubleshooting is much more cumbersome if you only discover issues in Obsidian.
Step 3: Configure the Image Auto Upload Plugin
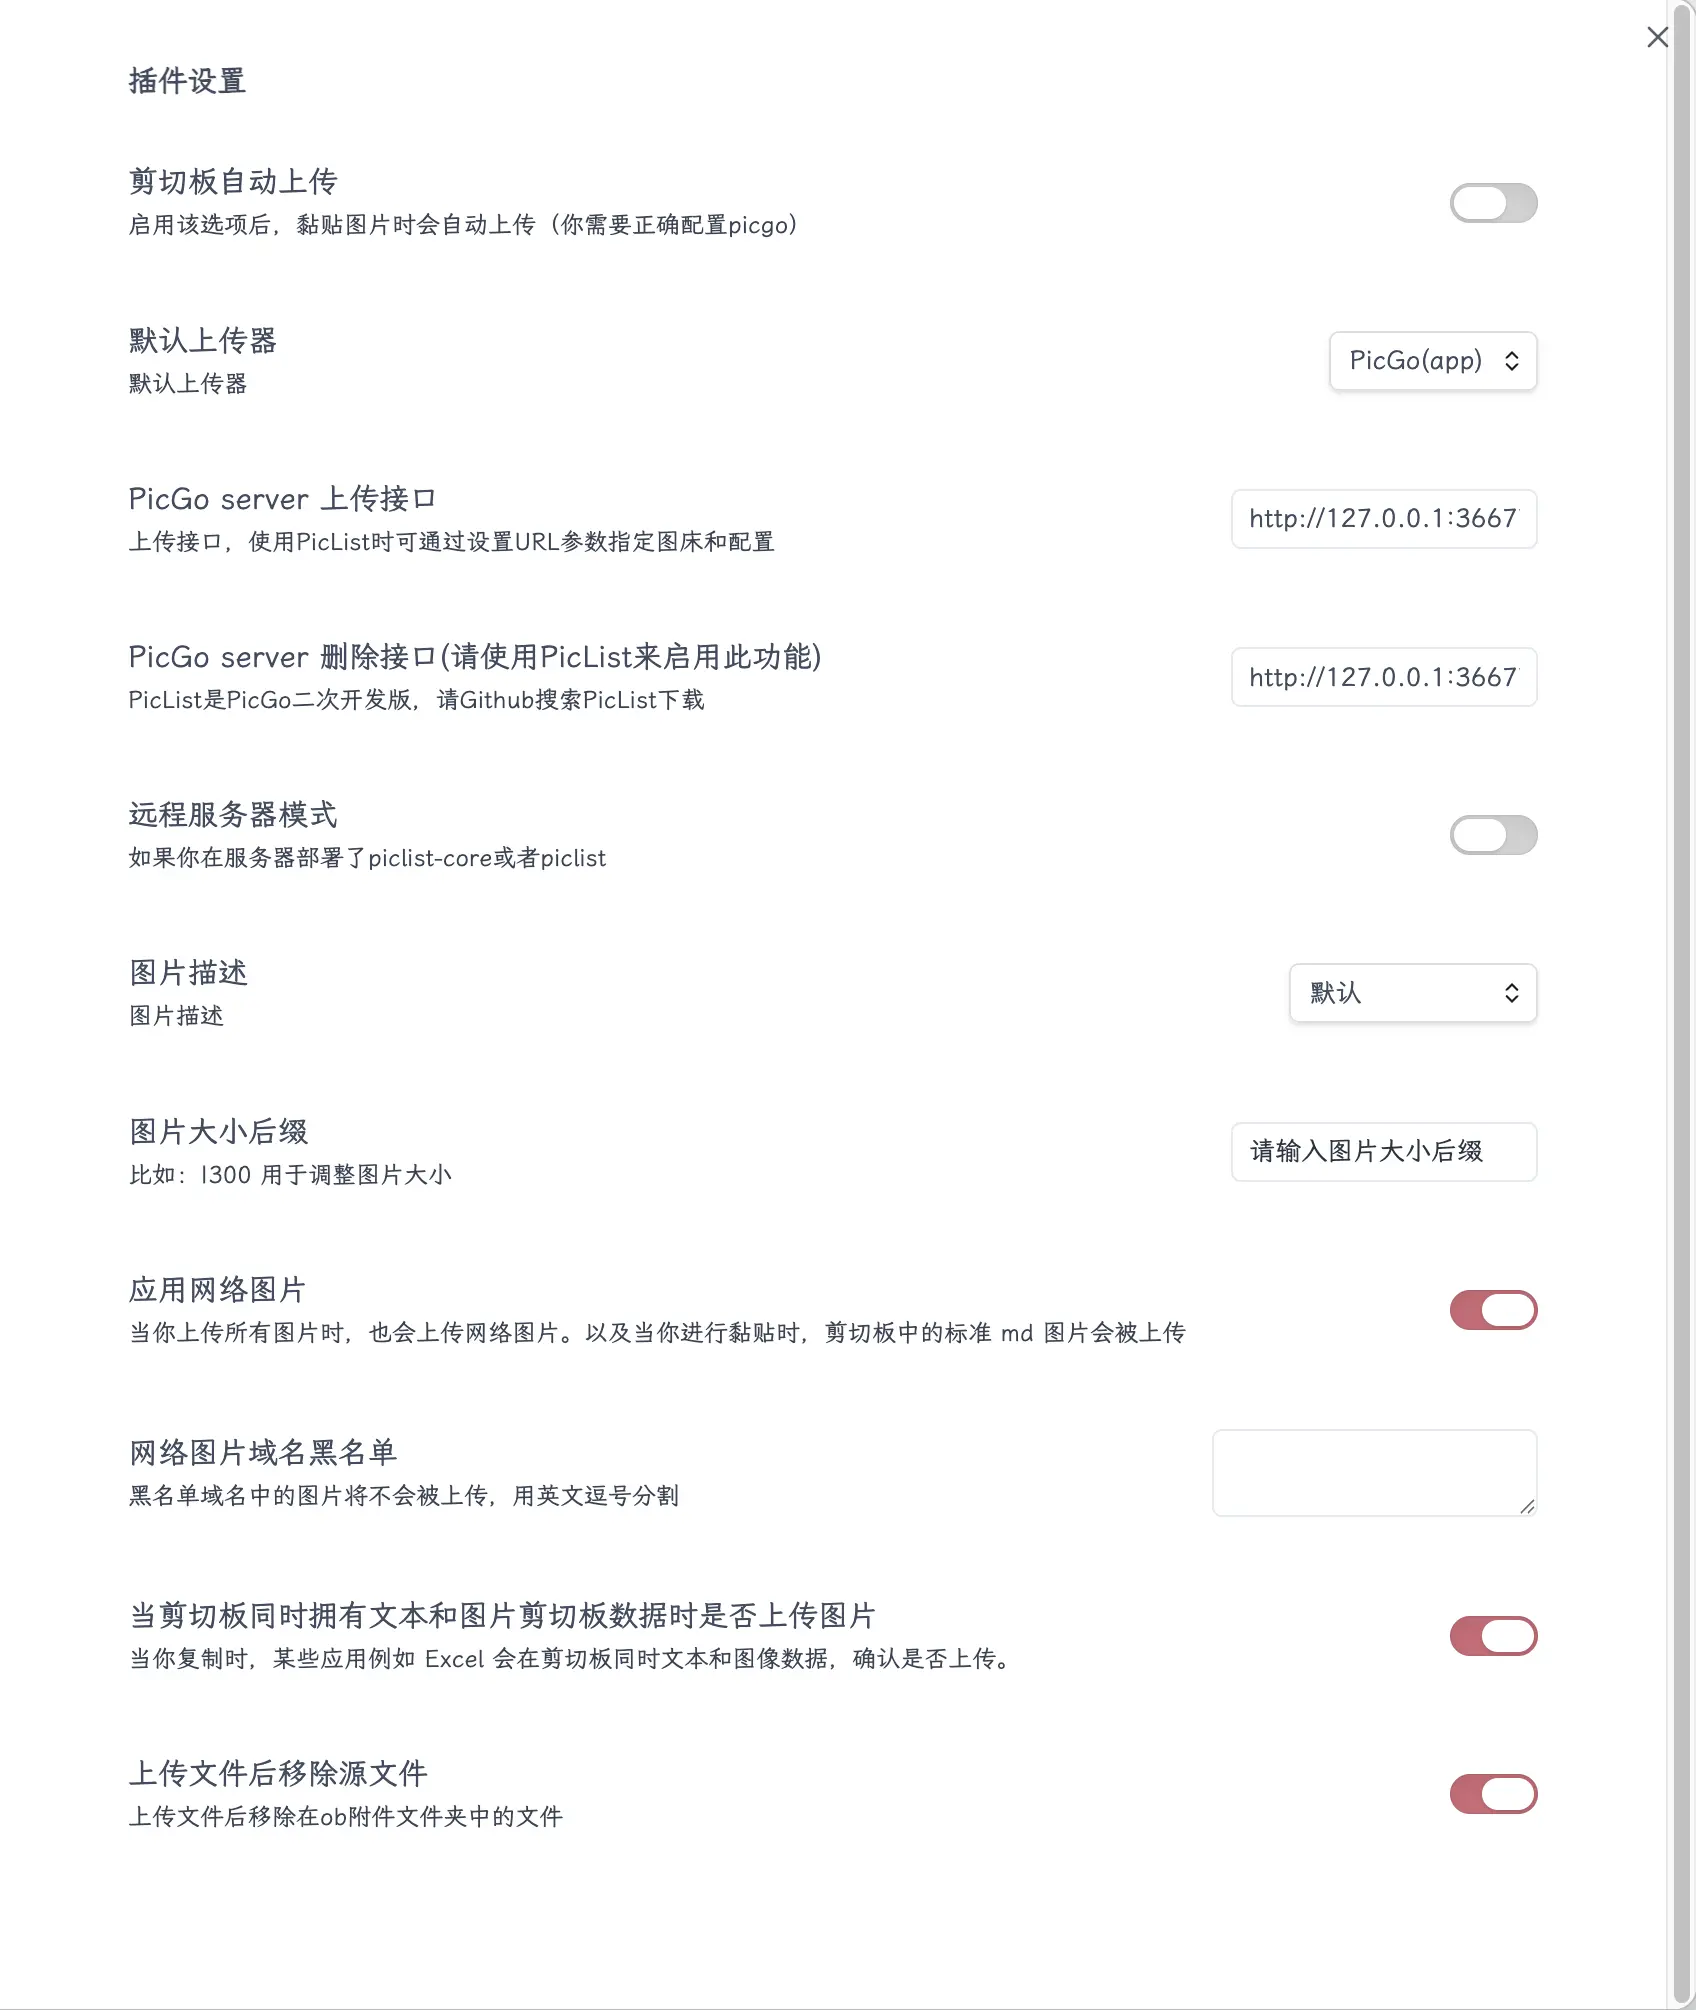
Open the Image auto upload plugin settings in Obsidian. Set the image hosting type to “PicGo”, then fill in the two API endpoints:
- Upload endpoint:
http://127.0.0.1:36677/upload - Delete endpoint:
http://127.0.0.1:36677/delete
I’m not sure if selecting PicGo automatically fills these in, so I’m including them here. You can refer to my screenshot for other settings.
How to Use
Once configured, just take screenshots and insert local images as usual while writing—no need to worry about the image hosting. After you finish writing and reviewing your article, use the command palette to search for “Upload all images”. This will upload all local images in the article to the image hosting service in one click. The links will be automatically replaced, and the original local attachments will be deleted.

One common pitfall: if your article contains both images already uploaded to the image hosting service and newly added local images, it’s recommended to first click “Download all images” to download the hosted images back, then click “Upload all images” to upload everything together. If you upload directly, you might encounter image misalignment issues.
Note for WeChat Official Account Users
There’s an important point to clarify: Obsidian writes in Markdown, but the WeChat Official Account backend does not support Markdown. If you copy content directly, the formatting will be completely messed up, and images won’t display—not because the image hosting links are blocked, but because there’s no rendering at all.
There are two solutions. One is to use an online formatting tool like doocs-md: paste your Obsidian content into it, and it will render the Markdown into a format that the WeChat backend recognizes. Then copy it to the WeChat backend, and images will display correctly. The other is to use my WeChat Publisher plugin, which works directly within Obsidian. It supports one-click draft pushing after rendering, or you can manually copy the rendered content. See Chapter 20 of this book for details. Starting from v0.1.13, it is completely free for individual users.
Summary
Image hosting is a broad topic, and there are many things we didn’t cover in this chapter, such as image format conversion, automatic naming rules, binding custom domains, and more. However, with the configuration outlined in this chapter, you should be able to get started and explore further on your own.
What you learned today:
- Image hosting stores images in the cloud, keeping your Obsidian vault lightweight and making it easy to publish to blogs.
- You need to install the Image auto upload plugin and PicList software. Image hosting options include Tencent Cloud, Cloudflare, or GitHub.
- After configuration, manually test uploading an image in PicList first to ensure everything works before using it in Obsidian.
- Insert local images as usual while writing, then upload all images to the image hosting service with one click after finishing; links are automatically replaced.
Key points:
- Do not upload screenshots containing private information or API keys to image hosting.
- The bucket must be set to “Public Read”, otherwise images cannot be publicly accessed.
- API keys (SecretId/SecretKey) must be saved locally and not shared.
- The region must be entered in pinyin format, e.g.,
ap-shanghai. - If your article contains both hosted and local images, download all first, then upload together.
- WeChat Official Account users: WeChat blocks external image links. Use doocs-md to convert or my plugin for one-click processing.